Pan Grilling is an excellent technique to add to your grilling toolbox. Using a pan on the grill lets you cook side dishes that would either burn or fall through the grill grates.
Cast iron![]() was the original grill pan - picture a cowboy chef working over a campfire - but requires careful maintenance to avoid rust. Enameled steel
was the original grill pan - picture a cowboy chef working over a campfire - but requires careful maintenance to avoid rust. Enameled steel![]() is another good choice. It doesn't even out the heat as well as cast iron, but it is lighter, and can handle the extreme heat of a grill. Enameled cast iron
is another good choice. It doesn't even out the heat as well as cast iron, but it is lighter, and can handle the extreme heat of a grill. Enameled cast iron![]() is more expensive, easy to care for, and spreads out the heat as well as plain cast iron. I love Weber's new enameled cast iron griddle
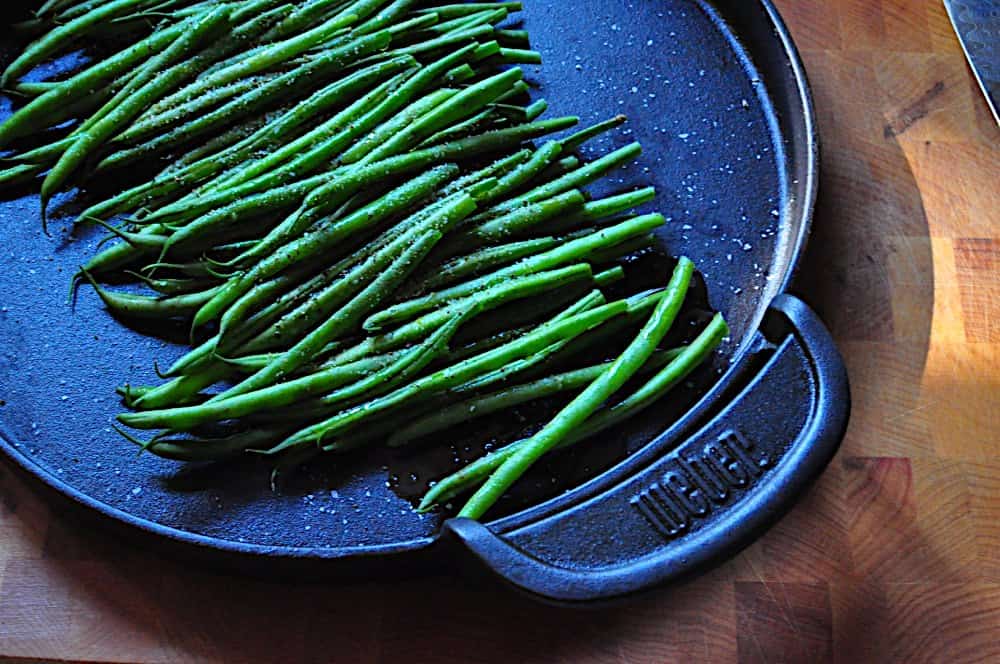
is more expensive, easy to care for, and spreads out the heat as well as plain cast iron. I love Weber's new enameled cast iron griddle![]() . The rounded shape with short handles fits well on my kettle grill.
. The rounded shape with short handles fits well on my kettle grill.
*I would like a large oval or half-moon griddle shape even more - something that fits up against the side of the grill would be perfect. Unfortunately, all the oval griddles![]() I can find are too small.
I can find are too small.
Once the grill is heated up, why waste the heat? Pan grilling lets you use the leftover heat you worked so hard to build in the grill. I cook for five (or more) people; I have to cook in shifts on my kettle grill. I start with a blazing fire in the grill, and cook my main course. By the time the main course is done, the heat will have moderated a bit, down to medium-high. I put the grill pan with a side on the grill. The main course rests while the side dish cooks, and I have an entire dinner cooked right on the grill.
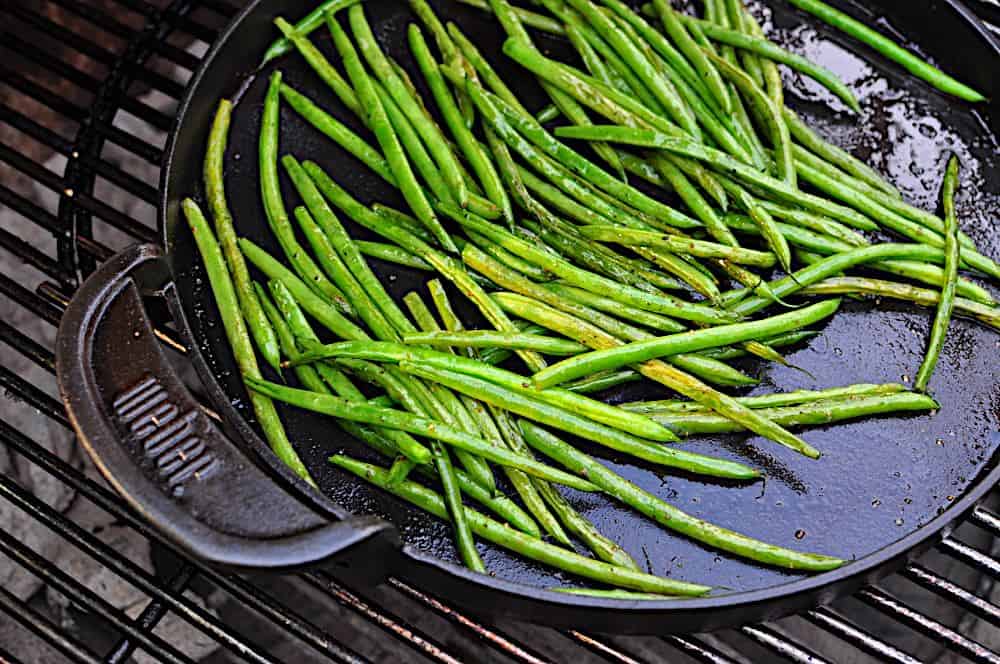
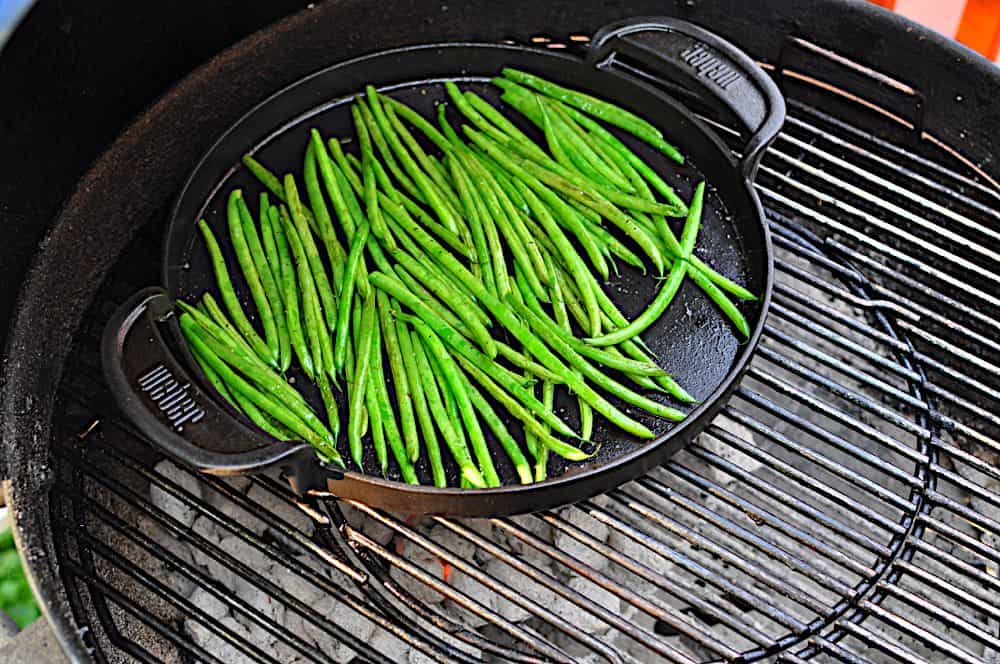
In this recipe, I use the griddle to move steam-sauteed green beans to the grill. I start the green beans covered, to trap steam and tenderize the beans; then finish uncovered to sear them in the heat of the grill.
Recipe: Pan Grilled Green Beans
Cook time: 10 minutes
Equipment:
- Grill safe pan (I use the Weber Gourmet BBQ System Griddle
 in the pictures)
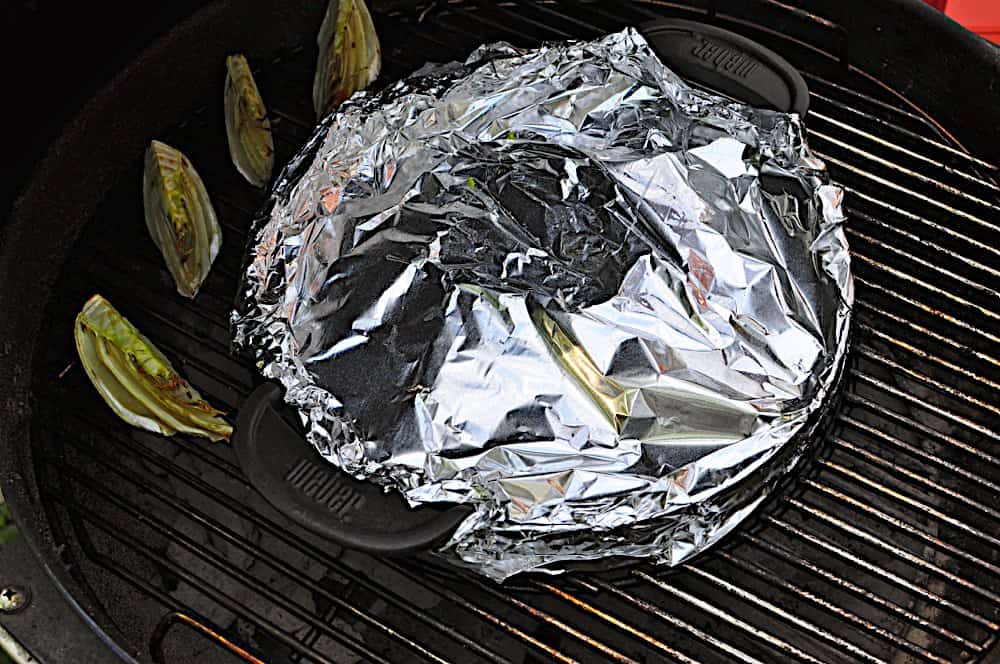
 - Aluminum foil (or a lid for the grill safe pan)
Ingredients:
- 1 pound green beans
- 1 tablespoon extra virgin olive oil
- ½ teaspoon Kosher salt
- ½ teaspoon fresh ground black pepper
Directions:
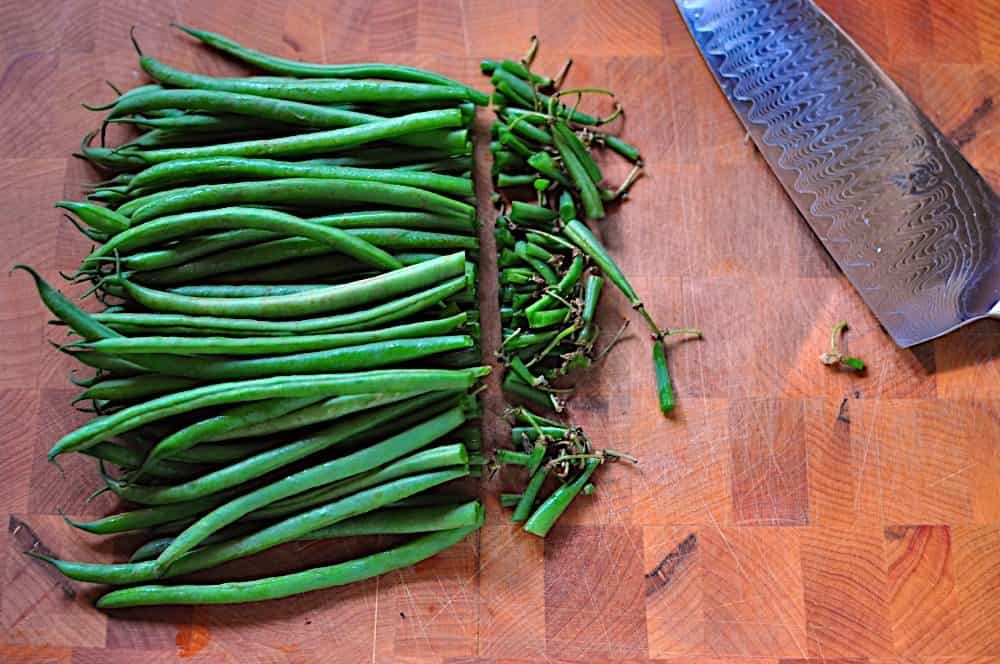
1. Prepare the beans: Trim the stem ends off of the green beans, put them in the grill pan, sprinkle with the salt and pepper, then drizzle with the olive oil. Cover the grill pan with foil.
 |
 |
2. Prepare the grill: Prepare the grill for cooking on direct medium-high heat. For my Weber kettle, I light a chimney starter* ¾ths full of charcoal, wait for it to be covered with ash, then then spread it in an even layer over half of the grill.
*I highly recommend the Weber Chimney Starter![]() , because it is larger than most chimney starters. It holds 5 quarts of charcoal, which exactly the right size for cooking this recipe.
, because it is larger than most chimney starters. It holds 5 quarts of charcoal, which exactly the right size for cooking this recipe.
 |
 |
 |
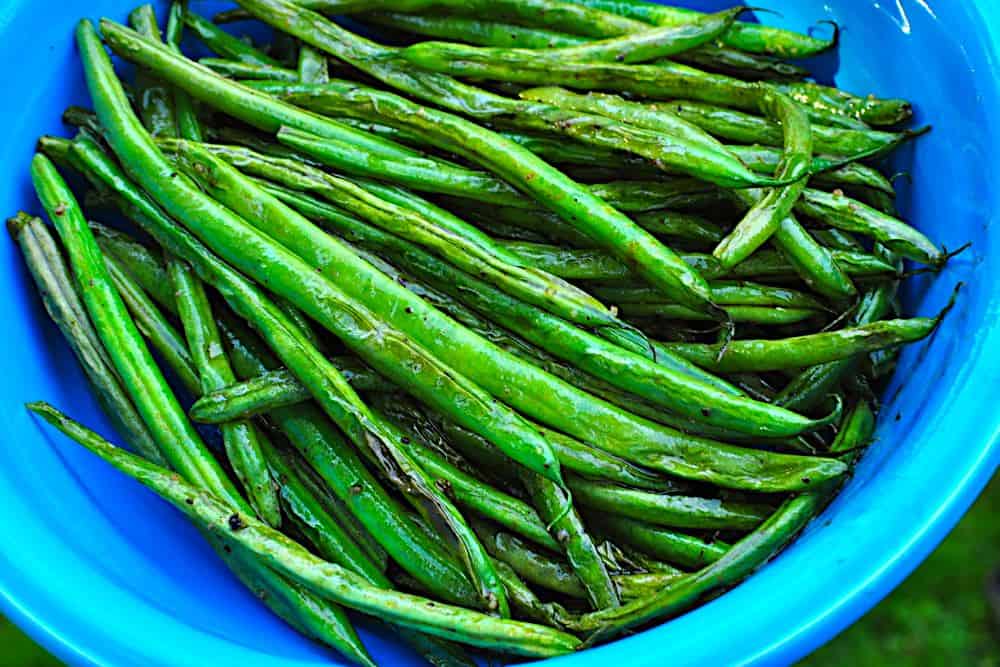 |
3. Cook the beans: Put the grill pan on the grill over the direct medium-high heat, and cook with the foil covering it for five minutes. Remove the foil and stir the beans. The beans are done cooking when they are crisp-tender (test by picking up a been and biting it), and some of the beans are browned, about five more minutes.
Variations:
*Herbs, spices, aromatics and citrus are good additions. Herbs and spices I add with the salt and pepper include smoked paprika, cumin, coriander, thyme, and oregano. Aromatics, like finely minced garlic or shallot, I add when I remove the foil - they tend to burn if they are on the grill for the whole cooking time. Citrus, especially lemon, makes a nice addition at the end of cooking.
Notes:
*Cooking on a grill is much more variable than on a stovetop, particularly with charcoal. The times listed above are estimates; adjust as needed based on the heat of your grill. Don't be afraid to move the grill pan around to raise or lower the heat.
What do you think? Questions? Other ideas? Leave them in the comments section below.
Related Posts:
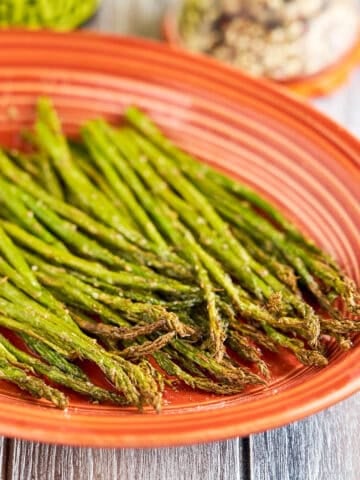
Grilled Asparagus
Grilled Corn with Chipotle Lime Butter
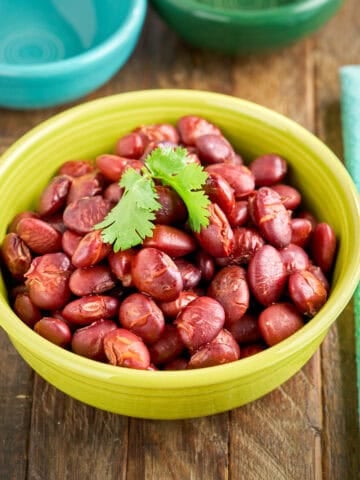
Steam-sauteed Green Beans
Weber Gourmet BBQ System Griddle![]()
*Enjoyed this post? Want to help out DadCooksDinner? Subscribe using your RSS reader or by Email, recommend DadCooksDinner to your friends, or buy something from Amazon.com through the links on this site. Thank you!
Justin Wallraven says
Do you have a cover for your griddle? I didn't get one of those with mine.
MikeV @ DadCooksDinner says
@Justin Wallraven:
No, no cover - I use aluminum foil to cover it.
Live to Cook at Home says
I love the idea of a "half moon" grill pan that I could put in one corner of my Weber Kettle!