Would you like to save this recipe?
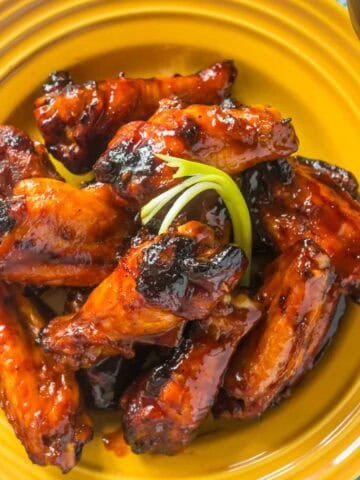
Barbecue chicken is one of my comfort meals. More importantly, it's one of the few meals that I love that my kids like even more than I do. It's a combination of a few techniques I've discussed before:
1. Barbecue Rub
2. Barbecue Sauce
3. Grill-Roast Chicken Pieces basic technique
Now, I know this isn't REAL barbecue - it's not "low and slow" enough to qualify.* Technically, it should be called grilled chicken with barbecue sauce. But oh, is it good...
*Which reminds me of one of my favorite barbecue quotes, from Alton Brown, which goes something like:
"To make a french chef's head explode, tell him you're going to barbecue some barbecue with barbecue sauce on your barbecue for a barbecue. Then stand back."
Recipe: Backyard Barbecue Chicken
Ingredients:
- 3-4 lbs bone in chicken pieces (about 1 cut up chicken) - breasts, wings, thighs, drumsticks, with breasts halved.
- 2 teaspoon kosher salt
- 2 teaspoon barbecue rub
- 2 cups barbecue sauce
Directions: (See Grill Roast Chicken Pieces for an overview of the technique)
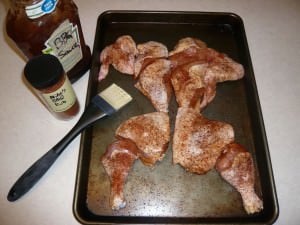
1. Salt and rub the chicken: Up to 24 hours before cooking, rub the salt and barbecue rub all over the chicken pieces. If more than an hour before cooking, refrigerate the pieces until ready to cook.
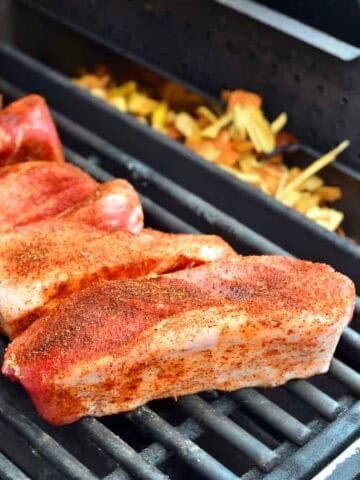
2. Preheat the grill: Set your grill up to cook at indirect/high, and preheat for 15 minutes if it's a gas grill.
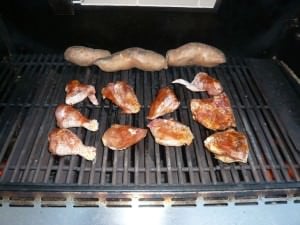
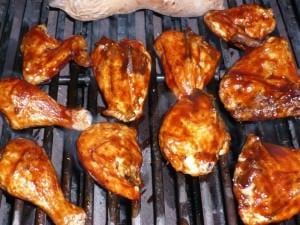
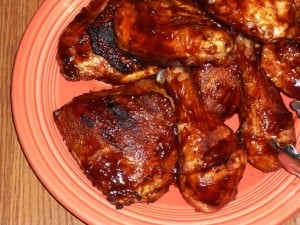
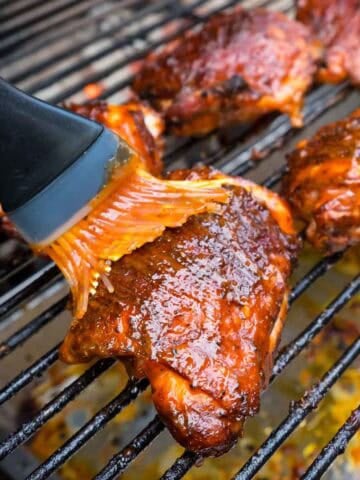
5. Second layer of barbecue sauce: (Optional) Brush the chicken with the last cup of barbecue sauce, then move over the direct part of the fire (that is, directly over the flames) and cook for 2-3 minutes a side to crisp up the glaze. Pull the chicken off the grill to a platter the moment it's done; crisp can become burnt in a heartbeat.
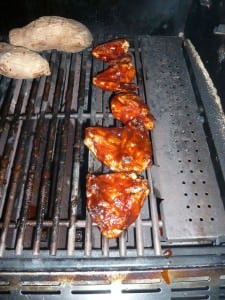
Notes:
*Barbecue sauce will burn, because of all the sugar in it. If you put it on when you started, it would be charred by the time the chicken was cooked through. That's why we only have it on for the last 15 minutes of cooking (or so).
*Burnt barbecue sauce is also why step 5 is optional - the line between crisp and burnt is a very fine one. Err on the side of caution with this step, or skip it, if you're not into dramatics with your cooking. It adds an extra layer of flavor, but it's not required to have good chicken.
*Salting ahead of time: Ideally, salting 24 hours ahead of time gives it time to dry brine the chicken, which will season the chicken more thoroughly. Even an hour ahead of time will help. If you don't have the time then rub the chicken right before starting the grill; that's what I do on weeknights when I'm in a hurry to get dinner on the table.
*If you prefer, you can brine the chicken instead of early salting. I describe the brine in the Grill-Roast Chicken Pieces basic technique, but I'm starting to prefer the results from early salting over a brine. The brine's advantage is it really only needs an hour to work its magic on the chicken; the early salting is best if it can go overnight, or at least 6 hours.
*You really need a silicon basting brush for this recipe. I've had to throw out every natural bristled brush I've ever used with barbecue sauce because I could never get it clean again. My current favorites are from Oxo - they've added a little tongue with holes on the inside of the brush to help it carry the sauce, and spread it more evenly. Without that piece, the sauce slides right off the silicon bristles.
Inspired by:
Cook's Country magazine
Steven Raichlen

MikeV @ DadCooksDinner says
@Scubasuz:
You can use the rotisserie burner as the "second" burner, but you might not need it.
If your grill can hold a temperature of 350* to 400*F with one of your main burners lit, then you don't need the rotisserie burner. If it's cooler than that, try adding the rotisserie burner in.
Good luck, and let me know how it goes.
Scubasuz says
Hello, I am excited to try some of your recipes. I have a question about the BBQ chicken. I only have 3 burners on my grill with the third being a rotisserie burner in the back of the grill. Can I turn that one on for indirect heat? Otherwise I would have to use one of the two main burners for cooking.
thanks,
Suzanne