
Would you like to save this recipe?
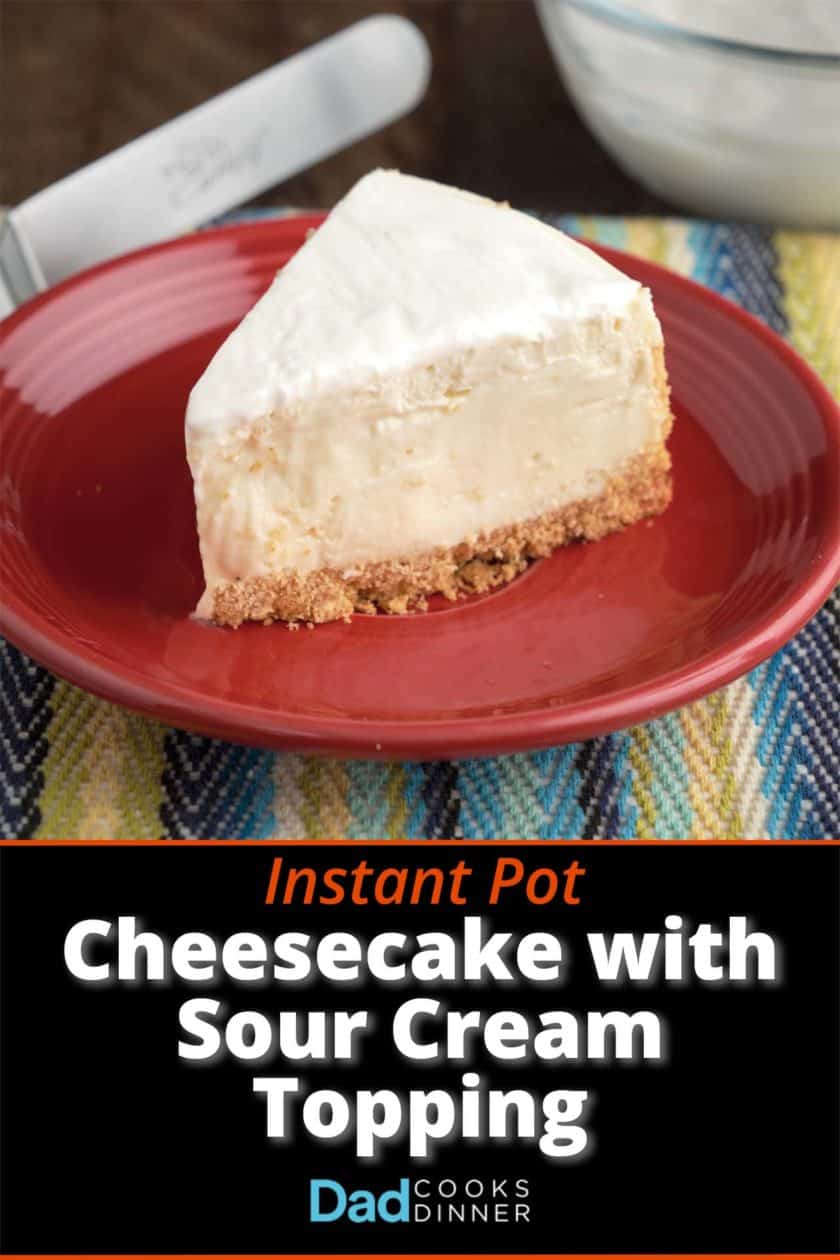
Instant Pot Cheesecake with Sour Cream Topping. A sweet layer of sour cream topping covers this simple pressure cooker cheesecake.
I was asked by a commenter if I had a sour cream topping for cheesecake. I didn't, but after a little research, I was able to find one that works with pressure cooker cheesecake.
The problem with most sour cream toppings is they want you to cook them with the cheesecake…but only for the last 20 minutes or so that the cheesecake is in the oven. That doesn't work with a pressure cooker - once it's locked, it's locked, and I don't want a recipe where I'm depressurizing and repressurizing the cheesecake. And I'm absolutely making my cheesecake in the pressure cooker.
The solution is inspired by Dorie Greenspan, thanks to a lead provided by Simply Recipes. Dorie's sour cream topping uses powdered sugar instead of granulated sugar, so it melts easily into the sour cream, and doesn't need to cook. (It helps if you take the time to refrigerate the topping before spreading it on the cheesecake, to thicken it up, but it's not absolutely necessary, if you're OK with a drippy topping.)
The other advantage to topping a cheesecake? It covers up any sins. Bumps or cracks in my cheesecake? A smooth layer of topping hides any imperfections. And it tastes good too!
Recipe: Instant Pot Cheesecake with Sour Cream Topping
Print
Instant Pot Cheesecake with Sour Cream Topping
- Total Time: 1 hour
- Yield: 8 slices 1x
Description
Instant Pot Cheesecake with Sour Cream Topping. A sweet layer of sour cream topping covers this simple pressure cooker cheesecake.
Ingredients
Crust
- ¾ cup graham cracker crumbs
- 2 tablespoons melted butter
Cheesecake
- 1 pound regular cream cheese, softened (2 (8-ounce) packages)
- ⅔ cup sugar
- 2 teaspoons corn starch
- ½ teaspoon vanilla
- 2 large eggs
Sour cream topping
- ½ cup sour cream
- 2 tablespoons powdered sugar
- ¼ teaspoon vanilla extract
Instructions
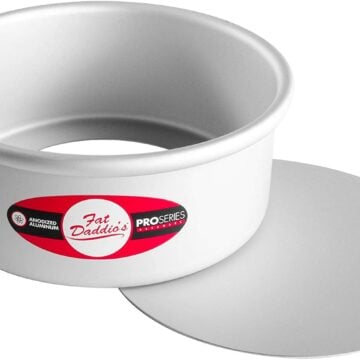
- Prepare the pan: Spray a 7-inch cheesecake pan with nonstick cooking spray. Mix the graham cracker crumbs and melted butter, then spread evenly across the bottom of the pan and pack down, pushing the crumbs up the sides a little.
- Make the cheesecake filling: Soften the cream cheese by leaving it out at room temperature for at least 1 hour. (Or soften the cream cheese in the microwave, 30 seconds to 1 minute). Beat the cream cheese in an electric mixer on medium speed until smooth and fluffy, about 2 minutes. Slowly add the sugar and corn starch, and beat on medium speed until the sugar is completely blended, about 3 minutes. Stop the mixer and scrape down the sides. Add the ½ teaspoon vanilla extract and beat on low speed until completely blended, about 1 minute. Stop the mixer again and scrape down the sides. Add the eggs one at a time, beating each on low speed until just blended. (Don't over-beat the eggs.) Pour the filling into the prepared cheesecake pan.
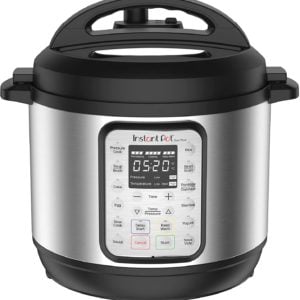
- Pressure cook the cheesecake for 20 minutes with a Natural Release: Put the cooking rack or baking sling in the pressure cooker pot, then pour in 1 cup of water. If your rack does not have handles, make an aluminum foil sling to lift the cheesecake: fold a 2-foot long piece of aluminum foil over a few times, until it is a long strip about 4 inches wide. Center the cheesecake pan on the sling and carefully lower it into the pot, setting it on the rack. Lock the lid on the cooker and pressure cook on high for 20 minutes in an Instant Pot or other electric PC ("Manual" or "Pressure Cook" mode in an Instant Pot), or for 16 minutes in a stovetop PC, then let the pressure come down naturally, about 20 more minutes. (If you're in a hurry, you can quick release any pressure left in the pot after 20 minutes.)
- Sour Cream Topping: While the cheesecake is cooking, whisk the sour cream, powdered sugar, and ½ teaspoon vanilla extract until smooth. Cover and refrigerate to thicken.
- Cool the cheesecake: Lift the cheesecake out of the pressure cooker. Loosen the cheesecake by running a paring knife around the edge of the pan. Cool the pan at room temperature for an hour, then refrigerate for at least 4 hours, preferably overnight.
- Serve: Remove the springform from the cheesecake, and spread the sour cream topping in a thick layer on top of the cheesecake. Cut the cheesecake into slices (I cut the cheesecake into eight pieces). Serve and enjoy.

Notes
I don't cover my cheesecake with foil while cooking. I used to, but I stopped when I realized how much it slows down cooking. (The center would never set.) I use a paper towel to dab at any water on top of the cheesecake after cooking.
If you don't refrigerate the sour cream topping for at least an hour, it will be a bit loose, and want to drip down the sides of the cheesecake. If you're OK with that, you can make the sour cream topping right before serving the cheesecake. But, I figure, since I have to refrigerate the cheesecake, I might as well refrigerate the topping with it.
Tools
6 quart or larger pressure cooker (I love my Instant Pot 6-Quart Pressure Cooker)
7-inch cheesecake pan (I like this springform pan from Nordic Ware)
Rack (this silicone bakeware sling with handles is my favorite)
- Prep Time: 20 minutes
- Cook Time: 40 minutes
- Category: Dessert
- Method: Pressure Cooker
- Cuisine: American
Would you like to save this recipe?
Nutrition
- Serving Size: 1 slice
- Calories: 390
- Sugar: 23.9 g
- Sodium: 271.7 mg
- Fat: 27 g
- Carbohydrates: 32 g
- Protein: 6.1 g
- Cholesterol: 119.9 mg
What do you think?
Questions? Other ideas? Leave them in the comments section below.
Related Posts
Instant Pot Espresso Cheesecake
Instant Pot Chocolate Chip Cheesecake
Instant Pot Mini Cheesecakes
Instant Pot New York Cheesecake
My other Instant Pot and Pressure Cooker Recipes
Enjoyed this post? Want to help out DadCooksDinner? Subscribe to DadCooksDinner via email and share this post with your friends. Want to contribute directly? Donate to my Tip Jar, or buy something from Amazon.com through the links on this site. Thank you.


Amy Botticello says
Your photo looks just like I like my Cheesecake to taste! Your NOTES are very useful, too (and the bake sling). I look forward to making this in the future. Thanks for posting
Mike Vrobel says
You’re welcome, and good luck! It will turn out great.