I cook a lot of chicken on my rotisserie. Usually, I keep it simple. I dry brine the chicken, add a little fresh ground black pepper, and I'm done. Occasionally, when I'm feeling fancy, I stuff herbs under the skin. This time around, though, I wanted something more. I was looking for something different than my usual roast chicken, without adding a lot of extra work.
Luckily, I bought myself a subscription to Canal House Cooking for Christmas. I've been enjoying Melissa and Chris's recipes and pictures so much that I went back and bought all their back issues. (There were only three- it wasn't that big a deal.) And, in one of the books, they had a recipe for roast teriyaki chicken. I had my inspiration - but why roast the chicken when I could rotisserie it?
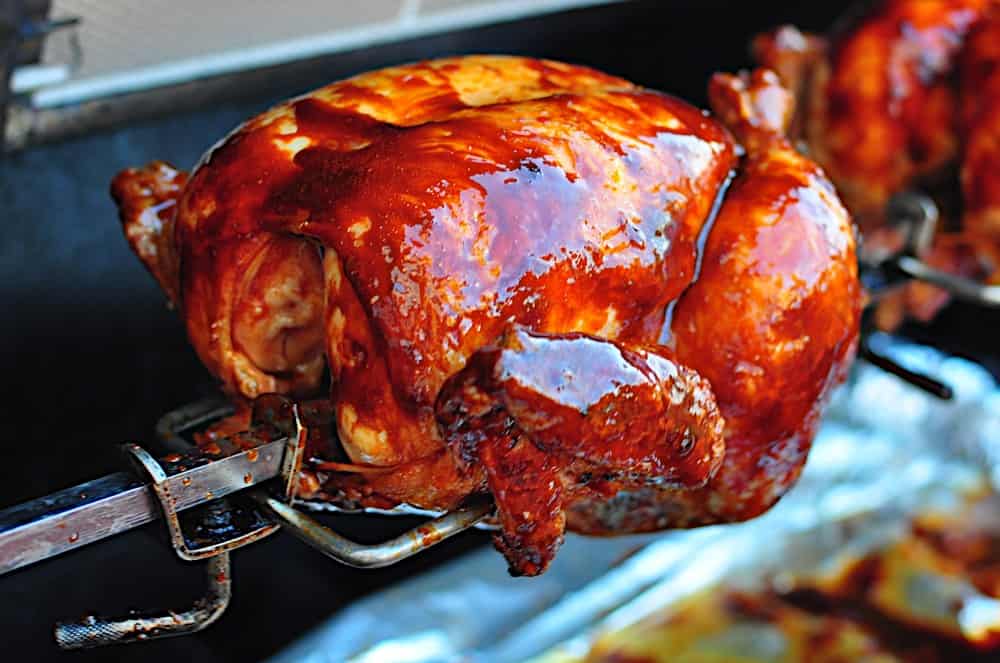
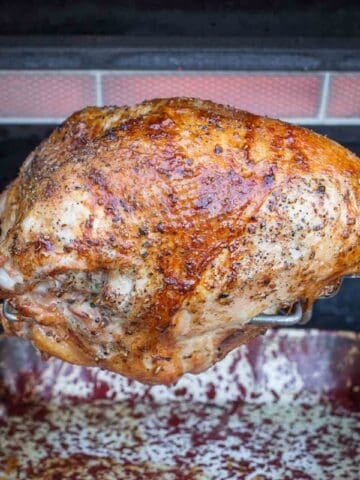
Rotisserie teriyaki chicken is exactly what I was looking for. Teriyaki sauce has simple, pantry ingredients and takes all of three minutes to make. Don't let the simplicity of the sauce fool you, though - it adds a sweet, sour and salty glaze that matches chicken perfectly.
*Teriyaki sauce and grilled chicken is a combination perfected in Japanese yakitori restaurants. I'm just scaling the recipe up - instead of bite sized pieces of chicken on bamboo skewers, I'm going with whole chickens on a rotisserie spit. Godzilla sized yakitori, anyone?
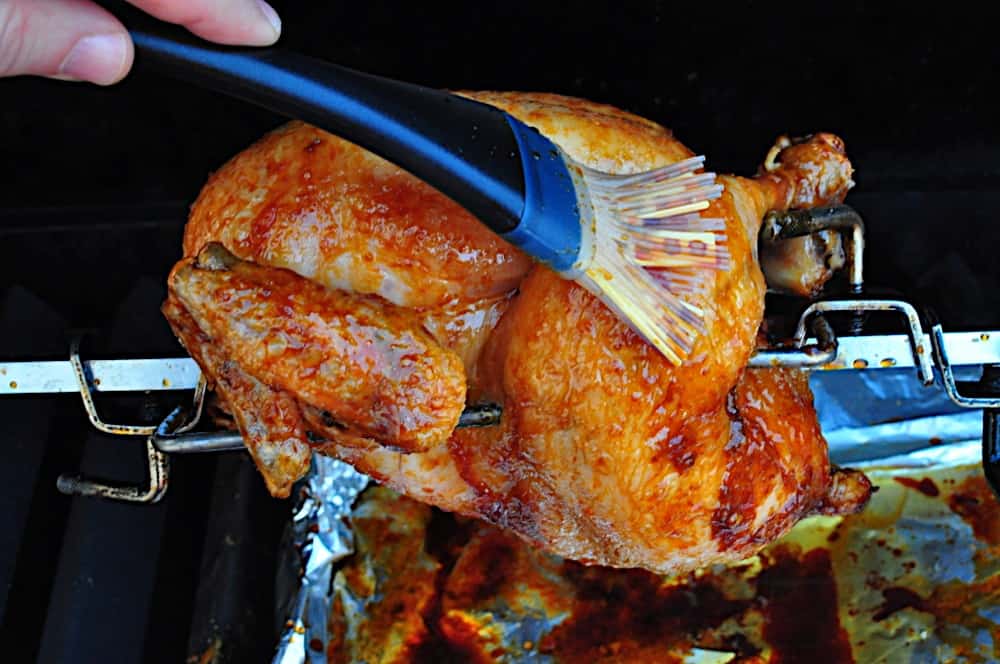
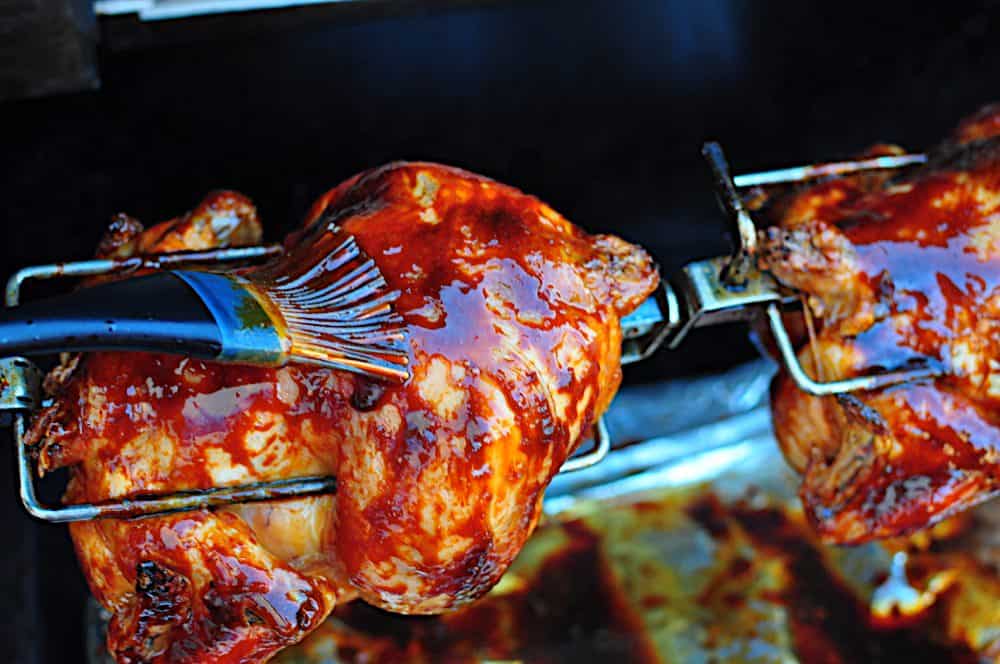
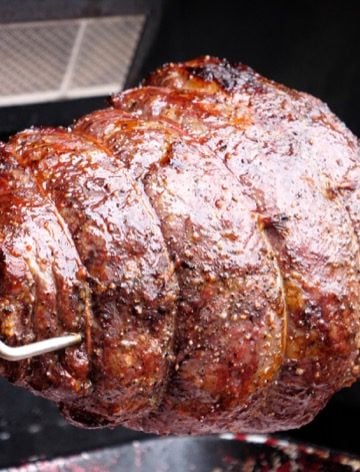
The only real trick is to save the teriyaki sauce for the last fifteen minutes of grilling, then brush it on frequently. Teriyaki sauce has a lot of sugar in it. The high heat of the grill will burn the sauce if it is cooked for too long. Waiting for the last last fifteen minutes lets the heat tighten up the sauce, but does not leave enough time for the sauce to burn. Applying the sauce in layers builds a thick glaze on top of the browned chicken skin.
Recipe: Rotisserie Chicken with Teriyaki Sauce
Inspired By: Melissa Hamilton, Christopher Hirsheimer Canal House Cooking
Cook time: 75 minutes
Equipment:
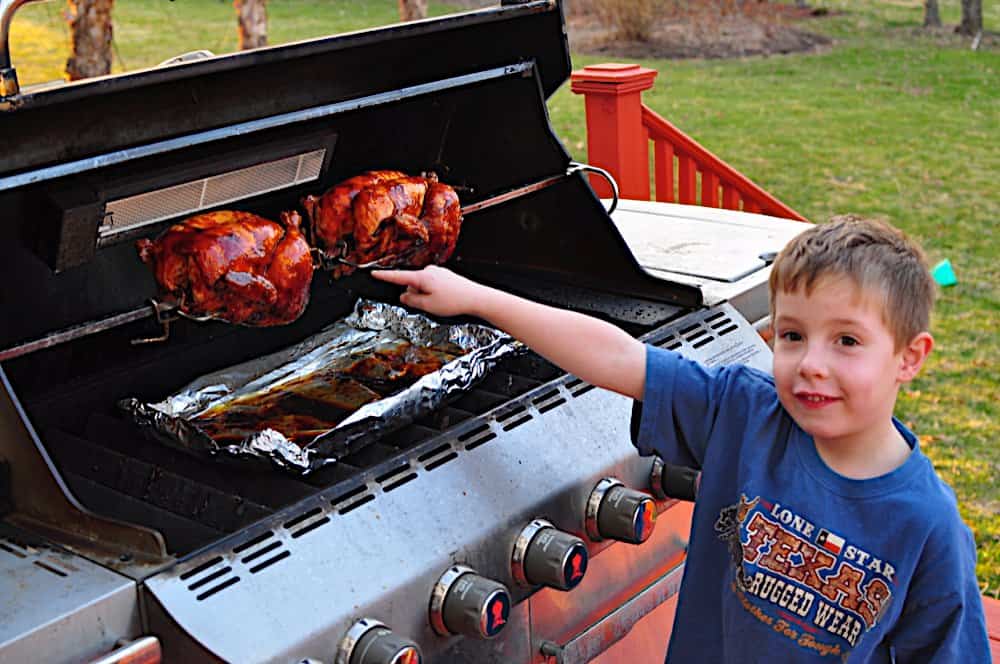
- Grill with Rotisserie attachment (I used a Weber Summit with an infrared rotisserie burner. Here is the current version of my grill.
 )
) - Aluminum foil drip pan (9"x12", or whatever fits your grill)
- Butcher's twine
- Basting brush (I use a silicone brush. That way, I can throw it in the dishwasher after coating it with sticky teriyaki sauce)
Ingredients:
- 2 (3 ½ to 5 pound) chickens
- 5 teaspoons Kosher salt (½ teaspoon per pound of chicken times two chickens)
Teriyaki sauce:
- ½ cup soy sauce
- ½ cup mirin (Japanese sweet rice wine)
- ½ cup honey
- 1 garlic clove, smashed
- ¼ inch slice of ginger, smashed
Directions:
See my Basic Technique: Rotisserie Poultry for an overview of rotisserie chicken.
1. Prepare the chicken and teriyaki sauce: Sprinkle the salt evenly over the chickens. I start by sprinkling salt in the cavity of the bird. Then I salt and rotate: first the breast, then one side (with the leg and wing facing up), then flip and do the other side. Finally, I salt the bottom (backbone) side of the chicken. I use about ½ teaspoon of salt per "side". Combine all the teriyaki sauce ingredients in a medium saucepan and stir until the honey dissolves.
*If you have the time, salt the chicken the night before you are going to cook it, and refrigerate. Remove the chicken from the refrigerator one hour before it is time to cook.
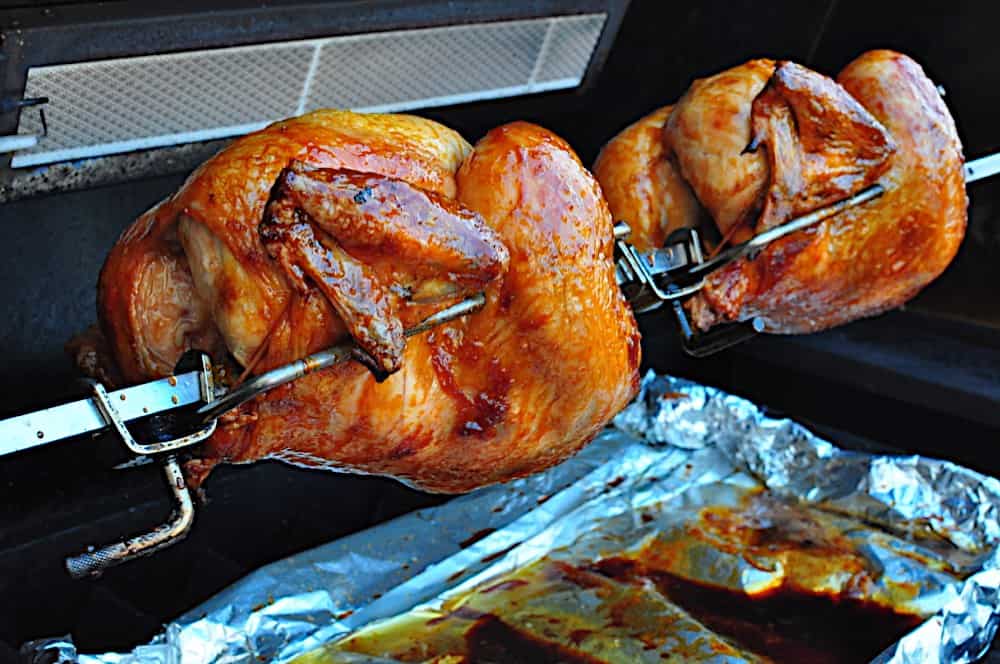
2. Truss and skewer the chicken: Fold the wingtips back under the chicken, then truss the chicken tightly. (See the basic technique for trussing details). Skewer the chicken on the spit - get it on there tight! I like to put one set of prongs under the breast of the first chicken, then the other skewer through the thighs. I put the second bird on upside down compared to the first bird. This makes the whole spit more balanced, easing the load on the rotisserie motor. Also, it looks cool that way.*
*Yes, I'm a cooking nerd.
3. Prepare the grill: Set the grill up for rotisserie cooking at high heat. For my Weber Summit, this means removing the grates, turning the two outer burners (burners 1 and 6) to high, and turning the infrared burner to high. Then I put my drip pan in the middle, over the unlit burners, and let the grill preheat for ten to fifteen minutes. (Once again, see My Rotisserie Basic Technique Post for more rotisserie setup details.)
|
|
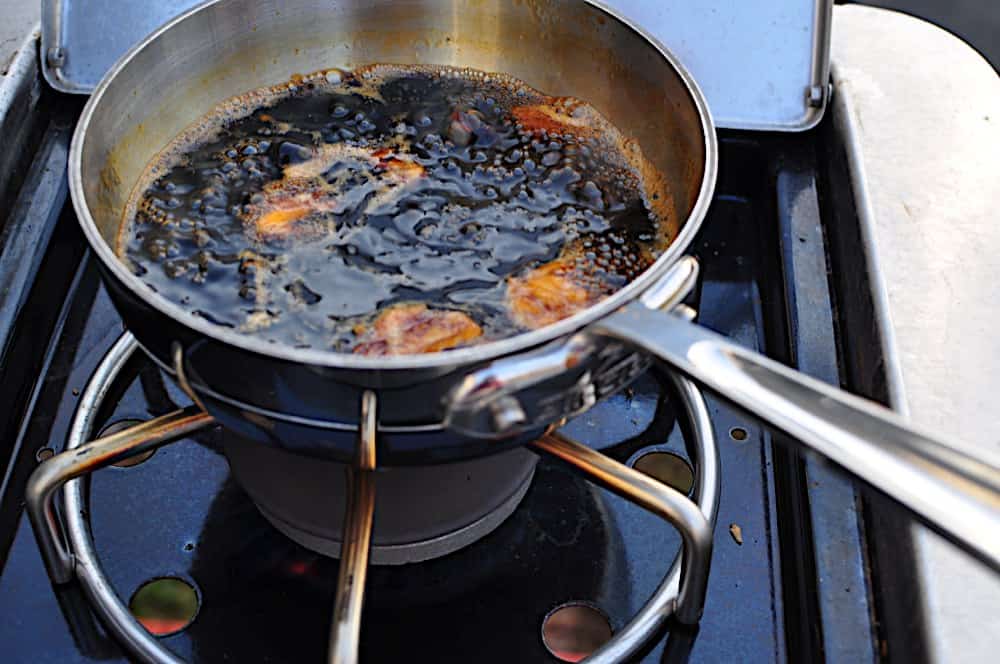
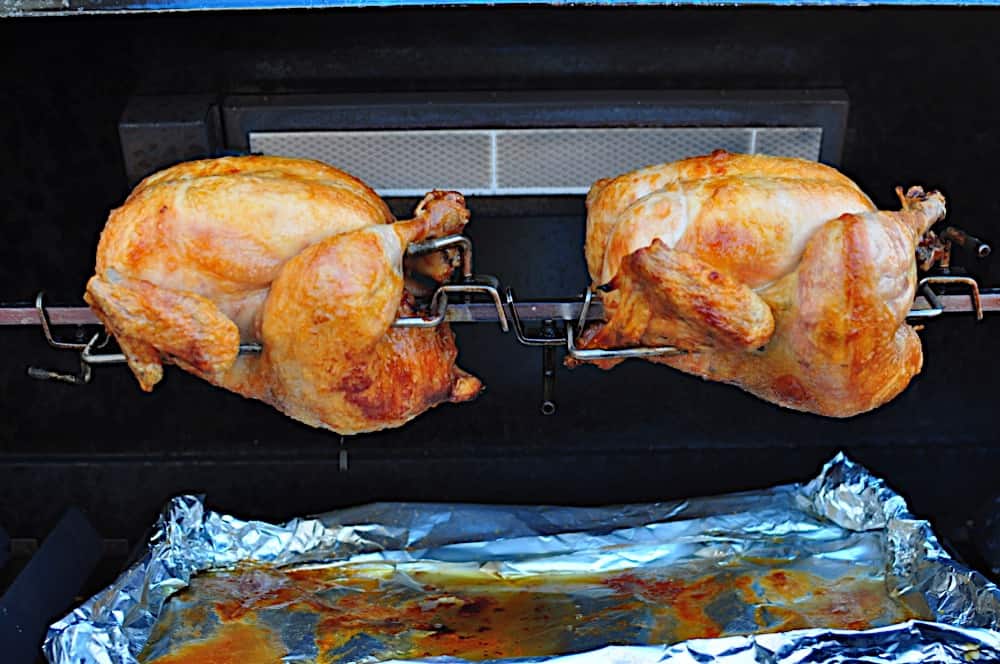
4. Cook the chicken: Put the spit on the grill, turn on the rotisserie motor, and cook with the lid closed. While the birds are cooking, reduce the teriyaki sauce. Bring the sauce to a boil, then simmer until reduced by a little more than half, about 15 minutes. (Reduce to the consistency of a barbecue sauce). The birds will cook for about 15 minutes per pound. A 4 pound bird will be done after an hour, a five pound bird after an hour and 15 minutes. Baste the bird with the teriyaki sauce fifteen minutes before it will be done, then baste again every five minutes until the internal temperature of the breast reaches 160*F to 165*F. (That means I baste four times - 15 minutes to go, 10 minutes to go, 5 minutes to go, and when it's ready to come off the grill.)
|
|
||||
|
|

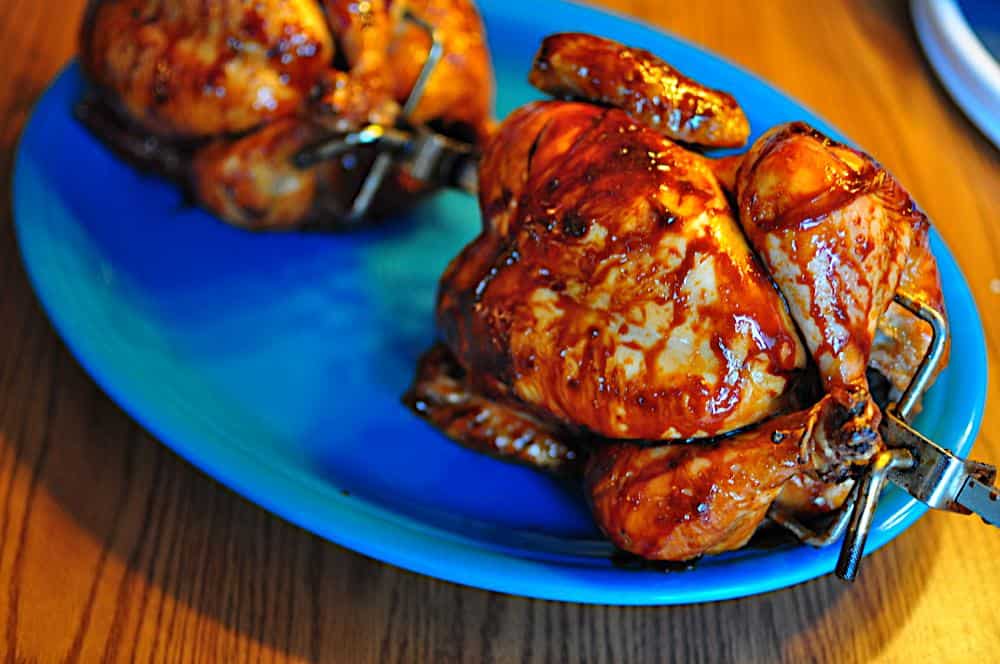
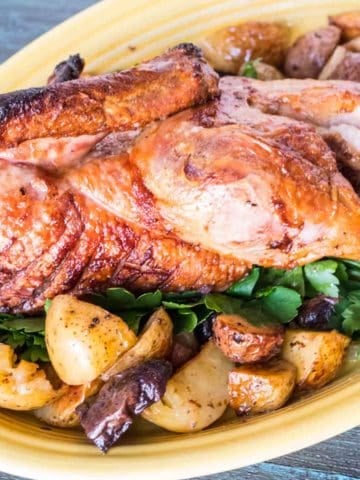
5. Serve: Immediately remove the chicken from the spit, then remove the trussing twine. Let the chicken rest for 15 minutes, then carve and serve, passing any leftover teriyaki sauce for dipping.
|
|
Notes:
*When reducing the teriyaki sauce, watch out for boil-overs. The sauce is very sticky, and bubbles up whenever I put my spoon in to stir it. If it threatens to boil over, stop stirring and remove the pot from the heat until it subsides.
*I don't use the side burner on my grill very often, but it was perfect for this recipe. While the chicken was on the rotisserie, the sauce was reducing on the side burner. Then, between my basting sessions, the pot went back on the burner. Two pieces of advice with the side burner, though. Don't use it if the temperature is 42*F outside, because the sauce will take forever to come to a boil. And, don't over-reduce the sauce, or you'll wind up with a teriyaki glue. Um...not that I had both of these problems or anything like that...
*In a pinch, you can use store-bought teriyaki sauce. Make sure to reduce it a bit - you want a thick sauce to brush on the chicken. But, if you have access to a store that stocks mirin, you really should make your own teriyaki sauce. Like I said in the opening, it is really easy to make, and the result tastes much better than a store-bought sauce.
What do you think? Questions? Other ideas? Leave them in the comments section below.
Related Posts:
Rotisserie Chicken, Dry Brined with Rosemary and Lemon
Rotisserie Peking Duck
Click here for my other rotisserie recipes.
Inspired by:
Melissa Hamilton, Christopher Hirsheimer Canal House Cooking
 Check out my cookbook, Rotisserie Grilling. Check out my cookbook, Rotisserie Grilling.
Everything you could ask about the rotisserie, It's a Kindle e-book, so you can download it and start reading immediately! |
*Enjoyed this post? Want to help out DadCooksDinner? Subscribe to DadCooksDinner using the RSS or Email options on the right, link to this post from your blog, recommend DadCooksDinner to your friends, or buy something from Amazon.com![]() through the links on this site. (Like my Rotisserie Grilling cookbook...)
through the links on this site. (Like my Rotisserie Grilling cookbook...)

Mike V @ DadCooksDinner says
Thanks!
Matt Heinz says
I'd recommend doubling or tripling the sauce. It's great over rice on its own, or stir-fry (or saute) some vegetables together (onion, carrot, zucchini) and finish with some sauce in the pan before serving with the chicken and over rice. Another rotisserie winner!
Mike V @ DadCooksDinner says
You're welcome. Glad you liked it!
French Canuck says
This terriyaki sauce is better than any I have ever made or bought ! Our rotisserie chicken was delicious. I even added a bit more honey to add sweetness and when I simmered it on the stove, it reduced and thickened nicely. Thank you for sharing!
MikeV @ DadCooksDinner says
@Andy:
Thanks for following up. I appreciate it.
Andy says
No nothing you have done, just me learning how long to cook it and the correct temp to bring it down to start thickening up. Just a newbie at it 🙂 Thanks again!!!
MikeV @ DadCooksDinner says
@Andy:
Thank you - glad you liked it!
Out of curiosity - what was going on with the sauce? Anything I should clarify in the recipe?
Andy says
Another Fantastic Recipe. I am a novice and had to work at the sauce but I have that down now!!! WOW. Thanks once again for a great weekend dinner.
MikeV @ DadCooksDinner says
@Ty'sMommy:
Thank you!
Ty'sMommy says
Questions? No.
Comments? YES!
I'm soooo coming over for dinner! Looks fantastic!