
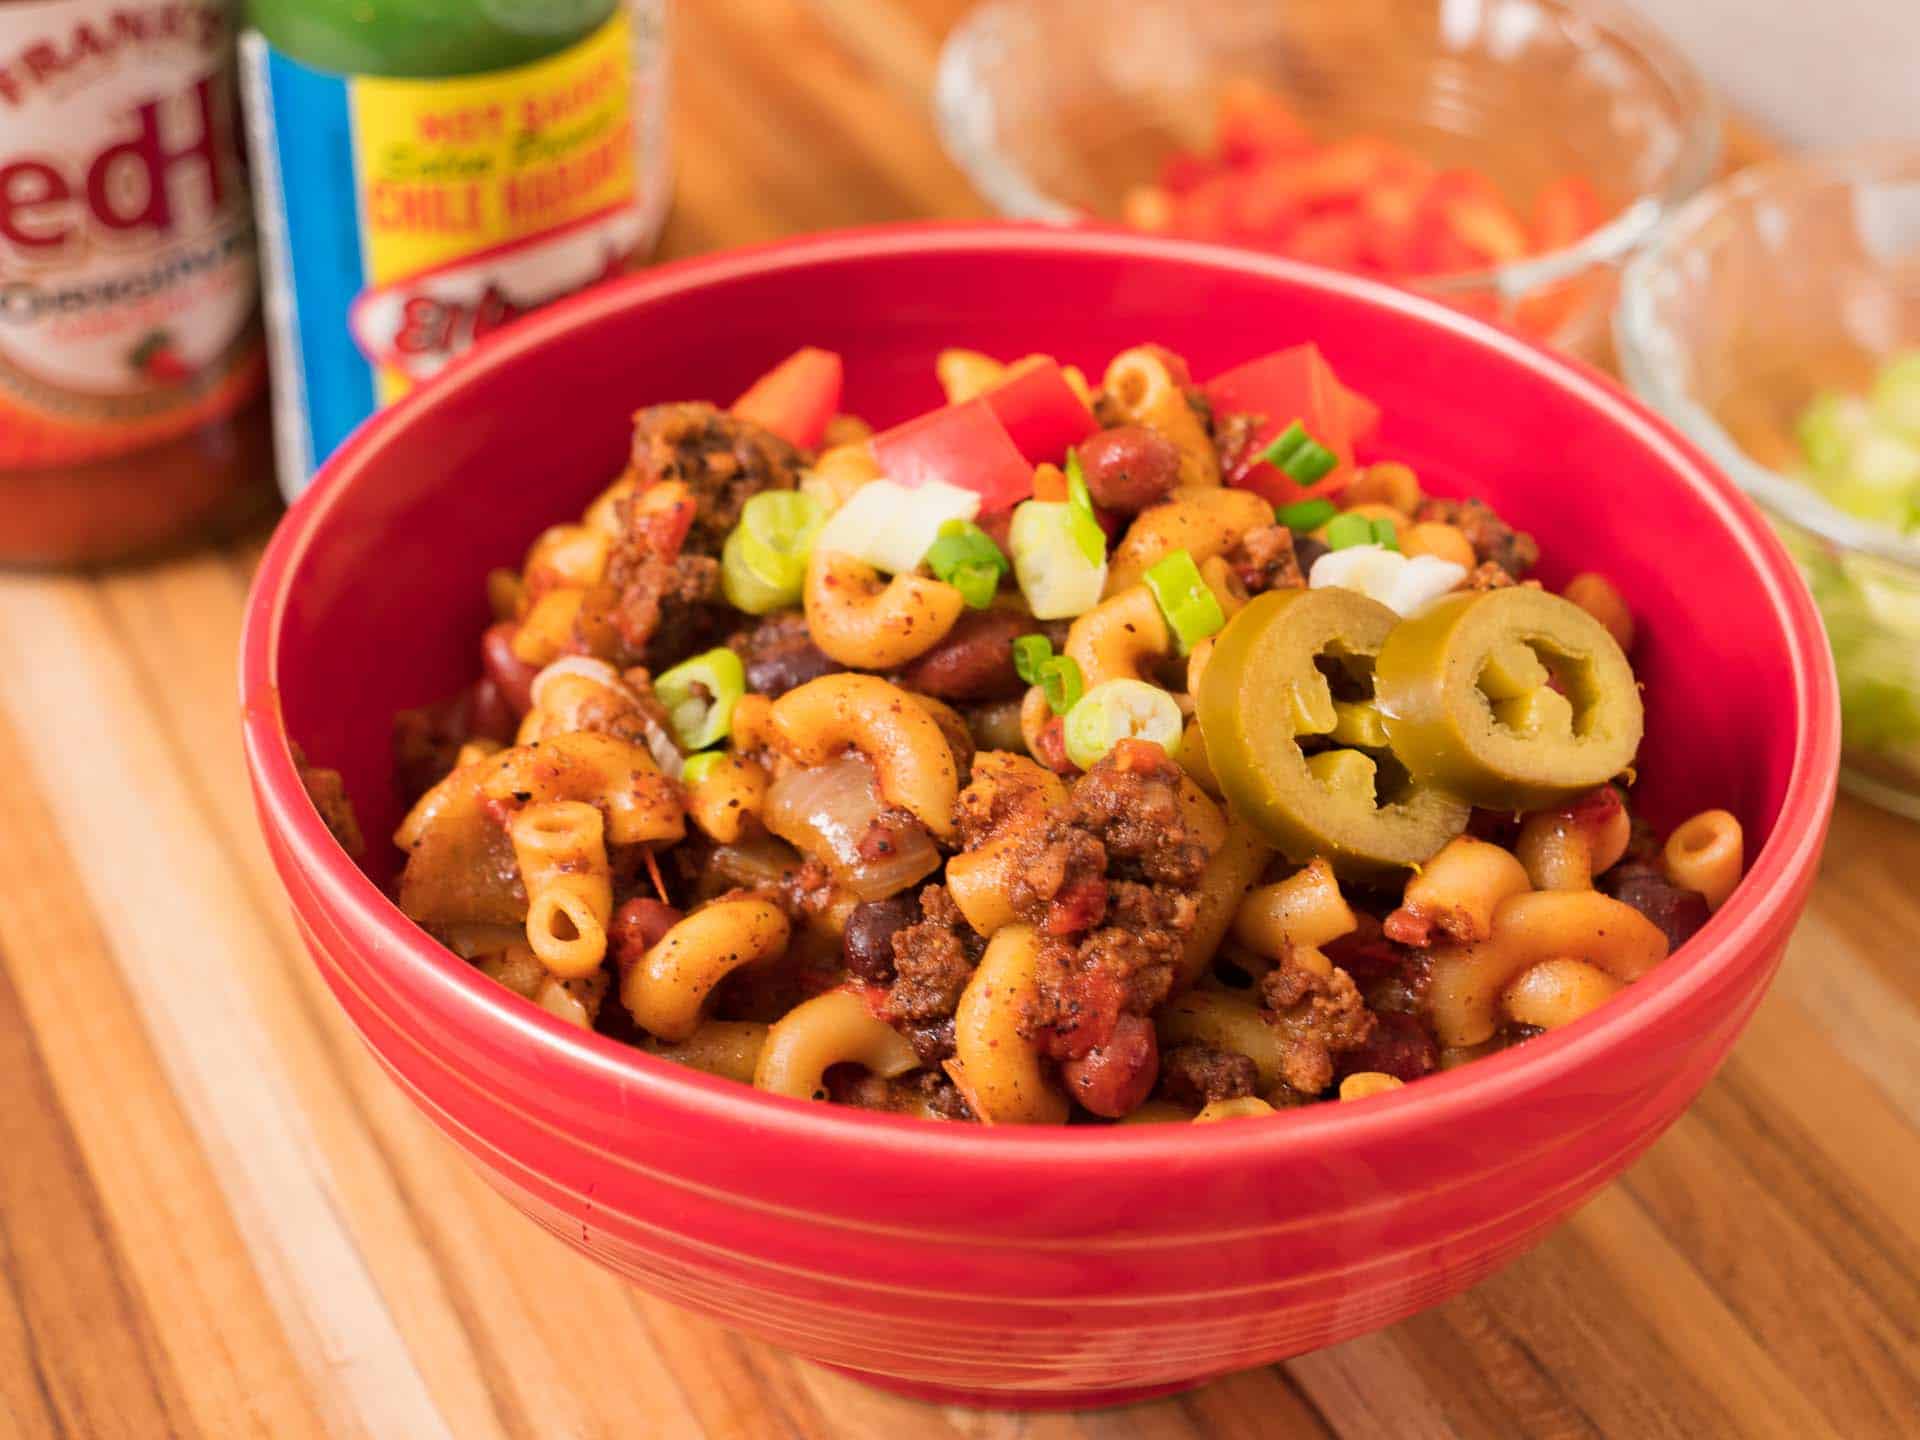
Instant Pot Chili Mac - chili and elbow pasta, together in a one-pot pressure cooker meal.
Talking with myself about Chili mac...
Q: Chili Mac?
A: Chili Mac.
Q: So…it's chili? And macaroni?
A: Yup
Q: In the pressure cooker?
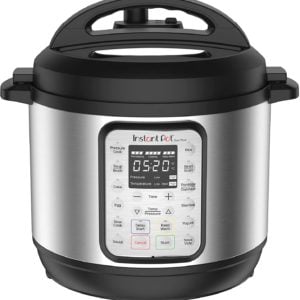
A: You know me. Of *course* it's in the pressure cooker. It's a one-pot meal in my Instant Pot - what's not to like on a busy weeknight?
Would you like to save this recipe?
What is Chili Mac?
Chili Mac is comfort food, a casserole of ground beef and bean chili mixed with macaroni. I think of it as the Tex-Mex flavored cousin to baked ziti or macaroni and cheese. (I'm using my pressure cooker noodles technique from my Pressure Cooker Mac and Cheese recipe.)
Ingredients
Vegetable oil
Onion
Red bell pepper
Garlic
Fine sea salt
Chili powder
Ground cumin
Dried oregano
Ground sirloin (85% lean, aka 85/15 beef)
Red kidney beans, drained and rinsed (or 4 cups homemade beans)
Elbow macaroni pasta
Crushed tomatoes
Water (or chicken broth)
Fresh ground black pepper
How to Make Instant Pot Chili Mac
Sauté the aromatics
Heat 1 tablespoon of vegetable oil in an Instant Pot set to Sauté mode - high. (Use medium-high heat in a stovetop PC). Add the onions, bell pepper, garlic, and ½ teaspoon salt to the pressure cooker. Sauté until the onions soften, about 5 minutes.
Toast the spices and cook the beef
Make a hole in the center of the onion mix and add the chili powder, cumin, and oregano. Let the spices sit for 30 seconds, then stir into the onions. Add the ground beef and stir to coat with the onions and spices, using a flat-edged wooden spoon to scrape any browned bits from the bottom of the pot. Cook the ground beef, stirring often, until the beef just loses its pink color, about 3 minutes. (Make sure nothing sticks to the bottom of the pot while cooking the beef or it will burn - stir and scrape the bottom often.)
Everything in the pot
Stir the rinsed and drained beans, elbow macaroni, crushed tomatoes, and water into the pot. Sprinkle in 1 teaspoon of salt. Scrape the bottom of the pot one last time to make sure nothing is sticking. Poke down any pieces of pasta sticking up out of the water - if they're not submerged, they might not cook.
Pressure cook for 4 minutes with a 5 minute pressure release
Lock the lid and cook at high pressure for 4 minutes (Use Manual, Pressure Cook, or Pressure Cook - Custom mode with an Instant Pot.) When the cooking time finishes, let the pressure come down naturally for 5 minutes, then quick release the remaining pressure in the pot. Remove the lid carefully, opening away from you - even when it's not under pressure, the steam in the cooker is very hot.
Season and serve
Stir in the black pepper and serve with your favorite chili toppings. Enjoy!
Recipe Tips
- Tomatoes: I like crushed tomatoes in this recipe, because they help make the sauce a little thicker without big tomato chunks. If you like a smooth sauce, substitute tomato sauce. If you like a chunkier sauce, substitute diced tomatoes.
- Lean Ground Beef: I like 85/15 beef in this recipe - that means 85% lean and 15% fat. I prefer the mix of fat to flavor that 85/15 gives me. You can use any ground beef you want, but because I don't want to drain the fat, I recommend 80/20 as the highest fat percentage you should use. Leaner will work too - I've made it with 90/10 ground sirloin, and it came out great.
- Beans: I use Kidney Beans in this recipe, but any bean you like in your chili will work. I've made it with pinto beans, black beans, and small red beans (aka Chili Beans). If you have leftover homemade kidney beans, you'll need about 4 cups of cooked beans. (That's 2 2-cup containers, which is how I freeze leftover beans, because a 2-cup container matches a 15-ounce can from the store.)
- Pasta: Any small pasta shape will work in this recipe. Penne, ziti, cellentani, and fusili are some of my favorites.
Storing Leftovers
Chili mac stores well. It will last a couple of days in the refrigerator, or up to 2 months in the freezer. It's safe in the freezer for longer, but I don't like to freeze it for more than 2 months for quality reasons. Because of the pasta, chili mac doesn't last as long in the freezer as plain chili.
Reheating Leftovers
I store my chili mac in 2-cup containers, perfect for a grab-and-go lunch. I reheat my chili mac in the microwave. In my microwave, for a 2-cup container, it takes 2 minutes to reheat from the refrigerator, or 5 minutes from the freezer. The timing all depends on the strength of your microwave, though - try 2 minutes to start, then see if the chili mac is hot in the center, and if not, microwave it for another minute or two.
Frequently Asked Questions
Can I use other types of meat instead of ground beef?
Absolutely! Use ground turkey, ground pork, ground chicken, ground buffalo, ground elk…this recipe will work with almost any ground meat you can throw in the pot.
How long does instant pot chili mac take to cook?
It takes about 10 minutes to sauté the ingredients and cook the beef. Then the pot needs to build pressure, cook for 4 minutes at high pressure, and naturally release for 5 minutes before quick releasing the pressure. In my kitchen, with my Instant Pot, it takes about 30 minutes from when I start sautéing the onion until the chili Mac is ready to serve. That said, your total time may vary, mainly because of the building pressure step; Total time all depends on how quickly your pot heats up to high pressure.
How spicy hot is this chili mac?
It's not very hot. I don't find chili powder to have much heat, just some flavor. (I buy mild to medium heat chili powder.) That's why I pass hot sauce at the table, so people can sprinkle it on if they want a fiery chili Mac. If you want to kick up the heat, dice up a jalapeno or two and add it with the onions, or add a teaspoon of cayenne pepper with the chili powder.
Can I freeze instant pot chili mac?
Yes you can! See Storing Leftovers above for more details, but chili mac does freeze well.
What kind of cheese works best for this recipe?
If you want instant pot chili mac with cheese, mix some in just before serving, or pass it at the table for people to sprinkle over their bowls. I love to top my chili mac with shredded sharp cheddar cheese. For a milder cheese, use Colby or Monterey jack, or a blend of the two.
Print
Instant Pot Chili Mac Recipe
- Total Time: 40 minutes
- Yield: 4 quarts of chili mac 1x
Description
Instant Pot Chili Mac - chili and elbow pasta, together in a one-pot pressure cooker meal.
Ingredients
- 1 tablespoon vegetable oil
- 1 large onion, diced
- 1 medium red bell pepper, trimmed and diced
- 3 cloves garlic, minced
- ½ teaspoon fine sea salt
- ¼ cup chili powder
- 2 tablespoons ground cumin
- 1 tablespoon oregano
- 1 pound ground sirloin (85/15, aka 85% lean)
- 2 (15-ounce) cans red kidney beans, drained and rinsed (or 4 cups homemade beans)
- 1 pound dried elbow macaroni pasta
- 28-ounce can crushed tomatoes
- 4 cups water (or chicken broth)
- 1 teaspoon fine sea salt
- ½ teaspoon fresh ground black pepper
Garnish (all optional)
- Hot sauce
- Diced onions (or green onions)
- More diced red peppers
- Shredded cheddar cheese
- Sour cream
- Pickled jalapeños
- Minced cilantro
Instructions
- Sauté the aromatics: Heat 1 tablespoon of vegetable oil in an Instant Pot set to Sauté mode - high. (Use medium-high heat in a stovetop PC). Add the onions, bell pepper, garlic, and ½ teaspoon salt to the pressure cooker. Sauté until the onions soften, about 5 minutes.
- Toast the spices and cook the beef: Make a hole in the center of the onion mix and add the chili powder, cumin, and oregano. Let the spices sit for 30 seconds, then stir into the onions. Add the ground beef and stir to coat with the onions and spices, using a flat-edged wooden spoon to scrape any browned bits from the bottom of the pot. Cook the ground beef, stirring often, until the beef just loses its pink color, about 3 minutes. (Make sure nothing sticks to the bottom of the pot while cooking the beef or it will burn - stir and scrape the bottom often.)
- Everything in the pot: Stir the rinsed and drained beans, elbow macaroni, crushed tomatoes, and water into the pot. Sprinkle in 1 teaspoon of salt. Scrape the bottom of the pot one last time to make sure nothing is sticking. Poke down any pieces of pasta sticking up out of the water - if they're not submerged, they might not cook.
- Pressure cook for 4 minutes with a 5 minute natural release: Lock the lid and cook at high pressure for 4 minutes (Use Manual, Pressure Cook, or Pressure Cook - Custom mode with an Instant Pot.) When the cooking time finishes, let the pressure come down naturally for 5 minutes, then quick release the remaining pressure in the pot. Remove the lid carefully, opening away from you - even when it's not under pressure, the steam in the cooker is very hot.
- Season and serve: Stir in the black pepper, serve with your favorite chili toppings, and enjoy!

Notes
"I quick-released the pressure and starchy liquid started spraying out! Help!" Carefully close the pressure release valve (protect your hands, please, that spraying liquid is very hot). Let the cooker cool down for about 5 minutes, then try again. (This sometimes happens in pressure cooking - quick-releasing the pressure causes the chili mac inside the pot to burst into a boil, and the liquid starts boiling out of the valve.) If you have a pot where you can open and close the pressure valve without burning your hands with the hot steam, you can pulse the steam vent to gradually reduce the pressure. To do this, open the pressure valve, and close it the moment it starts spitting starch. Wait about 30 seconds, then repeat until all the pressure is gone - eventually, it will stop spitting starch and you can just leave the valve open. Pulsing the pressure lowers the pressure slowly, while keeping the liquid in the pot just below the boiling point.
Precise pasta: If you are picky about your pasta, and want it perfectly al dente, don't pressure cook the pasta. (It can come out a little soft, which is fine by me for Chili Mac, but if it bothers you, read on.) Make the recipe as described, but hold back on the elbow macaroni. Pressure cook everything else, increasing the time at high pressure to 10 minutes. After releasing the pressure, remove the lid, set the pot to Sauté mode, and stir the pasta into the liquid in the pot. Cook the pasta until al dente - check your box of pasta for the timings - and then continue with the season and serve step.
- Prep Time: 10 minutes
- Cook Time: 30 minutes
- Category: Weeknight Dinner
- Method: Pressure Cooking
- Cuisine: American
Would you like to save this recipe?
Nutrition
- Serving Size: 1 cup of chili mac
- Calories: 520
- Sugar: 9.1 g
- Sodium: 1298.7 mg
- Fat: 13.3 g
- Carbohydrates: 74.3 g
- Protein: 27.9 g
- Cholesterol: 38.5 mg
What do you think?
Questions? Other ideas? Leave them in the comments section below.
Related Posts
Pressure Cooker Baked Ziti
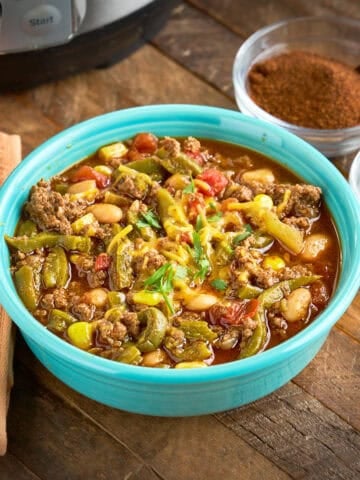
Pressure Cooker Quick Chili with Canned Beans
Pressure Cooker 15 Bean Chili
My other Pressure Cooker Recipes
My other Pressure Cooker Time Lapse Videos
Enjoyed this post? Want to help out DadCooksDinner? Subscribe to DadCooksDinner via eMail and share this post with your friends. Want to contribute directly? Donate to my Tip Jar, or buy something from Amazon.com through the links on this site. Thank you.


Evvy says
Is there any reason not to scale it down 50%? Will it hold up with taste adjustments?
Mike Vrobel says
It should scale down just fine. Give it a try!
Joyce says
Tried a different chili mac recipe the first time that seemed kinda bland. This one has great flavor and I like the added beans. I used 3-bean instead of red beans because that's what I keep on hand. I think I will have to cut the chili powder back to 3 TBSP, but that's more because the mix I have is a little on the spicy side.
Ted says
I'm definitely giving this one a try.
I notice that most Instant Pot sites and recipes recommend the 6 quart and larger sizes. I have the 5 quart, and I've never had to adjust a recipe yet. Works just fine.
Thanks for the great inspiration!