Would you like to save this recipe?
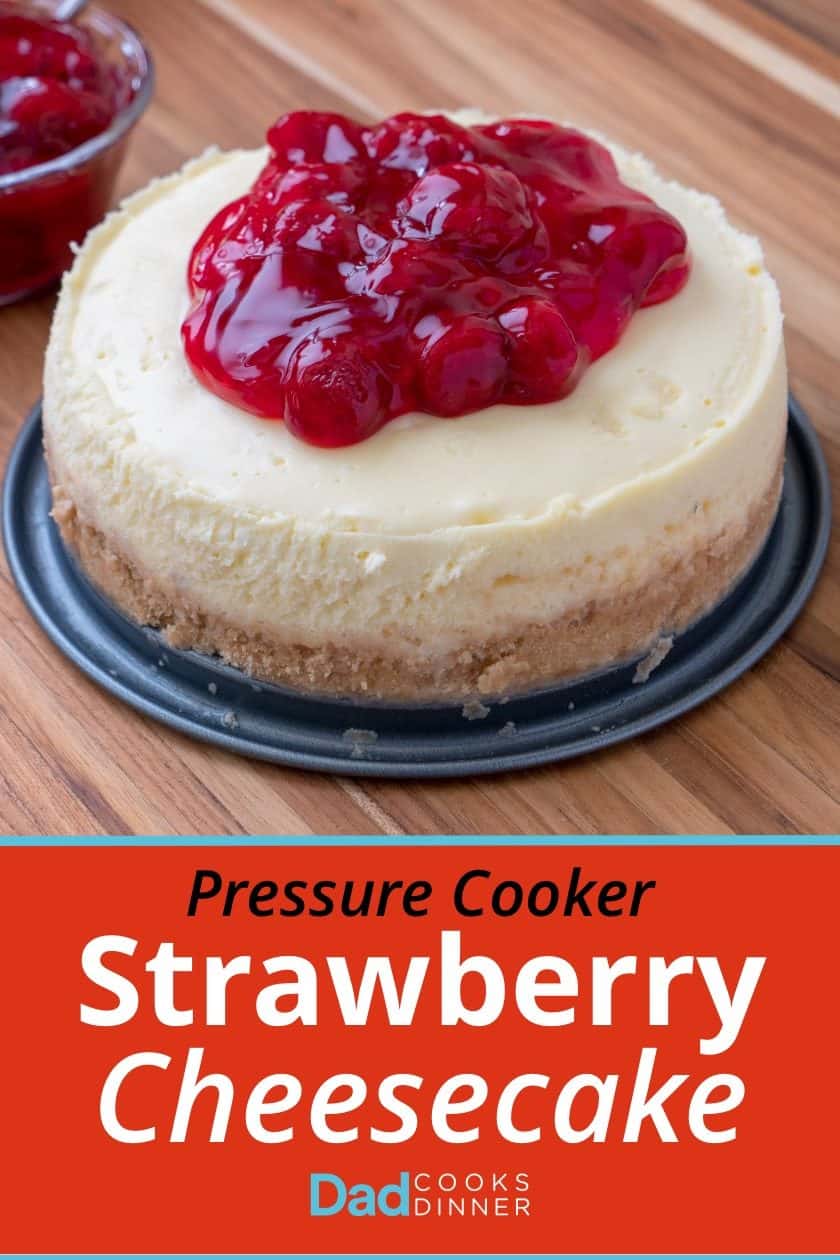
Pressure Cooker Strawberry Cheesecake - a quick and easy cheesecake from the pressure cooker. Perfect for Valentine's Day!
Strawberries make me think of Valentine’s day...which doesn't make sense. February sure isn’t strawberry season in Ohio. Strawberries are fantastic from Mid-May to Mid-June; outside of that we get strawberries from far away, which are bred to survive shipping and handling. They may look pretty, but they don't taste like much.
I stand my ground for the rest of the year - only local strawberries at the peak of ripeness! No grocery store strawberries! Except on Valentine's day. (Hey, I can’t make perfect food choices all the time.) I'll buy chocolate covered strawberries and...make this cheesecake. And, for a cheesecake, canned strawberries are fine. They're canned when the berries are ripe (and packed with enough sugar that I wouldn't notice anyhow). If you make this cheesecake in strawberry season, use thin-sliced fresh strawberries, sprinkled with a hint of sugar.
(If you're forced to use fresh grocery store strawberries, sprinkle them with a lot of sugar.)
This recipe is a variation on my standard pressure cooker cheesecake: fill a 7 inch springform pan with cheesecake filling, set it (uncovered) on a rack over 2 cups of water, and pressure cook for 20 minutes with a natural pressure release. Refrigerate for at least 4 hours and you're ready to serve.
The variations? Strawberries for the topping, obviously. I use crumbled shortbread cookies for the crust, instead of graham crackers. And I add a little lemon zest to the filling to give it hint of citrus.
To head off the question I get the most: I do NOT cover my cheeesecake while cooking . I used to, but I switched my method - the results are more consistent cooking uncovered. (Cheesecake covered with aluminum foil would take forver to set in the middle, resulting in an overcooked outside even when the middle was still soft.) If a little steam settles on the cheesecake, I dab it off with the edge of a paper towel.
Looking for a sweet treat for your sweetie on Valentine’s day? Here it is: pressure cooker strawberry cheesecake.
Recipe: Pressure Cooker Strawberry Cheesecake
Video: Pressure Cooker Strawberry Cheesecake [YouTube.com]
Print
Pressure Cooker Strawberry Cheesecake
- Total Time: 1 hour
- Yield: 8 pieces 1x
Description
Pressure Cooker Strawberry Cheesecake - a quick and easy cheesecake from the pressure cooker. Perfect for Valentine's Day!
Ingredients
Crust
- ¾ cup shortbread cookie crumbs (about 3 ounces of cookies, crumbled)
Cheesecake
- 1 pound regular cream cheese, softened (2 (8-ounce) packages)
- ⅔ cup sugar
- ½ teaspoon vanilla extract
- ¼ cup sour cream
- Zest from ½ a lemon (about a teaspoon’s worth, optional)
- 2 large eggs
Topping
- Strawberry pie filling or topping (or sliced fresh strawberries if they are in season)
Instructions
- Prepare the pan: Spray a 7-inch cheesecake pan with nonstick cooking spray. Crush the shortbread cookies (I put them in a gallon zip-top bag and pound them with a rolling pin). Spread the cookie crumbs evenly across the bottom of the pan and pack down, pushing the crumbs up the sides a little.
- Make the cheesecake filling: Soften the cream cheese by leaving it out at room temperature for at least 1 hour. (Or soften the cream cheese in the microwave, 30 seconds to 1 minute). Beat the cream cheese in an electric mixer on medium speed until smooth, about 1 minute. Slowly add the sugar and beat on medium speed until the sugar is completely blended, about 3 minutes. Stop the mixer and scrape down the sides. Add the vanilla, sour cream, and lemon zest, and beat on low speed until completely blended, about 1 minute. Stop the mixer again and scrape down the sides. Add the eggs one at a time, beating each on low speed until just blended. (Don’t over-beat the eggs.) Pour the filling into the prepared cheesecake pan.
- Pressure cook the cheesecake for 20 minutes with a natural pressure release: Put 2 cups of water and the cooking rack in the pressure cooker pot. If your rack does not have handles, make an aluminum foil sling to lift the cheesecake: fold a 2-foot long piece of aluminum foil over a few times, until it is a long strip about 4 inches wide. Center the cheesecake pan on the sling and carefully lower it into the pot, setting it on the rack. Lock the lid on the cooker and pressure cook on high for 20 minutes in an electric PC or 16 minutes in a stovetop PC, then let the pressure come down naturally, about 20 more minutes. (If you’re in a hurry, you can quick release any pressure left in the pot after 15 minutes.)
- Cool the cheesecake, top with strawberries, and serve: Lift the cheesecake out of the pressure cooker. Loosen the cheesecake by running a paring knife around the edge of the pan. Cool the pan at room temperature for an hour, then refrigerate for at least 4 hours, preferably overnight. Top with the cherry pie filling and serve.
Notes
- Changing this recipe for different sized pans: I haven’t had time to test them yet. I’ve heard from readers that a 6-inch wide, 3-inch high cheesecake pan will work…but it might take a little extra cooking.
- Using an 8 Quart pressure cooker? I use this recipe as-is, with my 7-inch cheesecake pan in my 8-quart pressure cooker. It works great. Will it work with a larger pan in the larger cooker? Yes, but it will take more time under pressure, and I haven’t tested it, so I don’t know how long.
Tools
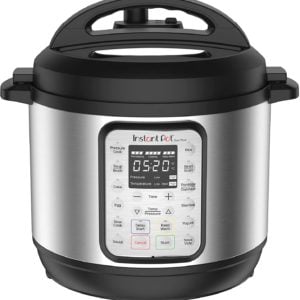
- 6 quart or larger pressure cooker (I love my Instant Pot electric pressure cooker(http://amzn.to/2wzw4Pt))
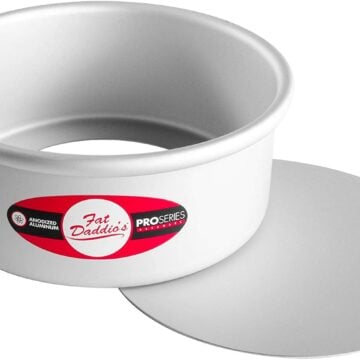
- 7-inch Cheesecake Pan (I like this one from Nordic Ware(http://amzn.to/2yXsAwl))
- Pressure Cooker cooking rack. One came with your pressure cooker – check your junk drawer. I bought this silicone steam rack(http://amzn.to/2CbFcwE) because the easy-to-grab handles mean I don’t need the aluminum foil sling.
- Aluminum foil to make a sling (if needed)
- Prep Time: 20
- Cook Time: 40
- Category: Appetizers and Drinks
- Method: Pressure Cooker
- Cuisine: American
Would you like to save this recipe?
What do you think?
Questions? Other ideas? Leave them in the comments section below.
Related Posts
Pressure Cooker New York Cheesecake
Pressure Cooker Oreo Cheesecake
Pressure Cooker Salted Caramel Cheesecake
My other Pressure Cooker Recipes
Enjoyed this post? Want to help out DadCooksDinner? Subscribe to DadCooksDinner via eMail and share this post with your friends. Want to contribute directly? Donate to my Tip Jar, or buy something from Amazon.com through the links on this site. Thank you.


Nratty says
Great recipe! This last time I used the cornstarch and the cake had a better consistency. I had a difficult time removing the cake from the bottom of the pan. Then thought, gee...Why am I not using parchment paper?! The parchment cut into a round circle with butter to hold it in place worked perfect! Thanks so much!
Sarah says
I made this and loved it!! I have never had such a creamy cheesecake in my life before I cooked this one in the Instant Pot. I was doubtful when I first read this as I've always baked cheesecakes in the oven with a water bath. However, this is so much easier, quicker, and the quality of the cheesecake is better. My only question is this: your cheesecakes look like they have a much thicker crust and a bit of a thicker cake than what mine looked like, do you double the crust recipe amount for the pictures? Just curious as I wanted mine to look lovely too! 🙂
Mike Vrobel says
Thanks! I follow my own recipe for the crust - I do push it up the sides a bit when I’m packing it down.
Howard Thompson says
Happy 4th of July!
I notice your later cheesecake recipes call for adding a couple of teaspoons of corn starch. I like this recipe because it includes sour cream (whereas your recent Dulce de Leche recipe does not). Can I simply add 2 teaspoons of corn starch to this strawberry cheesecake recipe to help protect against scrambling the eggs?
Mike Vrobel says
Yes, you can add 2 teaspoons of corn starch with the sugar - no need to change anything else in the recipe.
Judy says
Quesion for you. Some of your cheesecakes you cover with foil, others you do not, is there a reason?
Thanks
Judy
Mike Vrobel says
My earlier recipes used foil because I thought I needed it to protect the cheesecake. My later ones don't use foil, because it's quicker and cooks more evenly. You can cover with foil (or not) as you prefer.
Judy says
Thanks!