A question I get from time to time:
How do I use the counterweight that came with my rotisserie?
My answer? Skip the counterweight. You don't need it.
Why? I'll get to that in a minute. First, here is how to use the counterweight.
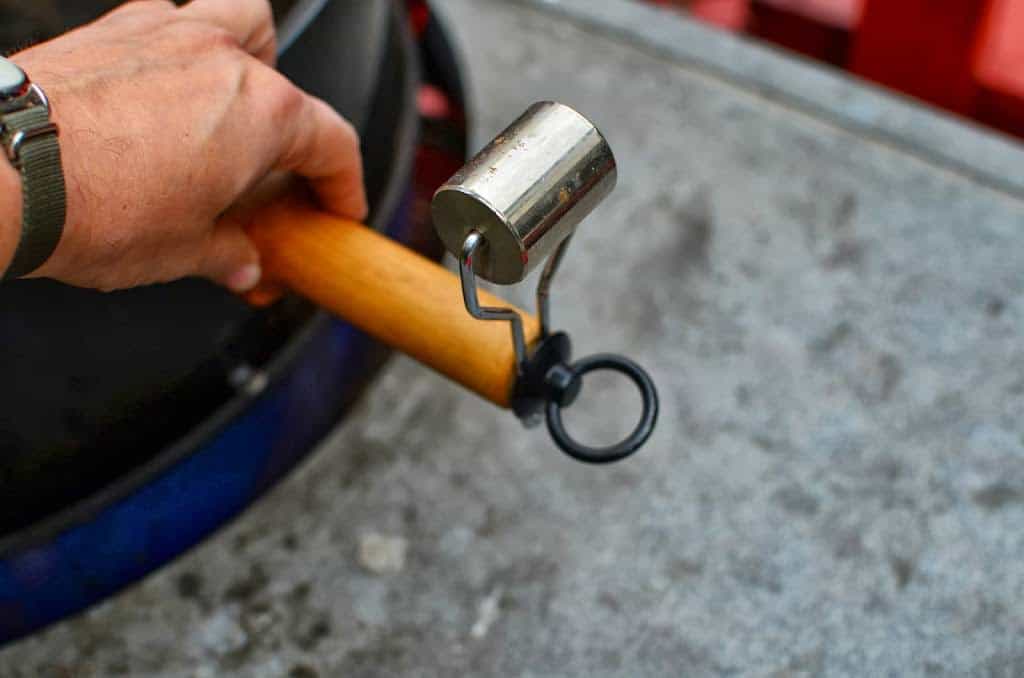
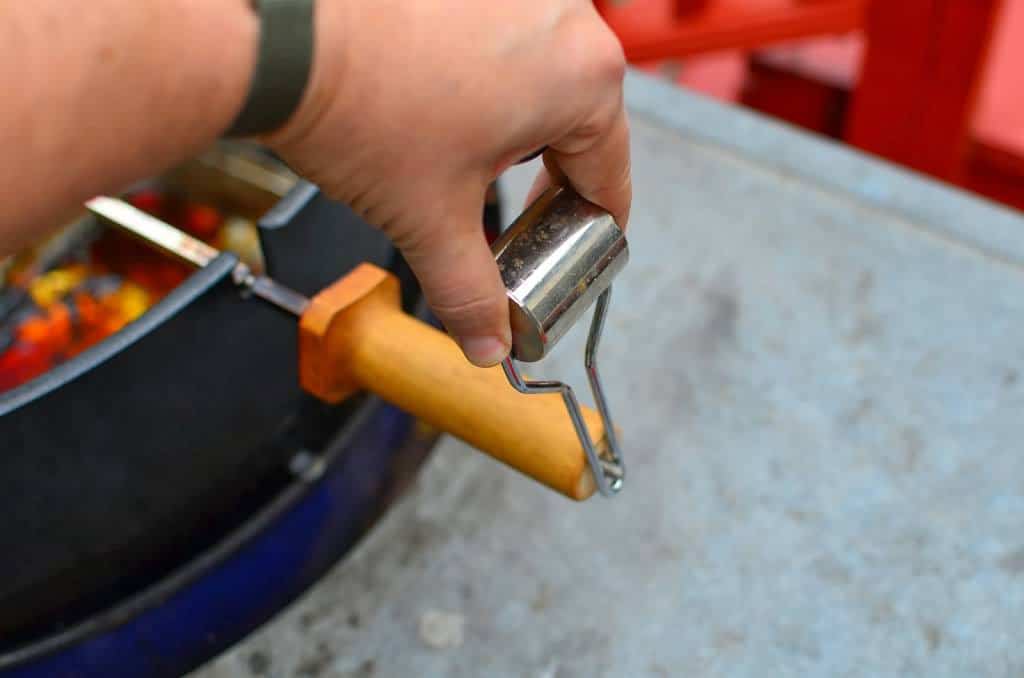
- Set the loaded rotisserie spit in the notches on the rotisserie, then let go. Gravity will take over, and after some rocking, the spit will settle with the heaviest part facing straight down.
- Attach the counterweight pointing straight up. That way, it balances out the weight of the meat.
|
|

|
|
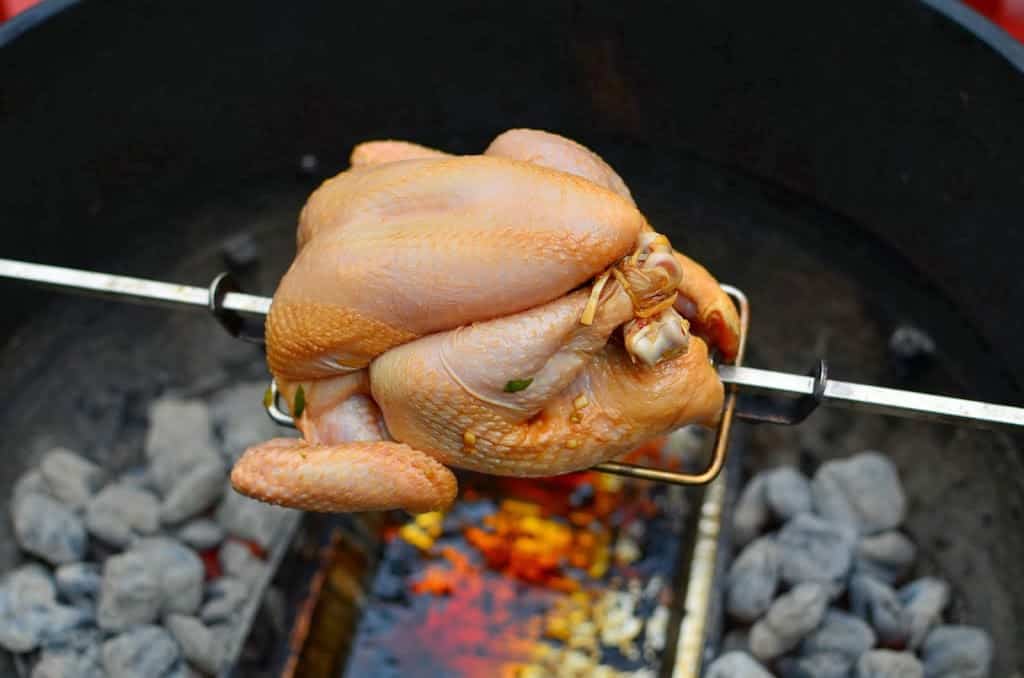
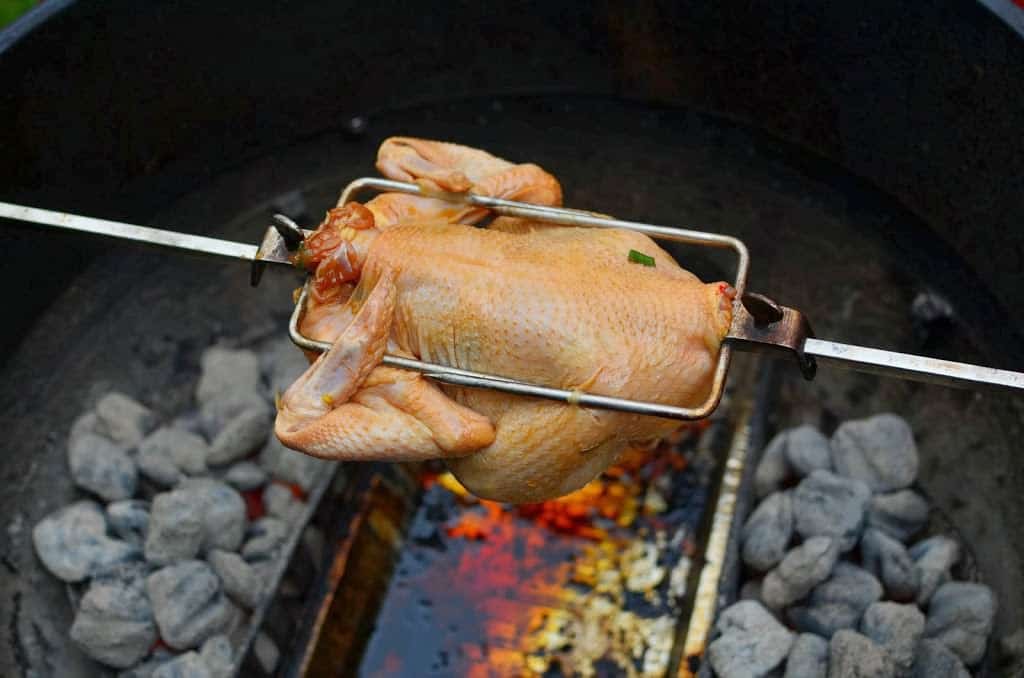
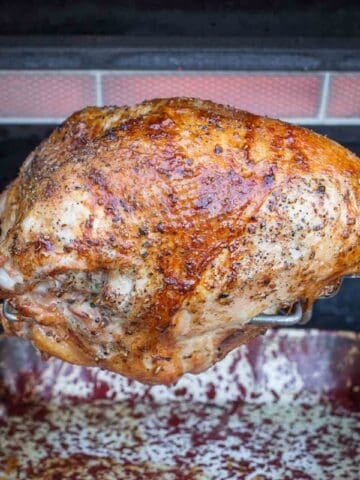
Note that the motor itself will make this harder - the motor's gearing will try to resist the weight of the meat, and will hold the meat in place unless the roast is very heavy. So, I leave the motor off of the grill at first. I rest the spit in the notches on the grill and let it settle. Then I attach the counterweight, pull the spit back a bit, put the motor on the bracket on the grill, and plug the point of the spit into the motor.
Here's a video of the chicken settling without the motor attached. I should have started it closer to "weight down" - it takes a while to settle.
Video: If the chicken's rocking, don't come a'knocking. Or counterweighting. Or something. (Sorry. It sounded funnier in my head.)
Now that I've shown you how to use a counterweight, I have to confess - I never use it.
When I first got the rotisserie ring for my Weber kettle, I would carefully set up the counterweight, rotating the spit back and forth to try to get the weight "just so."
Then I got the much larger spit with my Weber Summit…and it didn't come with a counterbalance, just a loop handle. And it came with the same Weber rotisserie motor that I got with the kettle rotisserie.
I worried about this at first - what's going to happen to the motor? Then I used it for a while without the counterweight, and it always worked. Sure, it struggles a bit lifting heavier pieces of meat on the upswing, and then flops a bit on the downswing. After the motor dealt with everything I could throw at it - turkeys, pork shoulders, and rib roasts, I stopped using the counterweight on the Kettle. Why bother, when I didn't need it on the other grill?
That was over five years ago, and I'm still using the same rotisserie motor with no ill effects. In fact, I'm using the same rotisserie motor on both the kettle and the Summit - I have two identical motors, and I always grab the one in front.
The only time I think about the counterweight is when I have a huge hunk of meat, like the massive 24 pound turkey I cooked last year…um, wait, never mind. I cooked that on the Summit, so I couldn't use a counterweight. And it worked fine.
So, once again - don't worry about the counterweight. Everything will be fine.
What do you think?
Questions? Other ideas? Leave them in the comments section below.
Related Posts:
Video: Rotisserie Grilling Two Chickens
Video: How to Truss and Spit Turkey for the Rotisserie
Click here for my other rotisserie recipes.
 Check out my cookbook, Rotisserie Grilling. Check out my cookbook, Rotisserie Grilling. |
Everything you could ask about the rotisserie,
plus 50 (mostly) new recipes to get you cooking.
It's a Kindle e-book, so you can download it and start reading immediately!
*Enjoyed this post? Want to help out DadCooksDinner? Subscribe to DadCooksDinner using the RSS or Email options on the right, recommend DadCooksDinner to your friends, buy something from Amazon.com![]() through the links on this site, or donate through my tip jar. Thank you.
through the links on this site, or donate through my tip jar. Thank you.

jim says
Hi Mike I'm brand new to the bbq rotissarie world, and actually am looking to buy a fairly inexpensive one w/ my lowes giftcard. any idea if you can guide me on how much meat a 4 watt motor can effectively spin, 9watt spin?
Mike V says
Sorry, Jim, but I don't know how to translate watts to the amount of meat. Have you checked the internet for the rotisserie manufacturers' recommend weights?
Mike V says
What I can add (now that I'm home) is that the Weber motor is 9 watts, and it handles everything I've thrown at it.
shiggity shiggity shway says
Nah mang I need the weight mang
Kevin der Kinderen says
Good advice. The instruction booklet never mentioned the counterweight and it wasn't so obvious to me how to use it. Now I'll probably just not use it and still crack open a beer.
My rotisserie came with a small bag containing two screws and two nuts with integral lock washers. Any idea what these might be for? I see two holes on opposite sides of the kettle extension but they don't line up with anything on the kettle. Maybe a different model requires the extra hardware?
Mike V says
That's a good question - I don't know what the bag with the extra screws and nuts are for. I bought my ring so long ago that I don't remember getting them.
Jim Taylor says
Mike, just wanted to say I enjoy your blog. I bought your cookbook and use it quite a bit, more than any other grilling book I have as a matter of fact. Thanks
Anonymous says
Yes, Mike you are prolly right but the counterweight balancing is just part of the ritual and an excuse to crack another beer :-). Thanks for all your great tips!
Anonymous says
Yes, Mike you are prolly right but the counterweight balancing is just part of the ritual and an excuse to crack another beer :-). Thanks for all your great tips!