
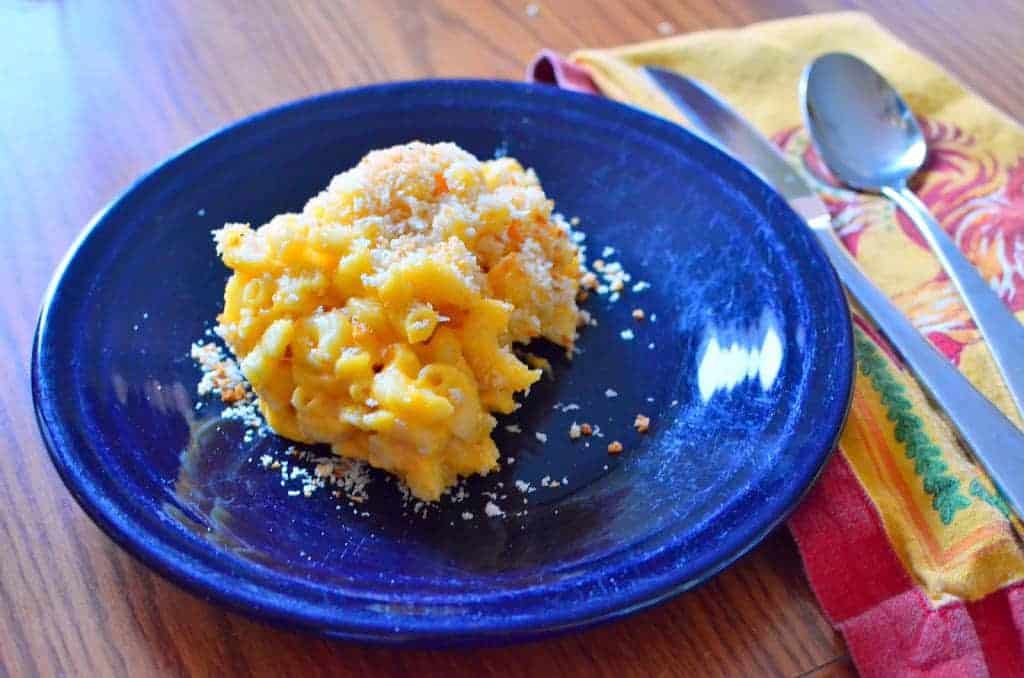
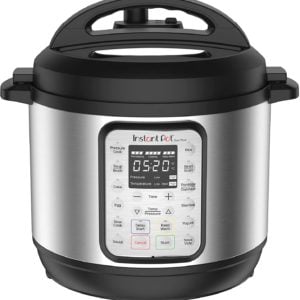
Pressure Cooer Mac and Cheese is my go-to Macaroni and Cheese technique. I make it in my Instant pot for weeknight dinners, and as a side dish for potlucks. 4 minutes at high pressure cooks the noodles, then it's time to stir in the cheese. That's right, homemade mac and cheese that didn't come from a packet in a blue box, ready in about a half an hour.
Would you like to save this recipe?
Jump to:
For years I made the mac and cheese from Pam Anderson's The Perfect Recipe. Then I read Ideas in Food; their recipe was similar to Pam's, stripped down to the basics.
Both recipes use evaporated milk as their secret weapon. Evaporated milk replaces the flour and milk béchamel sauce, and all the whisking that entails. I mashed the two recipes together, and that's what I've been using ever since.
Now, even with the evaporated milk shortcut, this was a stretch to make on a weeknight. Especially if I want a toasted bread crumb topping. And if I'm making macaroni and cheese, it must have a bread crumb topping.
That's why I jumped when I saw the pressure cooker macaroni and cheese in Pressure Cooker Perfection. They pressure cook the pasta and spices in a small amount of water, treating it like a risotto. This trick really speeds up the recipe - no waiting for a pot of water to boil, no draining, and one (pressure cooker) pot to clean. Weeknight macaroni and cheese is now within my reach. 1
Ingredients
- 1 pound dried elbow macaroni
- 2 tablespoons butter
- 1 tablespoon yellow mustard
- 1 teaspoon hot pepper sauce
- 1 tablespoon Diamond Crystal kosher salt or 2 teaspoons table salt
- 4 cups water
- 1 (12 ounce) can evaporated milk
- 16 ounces shredded extra-sharp cheddar cheese
- 6 ounces shredded parmesan cheese
Bread Crumb Topping (optional)
- 1 cup panko bread crumbs
How to Make Pressure Cooker Mac and Cheese
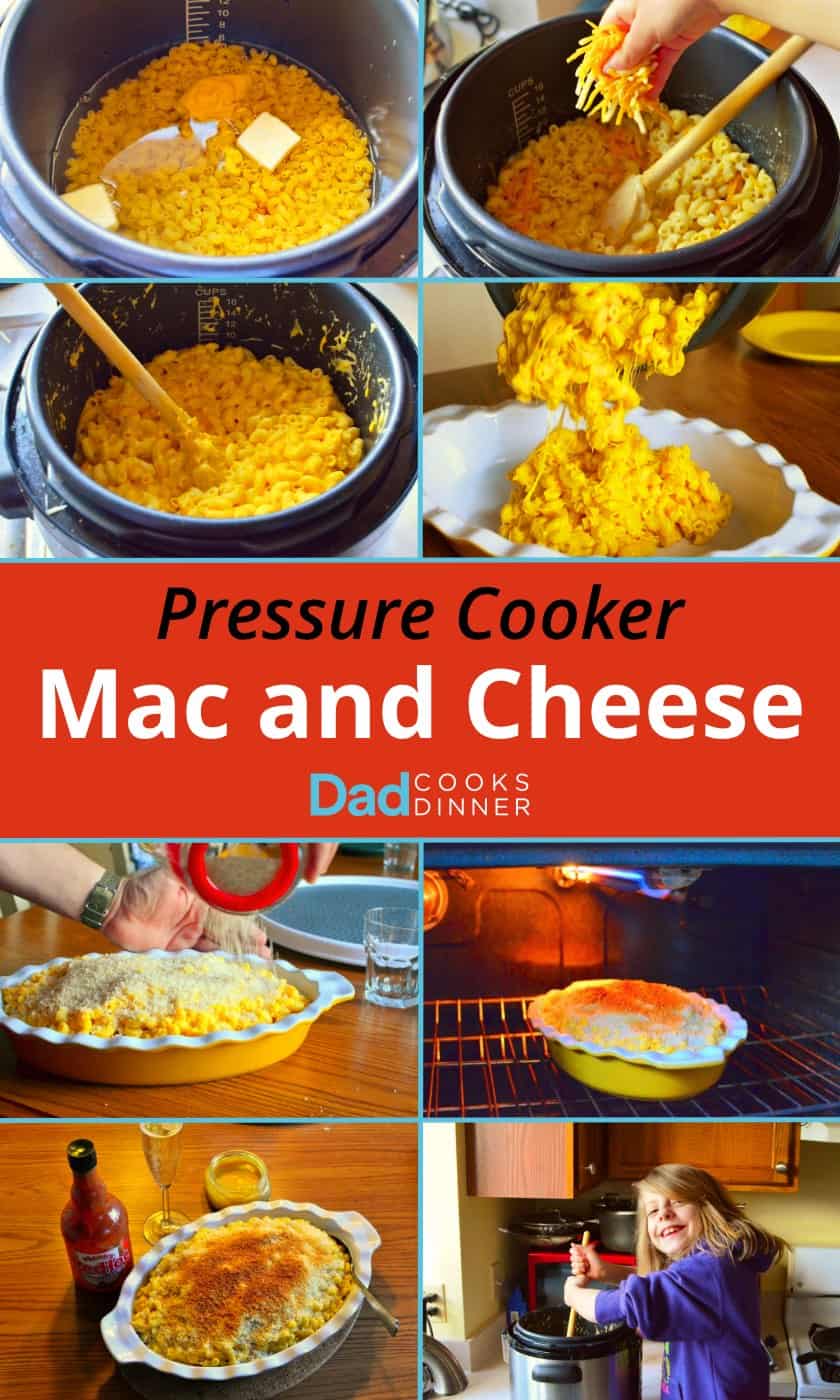
Pressure cook the pasta for 4 minutes with a quick release
Stir the macaroni, butter, mustard, hot pepper sauce, salt, and 4 cups water in the pressure cooker pot. Lock the lid on the pressure cooker and cook on high pressure for 4 minutes in an electric PC or stovetop PC. (For an Instant Pot, use Manual or Pressure Cook mode, and set the time to 4 minutes.) When the cooking time is done, quick release the pressure and remove the lid.
Stir in the evaporated milk and cheese
Turn the heat under the pot down to low (or turn the electric pressure cooker to sauté-low or keep warm mode), and stir in the evaporated milk. Test a piece of pasta by taking a bite - it should be al dente, but cooked through. If the pasta is still tough in the middle, simmer it for a few minutes, until it is tender. Stir in the cheese one handful at a time, stirring constantly and waiting for the current handful to melt before adding the next handful.
Top with breadcrumbs and broil
Optional step, if you like a toasted bread crumb topping: Pour the macaroni into a 3 quart broiler-safe dish, patting it down to level out the surface. Sprinkle the panko over the macaroni and cheese in an even layer. Broil the macaroni and cheese on high until the bread crumbs are toasted, about 5 minutes. Check the bread crumbs often - they go from pale brown to burnt in a flash.
Quick Tips
Ratio of 1 cup of water to 4 ounces of pasta
4 cups of water is just enough to cook 1 pound (16 ounces) of pasta. No draining is necessary; the water will be absorbed by the pasta. If you have a smaller box of pasta - 12 ounces and 13.25 ounces are common sizes of whole wheat pasta - cut the water back to 3 cups. (Everything else can stay the same.)
Serve with a bottle of hot sauce at the table.
I like Frank's Red Hot, or the smoky flavor of chipotle hot sauce.
Watch the bread crumbs under the broiler
I have burned a lot of bread crumbs in my day. I set a timer for 1 minute intervals while I'm broiling, in case I get distracted. (By a homework meltdown…just to pick a hypothetical example). I have the timer to remind me - "Oh no! The breadcrumbs!"
Storage & Reheating
I save leftover mac and cheese in 2-cup containers. It will last in the refrigerator for a few days, or in the freezer for months. (Mac and cheese freezes well). I reheat 2-cup containers of mac and cheese in the microwave - it takes about 2 minutes to reheat from the refrigerator, or 6 minutes from frozen. (Your microwaving time may be different, depending on how powerful your microwave is.)
Print
Pressure Cooker Macaroni and Cheese
- Total Time: 25 minutes
- Yield: 8 servings 1x
Description
Pressure Cooker mac and cheese - quick, easy, and better than the dreaded blue box.
Adapted from: America's Test Kitchen Pressure Cooker Perfection
Ingredients
- 1 pound dried elbow macaroni
- 2 tablespoons butter
- 1 tablespoon yellow mustard
- 1 teaspoon hot pepper sauce
- 1 tablespoon Diamond Crystal kosher salt or 2 teaspoons table salt
- 4 cups water
- 1 (12 ounce) can evaporated milk
- 16 ounces shredded extra-sharp cheddar cheese
- 6 ounces shredded Parmigiano cheese
Bread Crumb Topping (optional)
- 1 cup panko bread crumbs
Instructions
- Pressure cook the pasta for 4 minutes with a quick release: Stir the macaroni, butter, mustard, hot pepper sauce, salt, and 4 cups water in the pressure cooker pot. Lock the lid on the pressure cooker and cook on high pressure for 4 minutes in an electric PC or stovetop PC. (For an Instant Pot, use Manual or Pressure Cook mode, and set the time to 4 minutes.) When the cooking time is done, quick release the pressure and remove the lid.
- Stir in the evaporated milk and cheese: Turn the heat under the pot down to low (or turn the electric pressure cooker to sauté-low or keep warm mode), and stir in the evaporated milk. Test a piece of pasta by taking a bite - it should be al dente, but cooked through. If the pasta is still tough in the middle, simmer it for a few minutes, until it is tender. Stir in the cheese one handful at a time, stirring constantly and waiting for the current handful to melt before adding the next handful.
- Top with breadcrumbs and broil: Optional step, if you like a toasted bread crumb topping: Pour the macaroni into a 3 quart broiler-safe dish, patting it down to level out the surface. Sprinkle the panko over the macaroni and cheese in an even layer. Broil the macaroni and cheese on high until the bread crumbs are toasted, about 5 minutes. Check the bread crumbs often - they go from pale brown to burnt in a flash.
Equipment
 Buy Now →
 - Prep Time: 5 minutes
- Cook Time: 20 minutes
- Category: Weeknight Dinner
- Method: Pressure Cooker
- Cuisine: American
Would you like to save this recipe?
Nutrition
- Serving Size: 1.5 Cups of Mac and Cheese
- Calories: 660
- Sugar: 6 g
- Sodium: 1499.1 mg
- Fat: 30.2 g
- Carbohydrates: 62.3 g
- Protein: 33.5 g
- Cholesterol: 79.2 mg
Video: How to make Pressure Cooker Macaroni and Cheese (5:13)
Video: Pressure Cooker Macaroni and Cheese [YouTube.com]
What do you think? Questions? Other ideas? Leave them in the comments section below.
Related Posts
Instant Pot Chili Mac
Instant Pot Fettuccine Alfredo
Instant Pot Buffalo Chicken Mac and Cheese
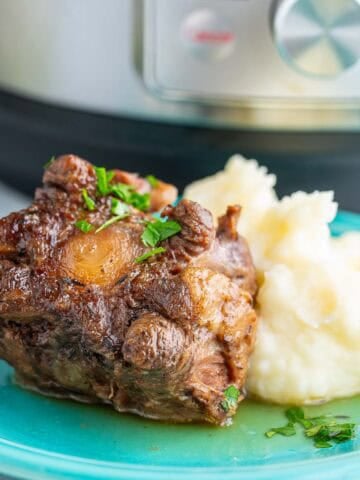
Pressure Cooker Beef Shank Osso Bucco
Pressure Cooker Corned Beef and Cabbage
Instant Pot Rotisserie Chicken Noodle Soup
Instant Pot Collard Greens
Instant Pot Baked Ziti
Click here for my other Instant Pot and Pressure Cooker recipes
Enjoyed this post? Want to help out DadCooksDinner? Subscribe to DadCooksDinner via email and share this post with your friends. Want to contribute directly? Donate to my Tip Jar, or buy something from Amazon.com through the links on this site. Thank you.


Mary says
This is so easy and tasty! I love to add chopped broccoli, sun-dried tomatoes, and maybe bacon. Easy and yummy.Thank you for a keeper.
Tammie Duckworth says
I've made this several times and it's always a hit. I do half the salt but that's my only change.
I let it sit for 3-5 minutes before releasing the pressure to avoid the starch water volcano.
I just wanted to thank you again for not only a wonderful recipe, but one that I just successfully made from a wheelchair!
I broke my leg, required surgery to fix it, and am in a wheelchair for a few months.
But I can still bring homemade mac and cheese to my family's Thanksgiving gathering today.
Mike Vrobel says
You’re welcome- glad it works for you!
Eli says
I've made this several times and it's great and easy! Sometimes I add horseradish instead of hot sauce. Before the panko step, we usually split it into two casserole dishes so we can freeze one. Then the next time we want mac and cheese, we'll take it out the night before we want to cook it to defrost in the fridge, and add panko to heat it up before serving.
Mary says
Thanks for the idea! I really like this recipe but there is only my husband and me at home now and this would be a good way to have it a second time without being in left over.
razzy 7 says
This recipe looks good but I'm wondering about the amount of salt called for. A tablespoon of Kosher or 2 teaspoons of table salt seems like a lot, especially since the cheese will also add considerable salt. Any thoughts?
Mike Vrobel says
You can skip it if you want, but the pasta needs the salt.
James says
Great recipe! This is the first dish I've cooked in my new electric pressure cooker ( a wonderful birthday present from my wife). I added chopped kale and used a 3 cheese blend of mozzarella, colby-jack and cheddar. Everyone in my house loved the mac-n-cheese and I loved the ease of use of the new cooker and the super easy clean up.
Bobbie says
I LOVE this recipe. Would like to do this with whole wheat pasta. Any idea about cooking time?
Mike Vrobel says
The cooking time is the same with whole wheat elbow noodles
Melissa says
We love this recipe so much, I’m making it for my daughter’s birthday per request. Any idea on how to make it ahead of time and keep it warm? Think it could go in a crock on warm for a couple hours?
Mike Vrobel says
I leave it on “keep warm” mode in the Instant Pot, with the lid on. It will last for a few hours.
Paula says
SO DELICIOUS!! Made mine gluten free with chickpea spiral pasta from Costco. Also added brisket burnt ends (also from Costco) when adding the cheese and milk. OUTSTANDING!! My family couldn’t tell it was gluten free!!! Thanks for the awesome recipe. 🙂
Diana says
Just got an Instant Pot and this recipe is LIFE CHANGING. Can't wait to share it with all of my friends!
RM says
LOVE this recipe!!! i would love to make this into a buffalo chicken mac and cheese.
ANY TIPS/IDEAs on how to do that? I would be a super bowl mega hit
K.M. Smith says
This has been a family favorite for so long, I feel compelled to leave a review. It is SO GOOD.
If you'd like a Panera copycat, use a white sharp cheddar. It is almost identical, but healthier and was less expensive.
Cindy Dalton says
Made it today for the first time and it was amazing. Husband and I both loved it.
Howard Thompson says
Made this last night - it was great. And you are right about the spatula. We used a wood one and it was tough to clean. What brand of silicone spatula do you recommend?
Sean says
Hands down the tastiest Mac and Cheese ever! I brought my IP to a party and whipped up a batch of your Mac and Cheese and people just love it. I put crushed croutons on top instead of toasted bread crumbs! Yummy!
Brandi says
I’ve made this for family get together a and it’s always a HUGE hit and never any leftovers! I’m going to a very large family reunion and would like to double the recipe. Should I alter the liquid used or the cooking time at all?