I hate needles. I was one of those kids who had to be held down to get my vaccinations.
But, years ago, I saw John Madden with a deep fried Cajun turkey during the Thanksgiving day football game. It looked amazing. I had to try it! All the Cajun turkey recipes recommended injecting a marinade, so I dutifully bought an injector kit. I got streaks of marinade and Cajun spices, surrounded by dry, unseasoned meat. I quit injection marinades and deep fried turkey the moment I tried a brined, grilled turkey.
After that, I moved from wet brines to dry brines. I prefer the taste to wet brining, and it’s a lot simpler - no heavy pot full of turkey and brine that I have to find space for in the refrigerator.
This year, I’m going back…to the future. Modernist Cuisine at Home convinced me to dust off my injector kit, mix up a wet brine, and injection brine my turkey.
Injection brining solves a number of turkey problems:
- Injection brine actually penetrates the meat: Unlike oil based injection marinades, a salt water brine will be absorbed into the surrounding meat. No more streaks of seasoning - the meat is seasoned all the way through.
- Faster than wet or dry brining: Injecting the brine deep into the bird speeds up the brining process - it doesn’t have to work its way into the meat from the outside. You can start brining your turkey the night before Thanksgiving, instead of needing to start days in advance.
- Injection brine keeps the skin dry: Wet brines leave the turkey skin kind of flabby, because they plump up the skin with water just like they do the meat. Injecting the brine into the meat leaves the skin dry, so it will crisp up and brown.
- Neater: No lugging around a huge pot of brine, contaminated by raw turkey juices. You only need two cups of brine, and after injecting, they are inside the turkey. No mess, no fuss.
The downside? I still hate needles. I get a little squeamish every time I open the injection kit - these are some serious looking needles.
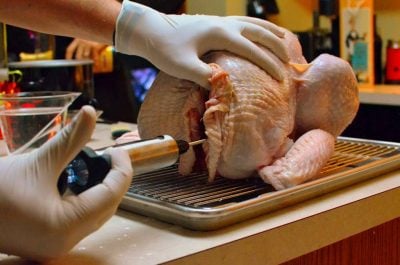
How does injected turkey taste? I’m torn. I love my dry brined turkey, but it does give the turkey a bit of a cured meat flavor. (I think that’s why I like it.) The injection brine is more neutral, and has the advantage of adding moisture to the turkey breast, giving it an extra cushion before the white meat hits that “dry as dust” stage. Not a huge cushion, mind you - get it out of the grill as close to 160°F as you possibly can - but I don’t mind the extra moisture, and my wife (who prefers white meat) said this may be my best turkey ever.
This is why turkey processors enhance so many of their birds - juicy breast meat. Watch out for the words “enhanced with a x% solution” on the turkey’s wrapper. Enhanced means the turkey is pre-brined at the processing plant. You’re paying for extra water, and you risk over salting if you brine it yourself. Try to find a “natural” turkey - that is, just turkey, no added water or brine.
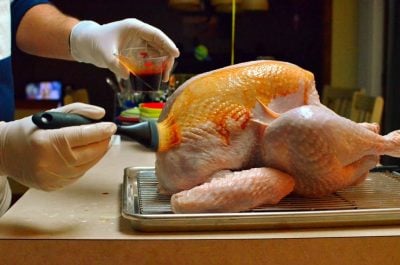
I’m borrowing another trick from Modernist Cuisine, and brushing the skin with a soy sauce and paprika glaze. This will season the skin (which we’re avoiding with the injection brine), while the protein in the soy sauce helps the skin to brown.
So, what am I going to do on Thanksgiving? Dry brine or injection brine? I will do both - two twelve pound turkeys, one dry brined, one injection brined. I have quite a crowd to feed this year, and I’d rather cook two smaller turkeys than one big bird.
Print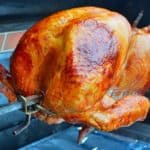
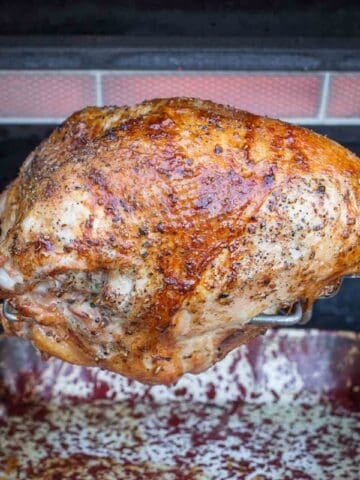
Rotisserie Injection Brined Turkey
- Total Time: 10 hours 30 minutes
- Yield: 12-16 servings 1x
Description
Rotisserie Injection Brined Tukrey
Adapted From: Injection Brining, Modernist Cuisine at Home
Ingredients
- 1 (12 pound) turkey (“natural” turkey, not “enhanced with a x% solution”)
Injection Brine
- 2 cups water
- 2 tablespoons kosher salt or 1 tablespoon table salt (1 ounce of salt by weight)
- 1 tablespoon sugar
Soy sauce baste
- 2 tablespoons soy sauce
- 1 teaspoon smoked Spanish paprika (or regular paprika)
Instructions
Injection brine the turkey: Stir the brine ingredients in a measuring cup until the salt and sugar dissolve. Inject the brine into the turkey, pushing the needle all the way in, then slowly pulling the needle out while depressing the plunger to inject the brine. Try to inject brine into the meat about every inch to inch and a half. First do the breast: working from the front of the bird through the neck cavity, make three to four evenly spaced injections on each side. Next, do the wings – inject a little brine into the knob of the drumette (where the wing meets the breast), and between the two bones in the wing, going in the long way if you can. Move to the back of the bird and inject the thighs through the back cavity – each thigh should take two or three injections. Finally, inject the drumsticks with two injections, one in the knob of meat above the bone, one in the knob of meat below the bone. Mix the soy sauce and paprika, then brush the whole bird with the soy sauce baste. Set the bird on a rack over a roasting pan and refrigerate for at least 8 hours.
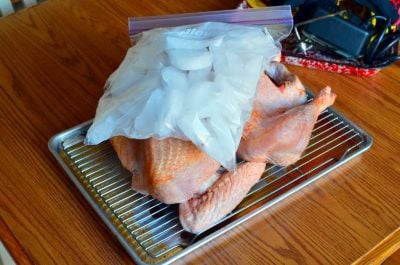
Truss and spit the turkey: Two hours before cooking, remove the turkey from the refrigerator. Truss the turkey, following the instructions in my How to Truss and Spit a Turkey post. Skewer the turkey on the rotisserie spit, securing it with the spit forks. Fill a gallon zip-top bag with ice, and lay the bag on top of the turkey’s breast to keep the breast colder than the drumsticks.
Set up the grill for Indirect Medium heat (325°F): Set the grill for indirect medium heat (325°F to 350°F) with the drip pan in the middle of the grill. Set up all the heat in the grill on one side, facing the turkey legs. With a charcoal grill, light a charcoal chimney ¾ full of charcoal, and wait until it is covered with gray ash. Make a U of charcoal, with the pan in the middle, and the breast facing the open part of the U. With a gas grill, if possible, turn on two burners on one side of the grill instead of one burner on each side. (If you have an infrared rotisserie burner, leave it off at first. Check the turkey after 2 hours of cooking; if the turkey needs last minute browning, turn the infrared burner on high for the last half hour of cooking.)
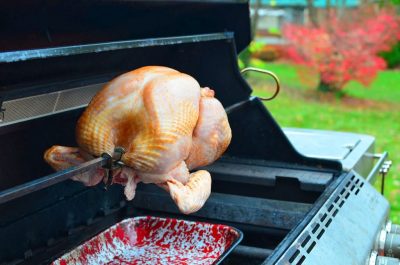
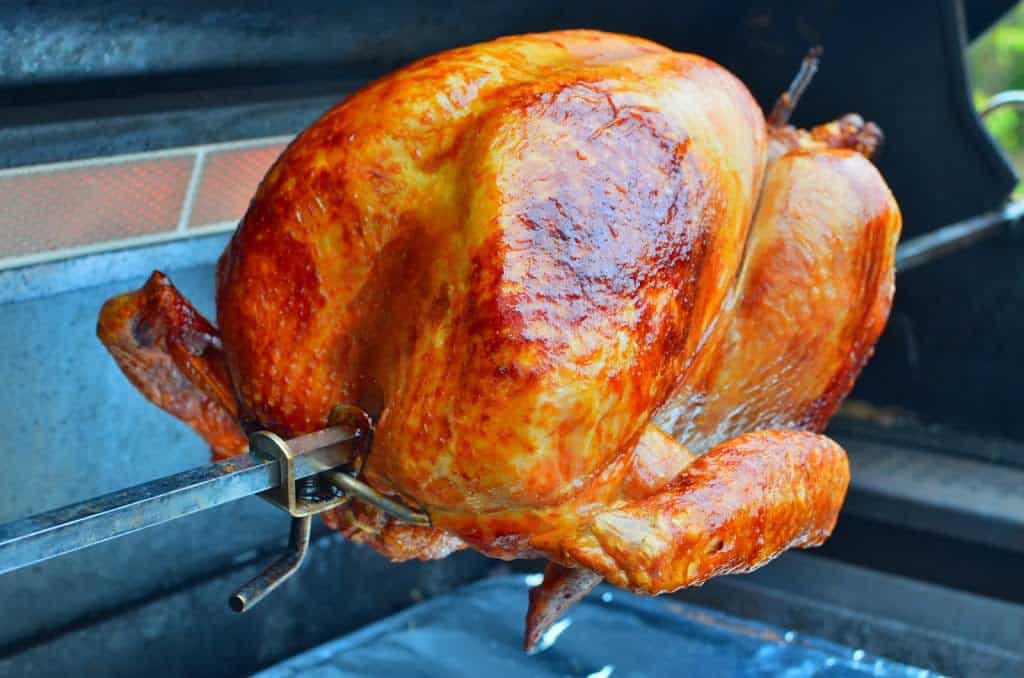
Rotisserie grill the turkey: Put the spit on the grill, start the motor spinning, and make sure the drip pan is centered beneath the turkey. Close the lid and cook until the turkey reaches 155°F in the thickest part of the breast, about 2 ½ hours for a 12 pound bird. If you are cooking on a charcoal grill, add 24 coals to the fire every hour to keep the heat going.
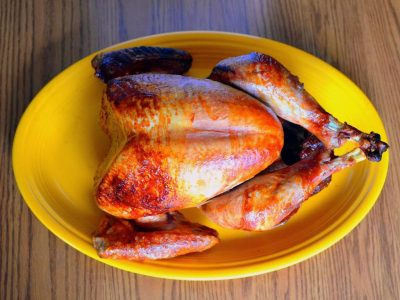
Serve: Remove the turkey from the rotisserie spit and remove the twine trussing the turkey. Be very careful – the spit and forks are blazing hot. Let the turkey rest for 15 to 30 minutes, then carve and serve.
Notes
- What about flavoring in the brine? I haven’t tried that yet. I’m worried about the “streaks of flavor surrounded by unseasoned meat” effect that I had with injection marinades. My research on brining says that it works for salt and water, but flavor molecules are too large. When I do a regular brine, the salt and water penetrate, but the other flavors just sit on the surface. I still want to give it a shot, though. (A shot? Get it? Ahem. Moving on…) More news to come on flavored injection brines as I try them out.
- If the turkey is “enhanced with a (percentage) solution”, that means the the turkey is pre-brined; you don’t want to over salt it. Skip the injection brining, brush the bird with the soy sauce baste, and refrigerate overnight.
- The Modernist cuisine injection brine ratio is 10% water and 0.6% salt, by weight, starting with the weight of the bird. That works out to a little under 2 ½ cups of water…but I couldn’t get anywhere near that much brine into the bird. I cut back to 2 cups of water, and was only able to get 1 ½ cups of brine into a 14 pound bird. (I don’t mind having the extra half cup of brine – it makes it easier to load up the syringe when you’re not chasing the last few drops of brine around the bottom of the glass.) Doing the math for the salt gives us ½ ounce (or 14 grams) of salt per cup of water in the brine. So, the easiest way to make the brine is to weigh it, instead of using tablespoons or teaspoons. Weigh out 1 ounce of salt, then stir it (and the tablespoon of sugar) into 2 cups of water. A pint’s a pound, so that would be 1 pound of water if you want to do all your measurements on the scale.
Tools
- Grill with Rotisserie attachment (I used a Weber Summit with an infrared rotisserie burner. Here is the current version of my grill.)
- Aluminum foil drip pan (11″x15″, or whatever fits your grill)
- Butcher’s twine
- Marinade injector
- Instant Read Thermometer
- Prep Time: 8 hours
- Cook Time: 2 hours 30 minutes
- Category: Sunday Dinner
- Method: Rotisserie
- Cuisine: American
Would you like to save this recipe?
What do you think?
Questions? Other ideas? Leave them in the comments section below.
Related Posts:
Rotisserie Turkey Dry Brined with Orange and Spices - My favorite turkey
Rotisserie Turkey with Cajun Dry Brine - Simulates that cajun turkey
Rotisserie Turkey Breast, Dry Brined - Cook the breast if you dont’ need a whole turkey
Click here for my other rotisserie recipes.
 Check out my cookbook, Rotisserie Grilling. Check out my cookbook, Rotisserie Grilling. |
Everything you could ask about the rotisserie,
plus 50 (mostly) new recipes to get you cooking.
It's a Kindle e-book, so you can download it and start reading immediately!
*Enjoyed this post? Want to help out DadCooksDinner? Subscribe to DadCooksDinner using the RSS or Email options on the right, recommend DadCooksDinner to your friends, buy something from Amazon.com through the links on this site, or donate through my tip jar. Thank you.

Comments
No Comments