Welcome to pickling week on DadCooksDinner!
I've been meaning to make some homemade pickles; I make pickled red onions from time to time, and I love them, but I've never really branched out into any other recipes. Then our CSA announced "pick your own" green beans, with no limit. Diane loves green beans, so she took he kids, and they came back with about five pounds worth. Oh, and what about those pickle cucumbers I got in the CSA box? And that gorgeous picture of Michael Symon's Pickled Chillis on Ruhlman.com? I was off and running.
I'm doing this pickling mainly for flavor, not long term preserving. These pickles will only last 2 to 3 months, and they have to be refrigerated. I could have found recipes for canning the pickles as well, but I figured I'd take on one topic at a time.*
*And we eat the pickles so quickly that I don't think I need to can them; they're gone in weeks, not months.
Pickling was originally done using a salty brine to convert the sugar in vegetables into lactic acid, which would act as a preservative. Sauerkraut is still made this way. We're going to use a modern technique, which is to use vinegar as the acid, instead of waiting for the vegetables to produce their own. This speeds up the process dramatically; you get pickles in hours or days, instead of weeks or months.
Basic Technique: Pickling Vegetables
Equipment:
- A clean jar with a tight fitting lid (Canning jars or flip-top gasket jars are the usual choices.)
Ingredients:
- 2 cups worth of vegetables - usually sliced thin
- 2 Crushed cloves of Garlic (optional, but common)
- 2 Sprigs of Fresh Herbs (optional, but common)
- 1.5 cups water (sometimes less)
- 1.5 cups vinegar (cider, white, sherry, red wine, white wine)
- Sugar (2 tablespoon to ½ cup, depending on sweetness you want)
- Salt ( a pinch to 1 tablespoon of table salt, depending on saltiness)
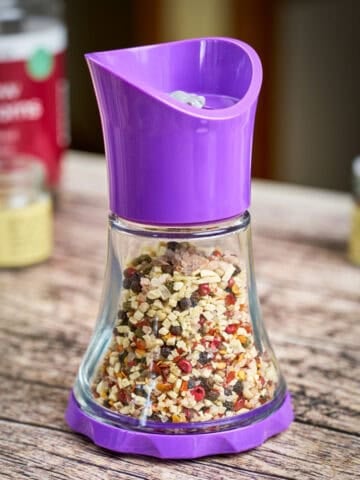
- Spices ( 2 tbsp, usually involving dill, peppercorns, mustard seeds, but you can get creative here)
Directions:
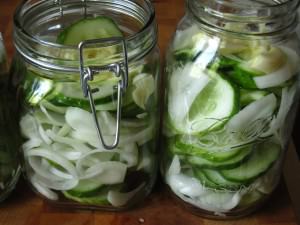
1. Prep the vegetables: Cut the vegetables into the size of pickles you want, and put them in your jar. If you're using crushed garlic or herb sprigs, put them in the jar with the vegetables.
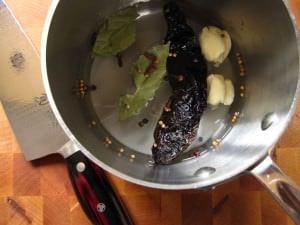
2. Make the pickling liquid: Combine the Pickling Liquid ingredients in a medium saucepan, and bring to a boil over high heat. Reduce the heat, and simmer for 5 minutes to open up the flavor of the spices.
3. Combine the liquid and the vegetables: Carefully pour the pickling liquid into the jar until the vegetables are covered. (Optionally, pour pickling liquid through a fine mesh strainer first, to strain out the herbs and spices; your pickled vegetables will look less rustic that way.)
*I pour the pickling liquid from my sauce pan into my Pyrex 2-Quart Measuring Cup, and from there into the jar. The spout on the measuring cup makes this much less messy.
4. Refrigerate: Let cool at room temperature, close the lid on the jar, and refrigerate. It's best to refrigerate for at least one day, and preferably one week. They will last, refrigerated, for up to 3 months.
Variations:
I'm going to do four variations on this technique this week:
1. Pickled Dilly Beans - Tuesday
2. Pickled Chile Peppers - Wednesday
3. Pickled Red Onions - Thursday
4. Pickled Sorta Sour Cucumbers - Friday
Notes:
*These recipes scale up very easily. The amounts shown above are right for a quart jar packed with vegetables. I usually make a little extra brine, just in case I spill some when I'm trying to pour.
*A Canning Funnel is a very useful tool when you're pickling vegetables, even if you're not canning; it helps when you're trying to get everything into the jar.
Reference:
Harold McGee's On Food and Cooking - The definitive source on food science. If you're a food geek like me, you'll refer to it to answer questions like "What is pickling, anyhow? What's really going on?"


Comments
No Comments