Enthusiastic Home Cooking and Pressure Cooking
WELCOME TO DAD COOKS DINNER. I'm Mike Vrobel, a dad who cooks dinner every night. I'm an enthusiastic home cook, and I write about pressure cooking, rotisserie grilling, and other food topics that grab my attention.
Find what you're looking for:
Browse full recipe index →

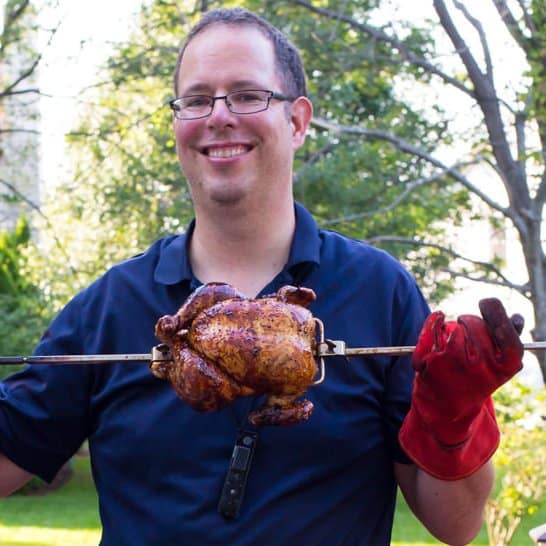
Hey, I'm Mike!
Hi! I'm Mike Vrobel, a dad who cooks dinner every night. I'm an enthusiastic home cook, and I write about pressure cooking, rotisserie grilling, and other food topics that grab my attention.