I’m not cooking a turkey this year! I don’t know what to do with myself!
Thanksgiving is at my parents’ house, and ever since dad retired, he has thrown himself into cooking. (Hi, Dad!) He’s looking forward to cooking the turkeys this year - and who am I to stand in his way?
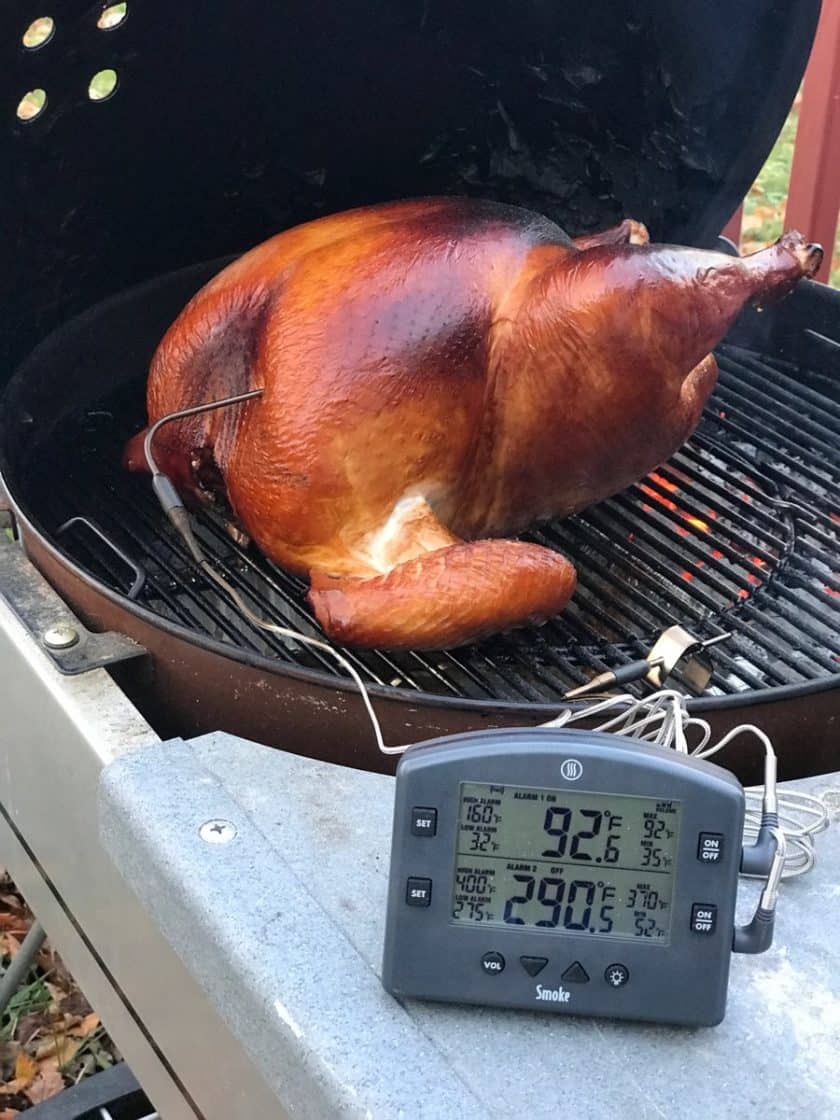
And, Dad definitely has the turkeys covered. He’s smoking one and cooking the other one on the rotisserie. We’ll have plenty of turkey. There is no need for me to bring another one. My contribution is a huge batch of mashed potatoes, and a slightly smaller batch of green beans. And being Dad’s sous chef when necessary on the big day.
So…anyhow…This relaxing before Thanksgiving. It’s a good thing? I think? (He says, looking around nervously for something to dry brine.)
This does leave me with plenty of time to answer blog questions. And boy, do I get questions. In the month before Thanksgiving, I’m part emergency hotline counsellor, part turkey intervention specialist. Here are some of my favorite questions I’ve been asked this year:
Q: Do you have any pressure cooker recipes for Turkey Breast?
(From many readers over the years)
Ah…this is one I’ve been avoiding on the blog. No, I don’t have pressure cooker turkey breast recipes, because I think turkey breast is particularly unsuited for pressure cooking. If it is overcooked, it turns dry and stringy - and the pressure cooker is going to overcook it. In other words...join us on the dark side! Try some dark meat turkey in the pressure cooker instead:
Where the pressure cooker shines is for side dishes. Here are my favorites that I’ve published on the blog:
- Pressure Cooker Sweet Potatoes
- Pressure Cooker Mashed Acorn Squash
- Pressure Cooker Butternut Squash Puree with Honey and Sage
- Pressure Cooker Turkey Giblet Gravy
- Pressure Cooker Pumpkin Cheesecake
And…as always, SAVE THE BONES! Use the turkey carcass for after-Thanksgiving pressure cooker turkey soup!
- Pressure Cooker Turkey Broth
- Pressure Cooker Day-After-Thanksgiving Turkey Carcass Soup
- Pressure Cooker Turk-A-Leekie Soup
- Pressure Cooker Turkey Soup with Rice
- Pressure Cooker Turkey Noodle Soup with Vegetables
- Pressure Cooker Pinto Bean and Turkey Drumstick Soup
Q: We love to grill, but never busted out the rotisserie on our last grill. We recently completed an outdoor kitchen and got a little carried away with our grill—it cost more than my kitchen stove! We were really excited to take advantage of the rotisserie (with built-in motor) of this new fancy schmancy grill. Here’s the problem—being retirees, we bought a 30-inch two burner (with smoker box) which is plenty big for our grilling purposes, BUT how can we achieve indirect heat with only two burners?? If we position the meat to one side over the non lit burner then it won’t be in front of the IR rotisserie burner. Are we dead in the water? Gah!
(from Reader Beth)
That’s a tough one. I’m used to grills with at least 4 burners and a rotisserie burner. On those, can cook with indirect heat - no lit burners under the drip pans - with most of the heat coming from the burners on the leg side of the bird and the IR burner.
But, you won’t be able to do indirect with only two burners - like they say in the question, the bird would have to shift so far over that the IR burner would only be pointing at the legs - and that’s not good.
My reply:
Can you use just the infrared rotisserie burner? If it can get the inside of the grill hot enough on its own – say, 350°F or higher – then you can probably use it all by itself. You’ll have to watch out for burning, though, because IR burners are powerful.
How I would use it: IR burner on full for the first half hour to hour, to get browning started, then turn the IR Burner down to low (250°F to 300°F) and cook on low heat until the food is done. I know this will mess up recipe timing, but that’s OK – internal temperature is a better way to tell if the food is done.
Q: Do you have any solid flavor injected recipes for chicken and turkey breasts?
(from Reader Dana)
I’m not a big injection fan - I’d rather brine my birds. When I do traditional injection marinades, with butter and spices, they don’t penetrate into the meat. I wind up with lots of unseasoned meat, with streaks of spices through every now and again. Brining gives me much more even seasoning.
So…my injection compromise is to inject a brine into the turkey:
Rotisserie Injection Brined Turkey
That gives my brine a head start (it’s deep in the meat already), and I get the seasoning effect of the brining. Honestly, I’d rather just dry brine a few days ahead of time…but if I wind up behind schedule on my turkey, and find myself needing to brine hours ahead of time (instead of the day to days that regular brining takes), then injection brining is definitely the way to go.
Q: I am doing a 20lb turkey on the rotisserie. Should I do all the burners on the leg side, or should I do burners #1 and #6 on medium with the infra-red on? What have you had the most luck with?
(from Reader Brian)
Even with a big bird, I do all the burners on the leg side, adjusting the grill to an internal temperature of 325°F to 350°. I run the infrared burner on medium for the first 30 minutes to an hour, until the turkey starts to brown well, then turn it off and let the heat in the grill roast the turkey the rest of the way.
Here's some blog posts I wrote that have more details about cooking a big bird:
Q: I need to ask you about dry brining. I’m anxious about doing it, because I can’t seem to get a even amount of “brine” under the breast skin. Am I supposed to rub the rest of the brine on the skin (thigh, legs, etc.)? It seems like the dry brine would be very splotchy, while with the wet brine it’s the same amount everywhere the brine touches. Also, won’t leaving all the salt on the bird make it super salty?
(from Reader (and Uncle) Warren. Hi, uncle Warren!)
When I dry brine, I’m trying to get some of the salt under the skin on the breast - but it’s not super important. The salt will penetrate, even through the skin. (Yes, I know, I didn’t believe it either - but it works great.) I only do the breast because it’s easy - the rest of the salt I’m sprinkling over the skin (and in the cavity).
As for “too salty” - think of it as “salting early.” You are using about the same amount of salt as if you were salting after cooking; you’re just doing it ahead of time. It doesn’t come out too salty - it should be just right.
I know it’s too late for this year, but...try dry brining on a whole chicken or two before trying it on a turkey. It’s a cheap way to test out the dry brining technique, and I think you’ll like it. Unless you’re a culinary risk-taker like me, you don’t want your first time trying a technique to be the centerpiece of the most important dinner of the year.
(You could also do a head-to-head comparison between dry brining and wet brining with a couple of chickens if you felt adventurous. That’s how I decided to switch to dry brining. Well, that and a dinner at Zuni Cafe. Oh, that chicken...)
That said, if you are a “white meat only” kind of eater, then wet brining is the way to go. Brining adds water to the breast - not a lot, but enough to make a difference in juiciness. Breast meat needs the help - with chickens, and especially turkey, it is very lean and easy to overcook. Wet brining gives you a little bit of extra cushion.
I work around the “overcooked white meat” problem on my turkeys by watching the temperature very carefully, and using the “bag of ice on the breast” to give the legs a head start.
Bonus post coming tomorrow: How would I prepare for thanksgiving if I was preparing for thanksgiving? Stay tuned. (And I apologize in advance. I got a little carried away.)
Have a happy thanksgiving, everyone!
What do you think?
Questions? Other ideas? Leave them in the comments section below.
Enjoyed this post? Want to help out DadCooksDinner? Subscribe to DadCooksDinner via eMail and share this post with your friends. Want to contribute directly? Donate to my Tip Jar, or buy something from Amazon.com through the links on this site. Thank you.


Comments
No Comments