Baseball is our busy season. With three kids, we're almost guaranteed a game every night. We have to be at the field at 5:30 (for warm ups) and the game ends at 8. Family dinners are whatever we can scrounge when we get home.
I have a new secret weapon for these rushed dinners. Mini sweet peppers. They're a gift for time-pressed cooks, because there's no preparation - they taste great raw. Drop the bag on the table, and dig in. My wife and I are going through a two pound bag a week, and even the kids will eat them on occasion.
I don't have a mini sweet pepper problem. I can quit anytime I want.
As much as I love them raw, I've been wondering - what if I cooked them? The other day, I was paging through Cooking Light magazine while I waiting for a haircut. I saw a skewer of mini sweets on the grill, and I nearly dropped the magazine. Why didn't I think of that?
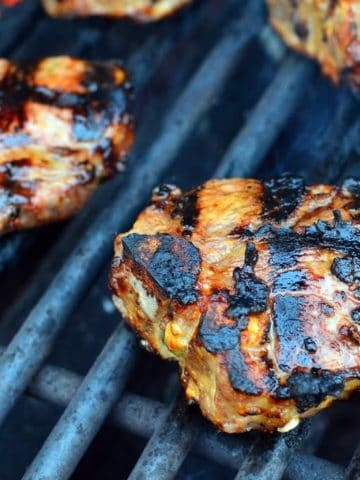
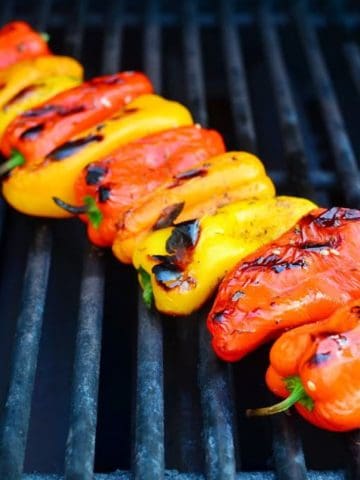
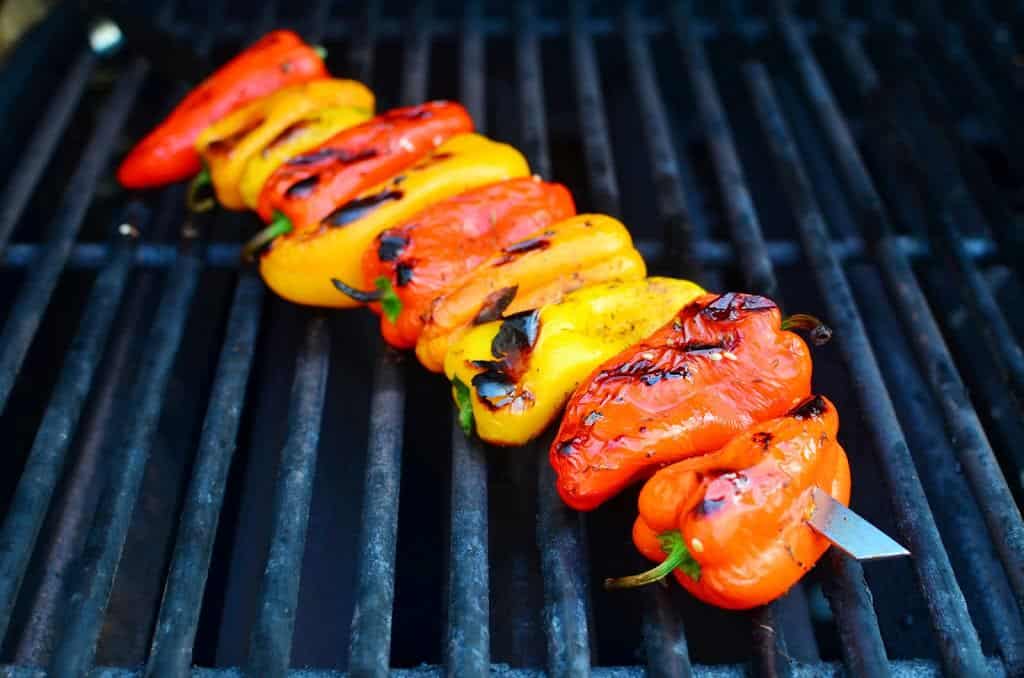
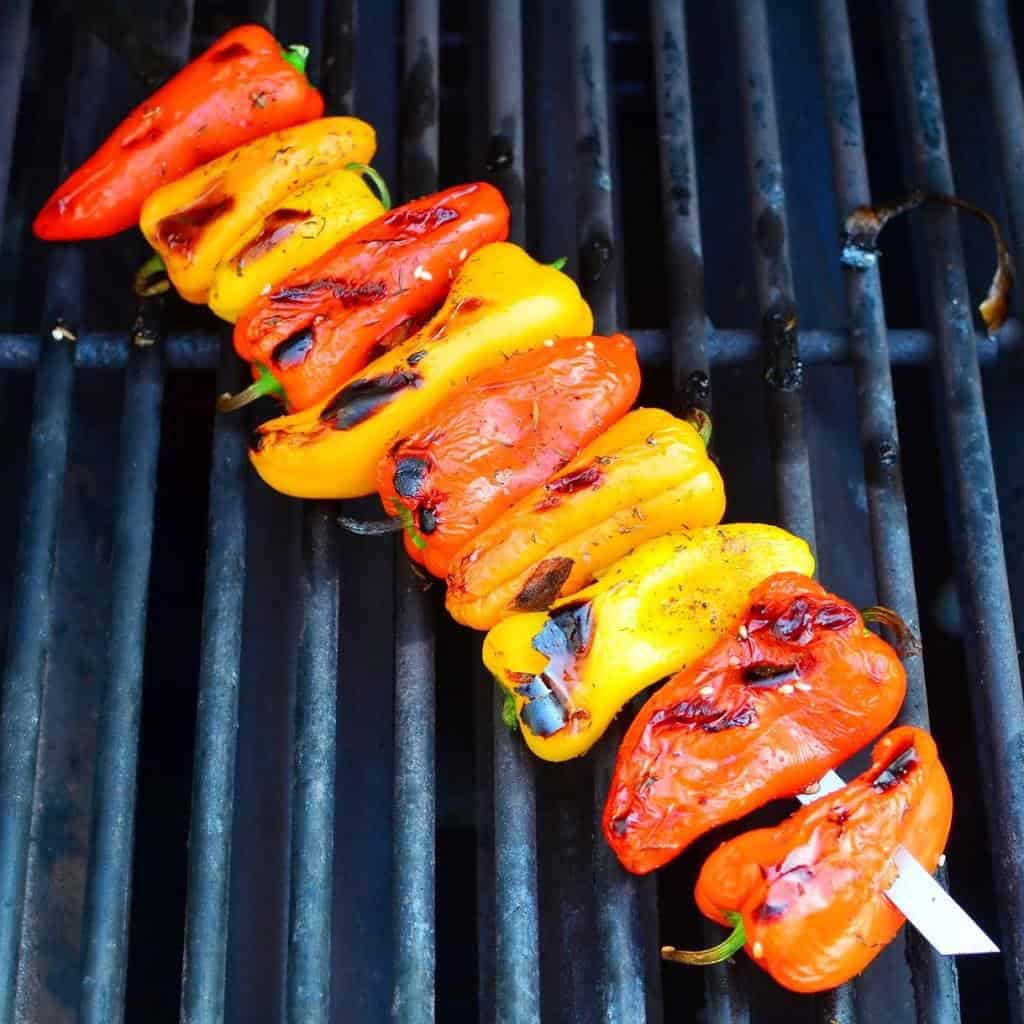
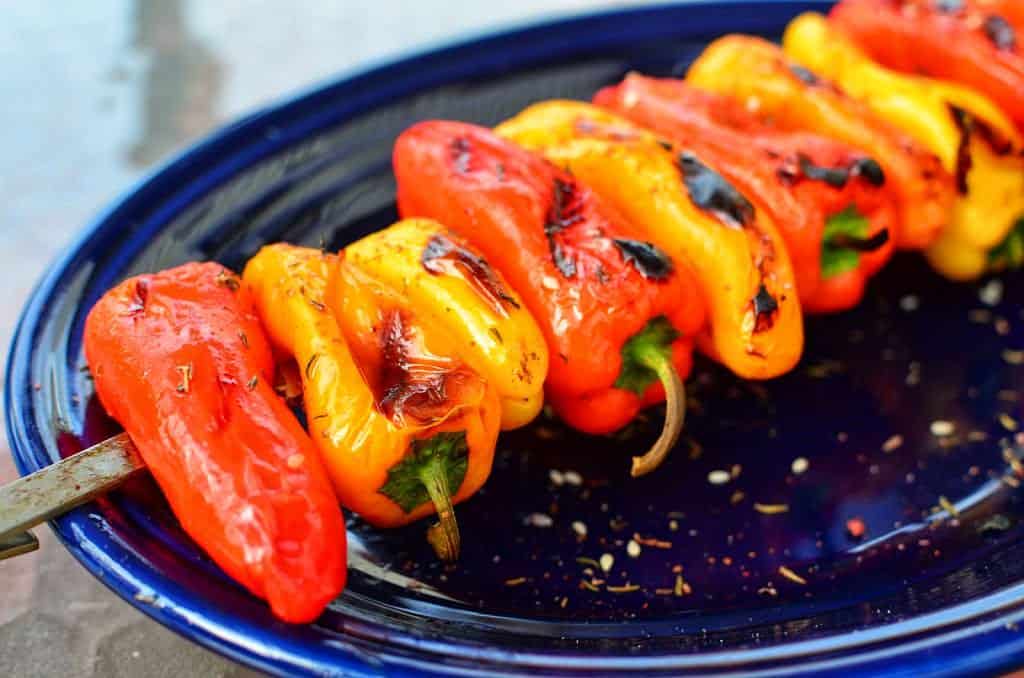
Roasting mini sweets on the grill adds to the sweet flavor, and softens up the seed pod enough that I can eat it with the rest of the pepper - all that's left is the green stem.
Recipe: Grilled Mini Sweet Peppers
Adapted From: Cooking Light Magazine
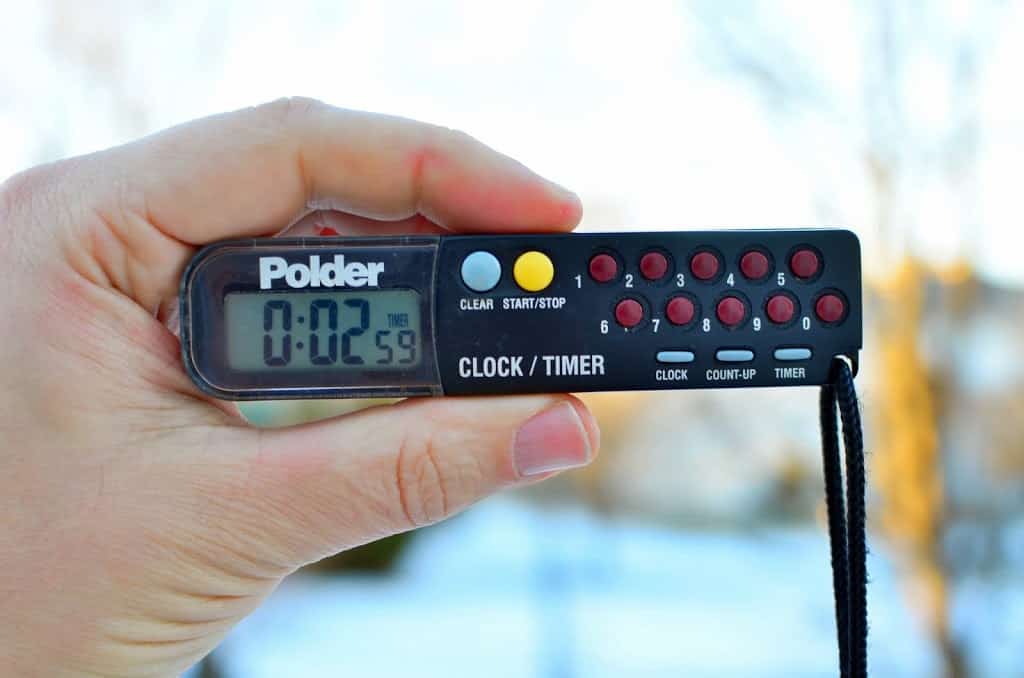
Cooking time: 8 minutes
Equipment
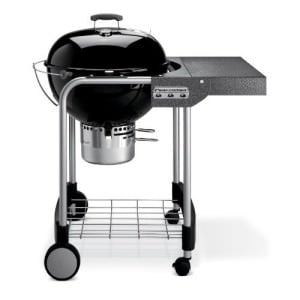
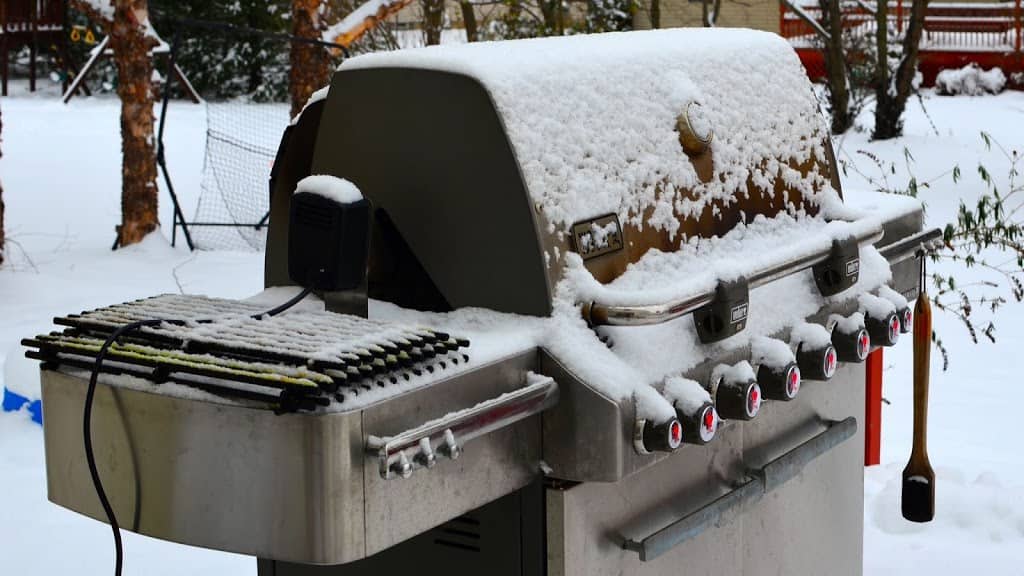
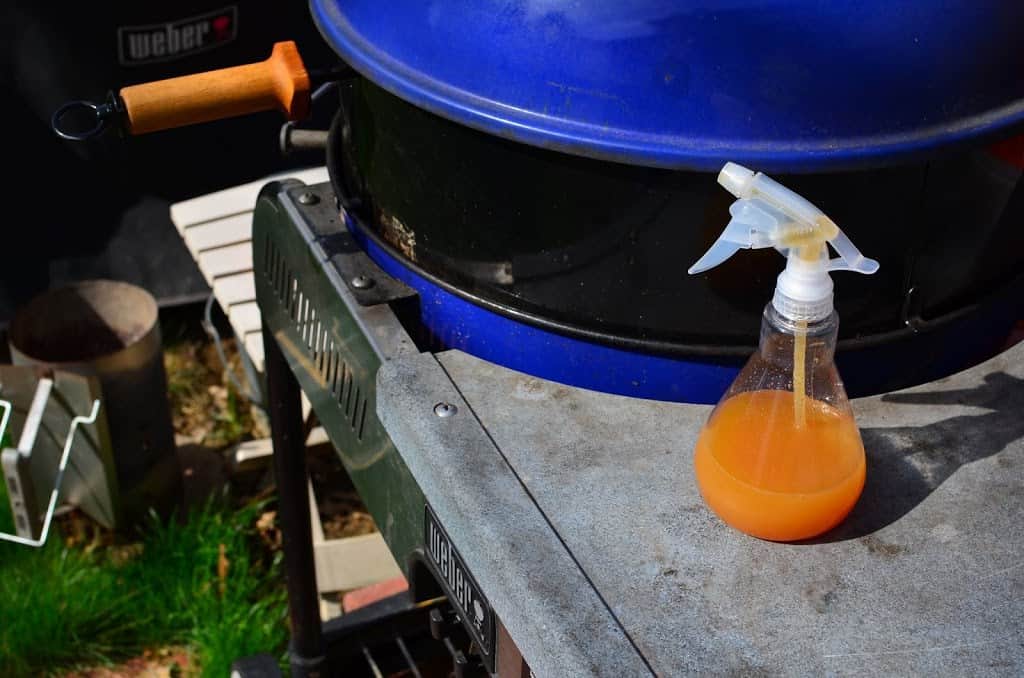
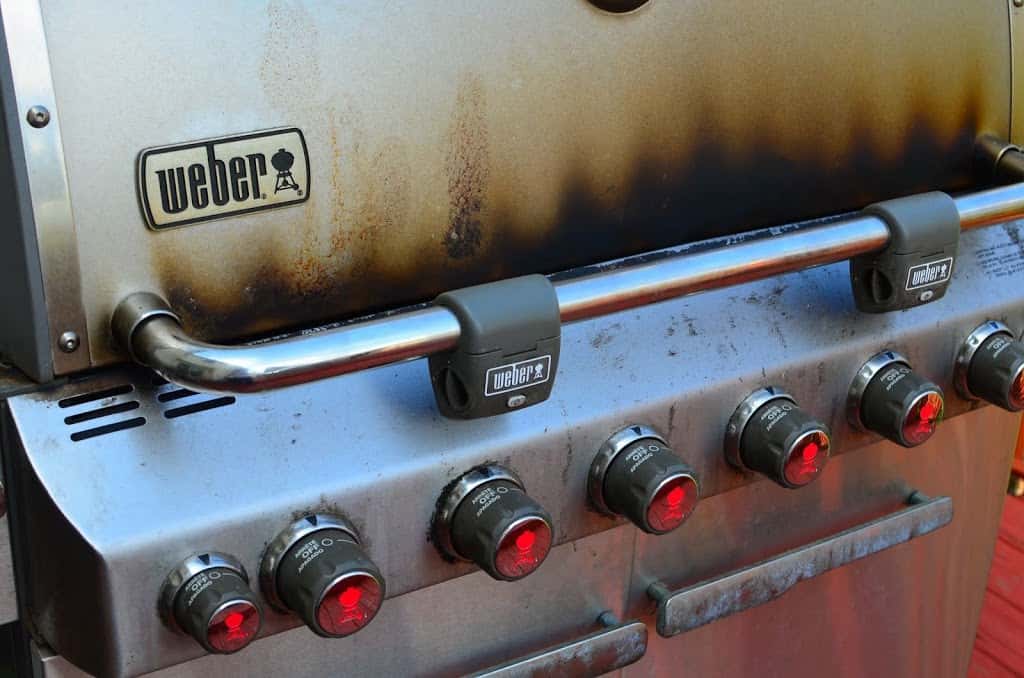
- Grill (I love my Weber Summit)
- Skewers (I used extra wide skewers, but any size will work)
Ingredients
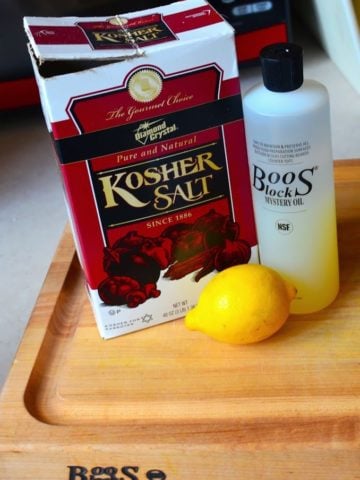
- 1 pound mini sweet peppers
- 1 tablespoon olive oil
- ½ teaspoon zatar seasoning (or your favorite dried herb seasoning)
- ½ teaspoon kosher salt
Directions
1. Set the grill for direct medium heat
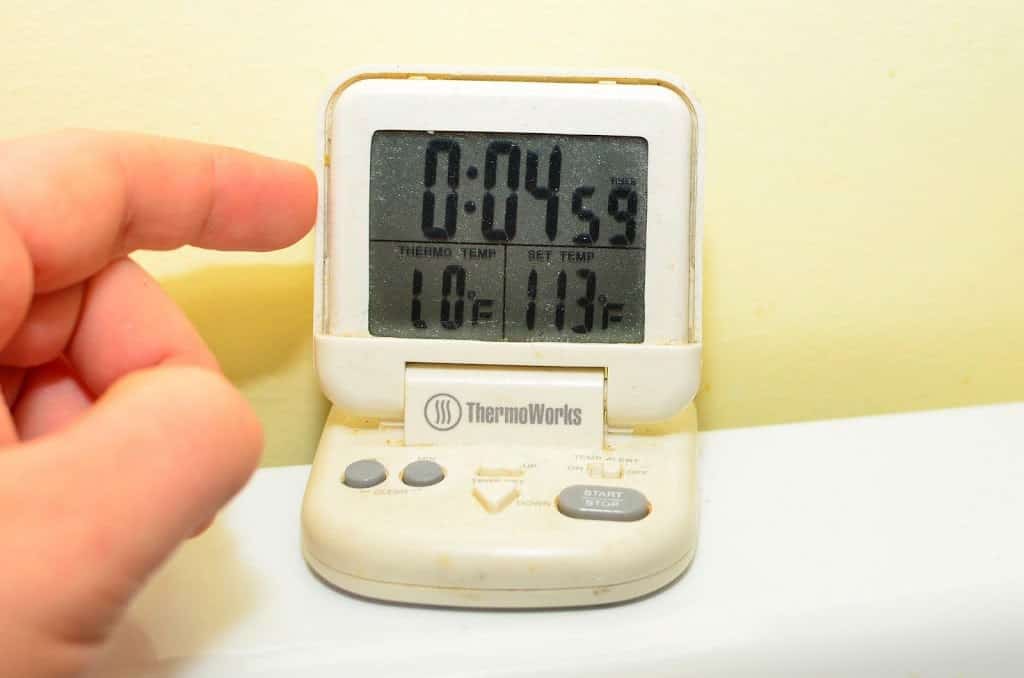
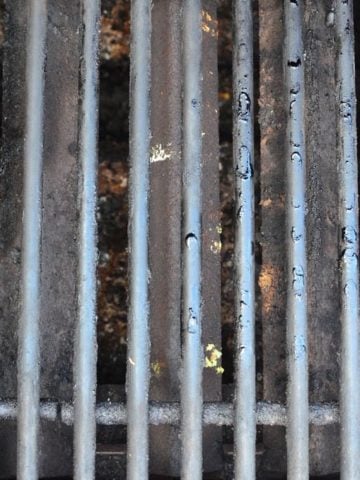
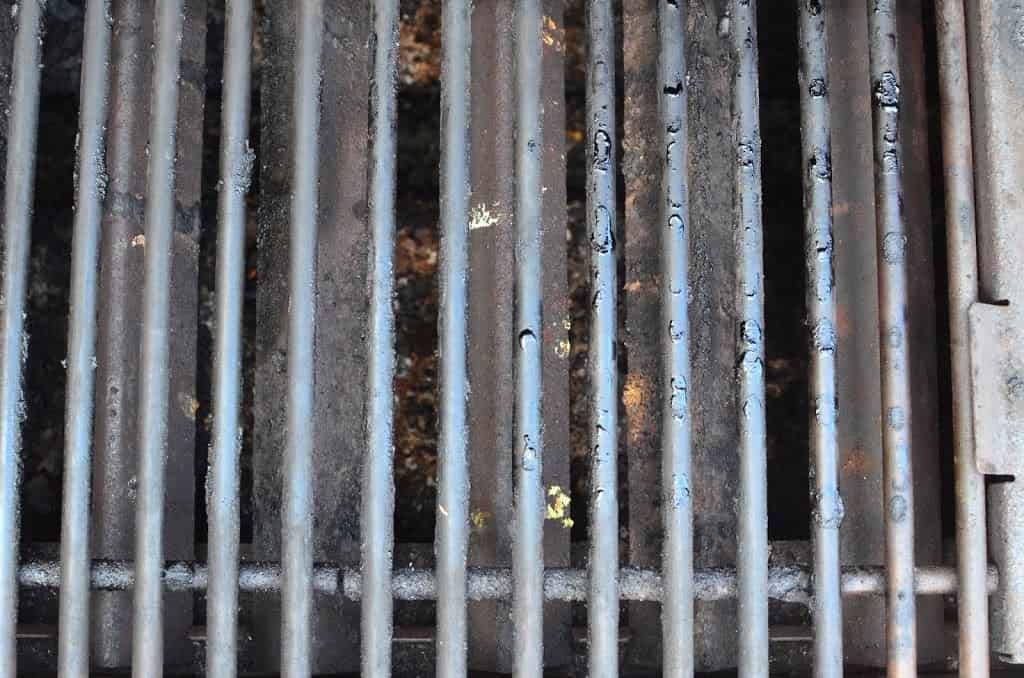
Preheat the grill, brush it clean, then set it up for direct medium heat. For my Weber gas grill, I preheat it with all burners on high for 15 minutes, brush the grate clean with a grill brush, and turn the burners down to medium.
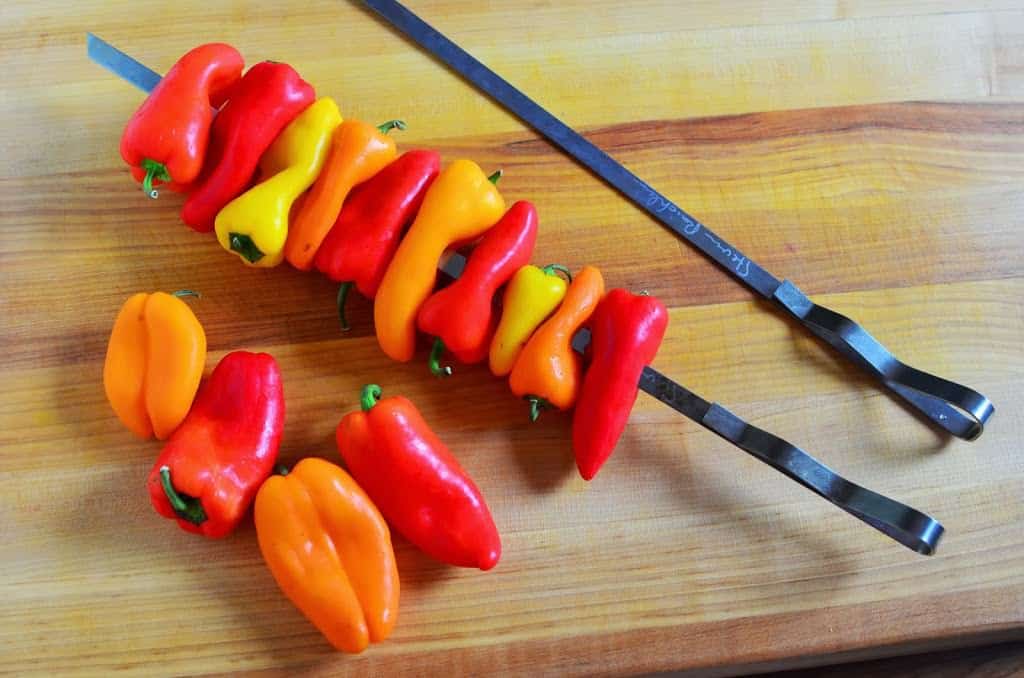
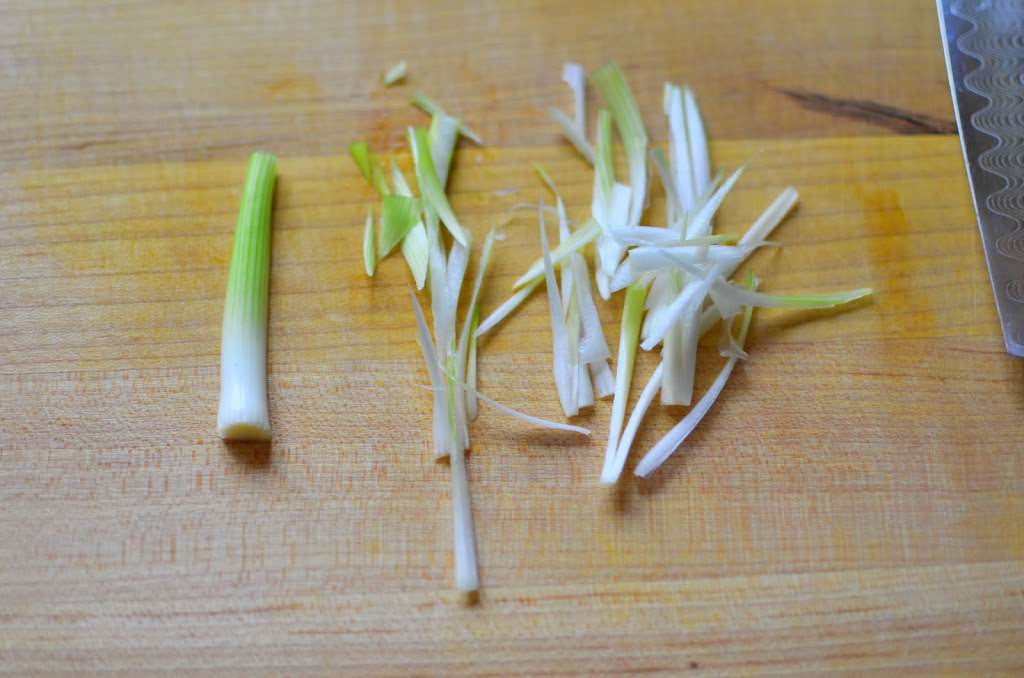
2. Skewer the peppers
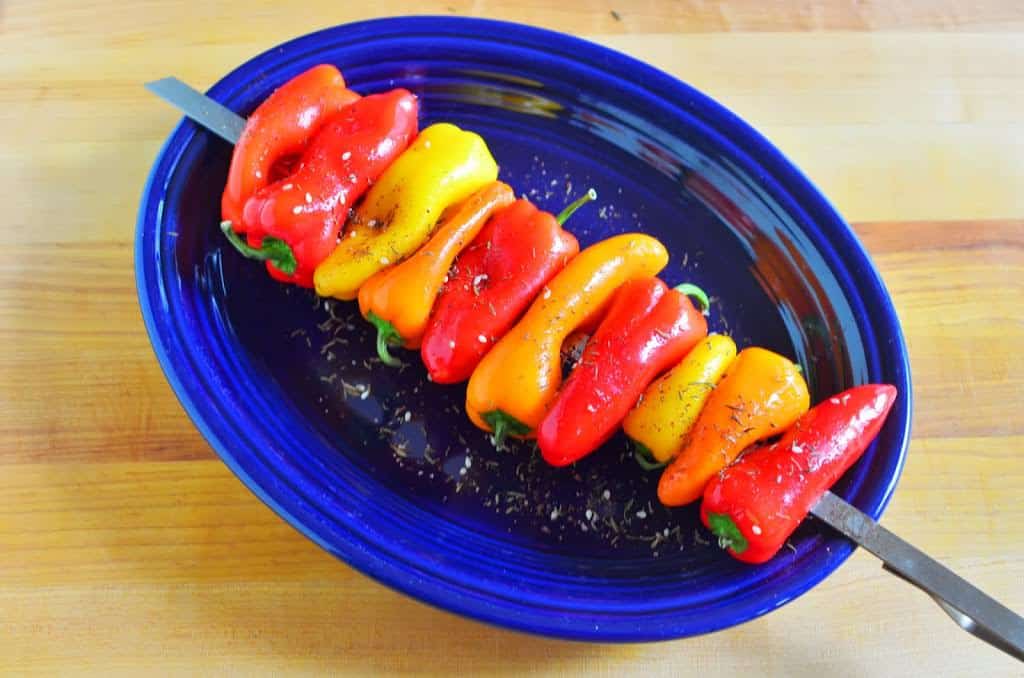
While the grill is preheating, skewer the peppers. Brush both sides of the peppers with a thin coat of olive oil and sprinkle with the zatar seasoning and salt.
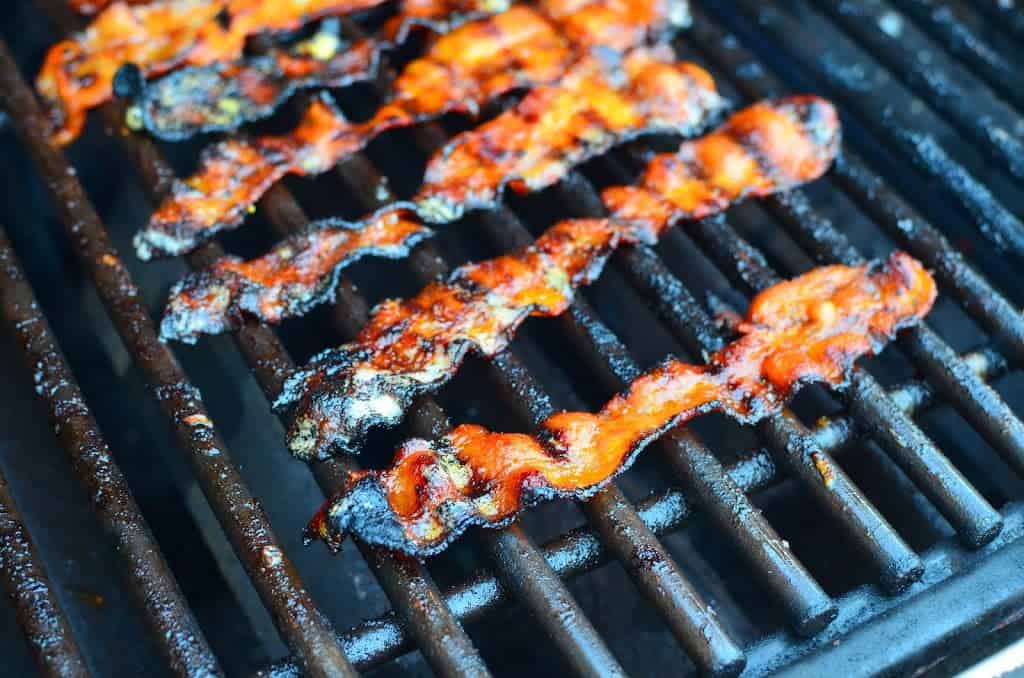
3. Grill the peppers
Put the pepper skewers on the grill over direct medium heat. Grill with the lid closed until the peppers are blackened in spots on the bottom, about 4 minutes. Flip the skewers, and grill the other side until blackened in spots, about 4 more minutes. Remove to a platter.
4. Serve
Remove the peppers from the skewers and serve. (Grab them by the stem end and bite in. I eat around the seed pod in the middle; my wife eats everything except the stem.)
Notes
- Extra wide skewers hold the peppers in place when you flip. If you use regular skewers, grab them lengthwise with your tongs, to keep the peppers from rotating in place while you try to flip them.
- I sprinkled the peppers with zatar seasoning because that's what I had in my spice cabinet. Any seasoning blend will work - Italian seasoning, herbes de Provence, or Montreal seasoning come to mind - or skip the dried herbs and cook the peppers with a sprinkle of salt.
 |
| Inside Blogging: I take a bunch of pictures with slightly different framing and focus, then pick the one I prefer, and delete the rest. This time, though, I accidentally uploaded a bunch of very similar shots. Picasa thought this was a burst of photos, and stitched them into a GIF animation. I thought the result was better than any one photo. Serendipity! |
What do you think? Questions? Other ideas? Leave them in the comments section below.
Related Posts:
Grilled Peppers and Onions
Grilled Stuffed Jalapenos
Grilled Shishito Peppers
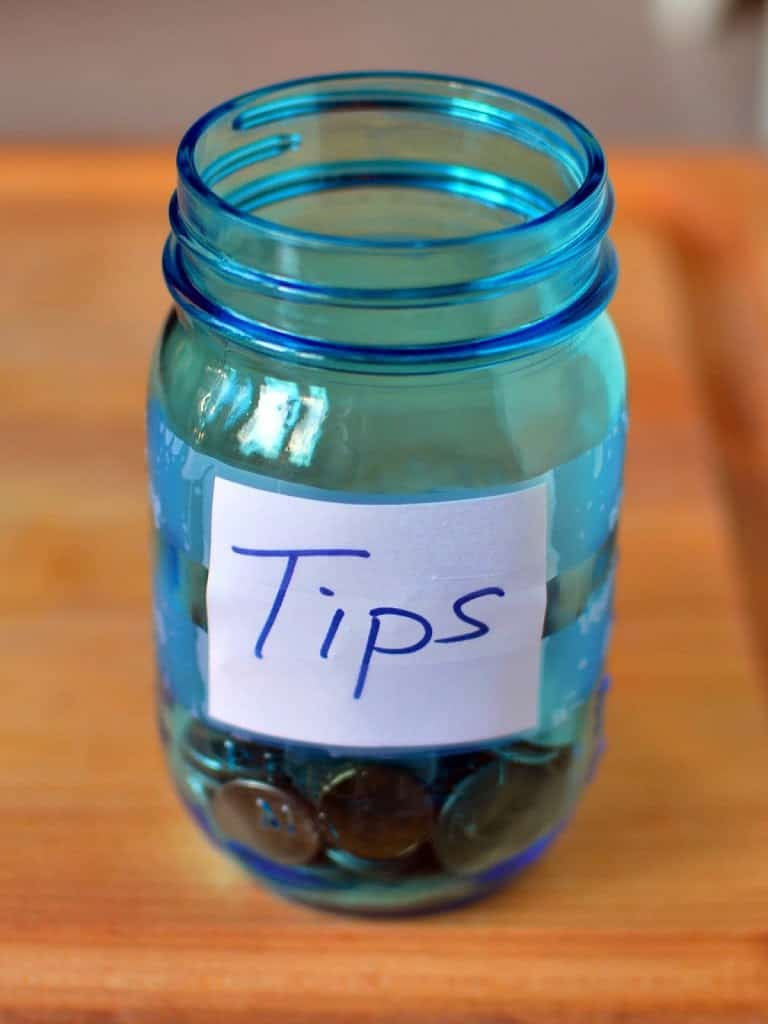
*Enjoyed this post? Want to help out DadCooksDinner? Subscribe to DadCooksDinner using the RSS or Email options on the right, recommend DadCooksDinner to your friends, buy something from Amazon.com through the links on this site, or donate through my tip jar. Thank you.


")


")