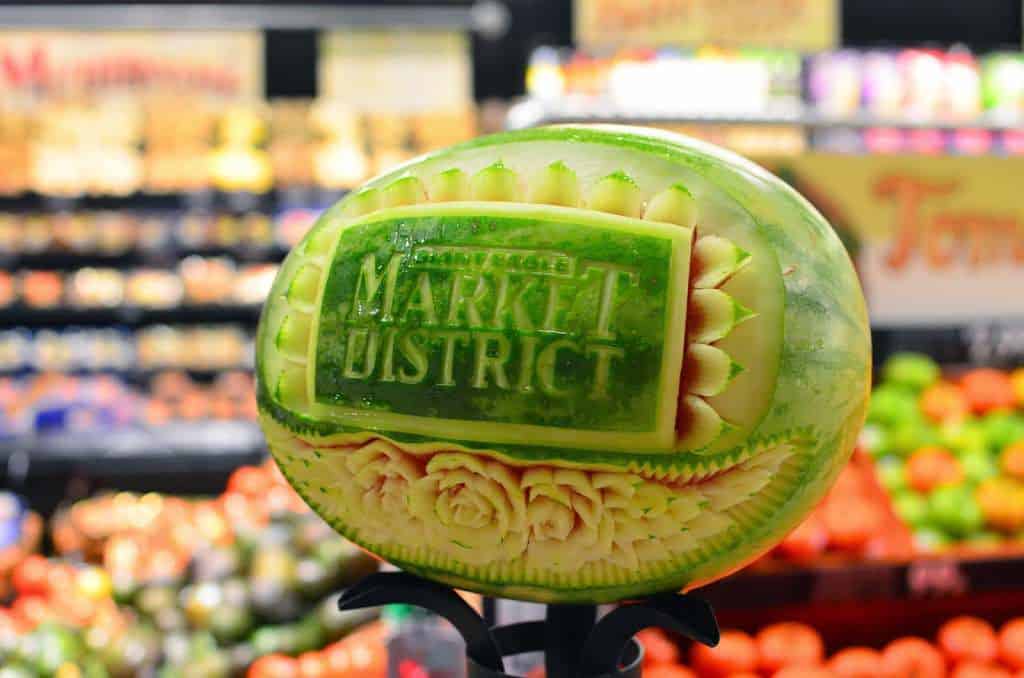
Market District is a new type of grocery store. Start with a normal Giant Eagle store. Add a wide selection of specialty and gourmet cooking supplies. Include a cafe, and a food court with a wok station, sushi bar, pizzeria, and wine bar. Then stand back, and try to avoid being trampled by the lucky people in Green, Ohio, as they rush in to see what happened to their neighborhood grocery store.
I read about Market District stores opening in our area, and I was itching to go see one. I'm a sucker for specialty cooking ingredients. When I was invited to the grand opening of the Market District in Green, Ohio, I jumped at the chance. I was part of a group of local bloggers - we arrived at 8AM, connected to the store wi-fi, grabbed our complimentary cups of coffee, and warmed up the digital cameras. We were ready for the tour.
Market District Green
1700 Corporate Woods Parkway
Uniontown, OH 44685
Open 24 hours
Website: MarketDistrict.com
Phone: (330) 896-4456
 |
 |
 |
 |
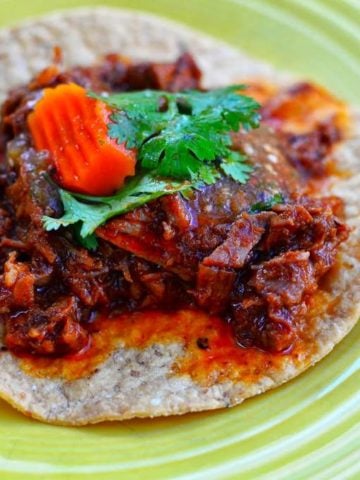
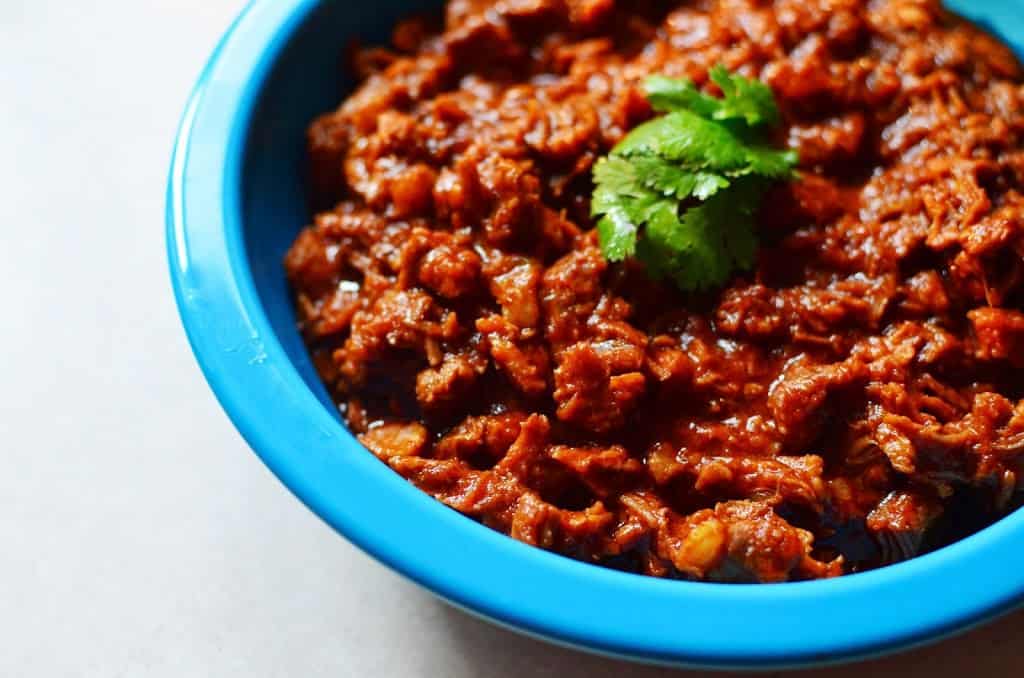
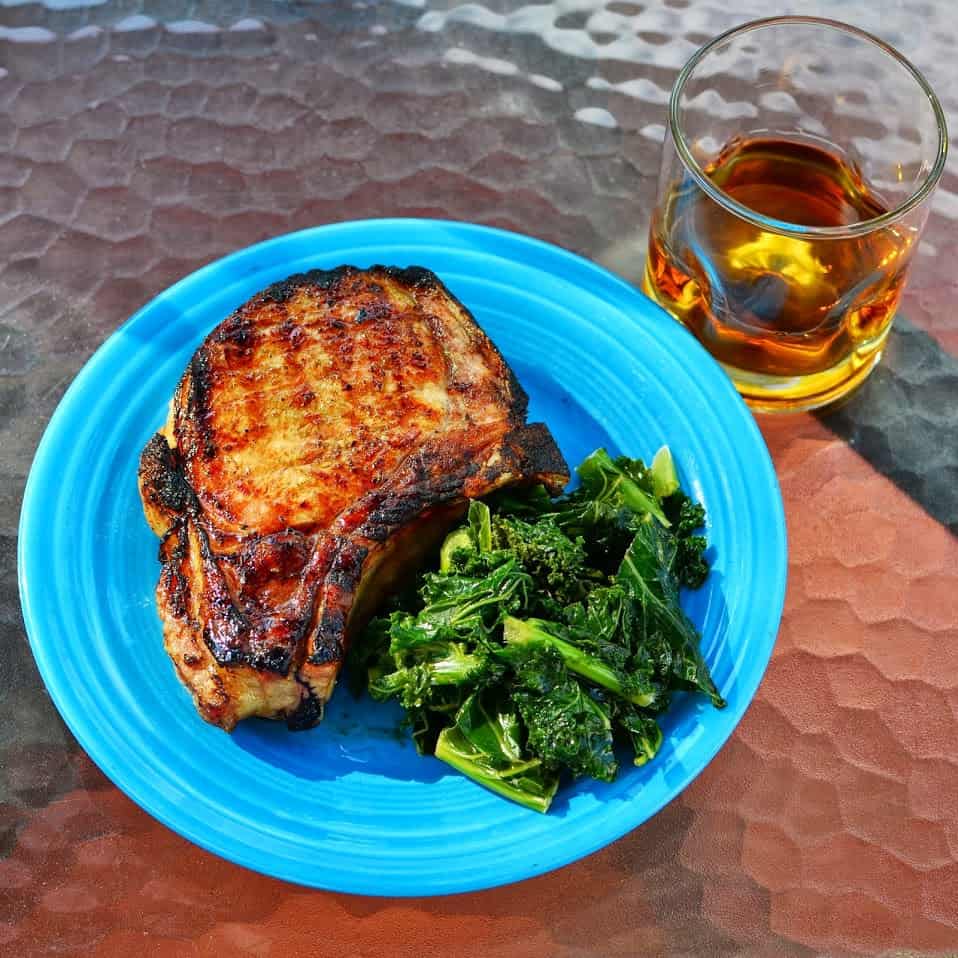
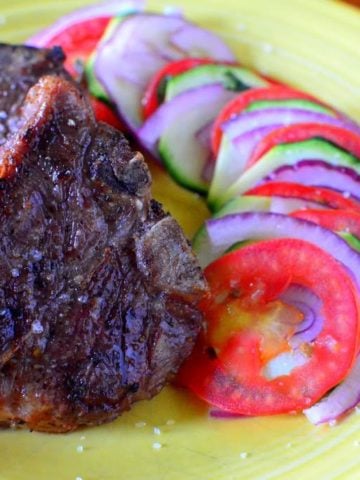
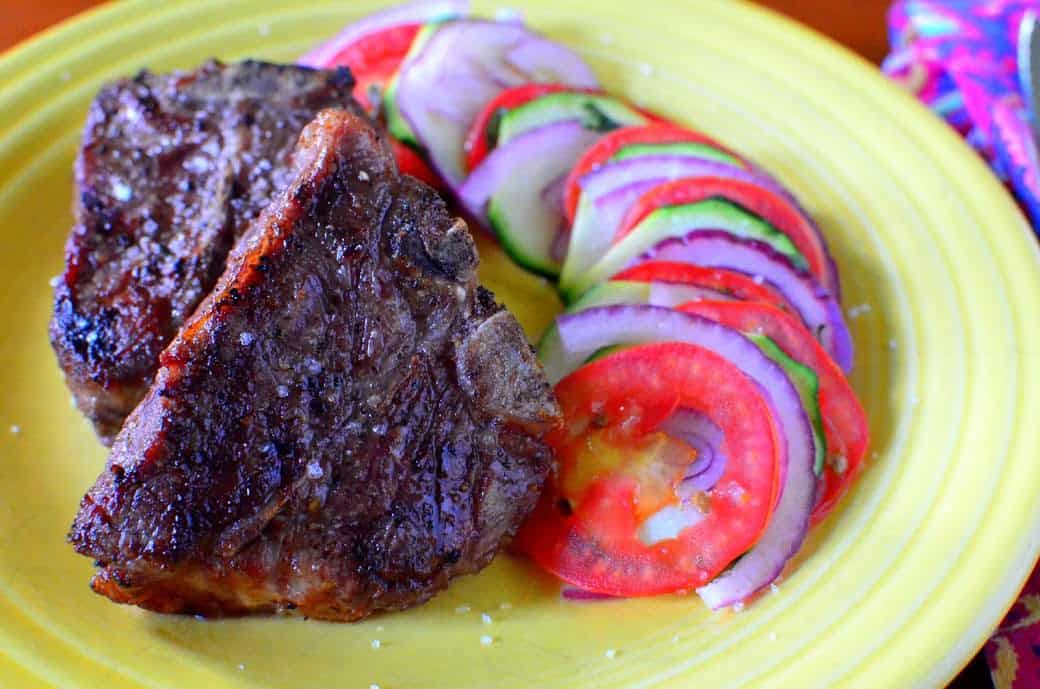
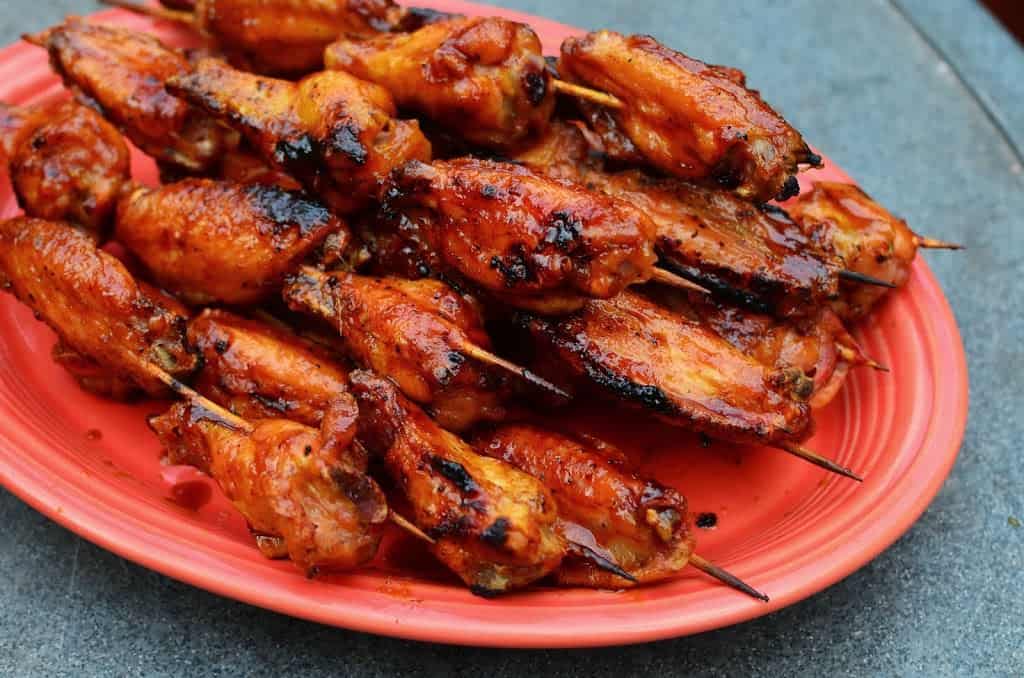
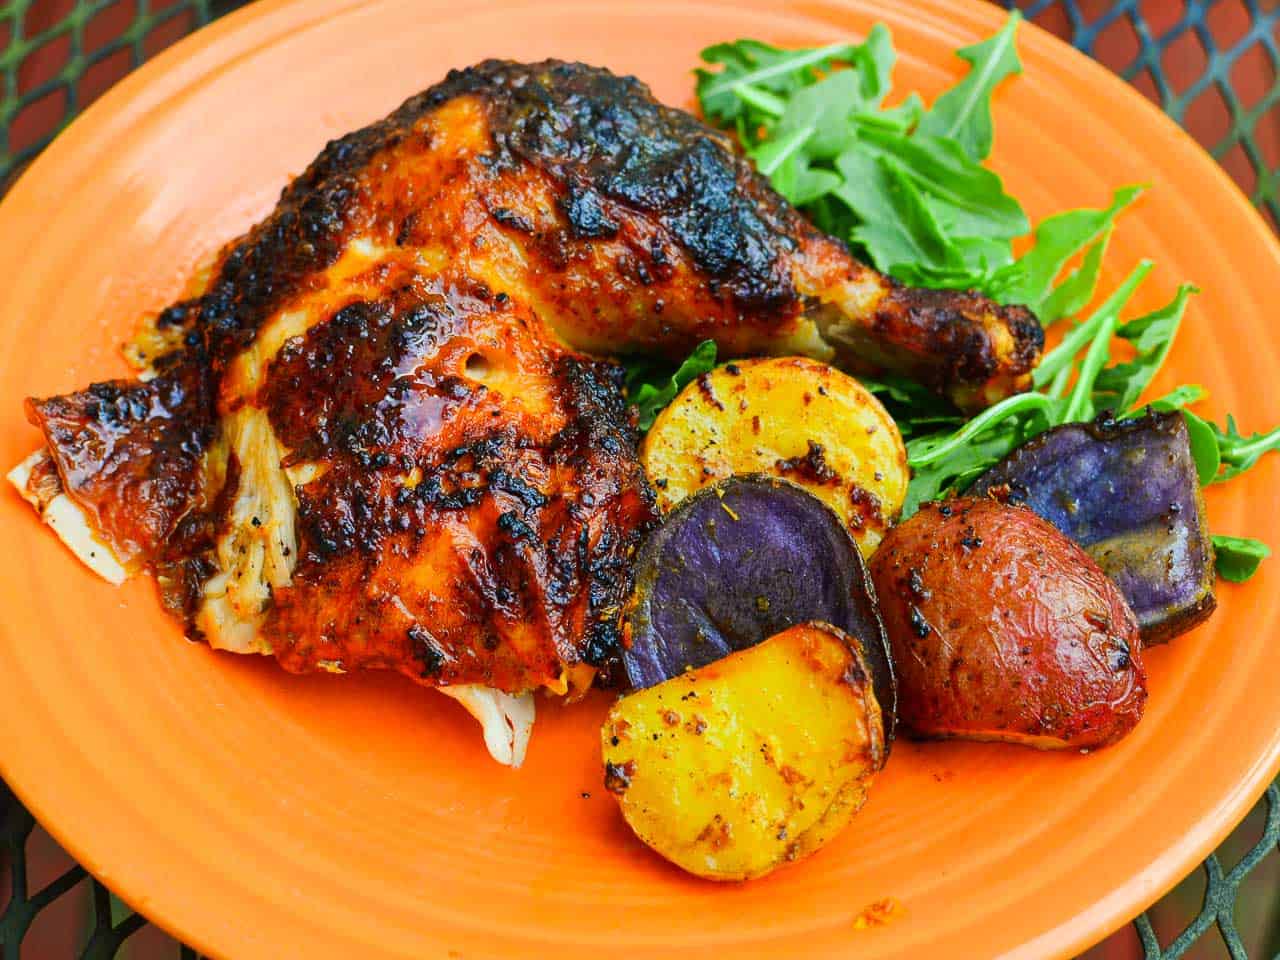
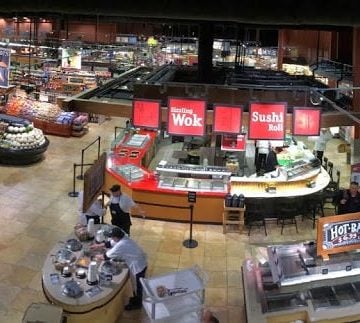
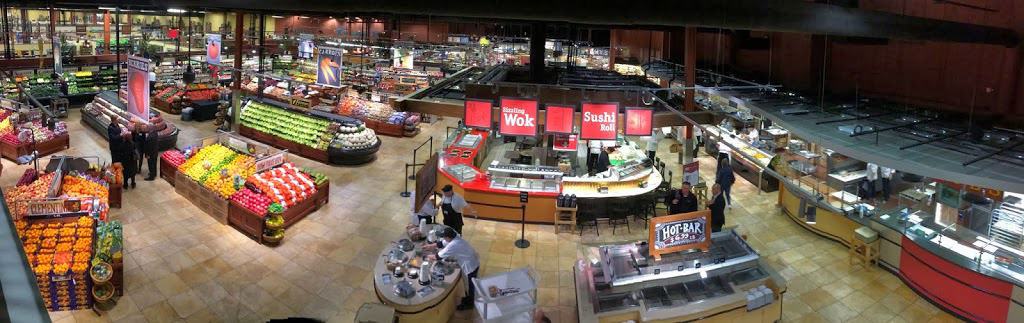
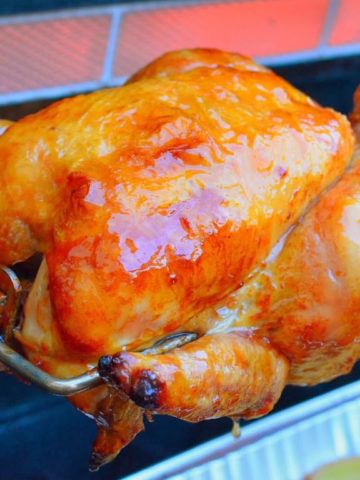
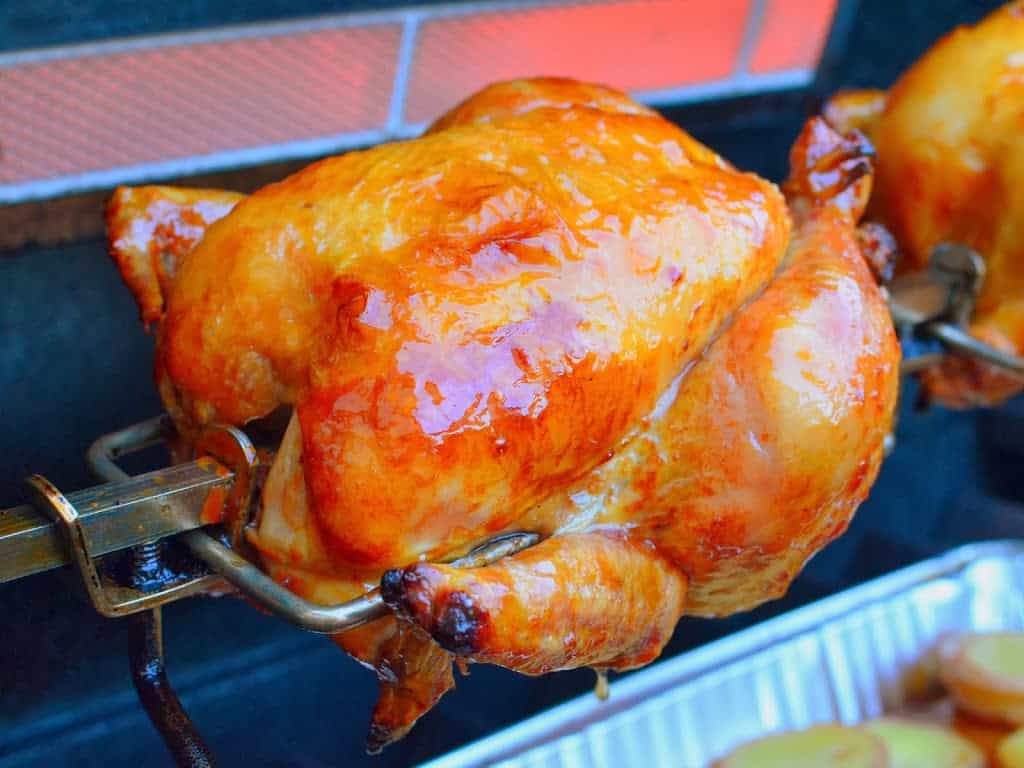
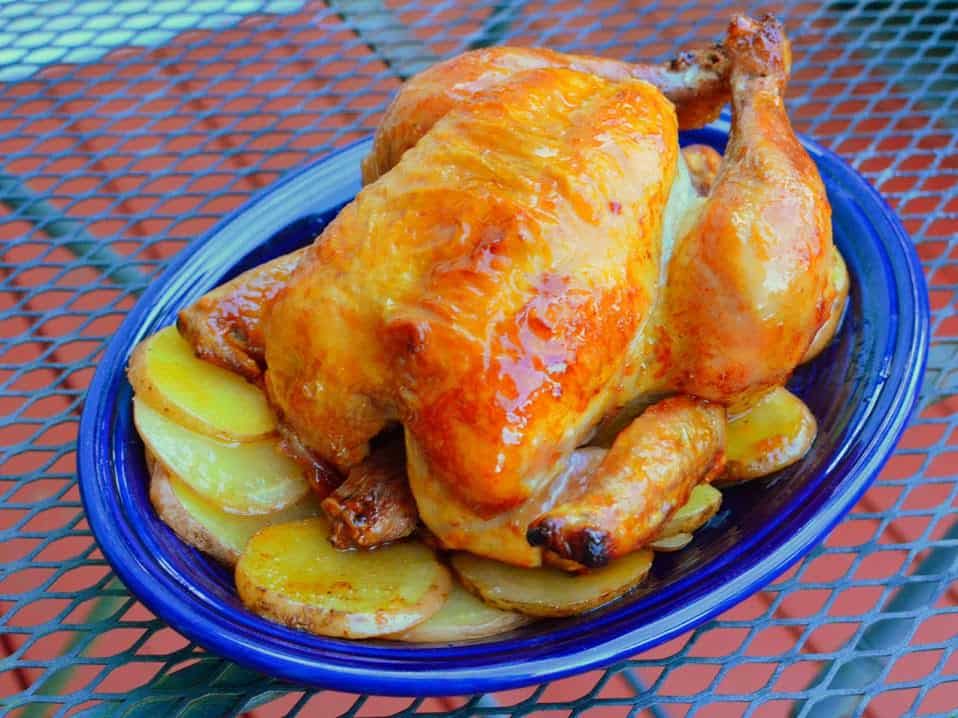
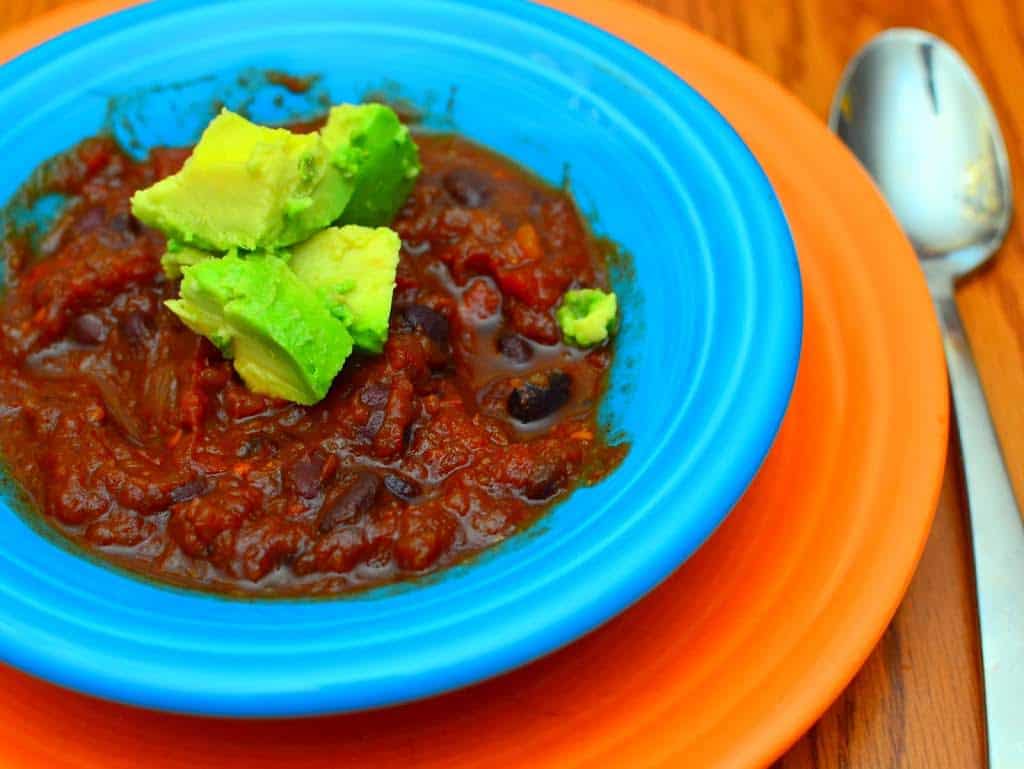
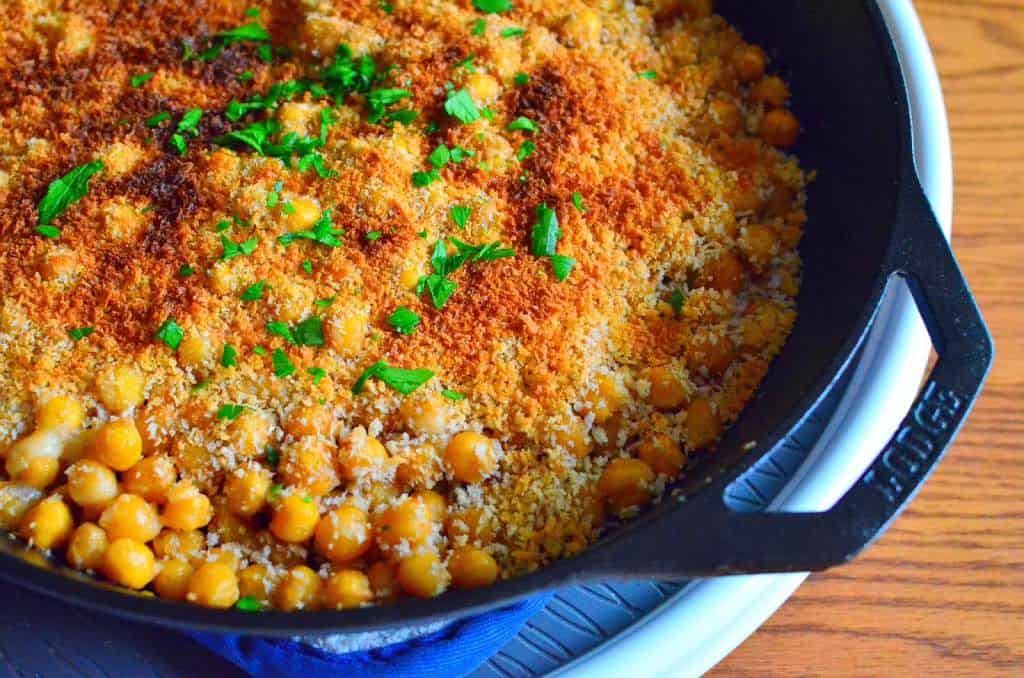
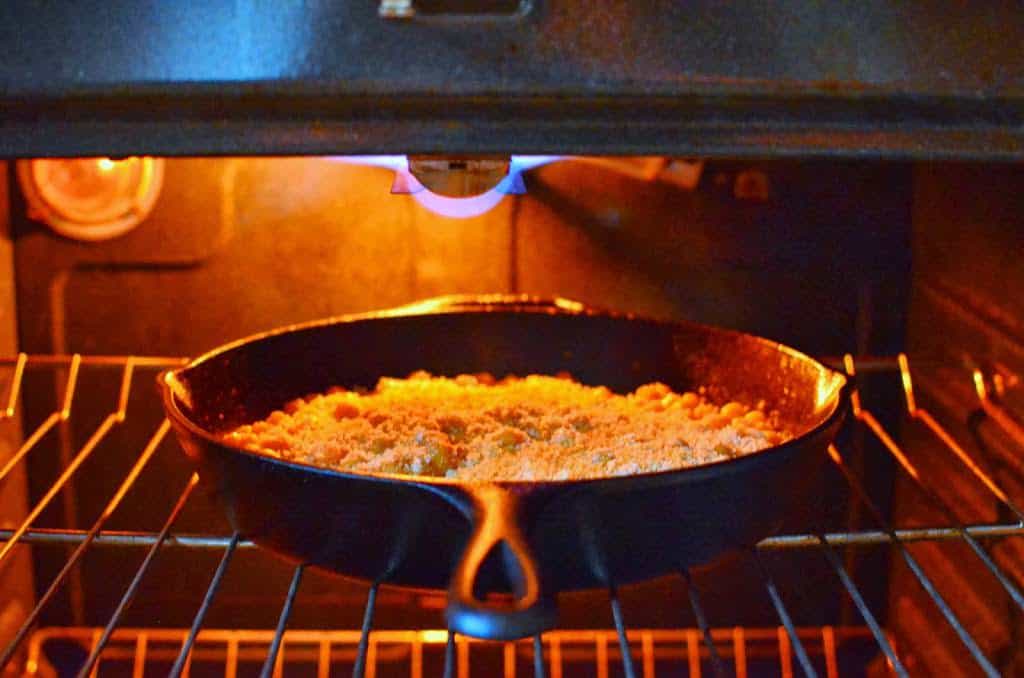
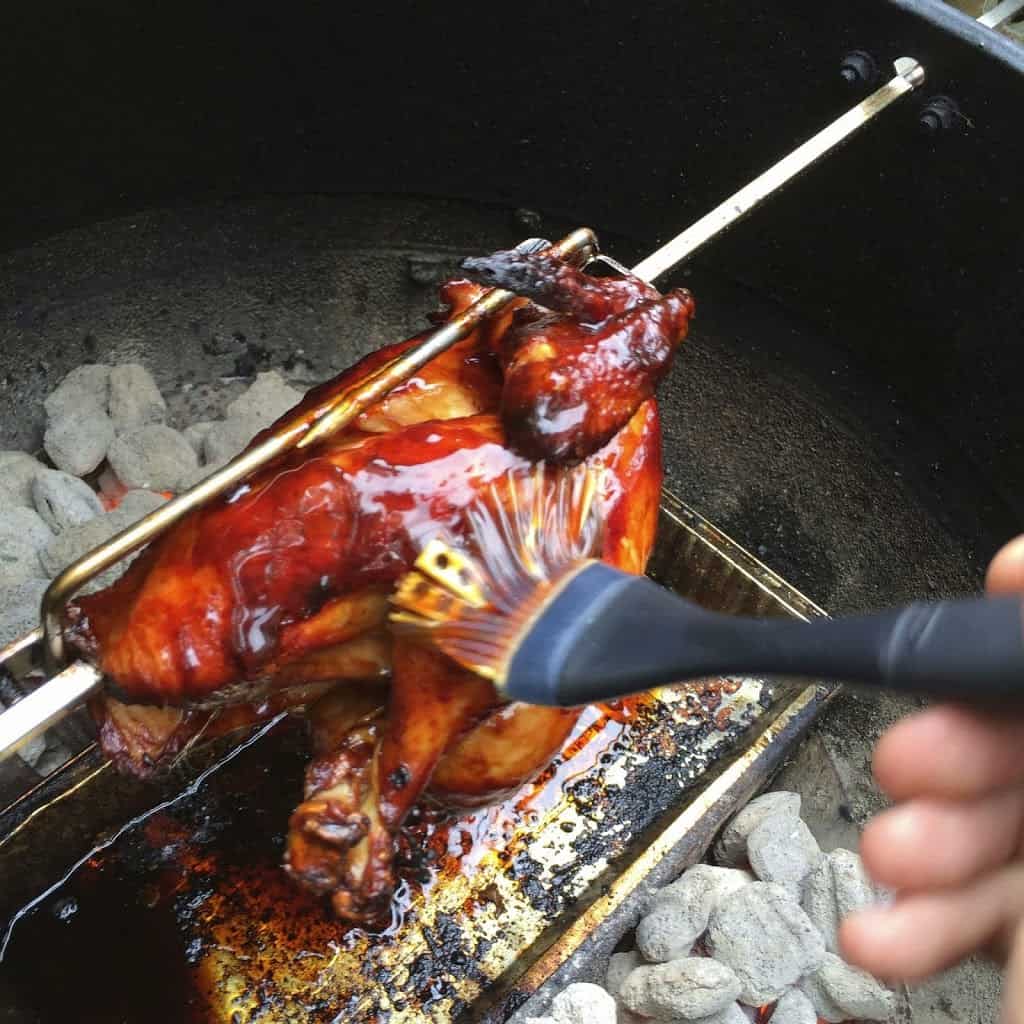
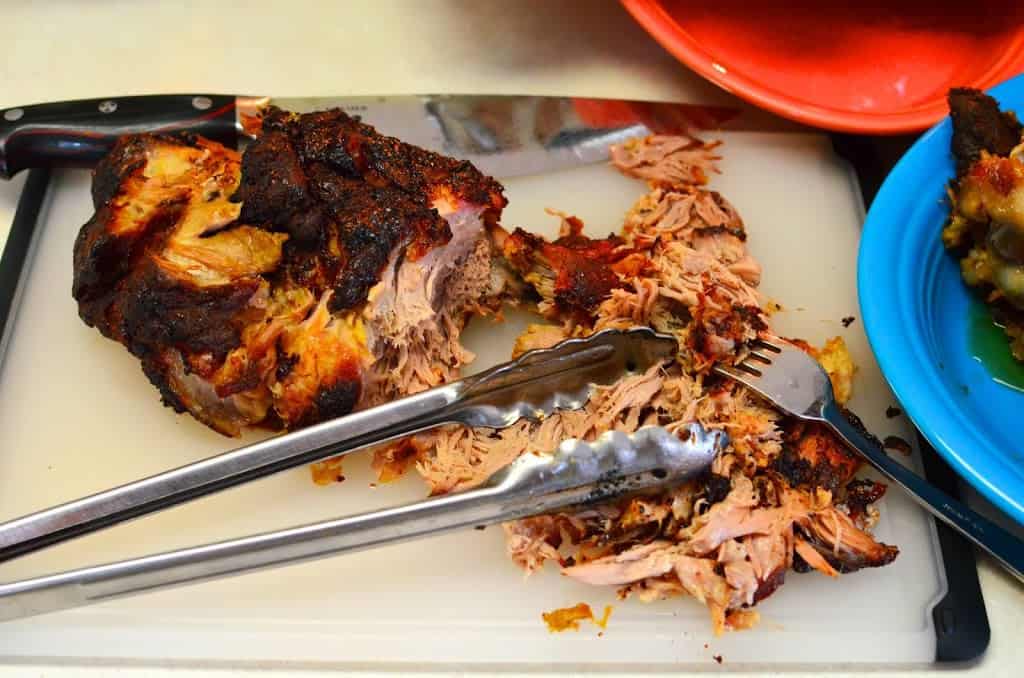
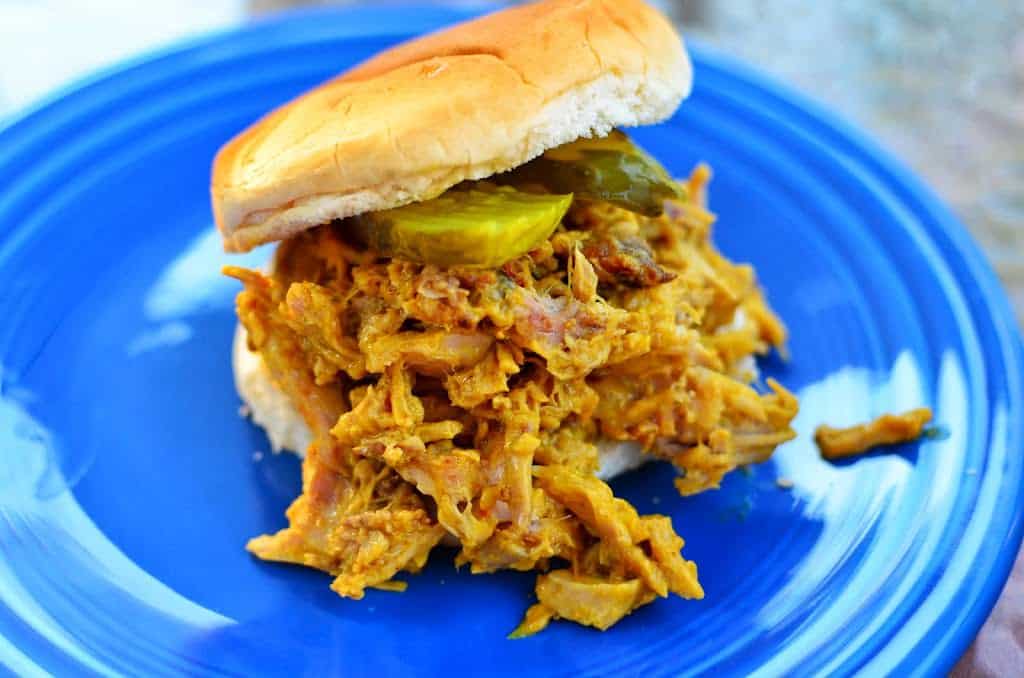
Dinner is served
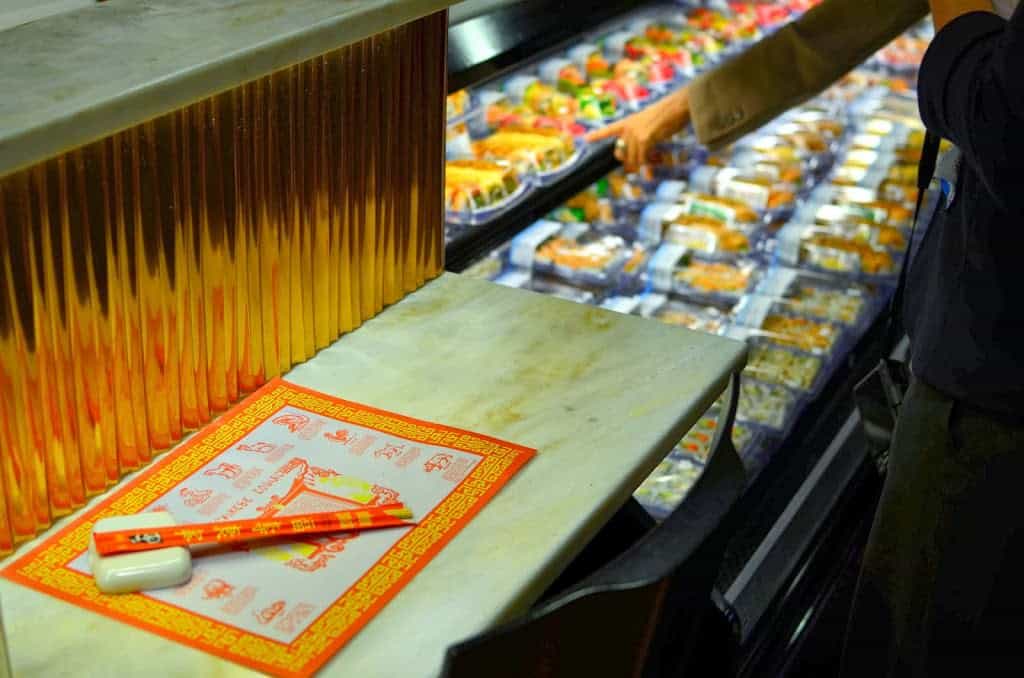
One side of their store is the prepared food area. It's set up like a food court, with separate stations:
- Coffee shop and juice bar
- Prepared foods
- Sub shop
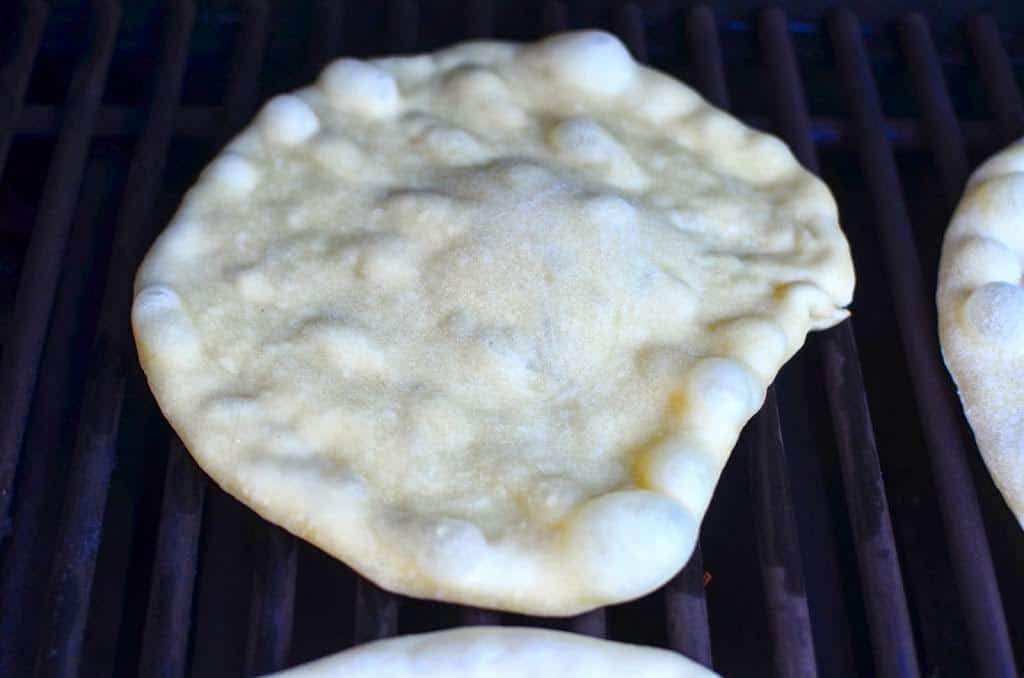
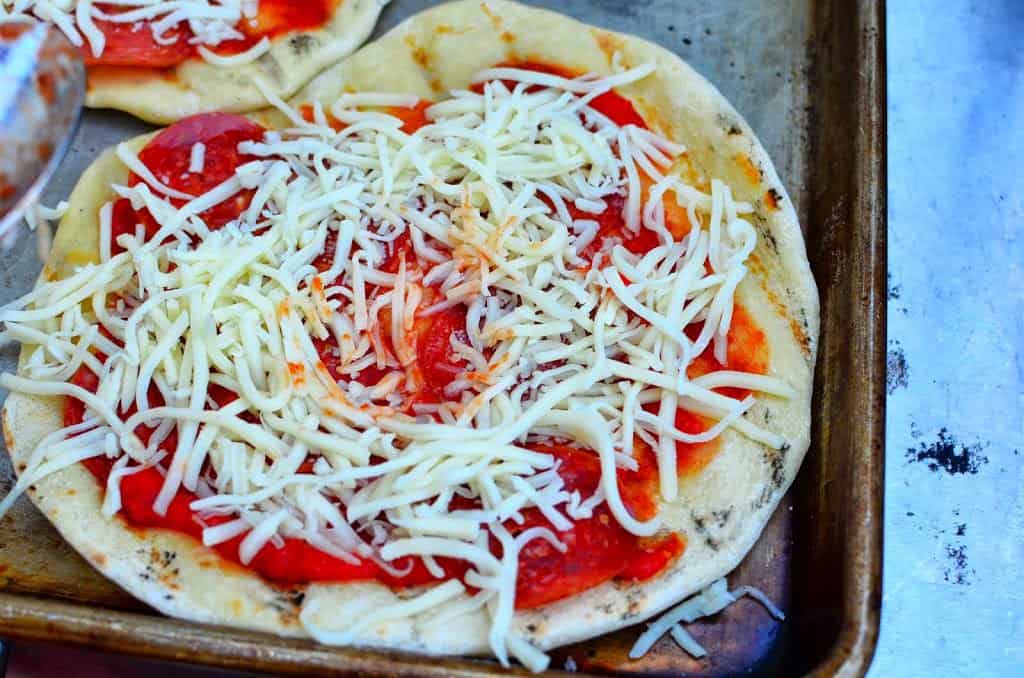
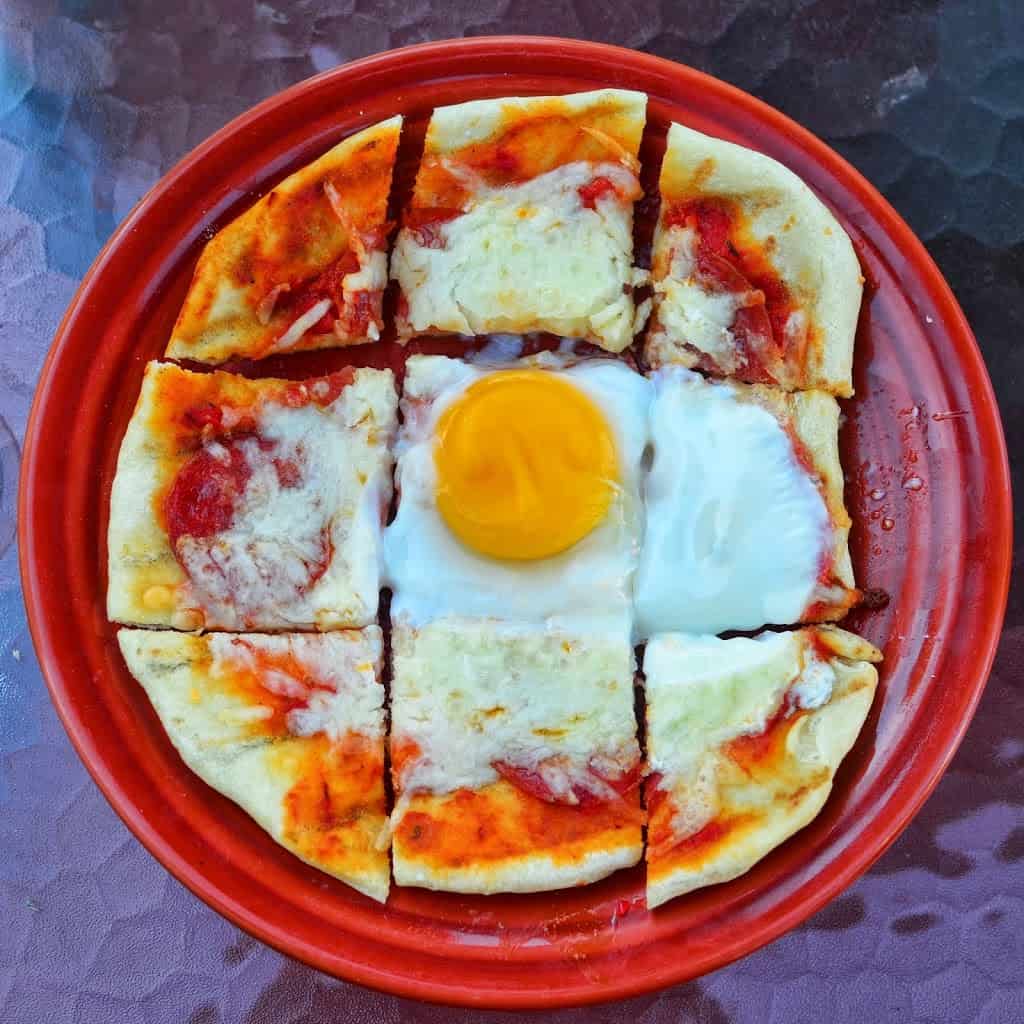
- Pizza shop
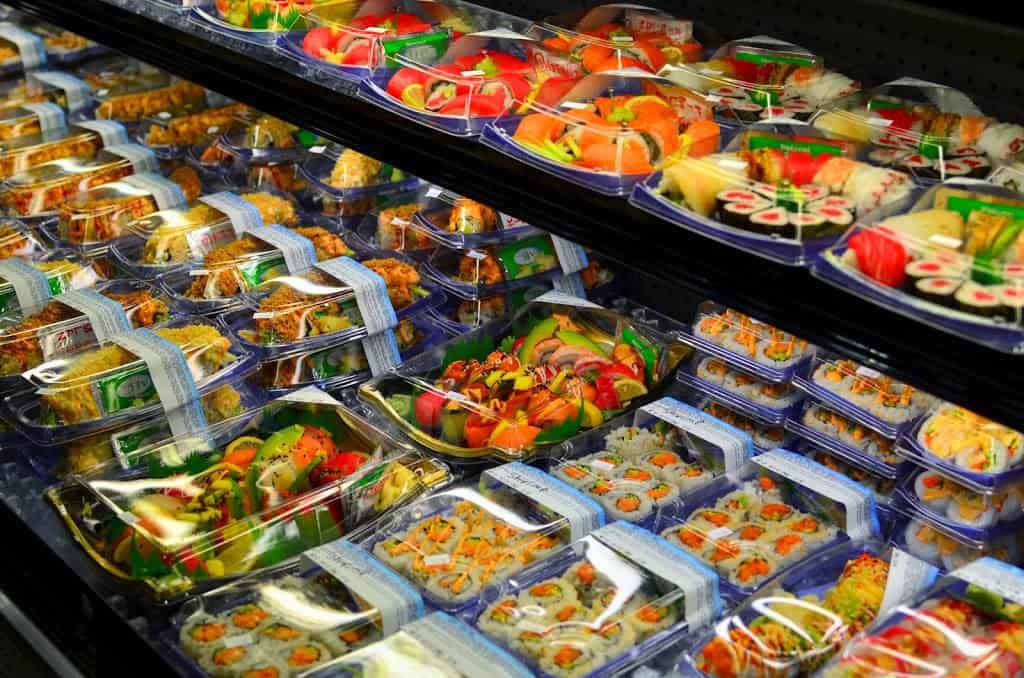
- Sushi bar
- Asian noodle bar
- Wok station - stir fried to order
…and two levels of cafe seating - I recommend the upstairs seating, where you can look out over the whole store.
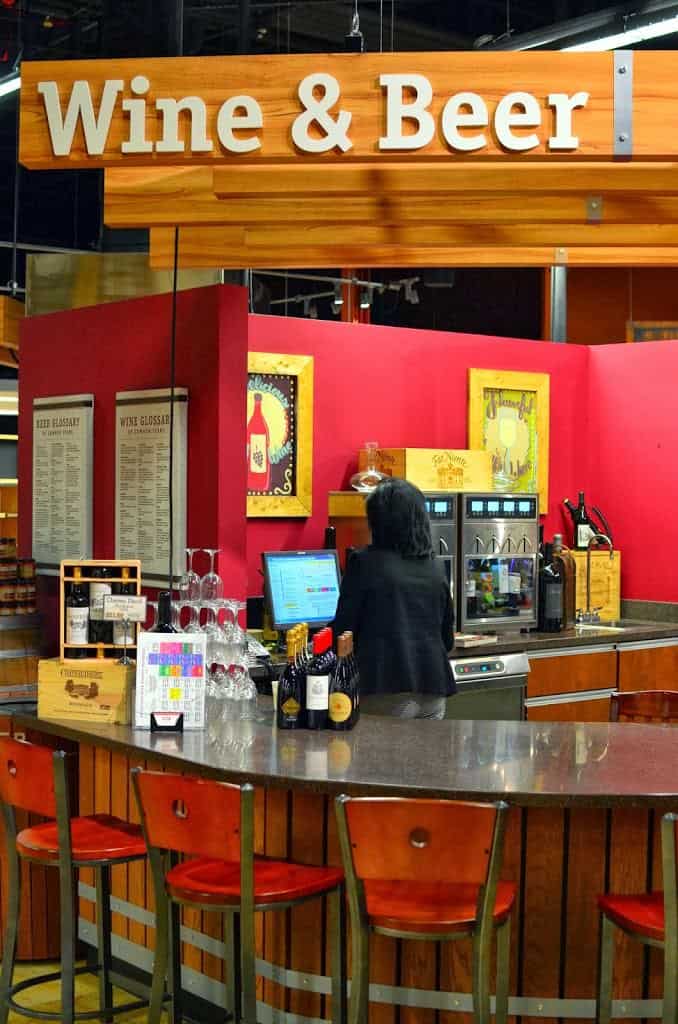
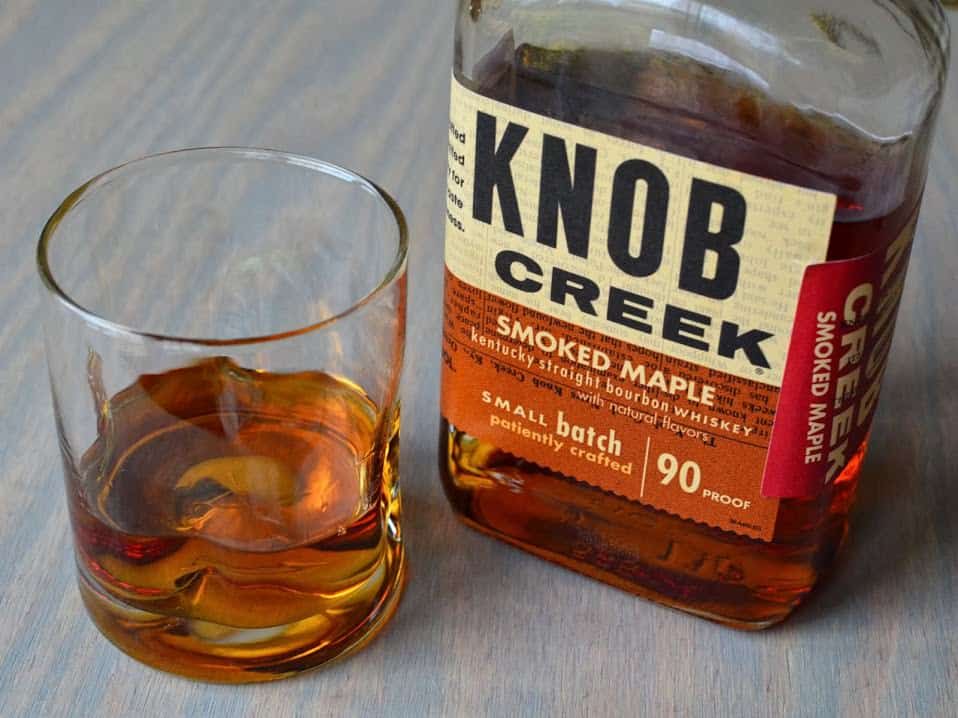
Oh, and did I mention that one of the stations is a bar, serving draft draft beer and wine by the glass? I didn't get a chance to taste - I know it's five o'clock somewhere, but I was still working on my morning coffee. They had a nice selection of wines in wine dispenser, waiting to be poured. They also have 6 for $6 Food & Wine Fridays - wine tastings at 6PM every Friday, with six wines matched with small plates of food. An evening at the grocery store never sounded so relaxing.
One of my fellow bloggers put it all together: "Wait, they have all this food, and wine, and an Eagle's Nest to watch the kids for me?" Unfortunately, my kids are too old for Eagle's Nest child care any more, but…wow. Instant night out for the parents. Drop the kids off at the Eagle's Nest and head over to the food court to relax with a glass of wine and a bowl of noodles.
Gourmet Store
Now, all those prepared foods were interesting. And, I must say, delicious - the samples tasted great. (If you ever want to taste something, ask - they can give out samples of most of their prepared food.)
But I'm a dedicated home cook - I don't buy prepared foods that often. I'm here for the specialty food items I can use in my own kitchen.
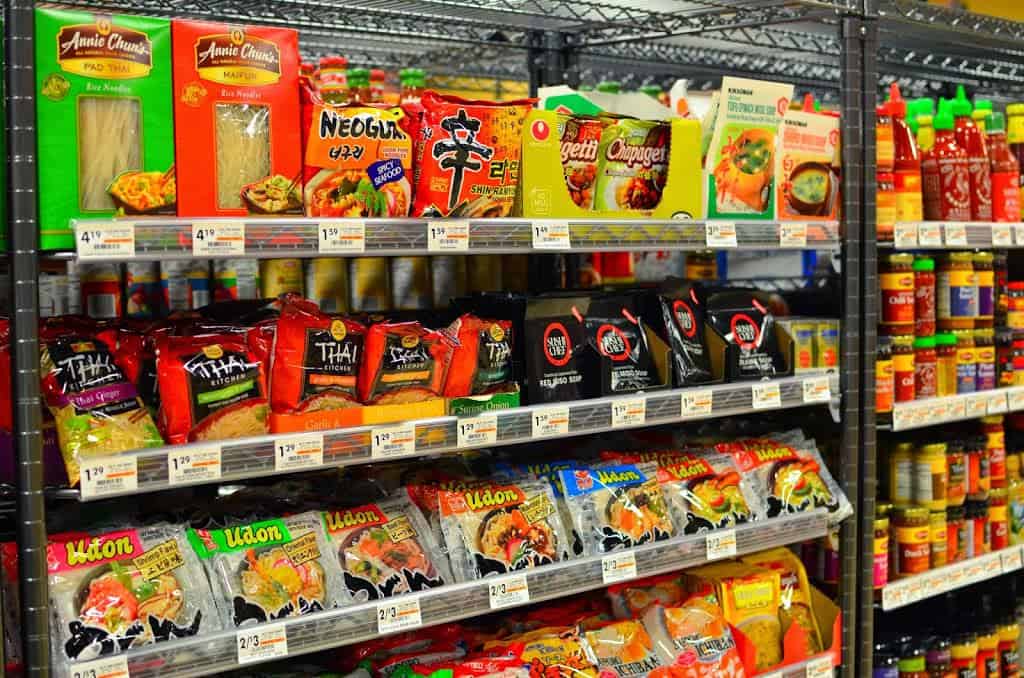
When I first started cooking, grocery stores were limited. The International aisle was where the ramen noodles, pasta sauce, and salsa were stocked. If I needed an ingredient for an authentic recipe, I usually had to find the small, local market that specialized in that cuisine.
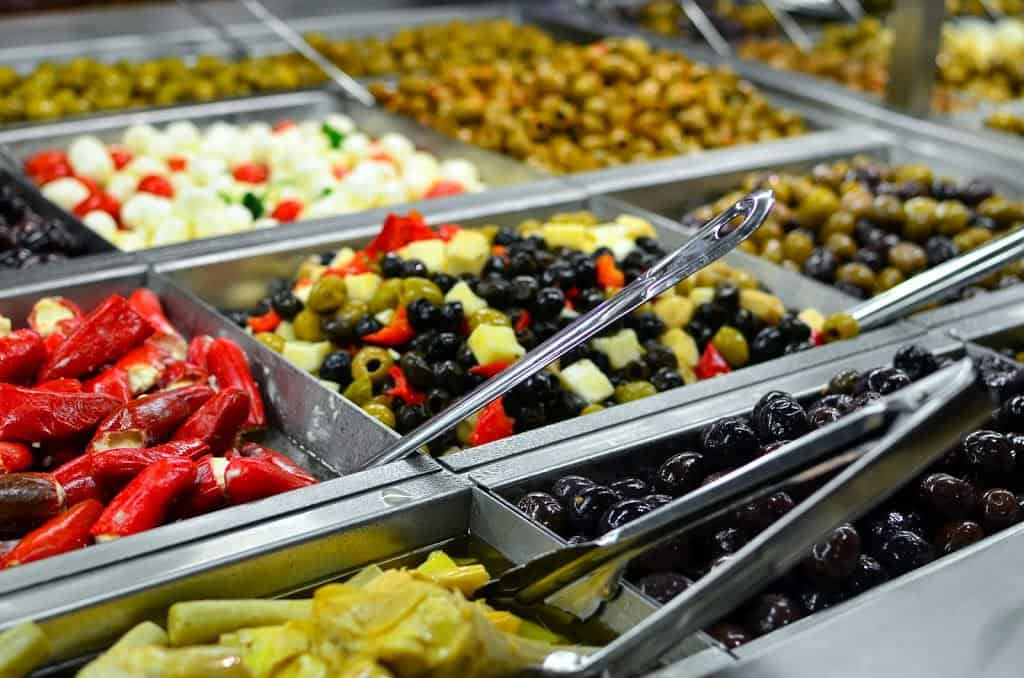
Now, almost every grocery store has a well stocked international section. I can get chipotle peppers and masa harina, sriracha and plum sauce, Kalamata olives and hummus.
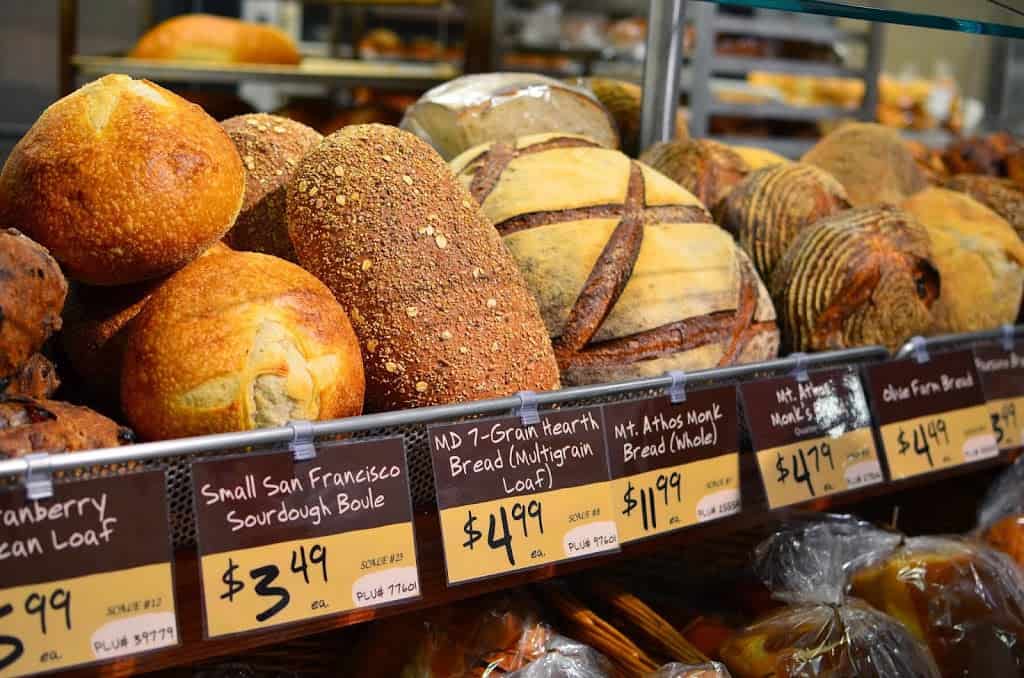
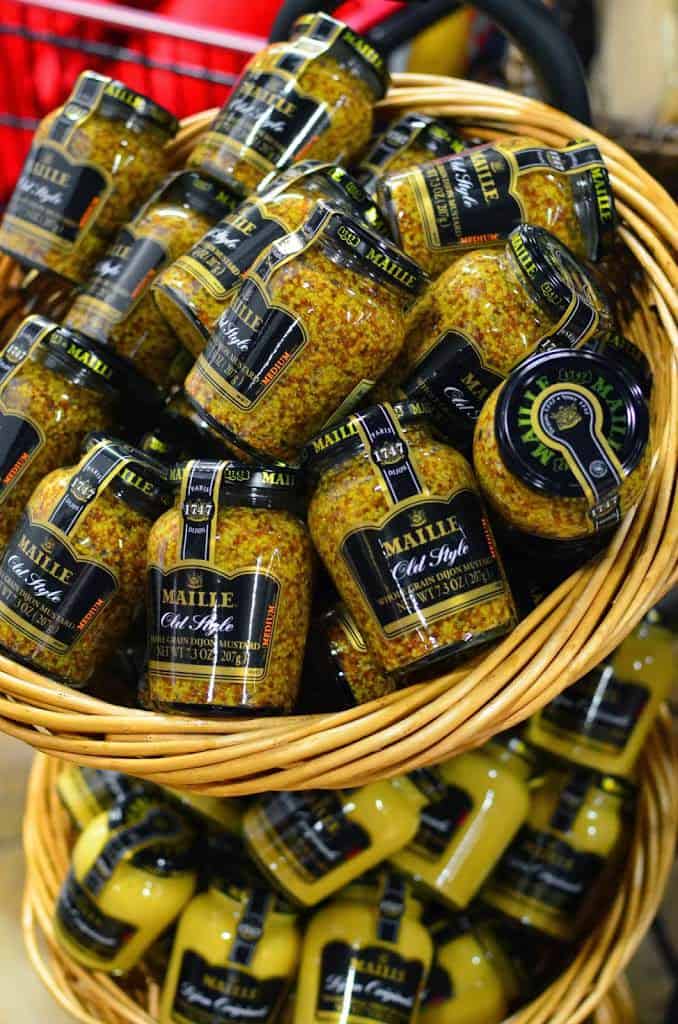
So, what does Market District do to improve on that? They're going out of their way to stock exotic ingredients. I felt like a kid in a candy store. (And I'm not just talking about their in-house candy store.) Everywhere I looked, something else was shouting for my attention:
 |
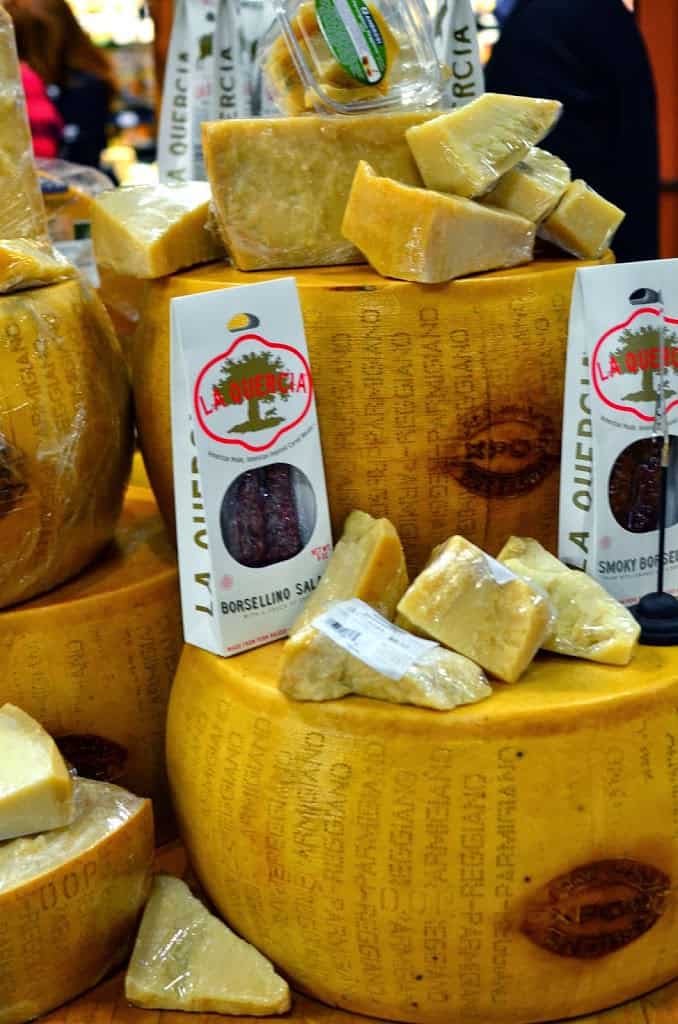 |
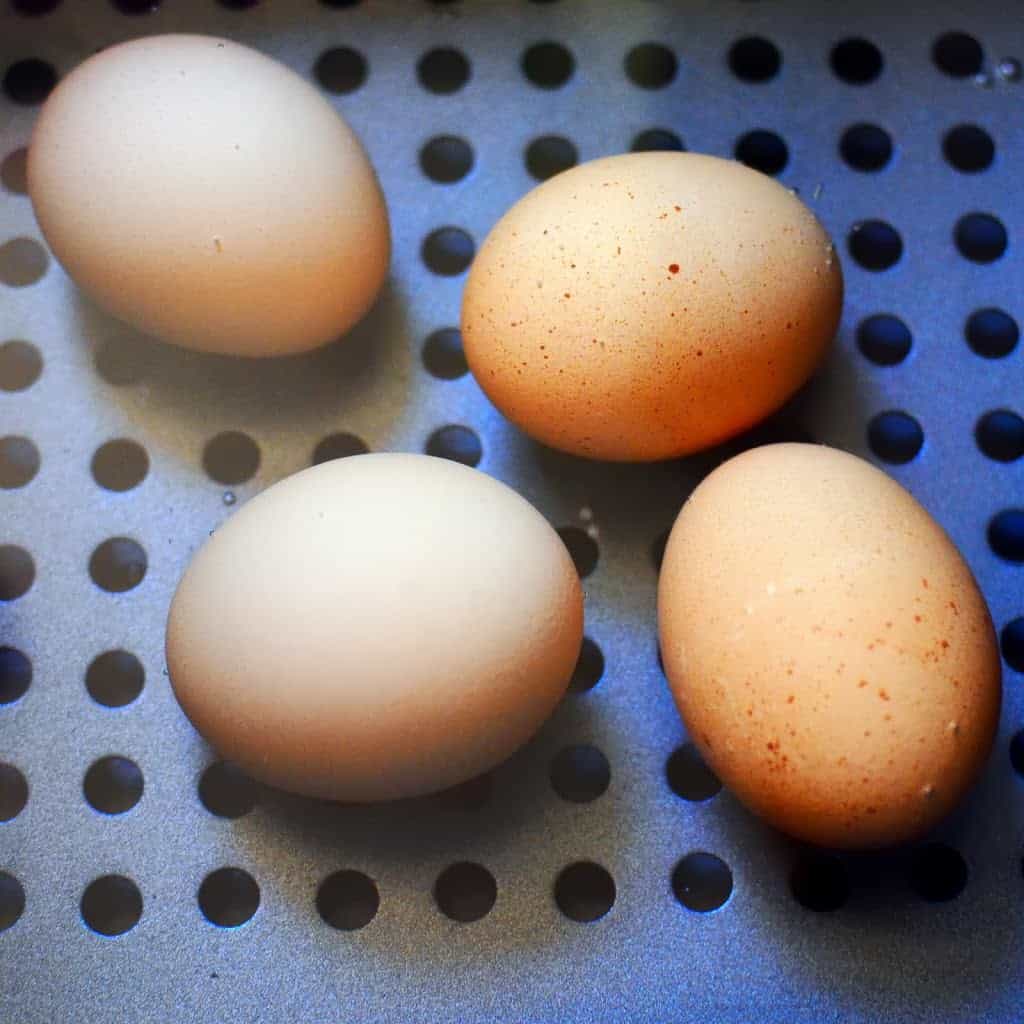
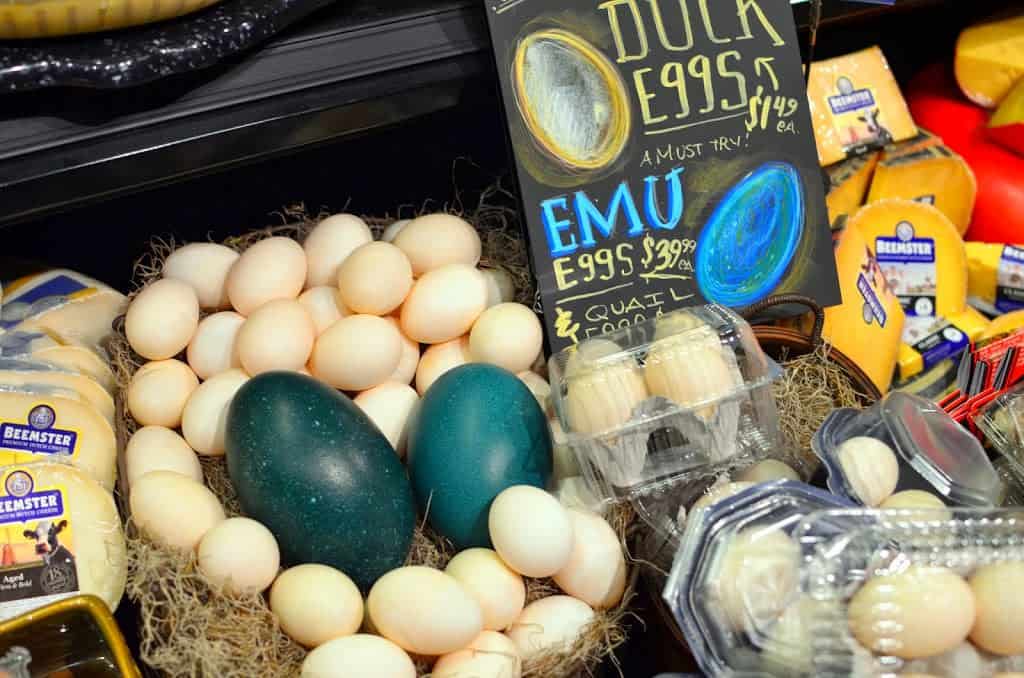
The deli and cheese shop has whole wheels of parmesan, duck leg confit, and Emu eggs. Dark blue, bigger than my fist, and $40 an egg.
I'm not sure what you do with them, but they look like one egg would make an omelet for three people.
 |
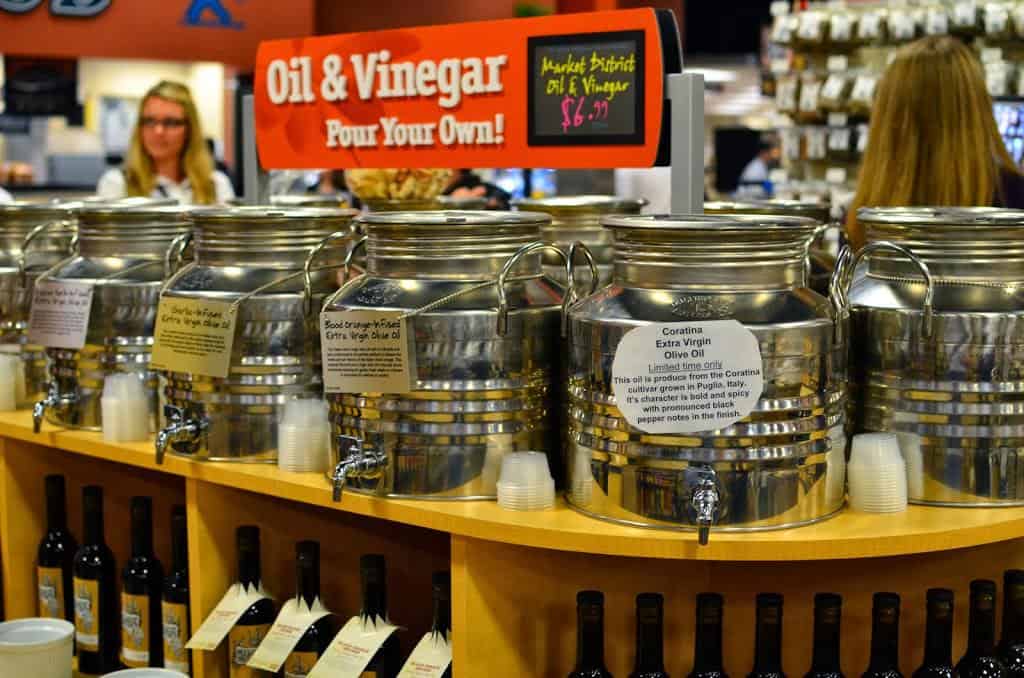 |
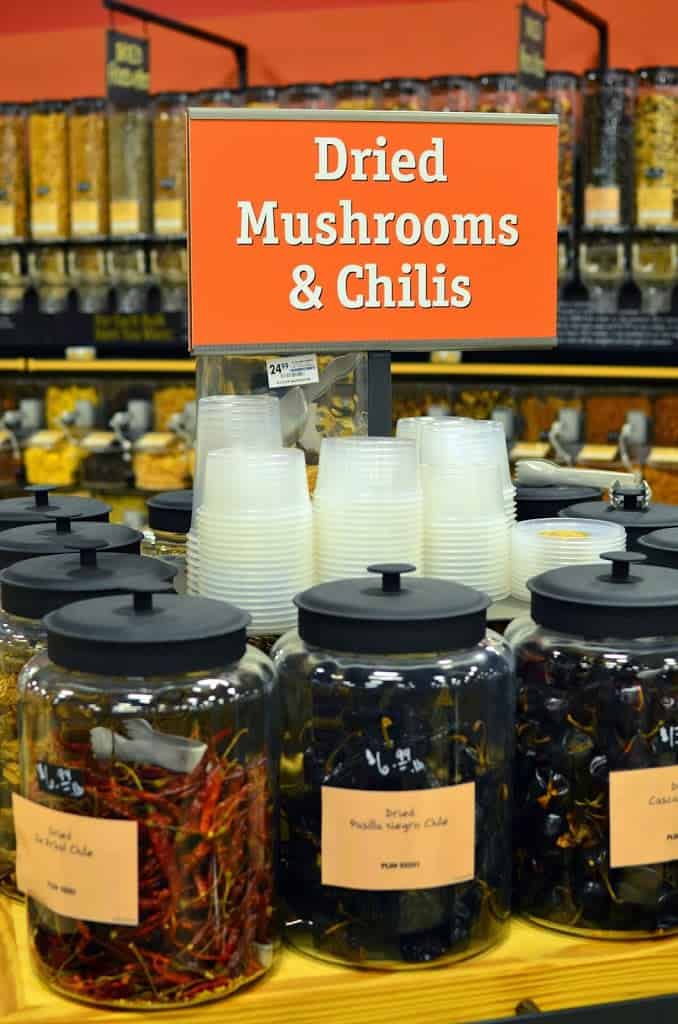
The bulk section has a good selection of beans, spices, and nuts. But it also has loose leaf tea, fill your own olive oil and vinegar, a variety of dried Mexican peppers, and specialty dried mushrooms - including dried morel mushrooms at $200 a pound.
$200 a pound? Yes. You only need one or two at a time, and they are dried, they weigh almost nothing.
 |
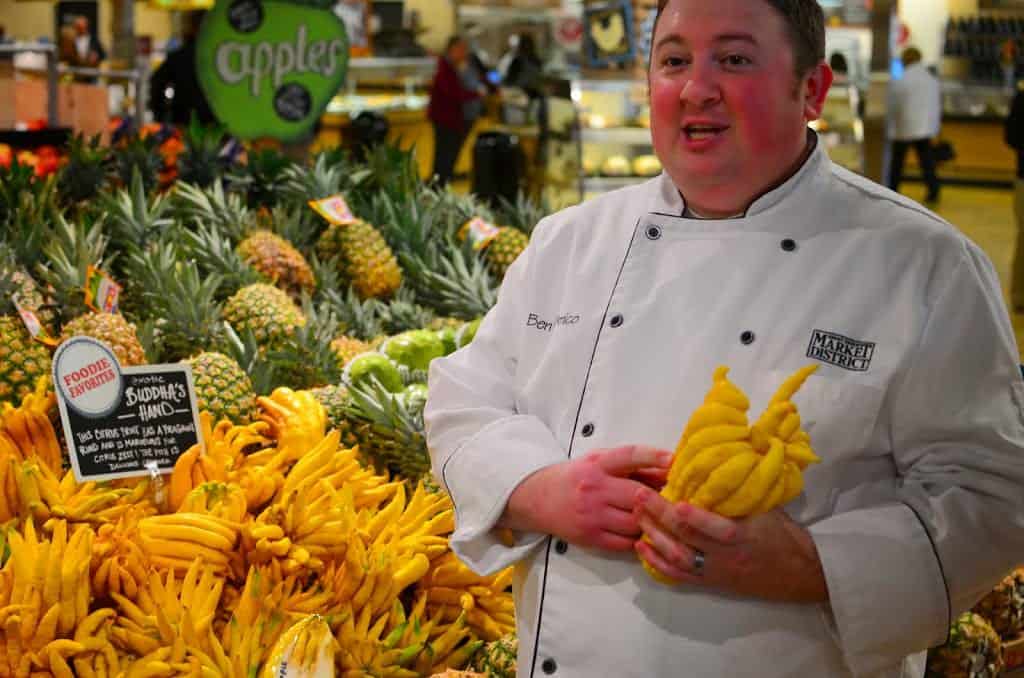 |
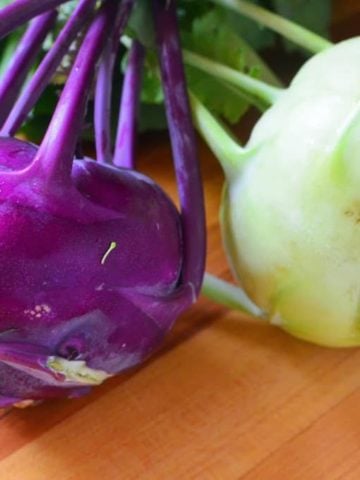
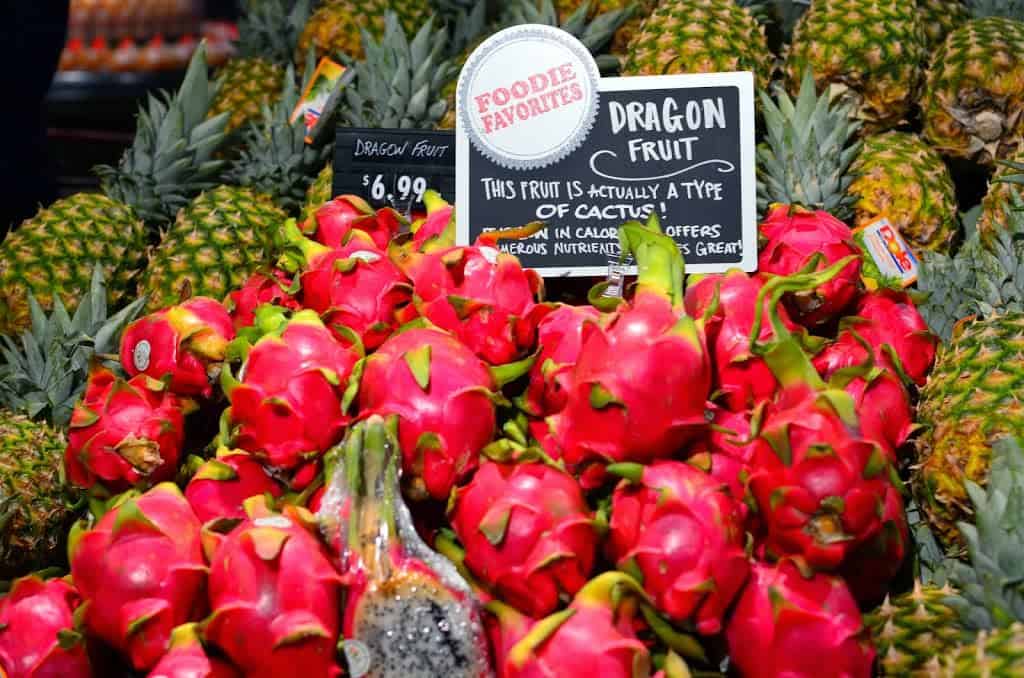
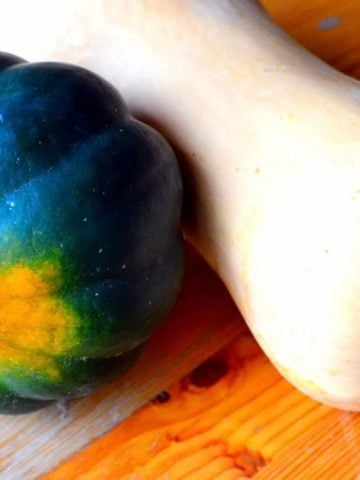
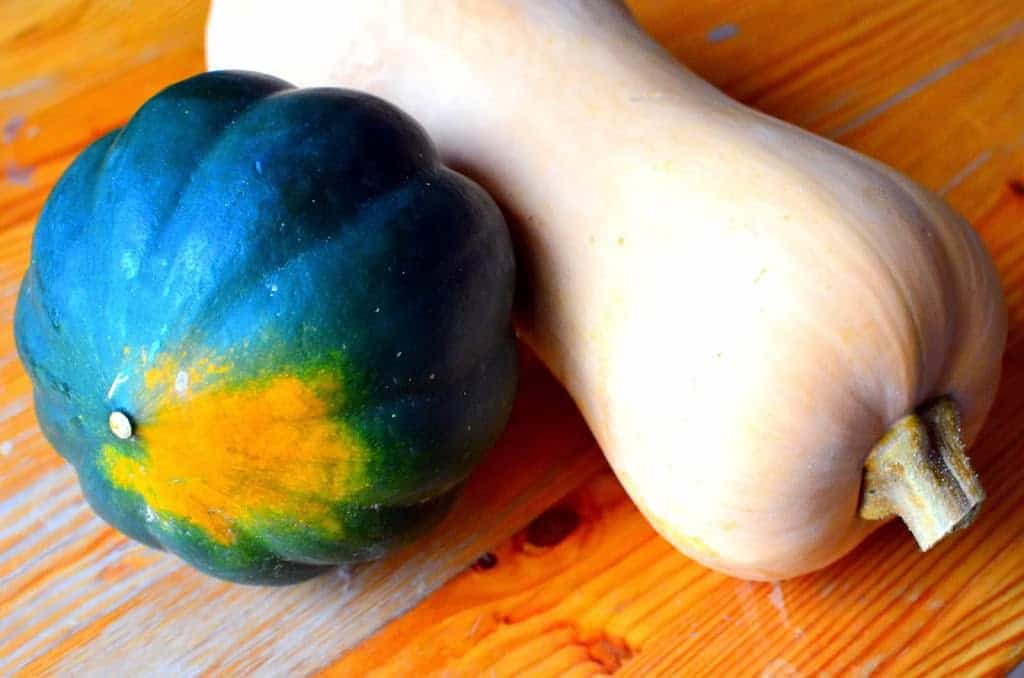
The fresh produce section includes dragon fruit (eat it like a huge kiwi fruit) and Buddha's hand (a kind of citrus, use its peel like you would lemon peel.)
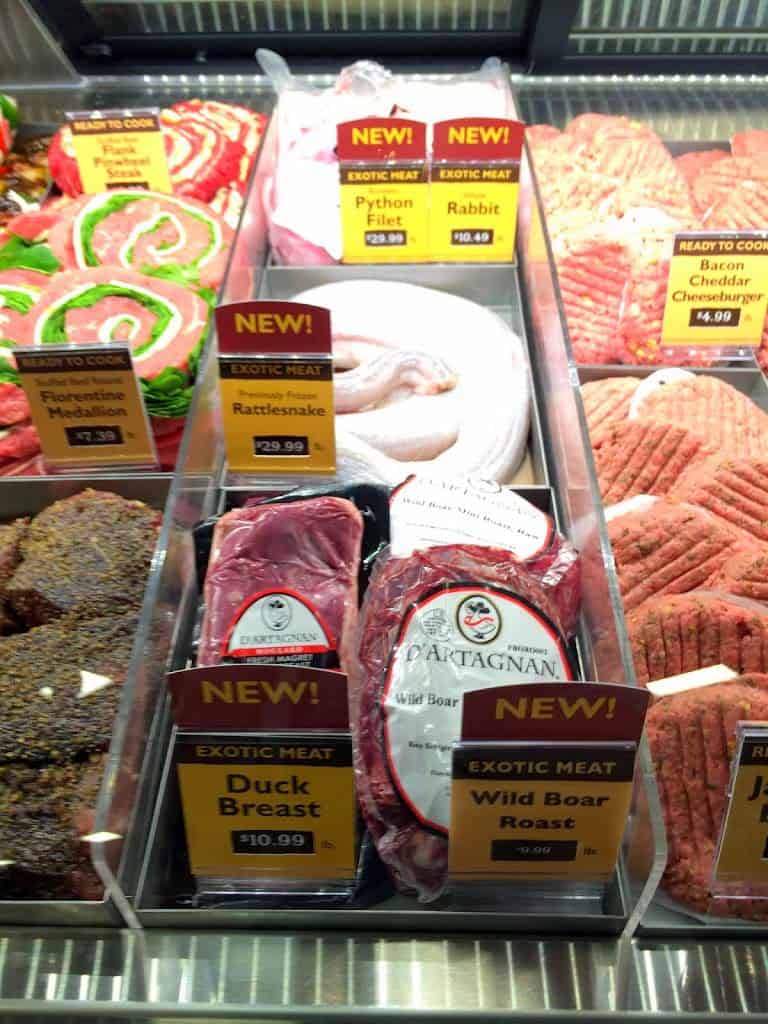
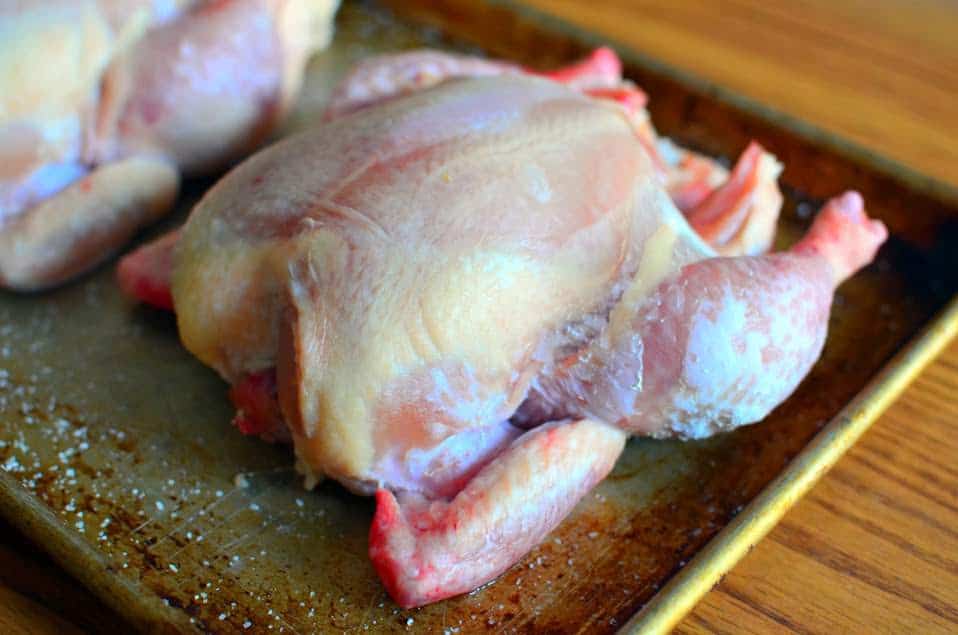
The meat department has an exotic meats section in the meat case, right next to the hamburgers. They stock duck breast…and rabbit, rattlesnake, python, and wild boar. Chef Ben, our tour guide, recommended the python, because it has more meat on the bone than the rattlesnake.
I have to admit, I'm going back to buy wild boar. I've always wanted to cook with it.
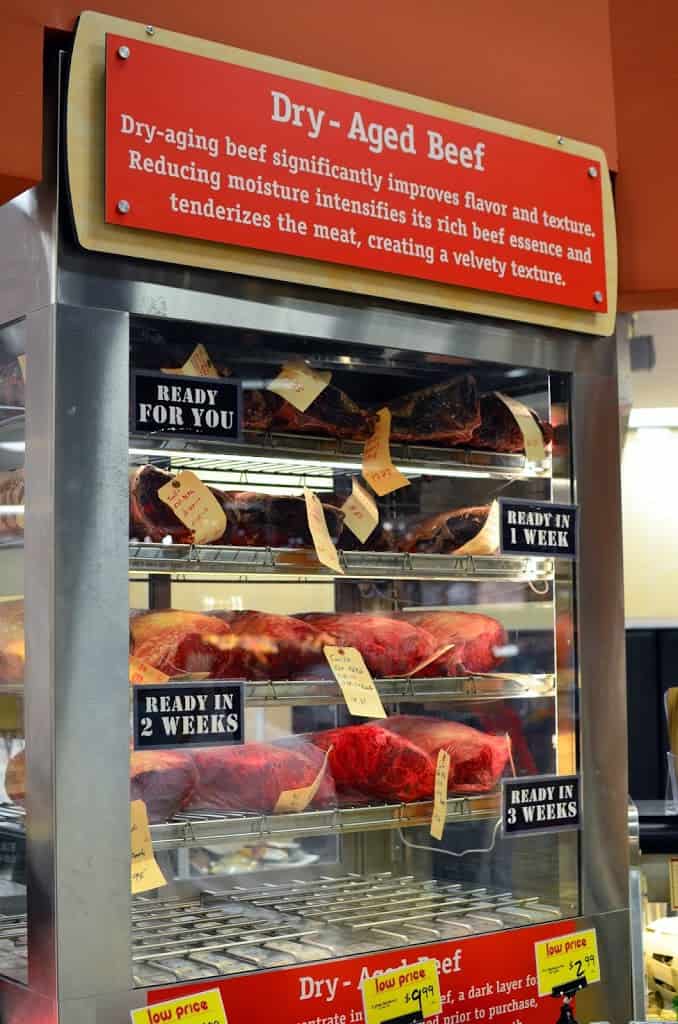
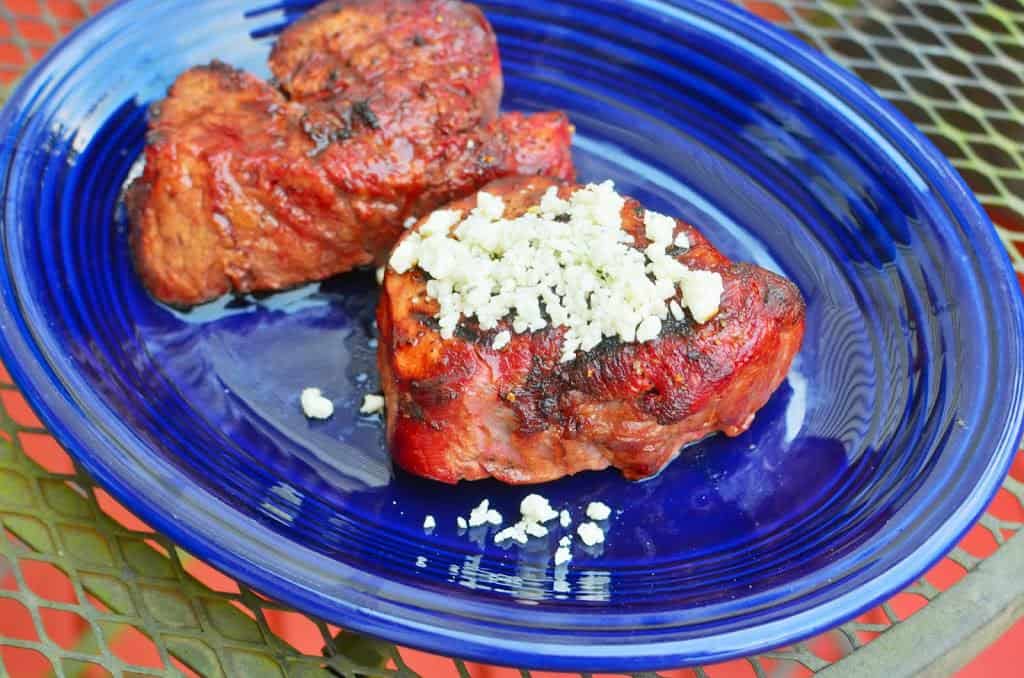
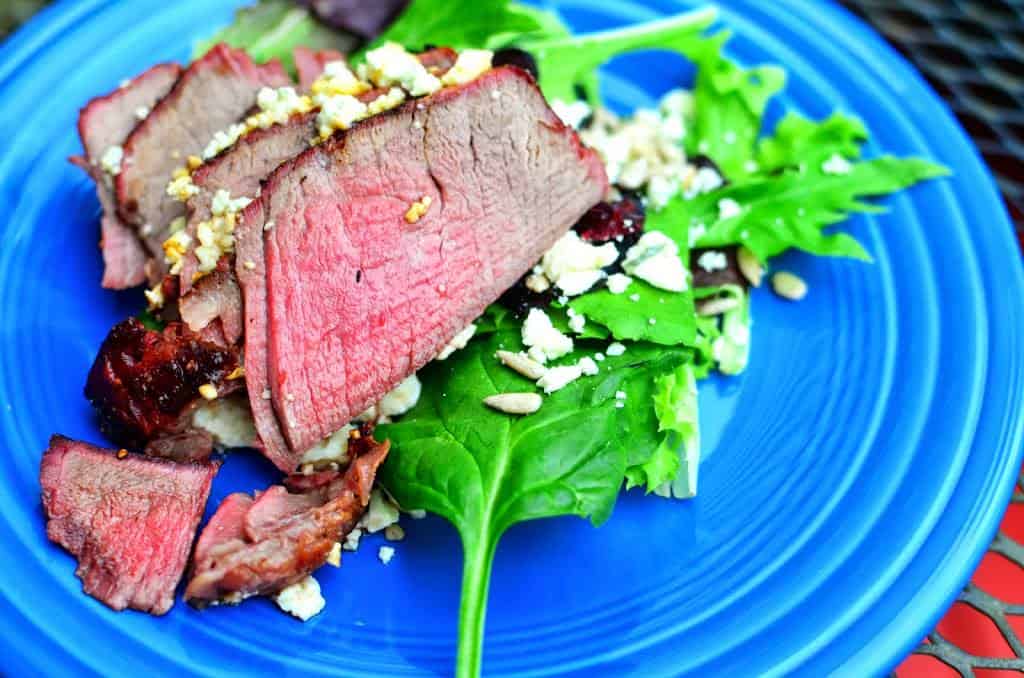
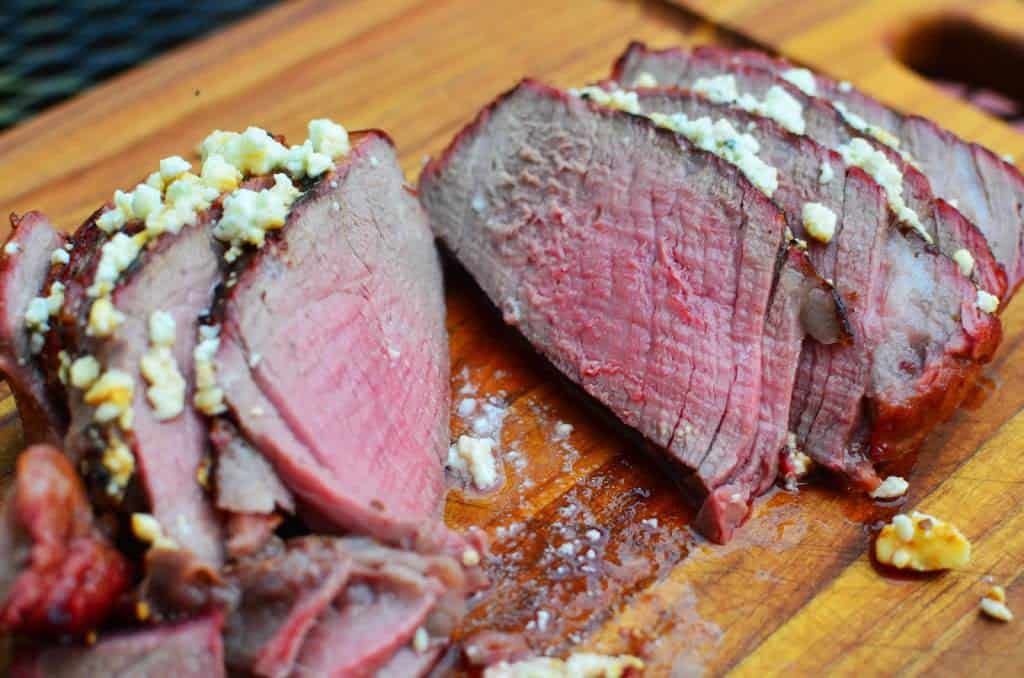
The highlight of the meat department...the highlight of the whole store, in my opinion...was the dry aged beef case. Four levels of rib roasts, dry aging in front of me. Each level is one week older than the one below, from "ready in three weeks" on the bottom to "ready for you" at the top. I was fascinated - I've never seen dry aged beef before, and here it was in a real life time-lapse picture, getting darker and darker as you went up the case.
Other home cook resources
They have two other great resources for home cooks. The first is the Demo station, where a on-staff chef gives cooking demonstrations every day. The demo chef is also available for recipe help - if you have problems, bring the recipe to the demo chef, and he'll work with you to try to straighten things out.
Not that I ever have problems with recipes. Oh, no, not me.

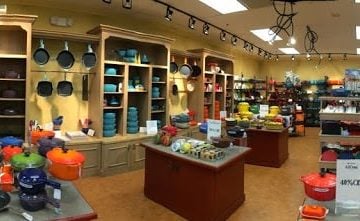
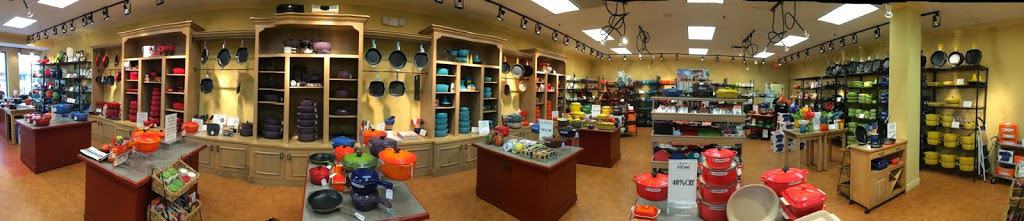
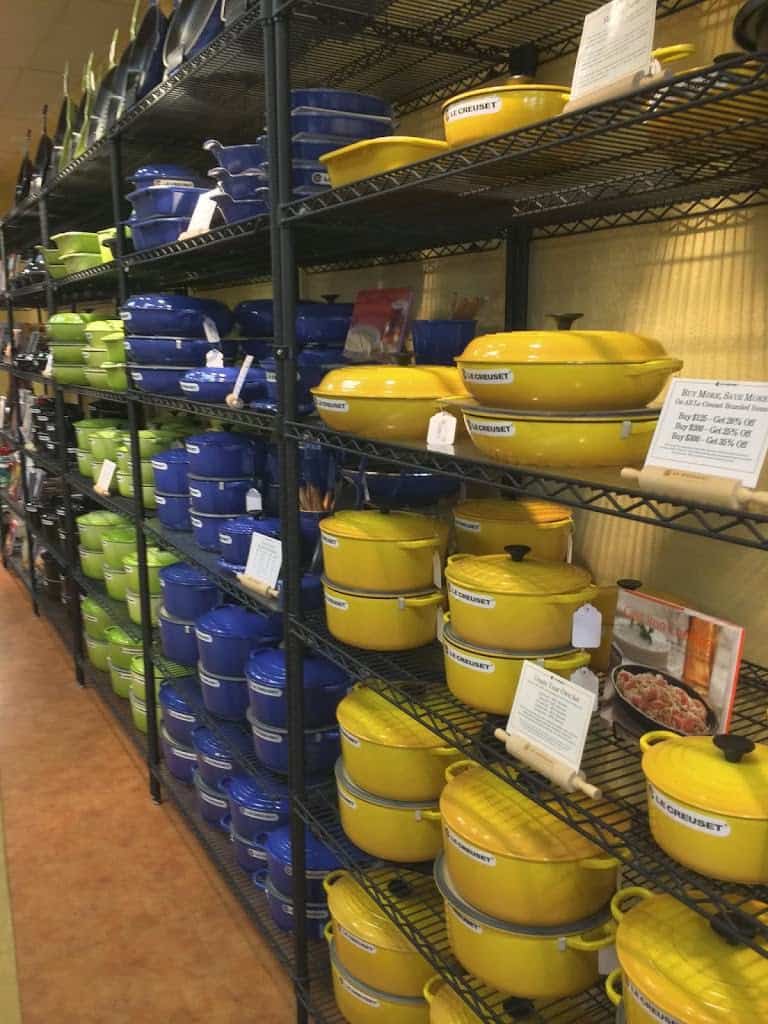
Also, their housewares section stocks much higher quality cookware than a typical grocery store. I saw Kuhn Rikon, Oxo, and Zyliss gadgets, and Victorinox knives - my favorite "inexpensive but good" knife brand.
 |
 |
Regular grocery store
These gourmet ingredients are surrounded by a Giant Eagle grocery store. The exotic meats and dry aged beef are part of the meat department, right next to the sale on hamburgers. The Dragon fruit is sitting next to the pineapples. Everything in a normal grocery store is there…with Giant Eagle's everyday prices. It's the best of both worlds - I can buy my specialty gourmet ingredients (at specialty gourmet prices), but kitchen staples are at their usual prices, with their usual Giant Eagle sales (buy one get one free!). I don't have to spend my whole paycheck to do one stop shopping.

Tyler Florence
Market District brought chef Tyler Florence in to celebrate the grand opening. He signed books for hundreds of fans - and for each book signed, Market District donated a turkey to a local hunger center. But us lucky bloggers got to talk with him beforehand in a small group. I expected a Tyler to tell us some professional chef war stories, a few anecdotes about being a television personality on Food Network, plug his California Crush wine. Then I'd get a few quick words with him while he signed a copy of his cookbook for me.
Boy, was I in for a surprise.
Tyler arrived the day after speaking at the Design Leadership Summit, where he gave a talk about what it takes to be a name brand, and how he built his own brand. He grilled us. where were we at, as bloggers? Where did we want to go? What are our strengths and weaknesses? What is our point of view? Who is our audience, and are we writing to them, or just to ourselves? Did we want to be local to Akron, or go national?
It wasn't just a lecture. He was asking questions, pushing us to answer, then following up with more detailed questions. He told us to think big, and imagine our best case scenario - everything goes right, we're as successful as we can possibly be - and starting with that in mind, to work backwards. "Reverse engineer your success." Don't take no for an answer. "Flow around roadblocks and gatekeepers like water", then keep moving towards our goal.
I expect a signed cookbook and a picture. I get a motivational seminar and a kick in the pants. Tyler, thank you!
Shout out to my fellow bloggers
Blogging is solitary work. We communicate through retweets and, if absolutely necessary, email. So, it was fun to meet a group of fellow bloggers in person, and talk shop while we toured the store. Hi, everyone!
AkronOhioMoms.com
CouponingWithRachel.com
HallOfFameMoms.com
OneMommySavingMoney.com
ABusyMomOfTwo.com
Thank you Market District
My only regret? Green is a half hour drive from where I live. They're taunting me. Giant Eagle, can you convert one of your two Copley/Fairlawn area stores into a Market District? Soon? Thank you.
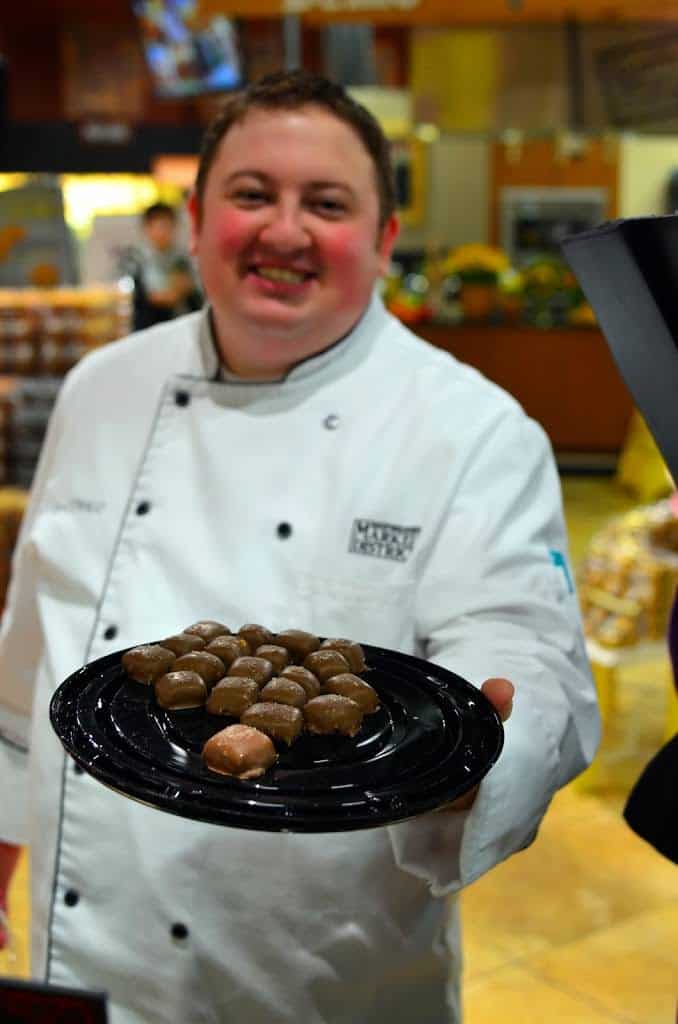 |
| Chef Ben, insisting I try a truffle. Twist my arm. |
But seriously, thank you to Troy Detter, Social Media Manager, for inviting me and being a gracious host, and to chef Ben D'Amico for leading our tour of Market District. I had a great time, and will be back, even with the 30 minute drive.
That is, as soon as the crowds die down - I wasn't kidding about the stampede by the locals. By the time the ribbon cutting ceremony was done, the place was packed.

Map
What do you think?
Any questions? Ever been to a Market District? Talk about it in the comments section, below.
*Enjoyed this post? Want to help out DadCooksDinner? Subscribe to DadCooksDinner using the RSS or Email options on the right, recommend DadCooksDinner to your friends, buy something from Amazon.com through the links on this site, or donate through my tip jar. Thank you.


 From
From 
 From
From  From
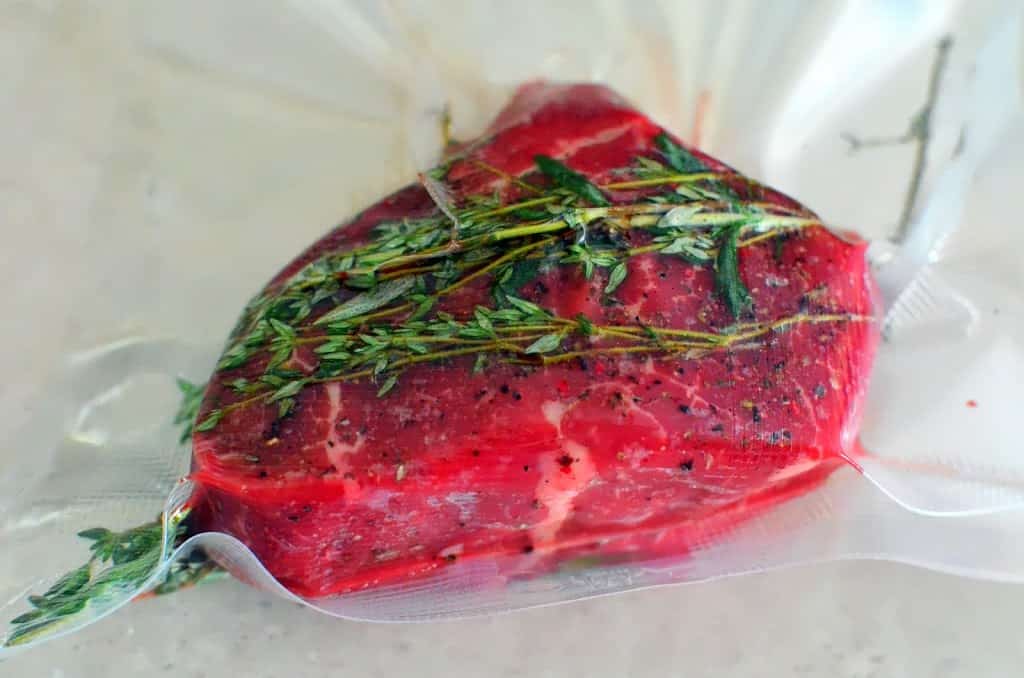
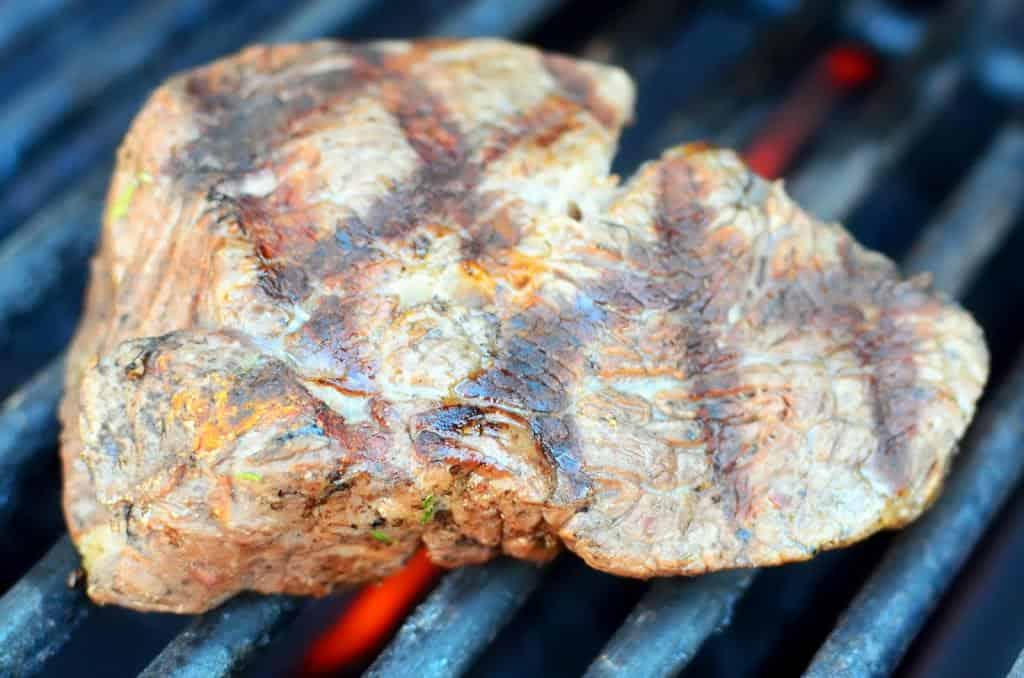
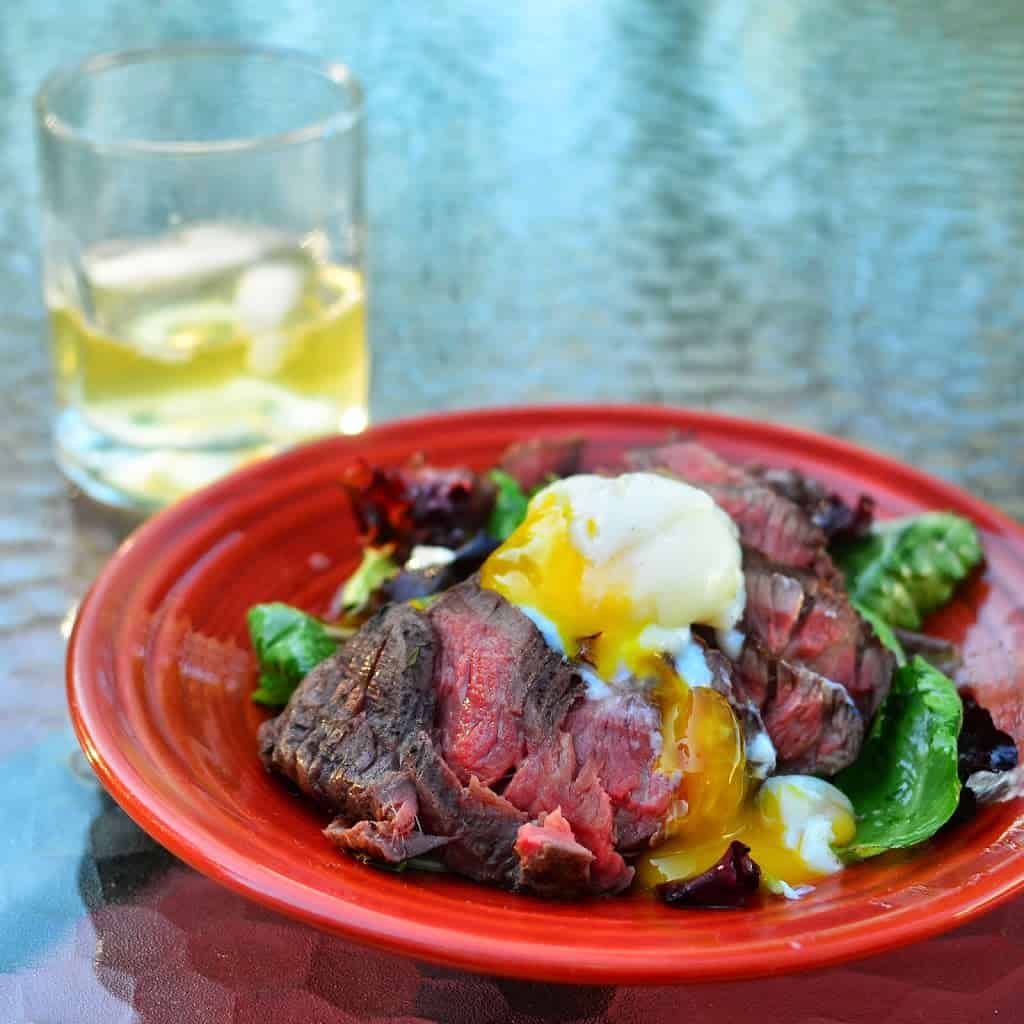
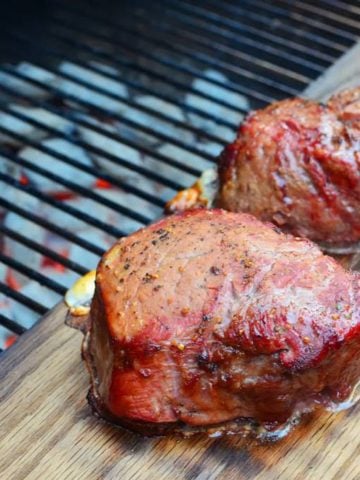
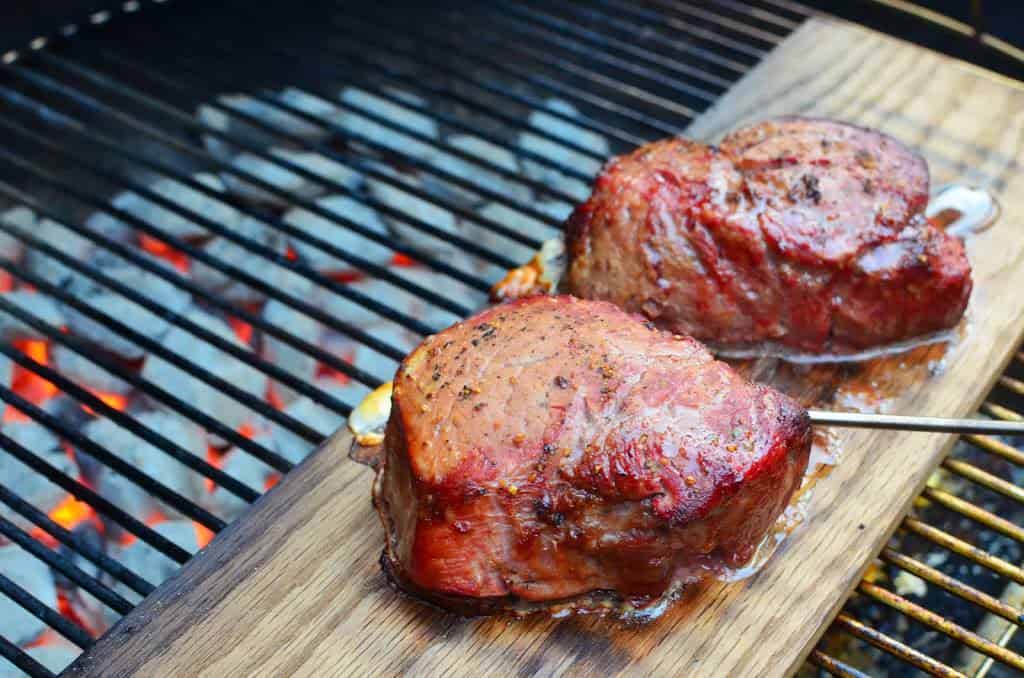
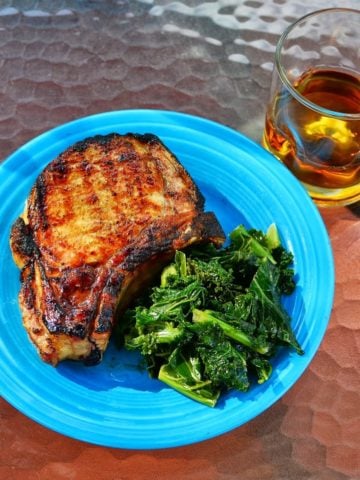
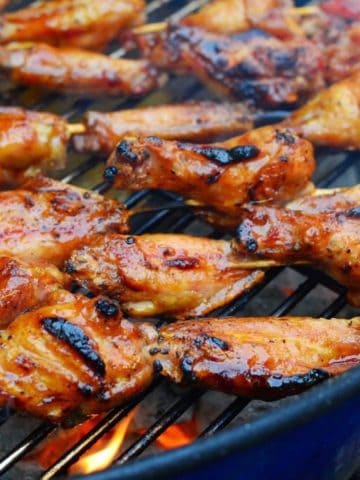
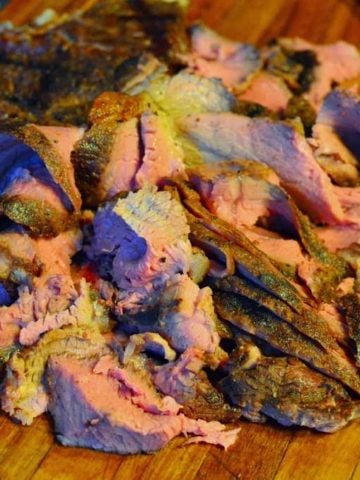
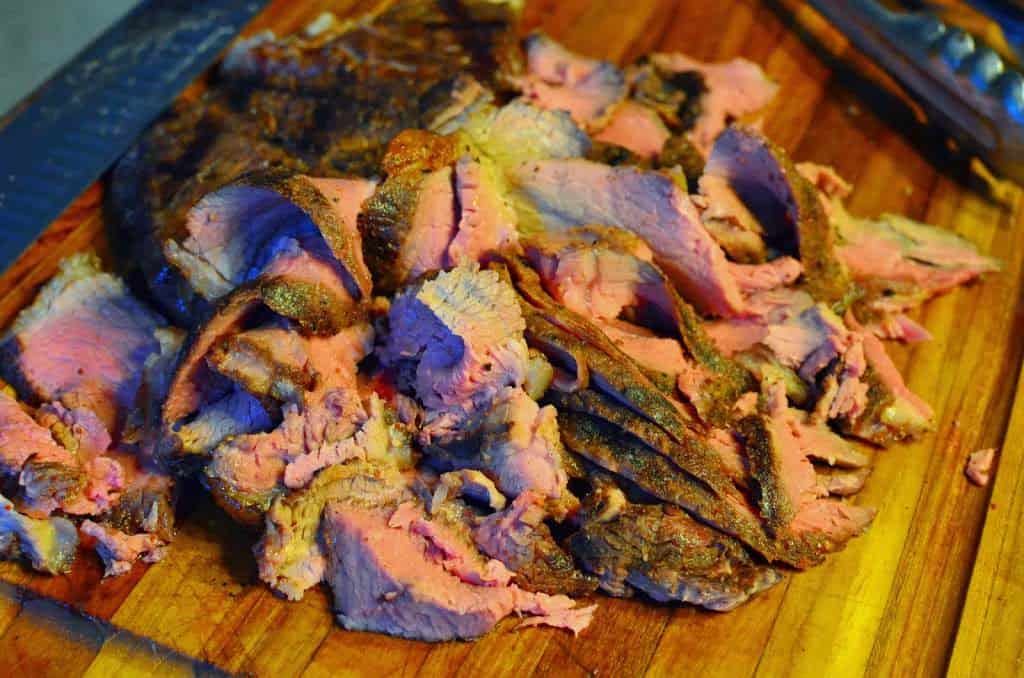
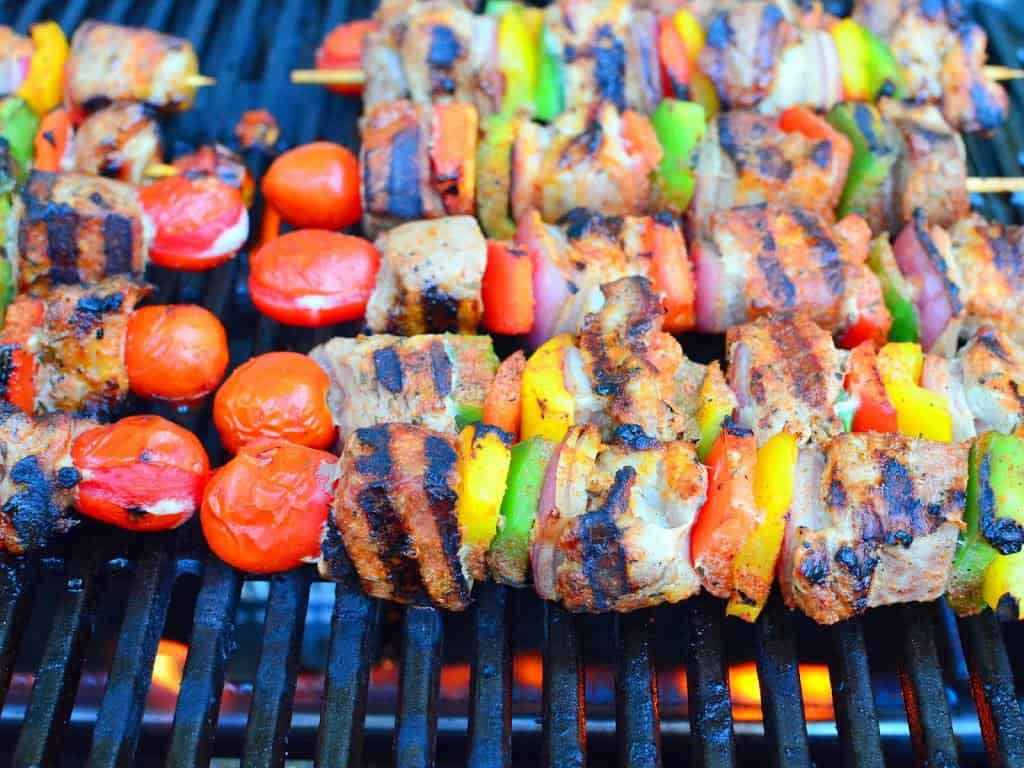
From 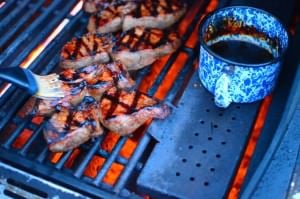 From PicOfTheWeek: Grilled Teriyaki Top Sirloin