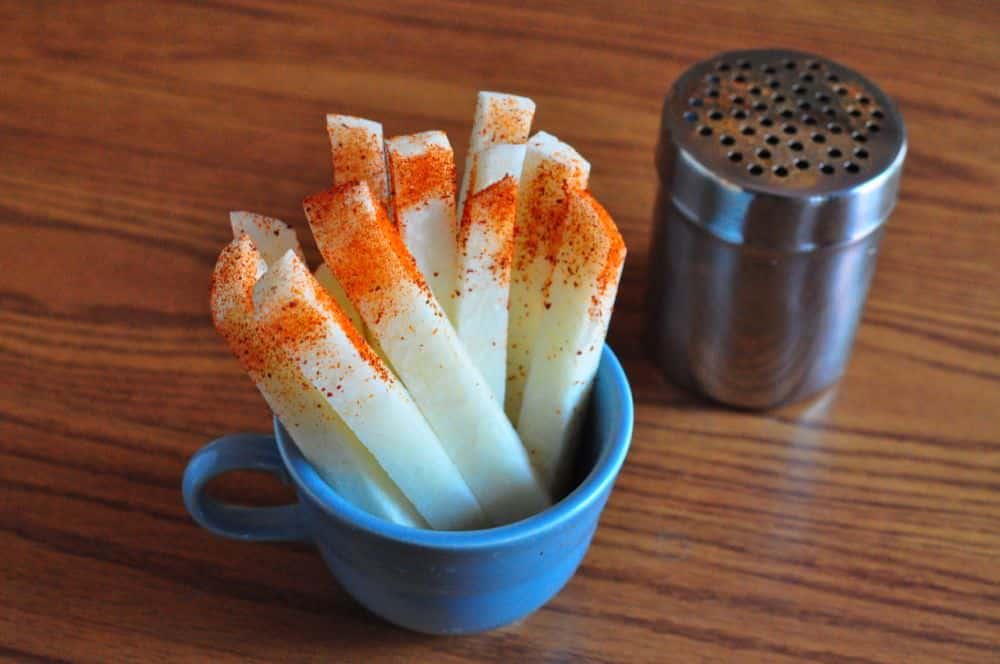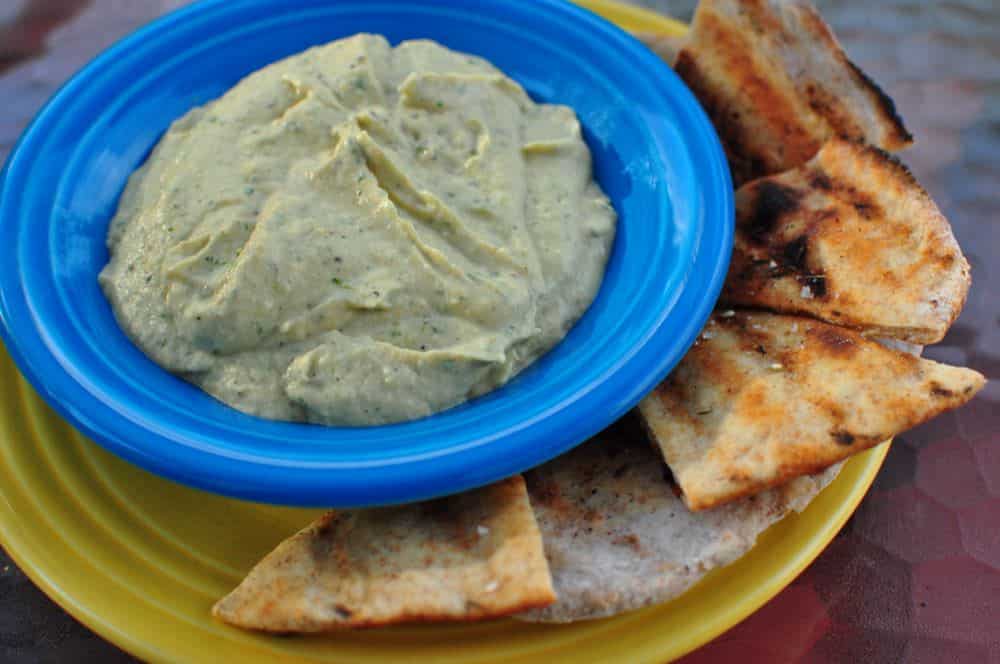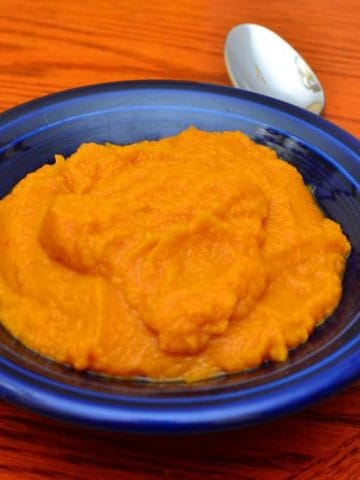

Roasted sweet potato puree in a half an hour, with most of that being hands off time. Sounds like a miracle? It's not a miracle, it's science!
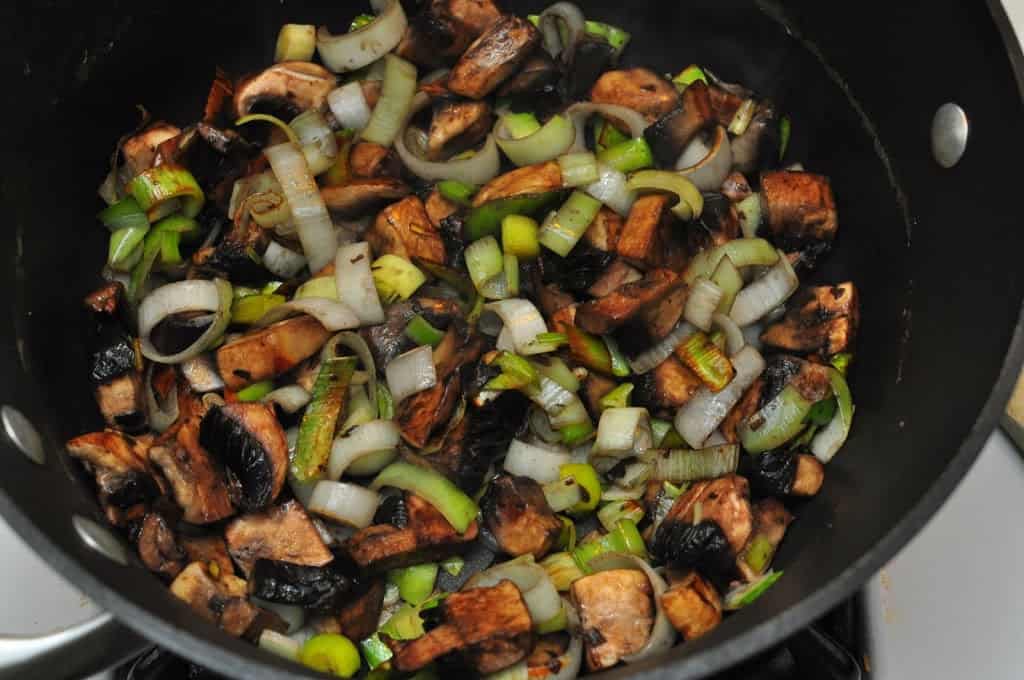
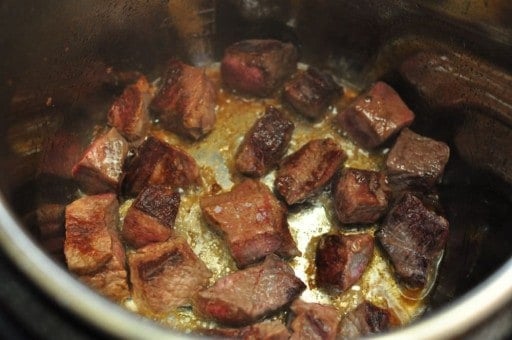
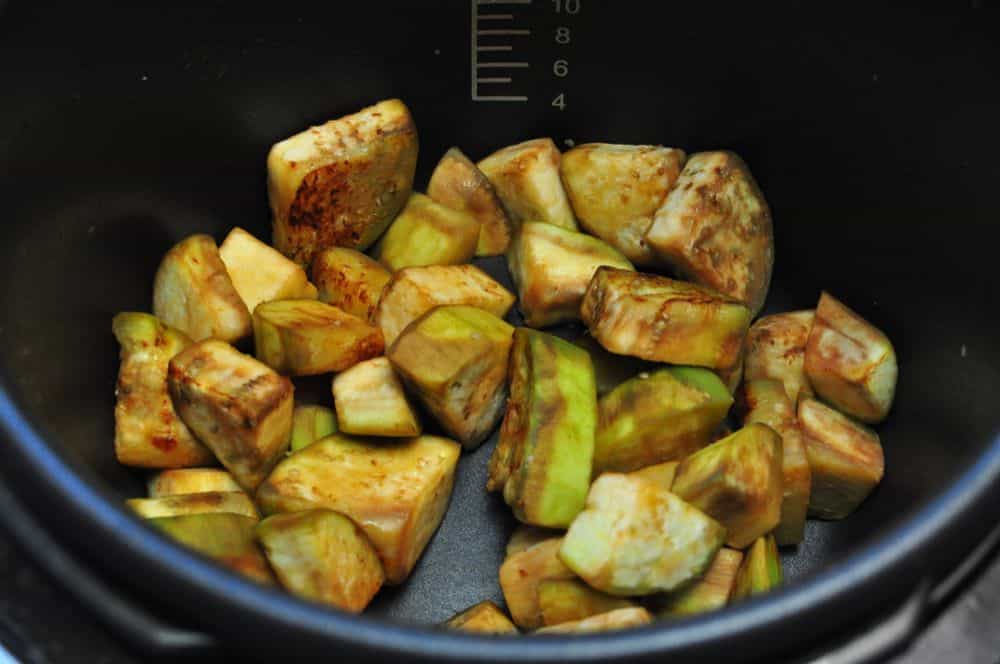
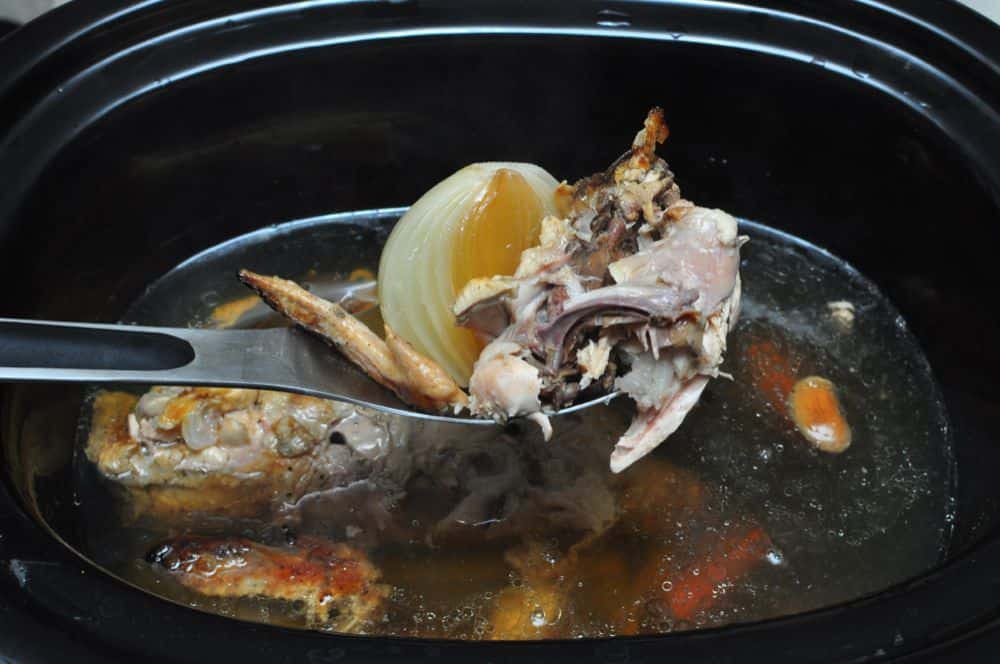
This is one of the neatest tricks I learned from Modernist Cuisine at Home. Browning occurs at much lower temperatures in an alkaline environment. The Maillard reaction normally occurs at temperatures above 350°F. According to MC@H, browning occurs at 230°F in an alkaline environment. We can easily reach that temperature in a pressure cooker, and the result is sweet potatoes that are browned all the way through.

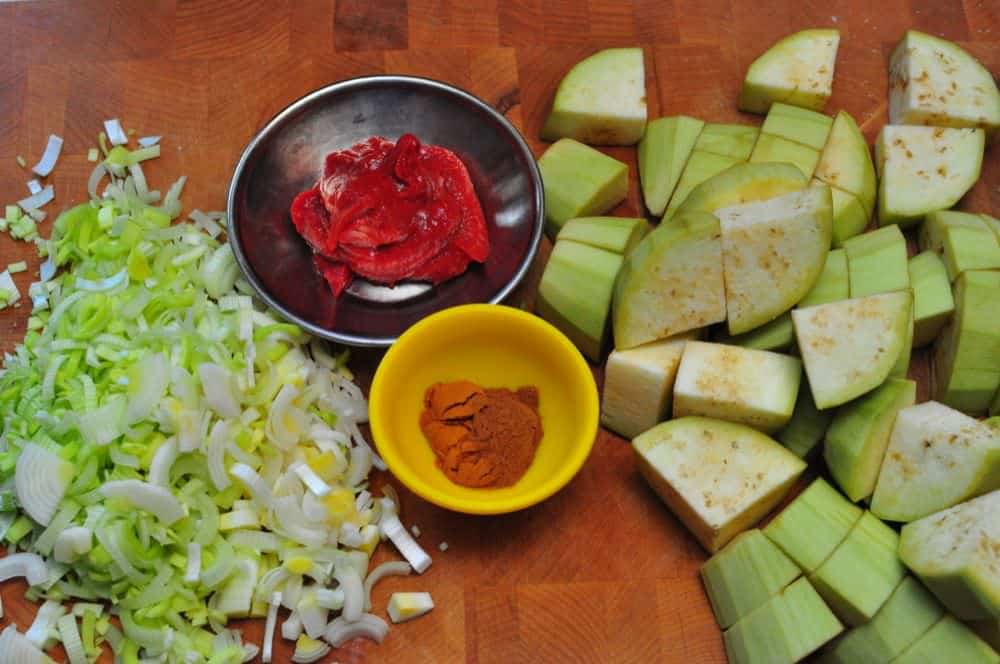
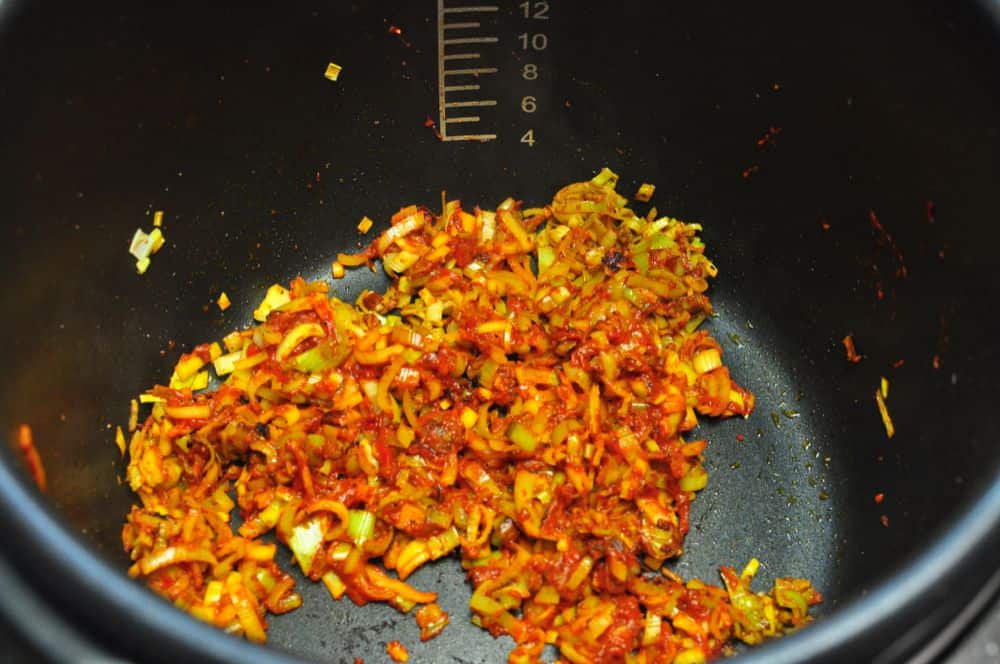
I'm using this technique with sweet potatoes, but it works with almost any vegetable. I've used it with carrots (via ModernistCuisine.com) and winter squash (via SeattleWeekly.com and Seattle Food Geek). In the book (MC@H) they make a range of vegetables - from leek and potato onion soup to roasted red pepper puree.
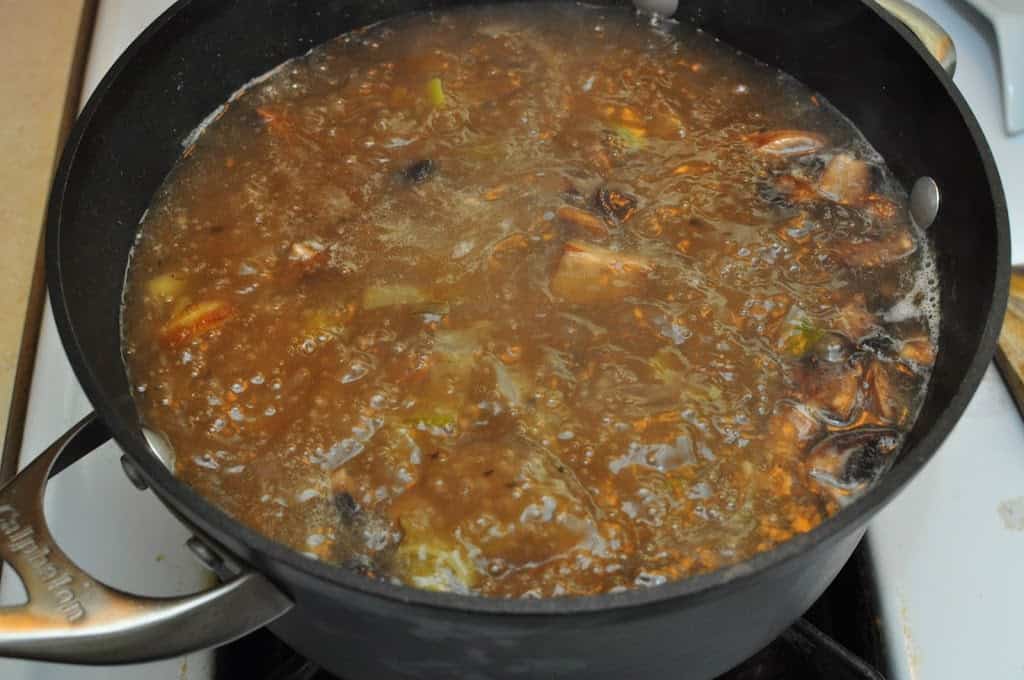
Now, one question I had - Modernist Cuisine pressure cooks the vegetables for 20 min. Everyone else (for example, my Cuisinart Electric PC) recommends 6 minutes, max. Why the extra time? To give the vegetables time to brown all the way through. Yes, that's right, the interior of the vegetables will brown as well as the exterior.
If you own a Pressure Cooker, you need to try this technique out.
Adapted From: Modernist Cuisine at Home
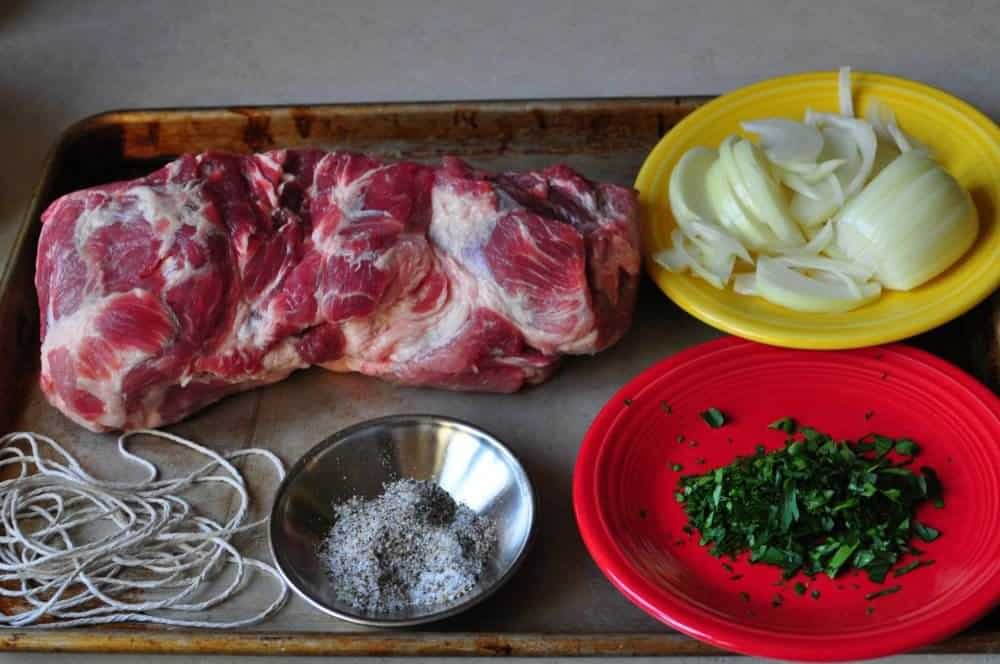
Equipment
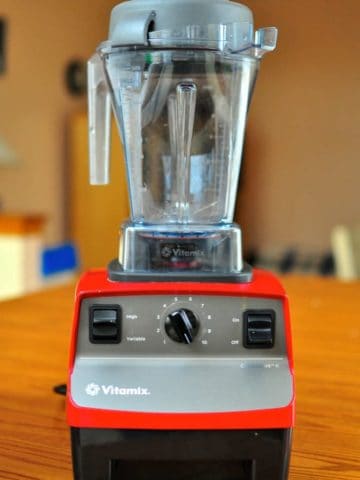
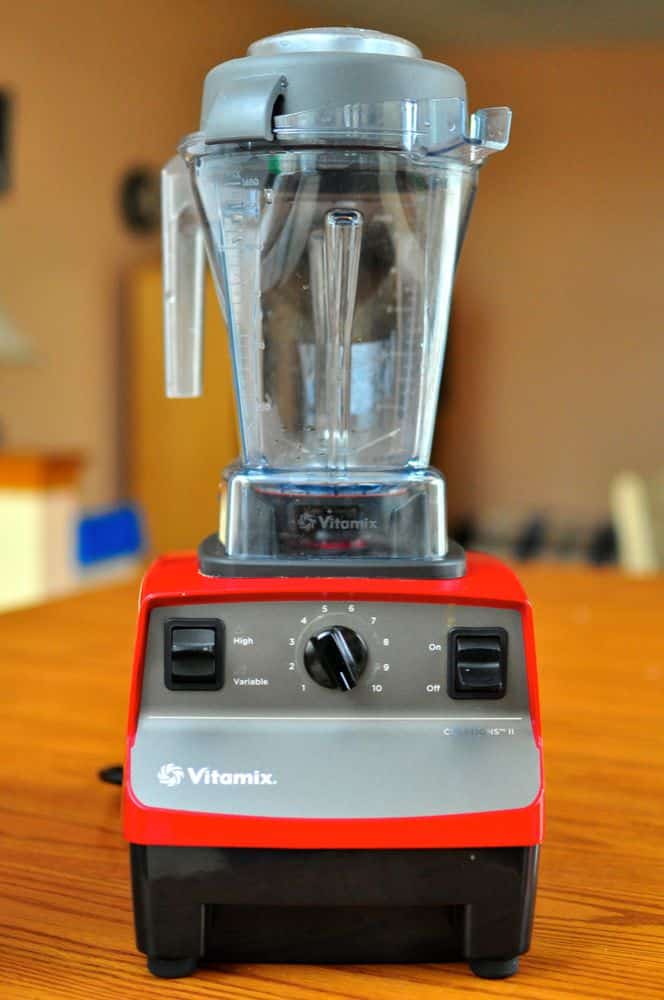
- 6 quart or larger pressure cooker (I use an Instant Pot electric PC)
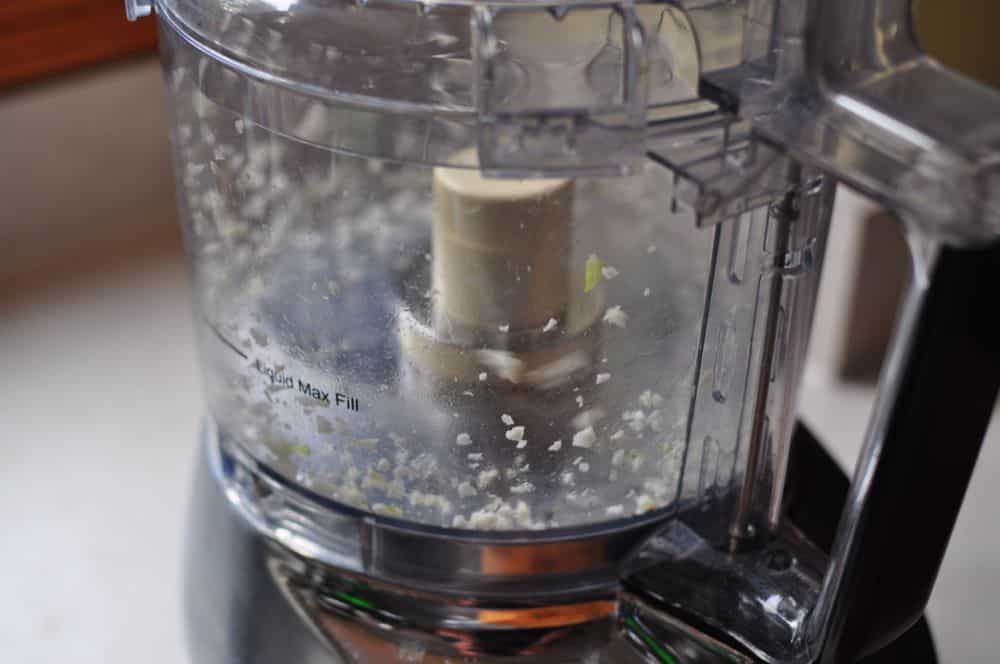
- Potato masher (or food processor)
- The silicone mini-mitts from the video
Notes
- No pressure cooker? You won't get the roasted flavor that the pressure cooker offers, but you can do a regular sweet potato puree. Skip the baking soda, and using a regular pot, follow the instructions to "lock the lid of the pressure cooker." Then, cover the pot, bring to a simmer, and simmer for 30 minutes, or until the sweet potatoes can be easily pierced with a paring knife. Continue with "puree the sweet potatoes".
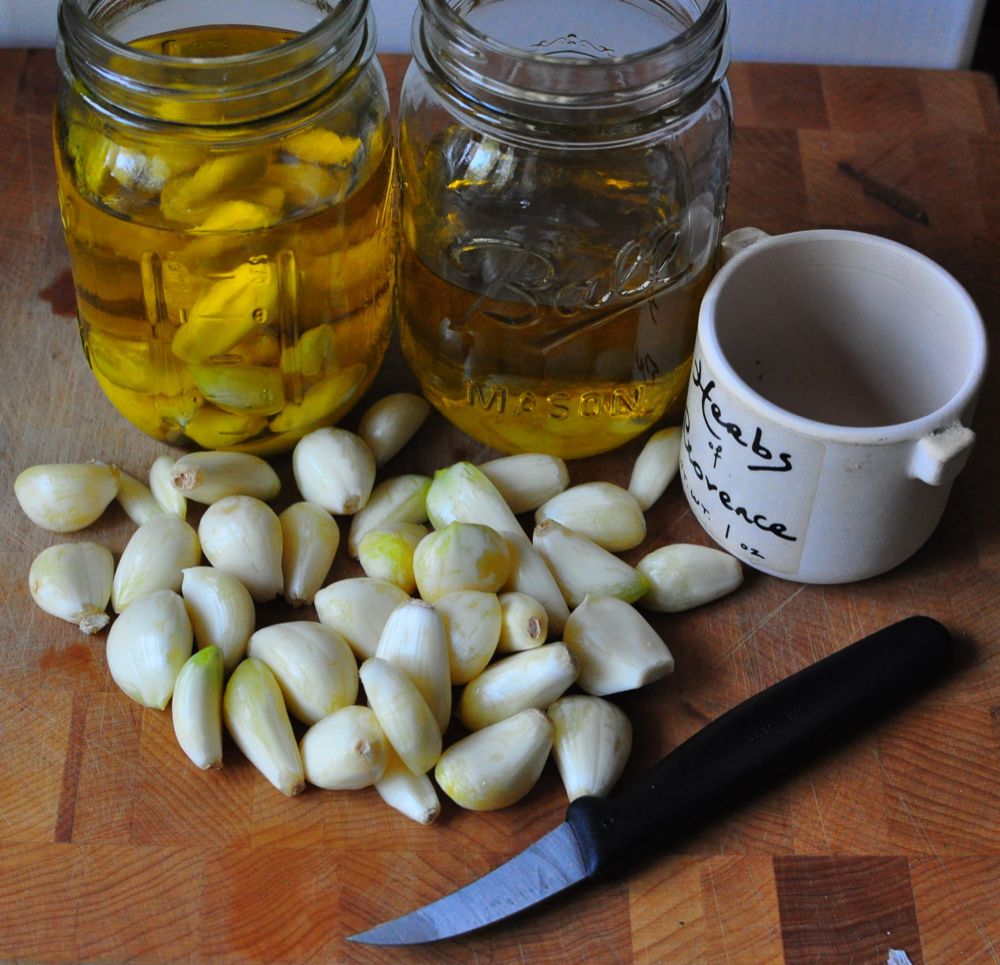
- This recipe scales up easily; use ½ teaspoon baking soda per 2 pounds of vegetables. That's the right proportion to get the alkaline environment for pressure browning.
What do you think? Questions? Other ideas? Leave them in the comments section below.
Related Posts:
Book Review: Modernist Cuisine at Home
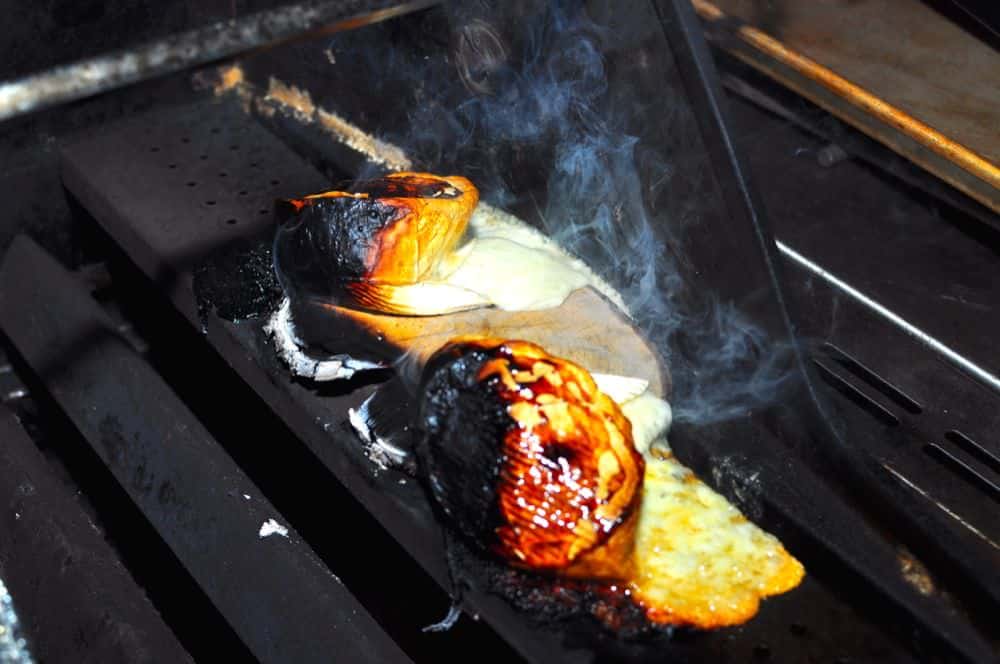
Grilled Version: Grilled Mashed Sweet PotatoesClick here for my other pressure cooker recipes.
*Enjoyed this post? Want to help out DadCooksDinner? Subscribe to DadCooksDinner using the RSS or Email options on the right, link to this post from your blog, recommend DadCooksDinner to your friends, or buy something from Amazon.com through the links on this site. Thank you.