
[Update 2015-02-08]: While I still like the Cuisinart, I have a new favorite pressure cooker. See my post: What Pressure Cooker Should I Buy?
I found out that Marcus, my guy at the local Apple store, follows this blog. A few months ago I stopped in to pick up an iPod touch for my oldest son. Marcus made my day by pulling me aside and thanking me for my osso bucco recipe. He told me how much he loved his new electric pressure cooker, and I confessed that I didn't have an electric PC yet.
"What? You have to get one. I already want another one." He turned to Diane: "Will you go get him an electric pressure cooker? Right now. He needs it."
Buy a new cooking gadget? Why yes, I can do that.
I did some research; the Cuisinart 6 quart Electric Pressure Cooker was the best reviewed electric PC on Amazon. I bought it, and now I know why Marcus is such a fan.
Why get an electric pressure cooker?
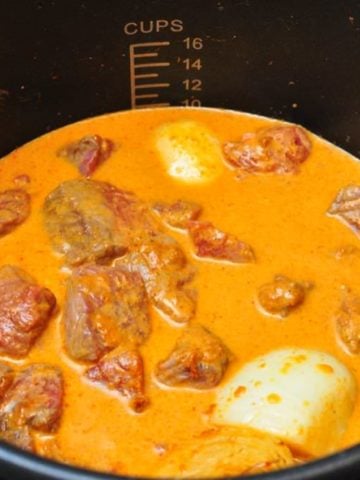
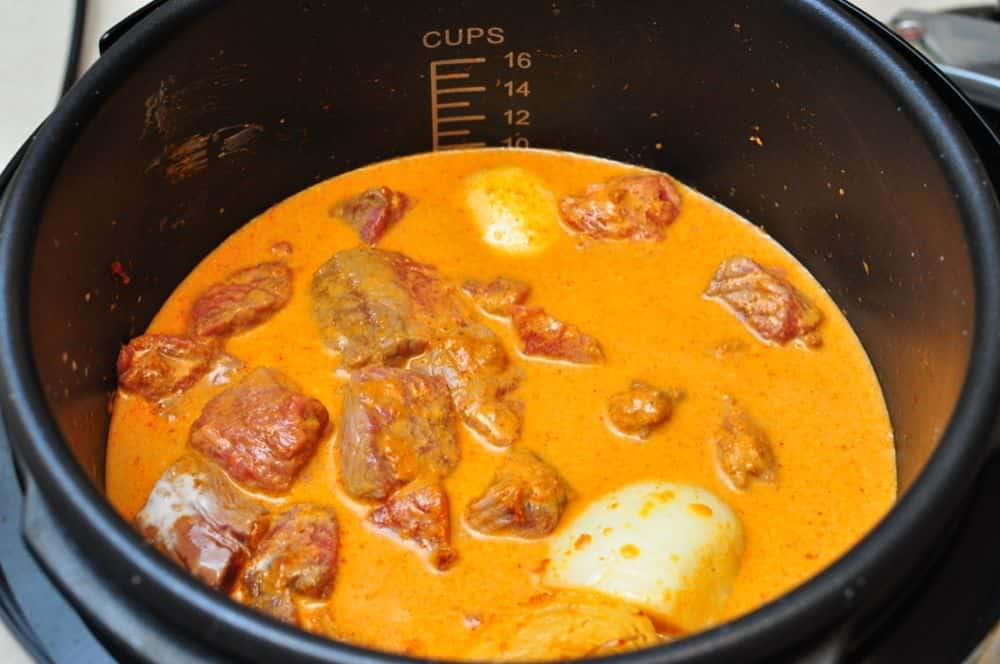
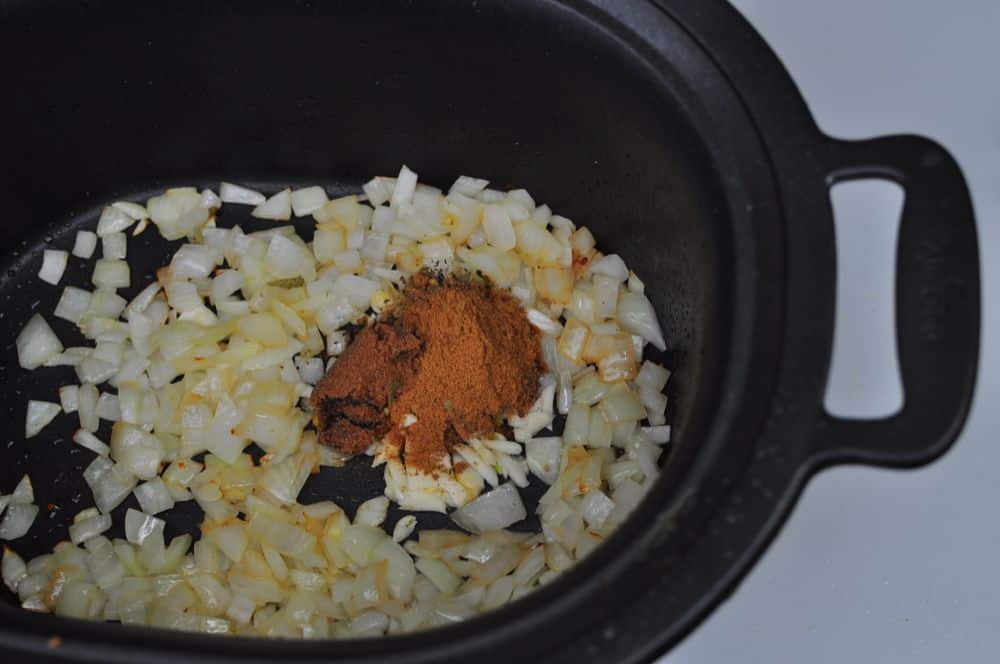
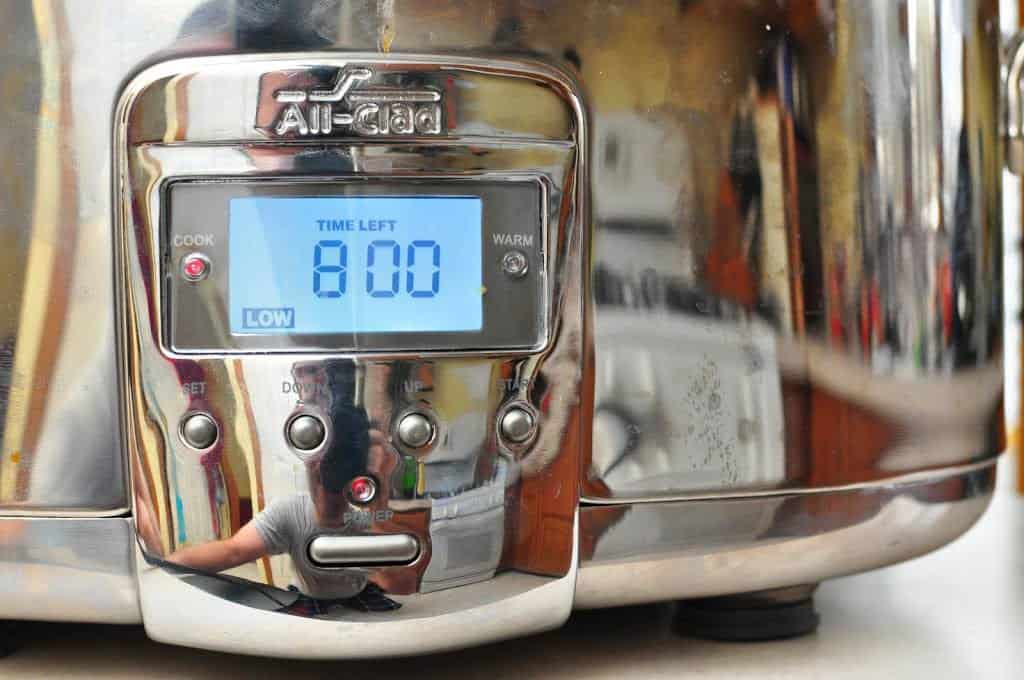
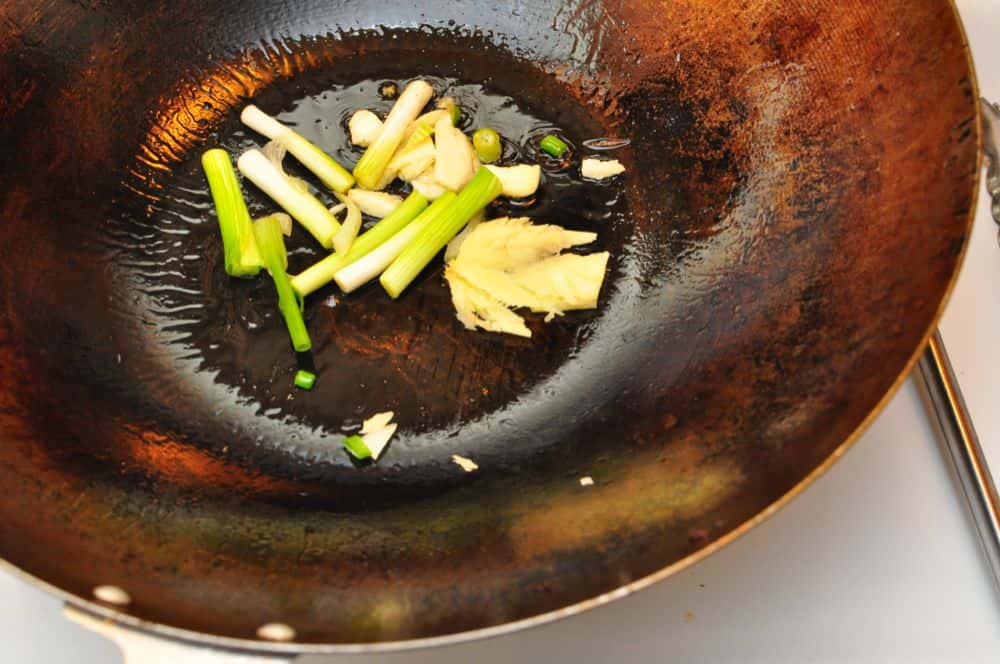
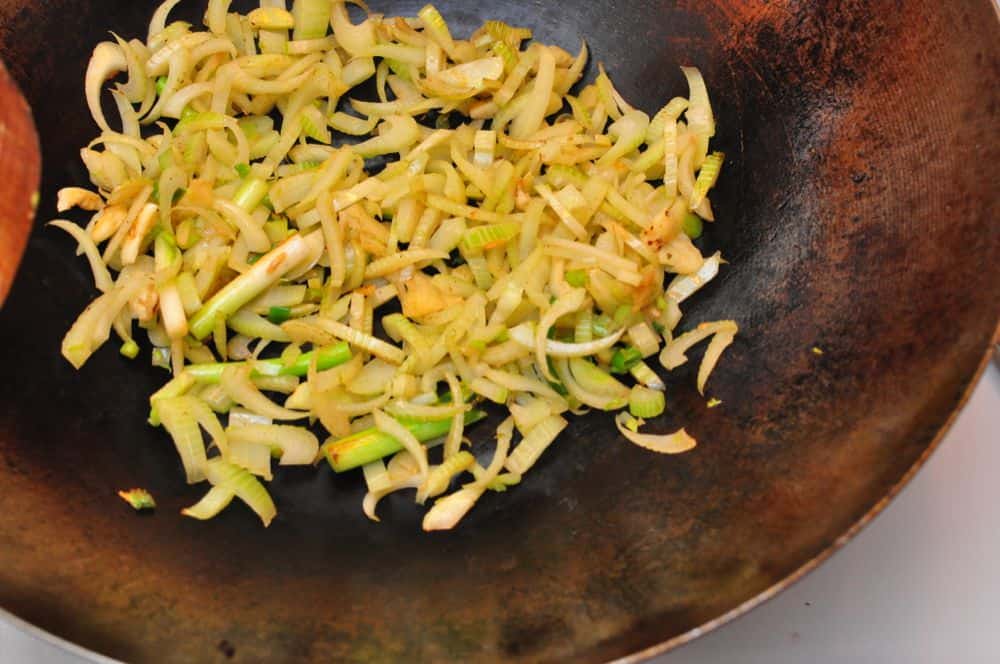
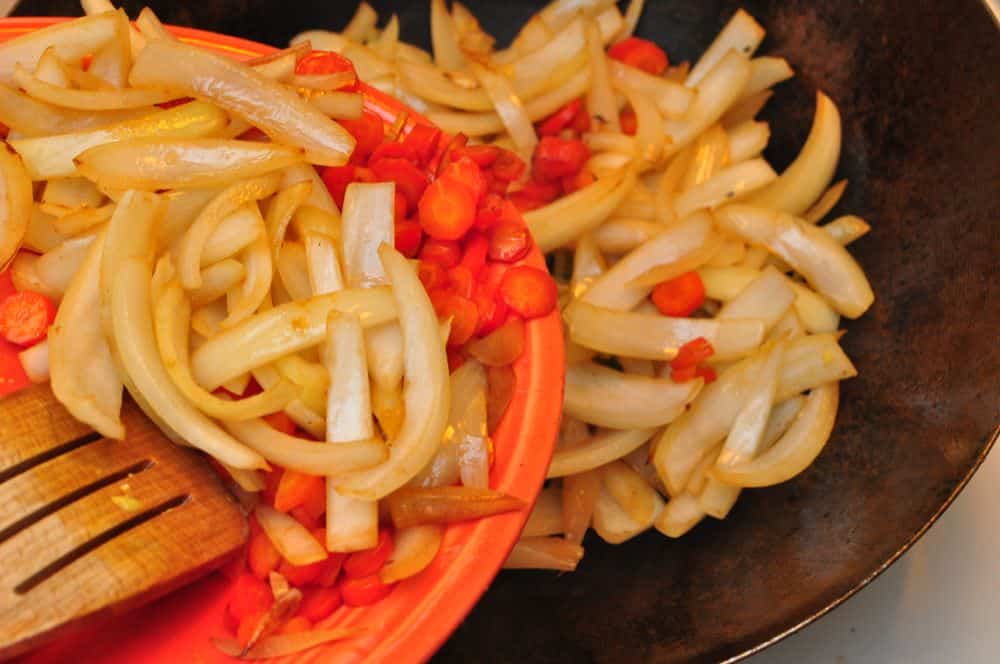
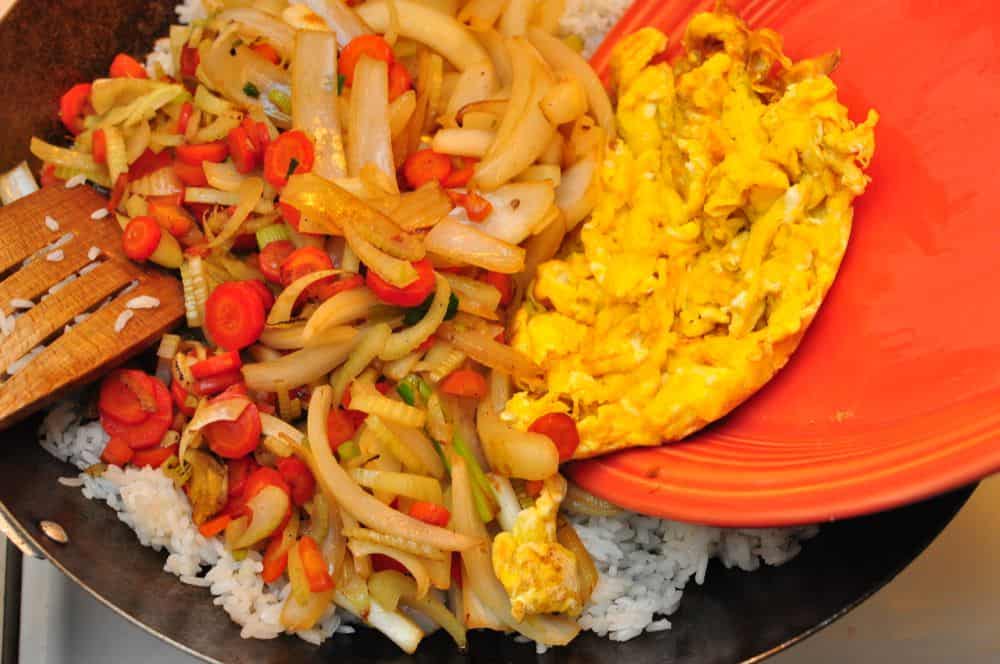
The Cuisinart electric pressure cooker is great for weeknight, set it and forget it cooking. I put it on the counter behind my cutting board and start feeding in ingredients - brown the meat, saute the vegetables, add some stock, lock the lid, and set the timer. At that point, I can walk away and help the kids with homework. The PC comes up to high pressure, levels off the heat, and starts the countdown timer. When the cooking time is done, the cooker beeps, cuts the heat, and enters a warming mode to start the the natural pressure release. I don't have to mess with watching the pressure valve, adjusting burners, or watching timers. Once the lid is locked, I'm done. I can sit on the couch, ignore the kids fighting over who's turn it is to put silverware on the table, and relax until it is time to serve. I love cooking with self-aware equipment.
Yes, I know, self aware machines are the first step in Skynet's plan for world domination. It can't be bargained with. It can't be reasoned with. It doesn't feel pity, or remorse, or fear. And it absolutely will not stop, ever...until dinner is ready.
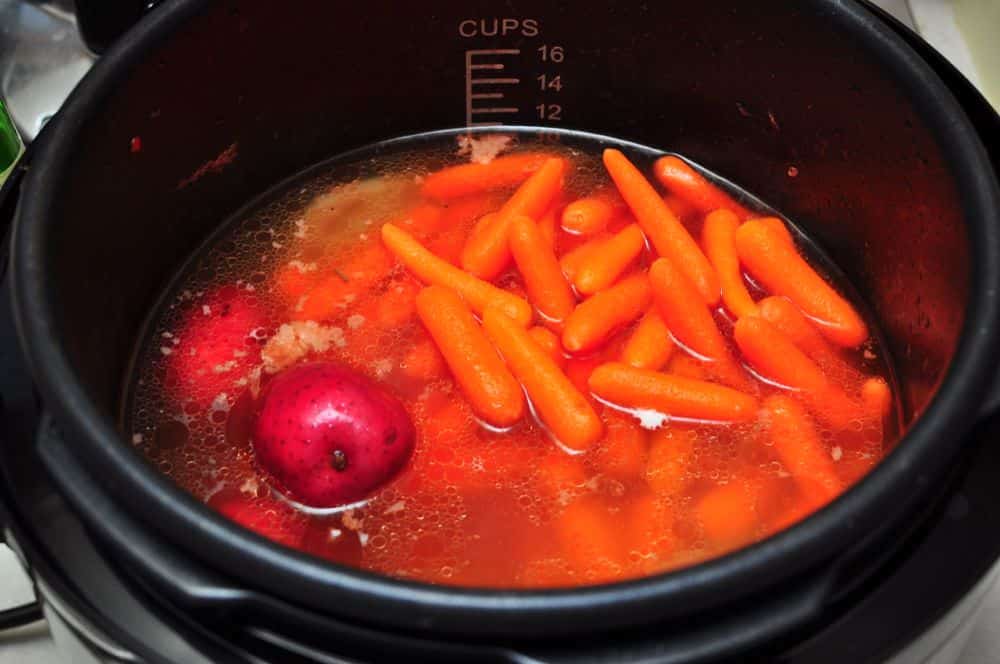
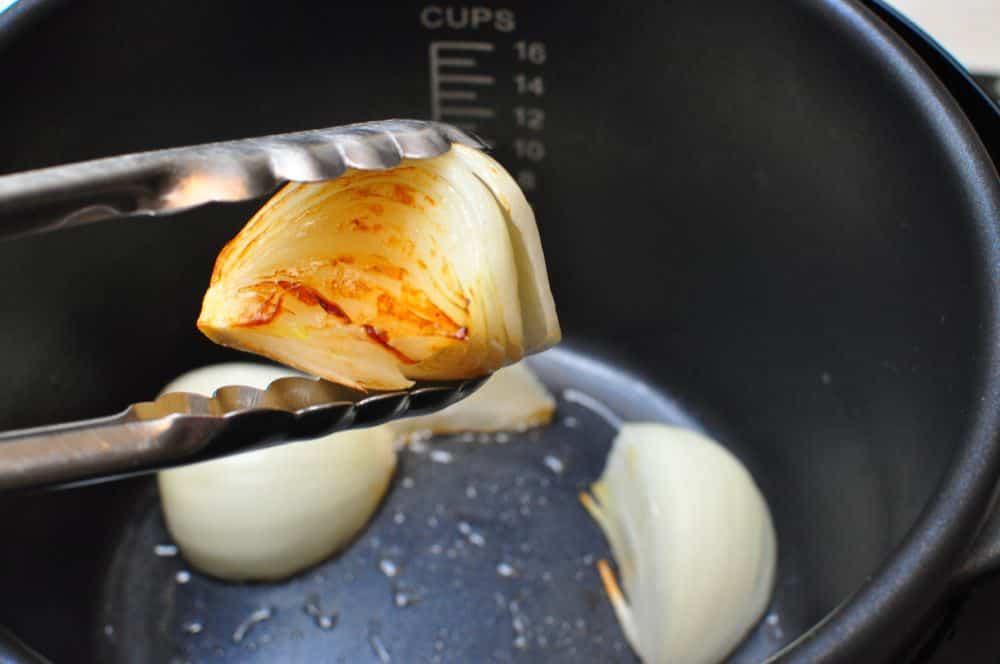
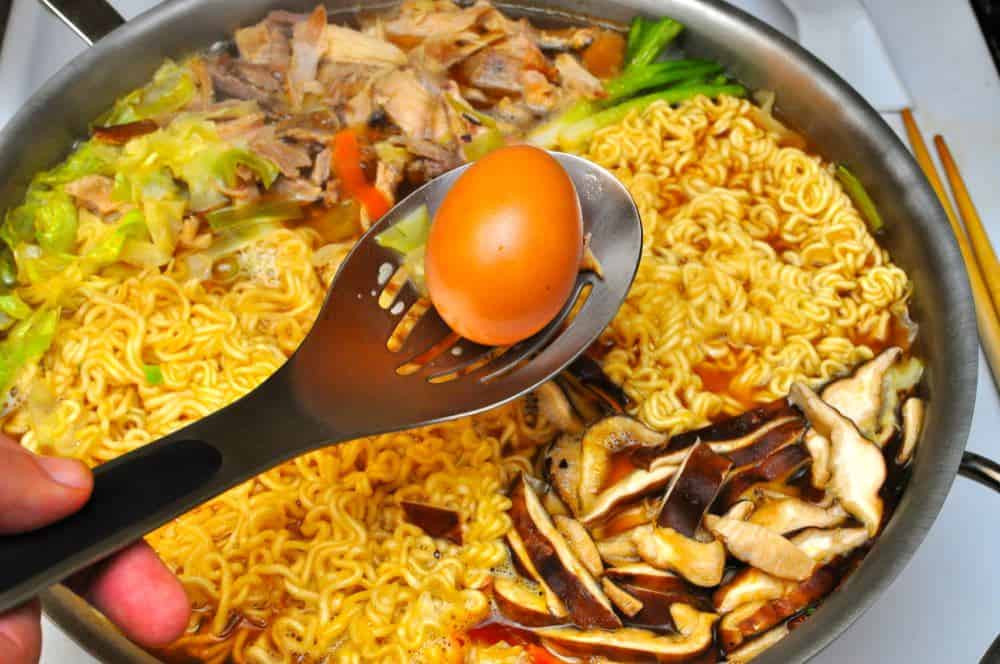
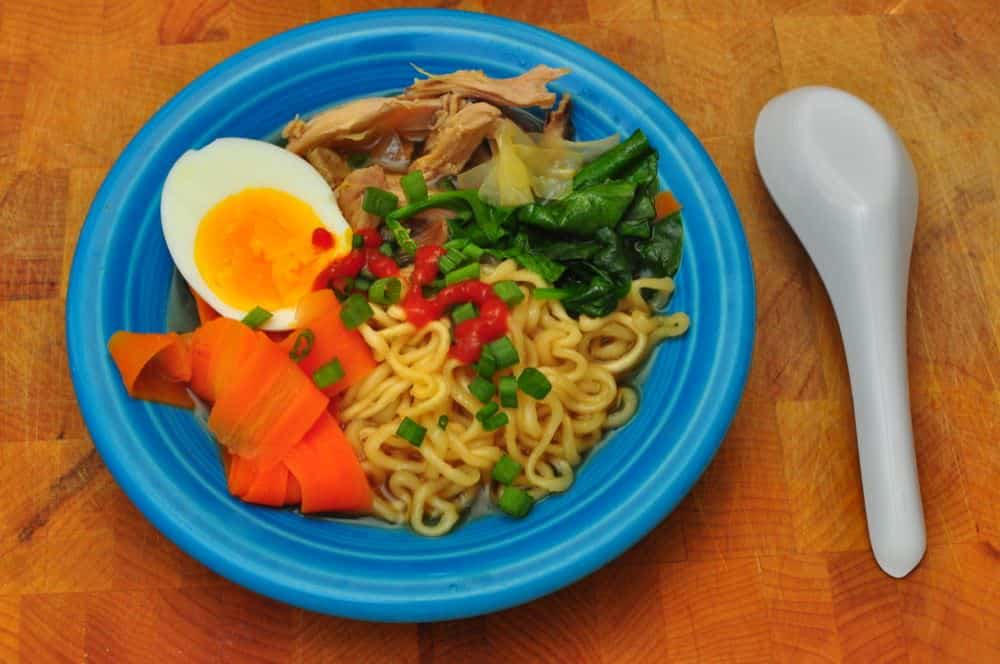
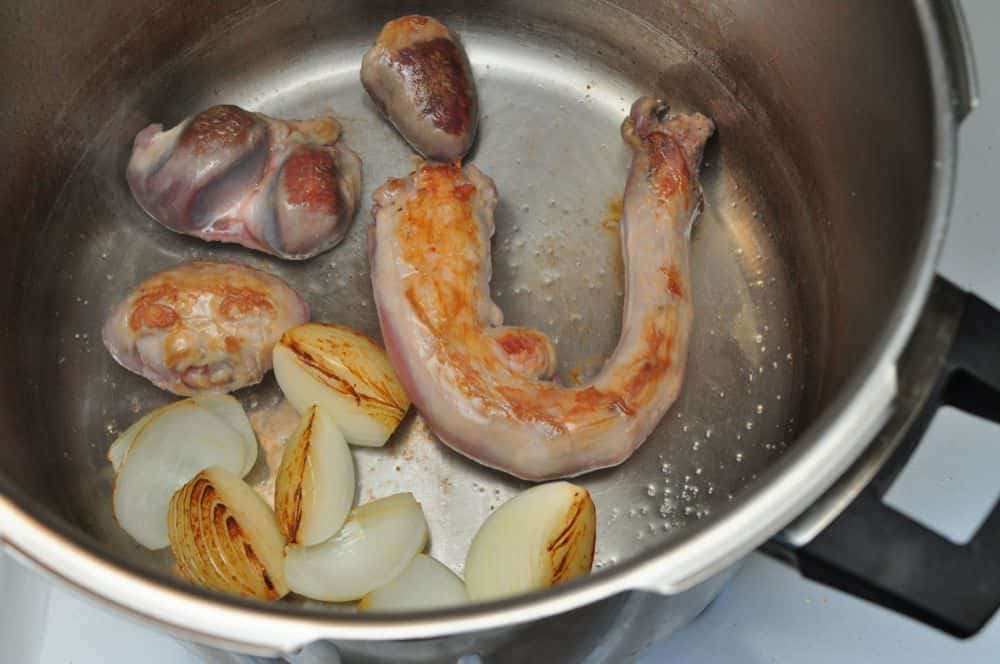
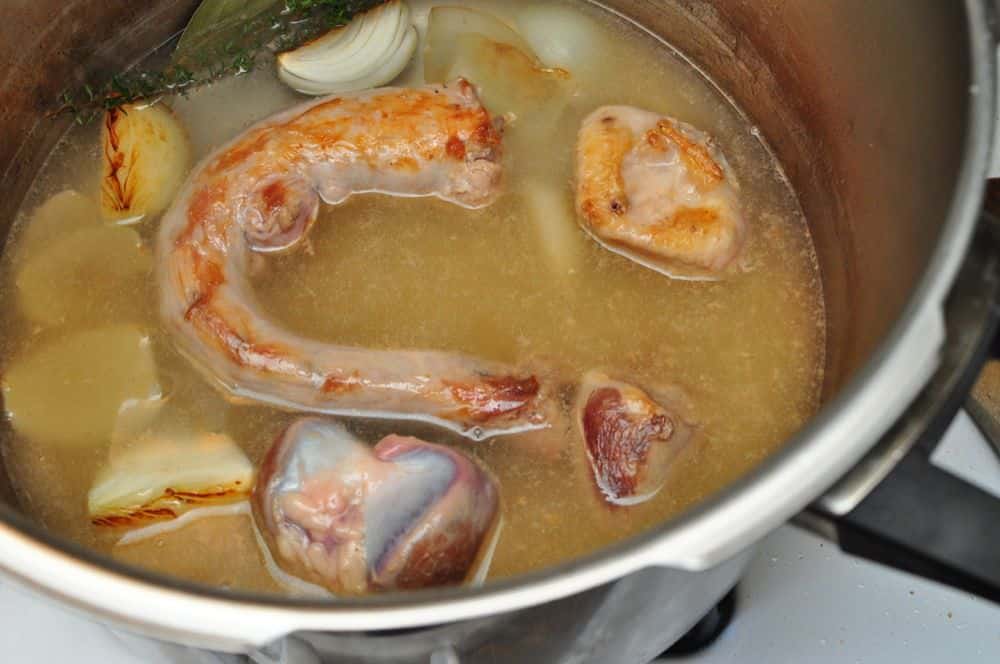
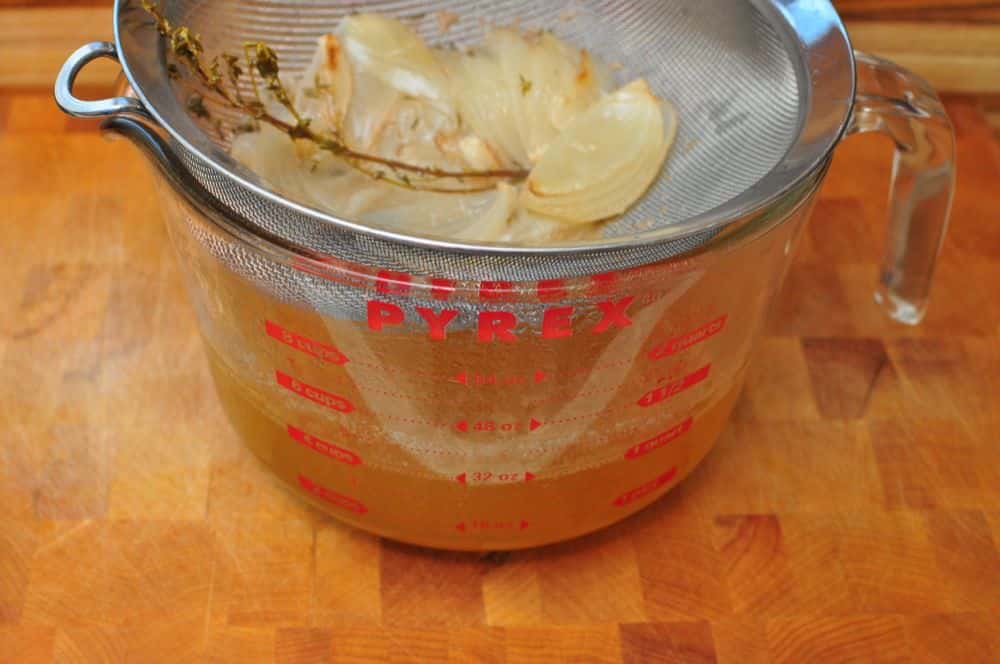
The electric PC is perfect for my favorite multitasking trick, making a batch of stock while I clean the kitchen. Before starting the dishes, I put a leftover roast chicken carcass in the pot with a halved onion and a bay leaf. I fill it with water, set the timer, then start filling the dishwasher. An hour later, the dishes are done, I've relaxed with a beverage, and my stock is ready to strain. Easy peasy.
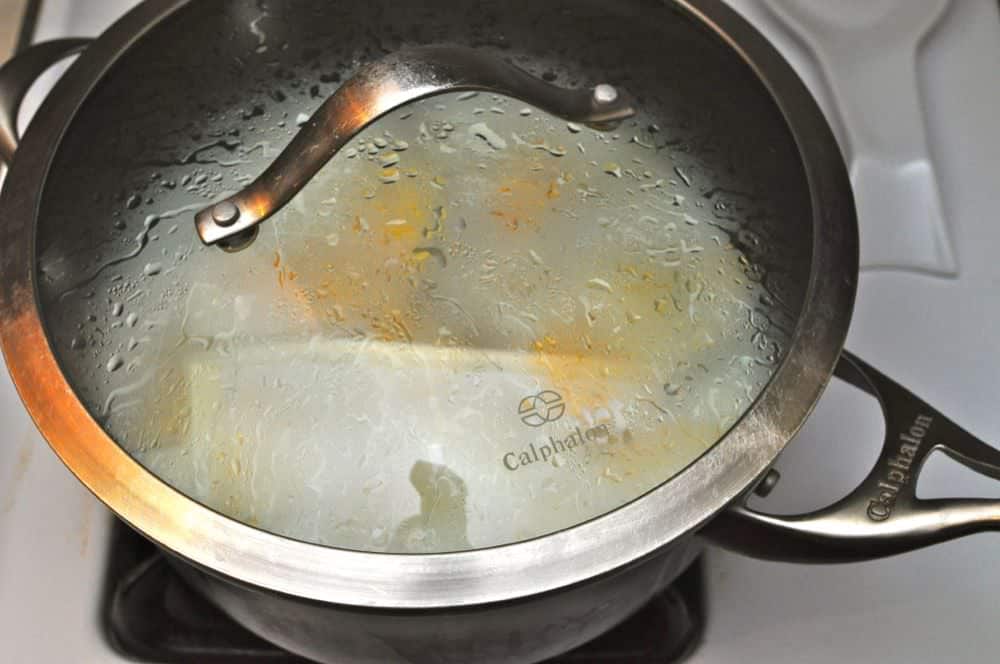
The other great thing is how quiet it is. There is about thirty seconds of escaping steam between boiling and the pressure seal popping up; other than that, it is silent. After years of using pressure cookers that were only under pressure when they were venting steam, I love the peace and quiet.
Also, you get the benefits of no flavors escaping the cooker - read my post on Heston Blumenthal and sealed pressure cookers.
There are some downsides:
My biggest complaint about the cooker is the size. Most electric pressure cookers top out at six quarts. For most recipes, that's not a big deal, but feeding a family of five I always bump up against the max fill line. (Which is conveniently printed on the pot, another nice feature.)
There is one 8 ½ quart electric pressure cooker, but the reviews on Amazon are not encouraging.
I've had a couple of times where I want to make stock, and the carcass wouldn't fit in the cooker. One was a frozen duck carcass, another was the bone from a leg of lamb. Both of these stocks wound up in my larger Kuhn Rikon pressure cooker, which swallowed them without any problems.
And turkey stock? I'm not even going to try. I don't think I could break a turkey carcass down into small enough pieces without a hacksaw.
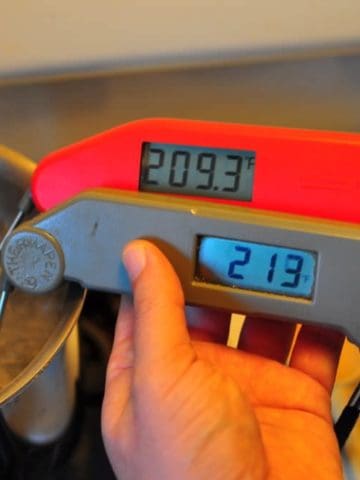
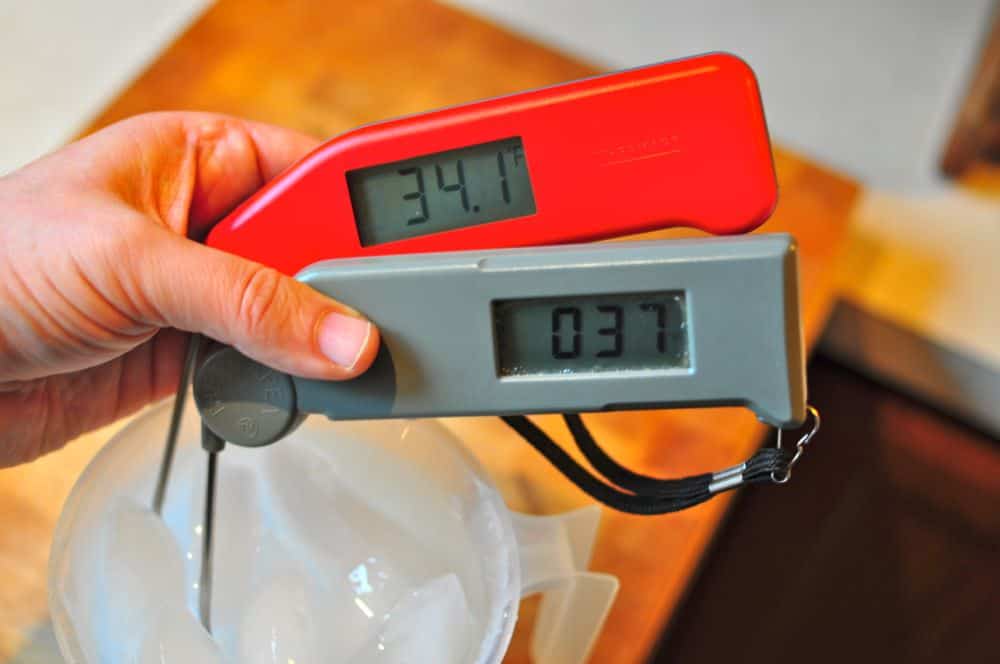
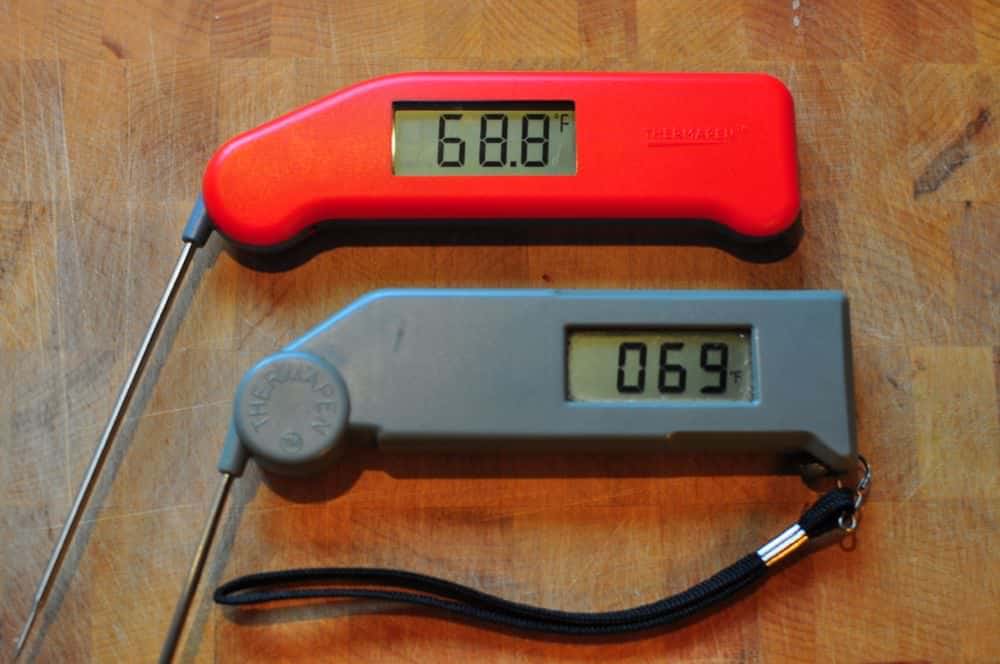
Another problem is heating time. The electric PC is slower to heat up and cool down than my stovetop PC by about 50%. I did a head to head test between my stovetop and Electric PCs to compare the differences. Two quarts of cold water from my tap took 8 minutes to come to high pressure in the stovetop PC, but 12 minutes in the electric. And, when I turned them off and let the pressure release naturally, the stovetop PC was depressurized after 13 minutes, while the electric took 20 minutes.
Surprisingly, quick release of pressure was equal, even when I cheated and put the stovetop in the sink to use a cold water release. Both depressurized in two minutes.
This matches my cooking experience; with the electric PC I keep saying "The pressure's not released yet?" while flipping the valve to quick release the remaining pressure so I can get dinner on the table.
My other big concern was the lower "high pressure" in the electric PC. Stovetop PCs usually have a high pressure setting of 15 PSI; electric PCs, including my Cuisinart, consider 10 PSI to be high pressure. Now, the manual for the Cuisinart has cooking times that are about 20% slower, on average, than my usual stovetop timings. Unfortunately, I keep forgetting to add that 20 percent. What can I say, I'm used to my normal timings. I haven't noticed any difference in my results. I think the longer heat up and natural pressure release add some extra cooking time under pressure, and the results even out.
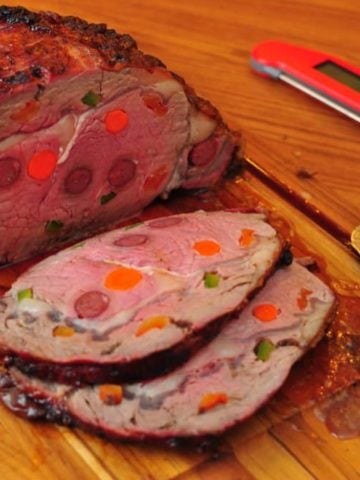
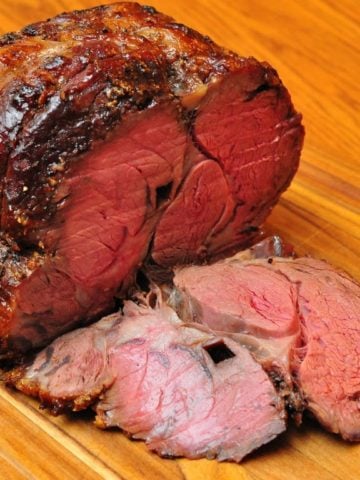
See my pressure cooker corned beef recipe, coming Thursday, for a notable exception. It evens out for shorter cooking times and a natural pressure release, say a half an hour or less. If the cooking time is longer than that, don't forget to add that 20% to the cooking time.
Summary:
I crave soups and stews in the winter. With my stovetop PC, I made one stew a week. I cook two or three soups a week with the electric PC. I know they are quicker with the stovetop PC, but the electric PC is so convenient… They just seem easier to turn out on a busy weeknight.
Highly recommended. (Of course, I also recommend a large stovetop pressure cooker, for bigger meals.)
What do you think? Questions? Other ideas? Experiences with another electric pressure cooker? Leave them in the comments section below.
FTC disclosure: All my "Things I Love" posts are about products I use and purchased myself. I did not receive any form of compensation to write this. If you buy something through one of my Amazon links, I do get a small commission. So, put that coffee down. Coffee's for closers only.
Related Posts:
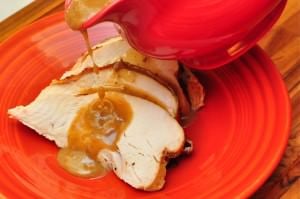
Pressure Cooker Osso Bucco
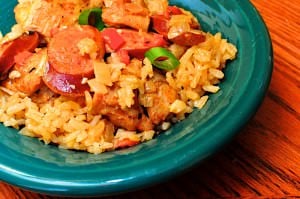
Pressure Cooker Chicken Stock
Things I Love: Pressure Cookers
My other Pressure Cooker Recipes
Inspired by:
Cuisinart 6 Quart Electric Pressure Cooker
*Enjoyed this post? Want to help out DadCooksDinner? Subscribe using your RSS reader or by Email, recommend DadCooksDinner to your friends, or buy something from Amazon.com through the links on this site. Thank you!


