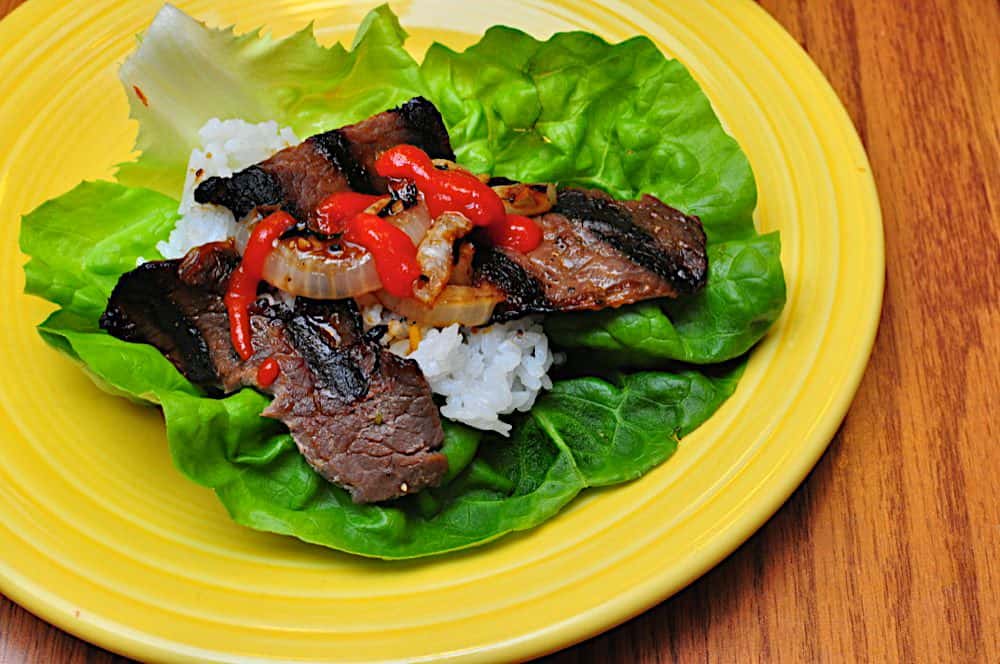
It's time for another Little Chickens recipe!
*Apologies to my grandfather. I can't call them Cornish game hens, I have to call them little chickens. It's a Vrobel thing.
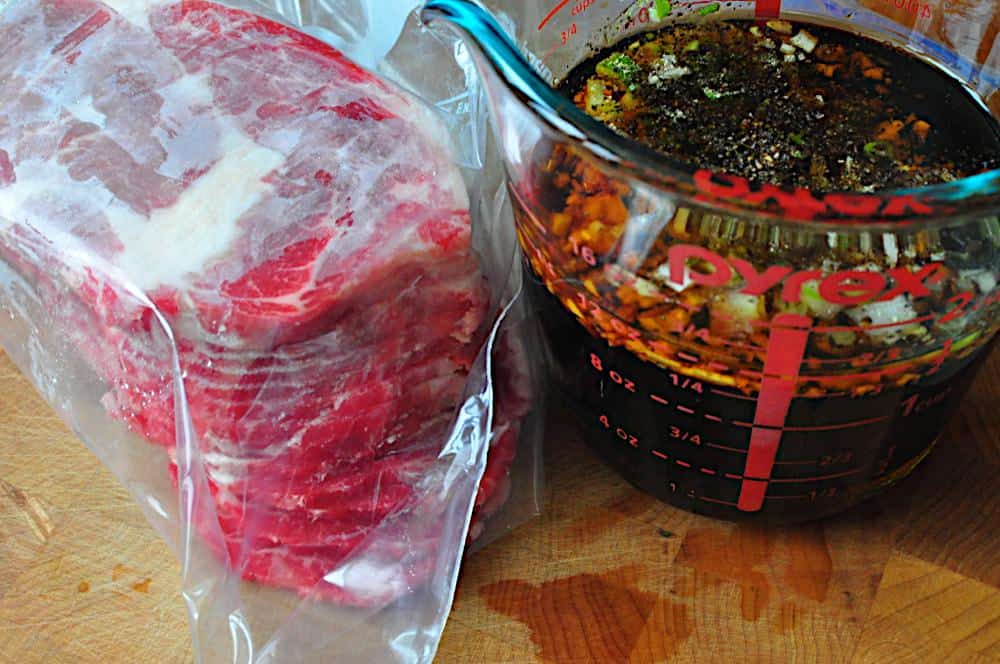
I had a taste for Cornish game hens, but the recipe had to be simple. I bought them frozen the morning, and most of my prep time would involve thawing them in a water bath. I thought some citrus would be a nice touch, checked my refrigerator, and found limes. Lime? I have some cilantro in there as well, right? Right. Lime and cilantro - a good combination. To add a different herb, I grabbed a bunch of the unkillable thyme that I have in my front yard. Add a good dose of salt and pepper, and I was ready to grill.
*Well, I was ready to grill after some trussing, spitting, and preheating. Rotisserie recipes always have a little extra work involved. And they are so worth it.
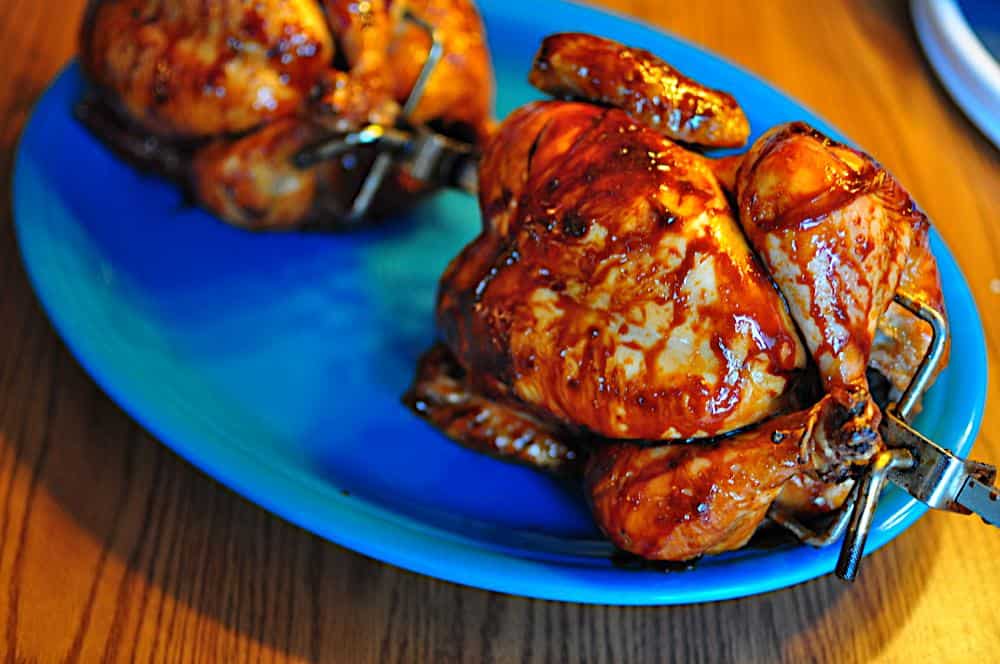
The lime steams the chicken from the inside, spreading the citrus and herb flavor into the meat. The rotisserie crisps the skin on the outside. Every bite is a mix of flavors and textures. And, really, who doesn't love picking the meat off the bones of a petite cornish hen?
*I sure do. I have to remember to make cornish hens more often.
Recipe: Rotisserie Cornish Game Hens with Lime and Herbs
Cook time: 45 minutes
Equipment:
- Grill with Rotisserie attachment (I used a Weber kettle with the Rotisserie attachment; the kettle is this Weber Grill
and the rotisserie attachment is this Weber charcoal kettle rotisserie
)
- Aluminum foil drip pan (9"x12", or whatever fits your grill)
- Butcher's twine
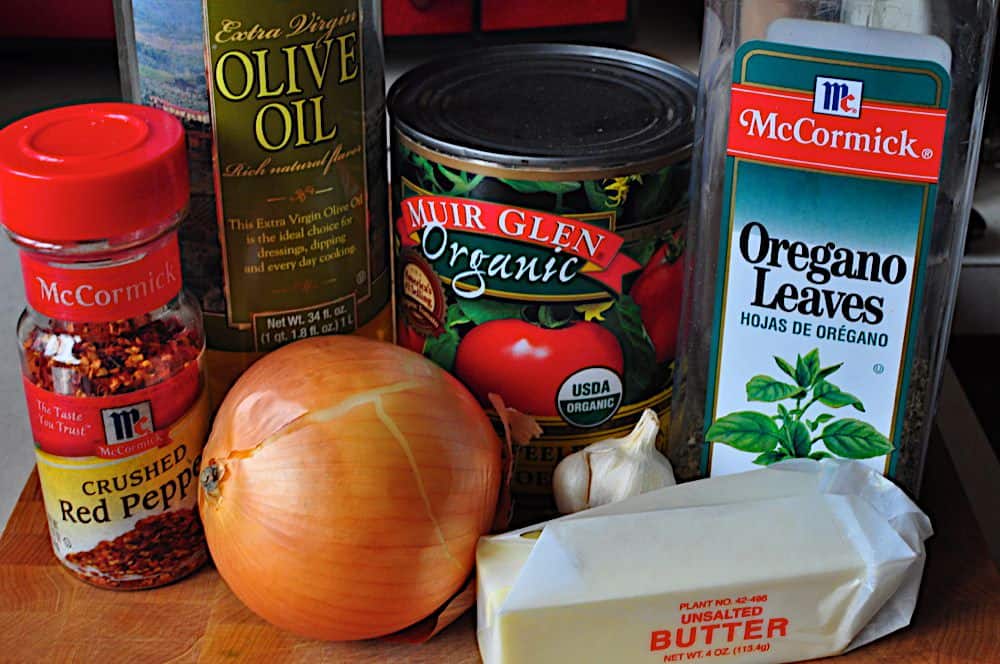
Ingredients:
- 4 Cornish game hens (Mine were about 1.75 pounds each)
- 6 teaspoons Kosher salt, 1 ½ teaspoon per hen
- 2 teaspoons fresh ground black pepper (½ teaspoon per hen)
- 2 limes, halved (one half per hen)
- 4 bushy sprigs thyme (one per hen)
- 4 sprigs cilantro (one per hen)
Directions:
*See my Rotisserie Poultry basic technique for an overview.
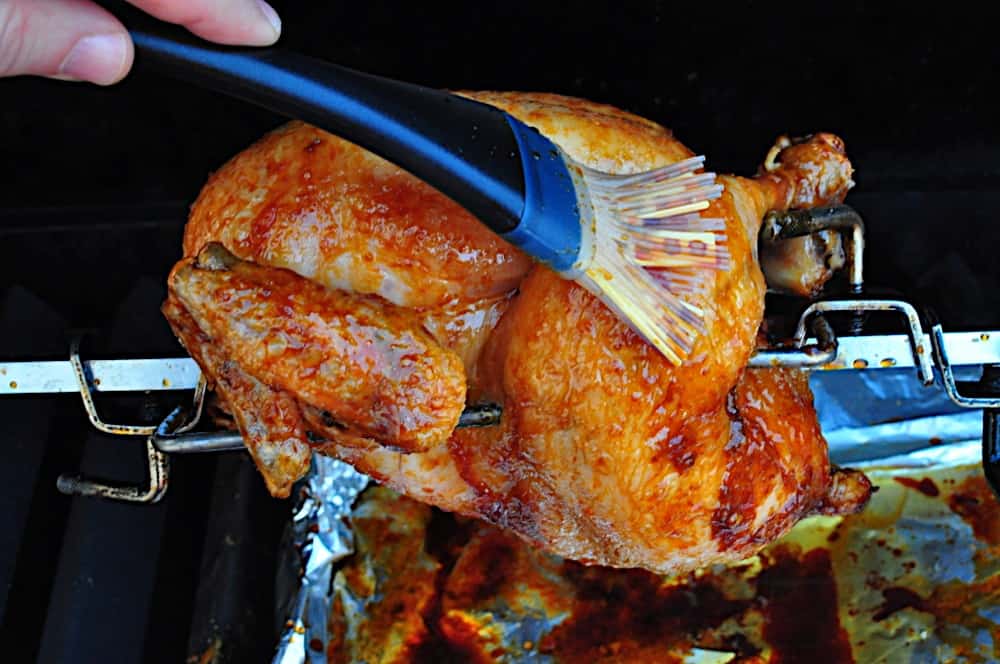
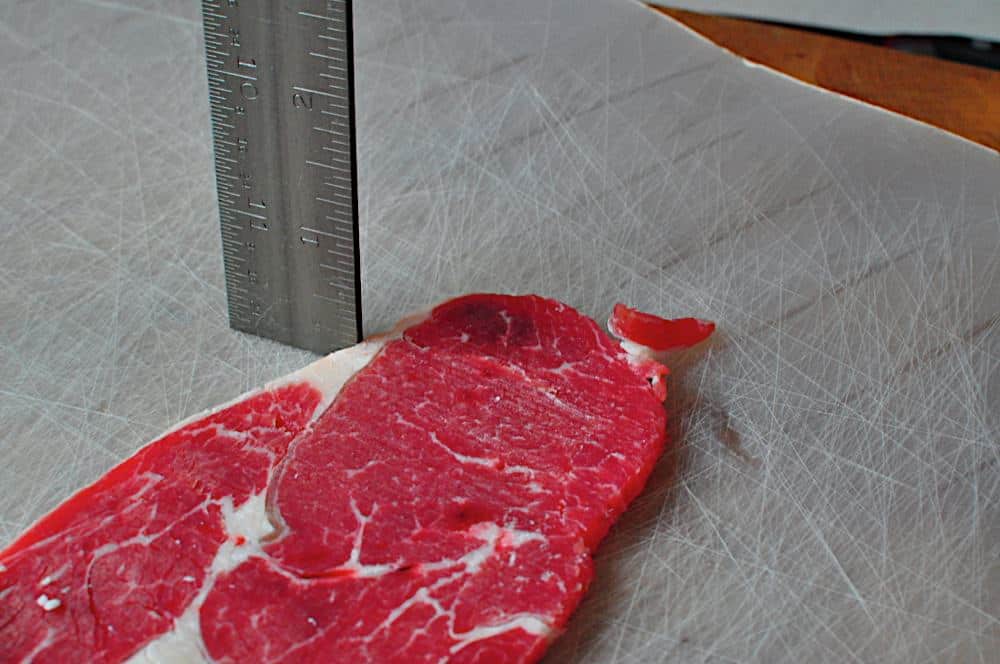
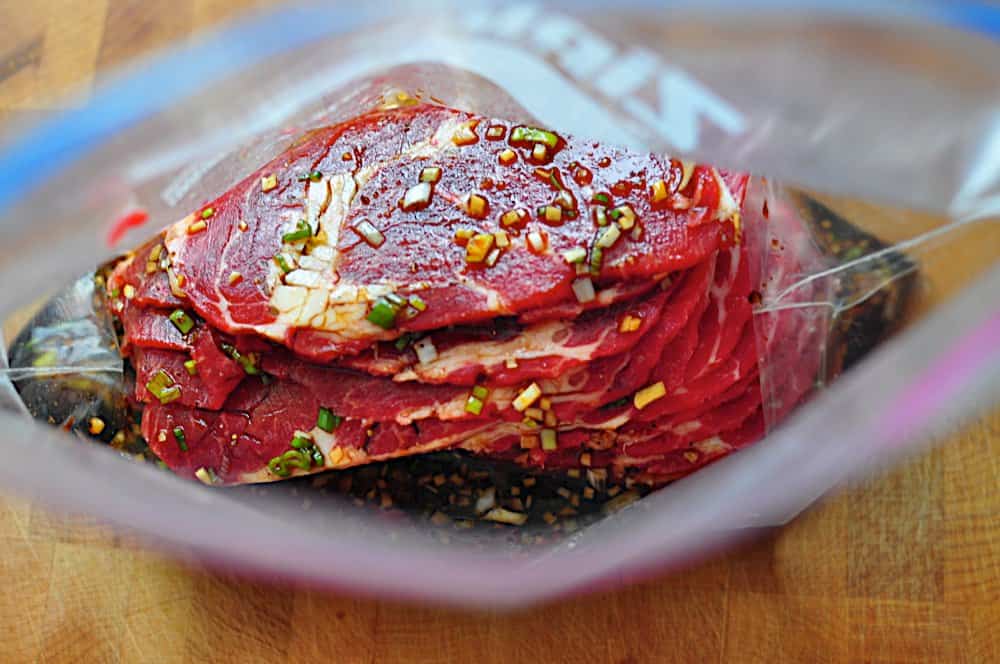
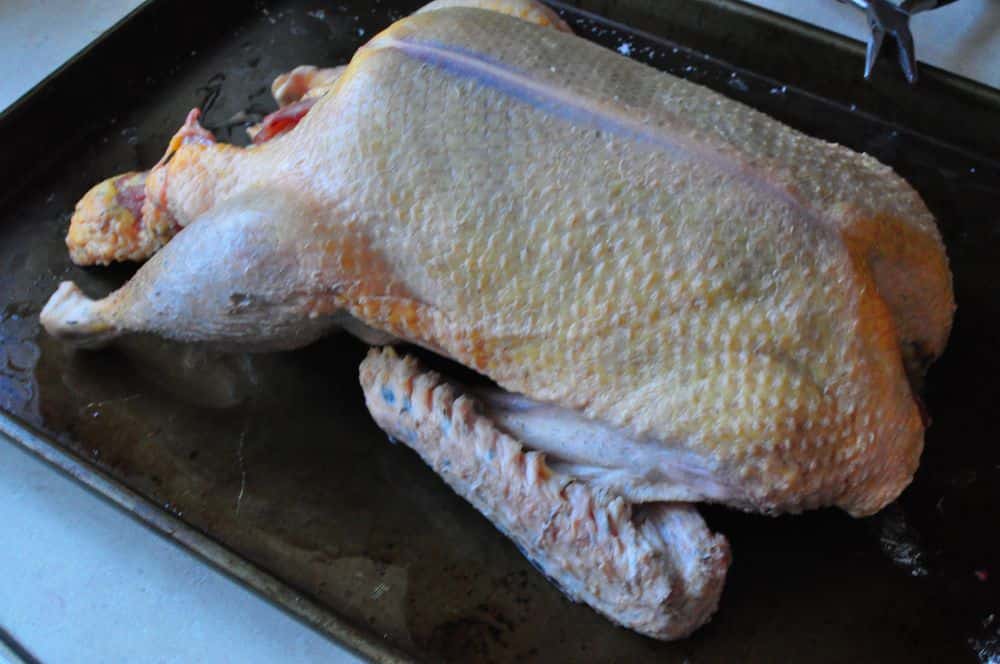
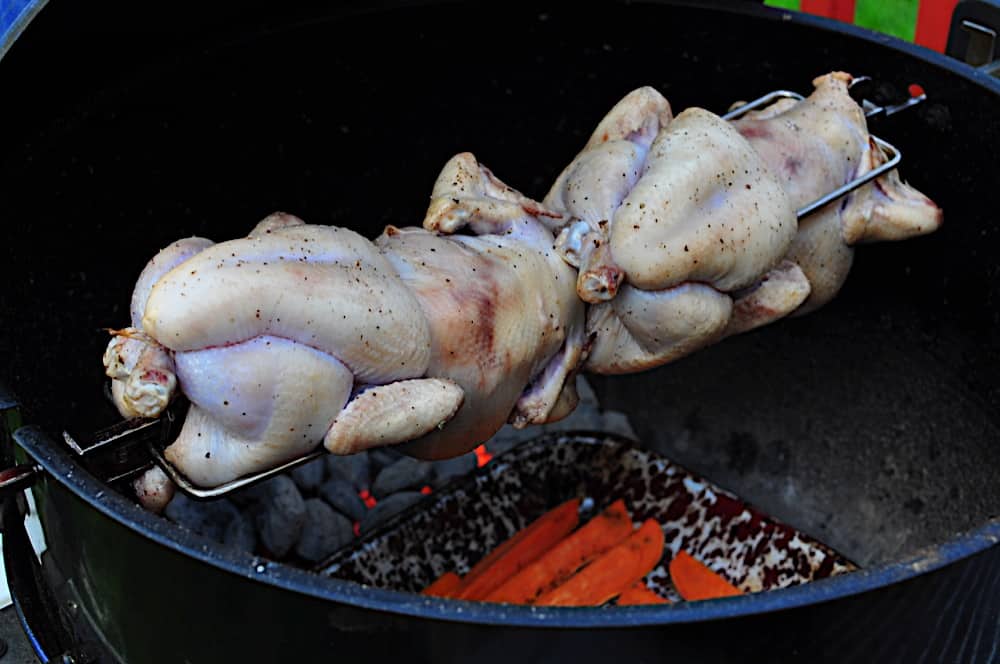
1. Prep the hens: For each hen: sprinkle evenly with 1 teaspoon kosher salt and ½ teaspoon black pepper, making sure to get some in the cavity. Squeeze a half lime into the cavity, then stuff the hen with the half lime and a sprig of thyme and cilantro. Fold the wingtips back under the wings, then truss the hen tightly. (See the basic technique for trussing details). Once the hens are all salted, stuffed and trussed, skewer them on the spit.
*If you have the time, do this an hour before cooking. This lets the hens come up to temperature before they go on the grill, which results in better browning.
 |
 |
2. Prepare the grill: Prepare the grill for cooking on indirect high heat (see details My Rotisserie Basic Technique Post). For my Weber kettle, I light a chimney starter* full of charcoal, wait for it to be covered with ash, then pour it in two equal piles on the sides of the grill, and put the drip pan in the middle, between the piles.
*I highly recommend the Weber Chimney Starter, because it is larger than most chimney starters. It holds 5 quarts of charcoal, which exactly the right size for cooking this recipe.
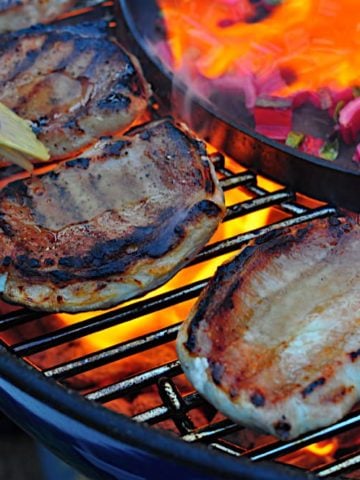
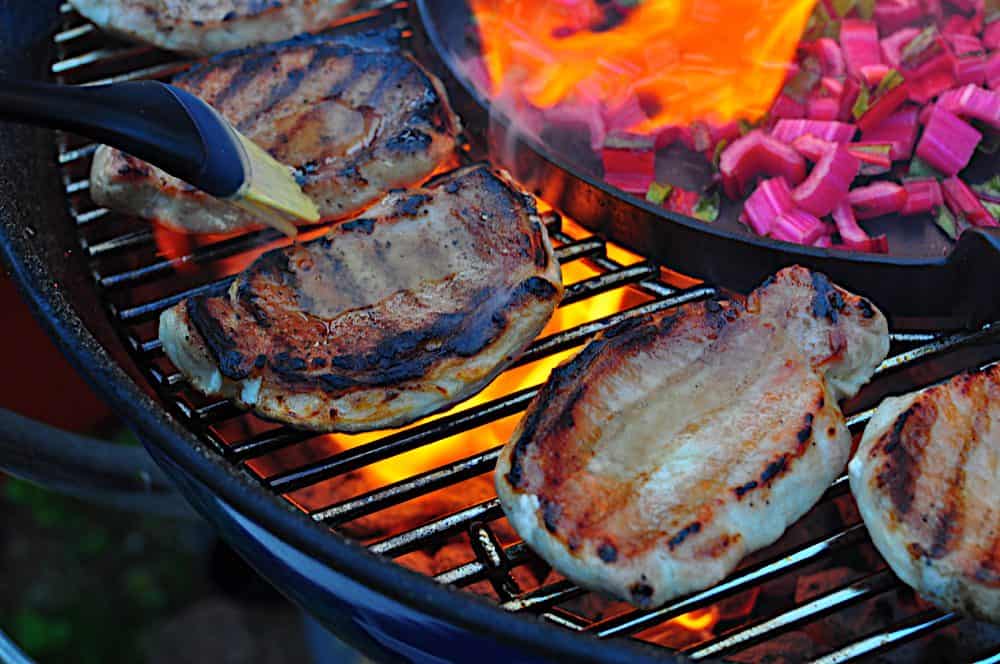
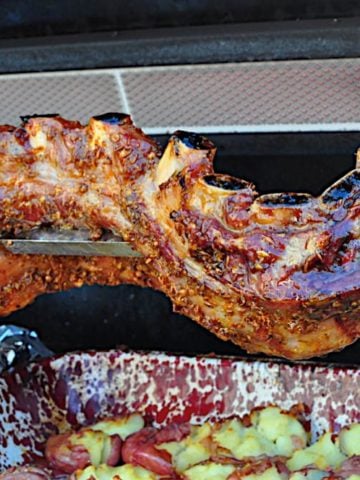
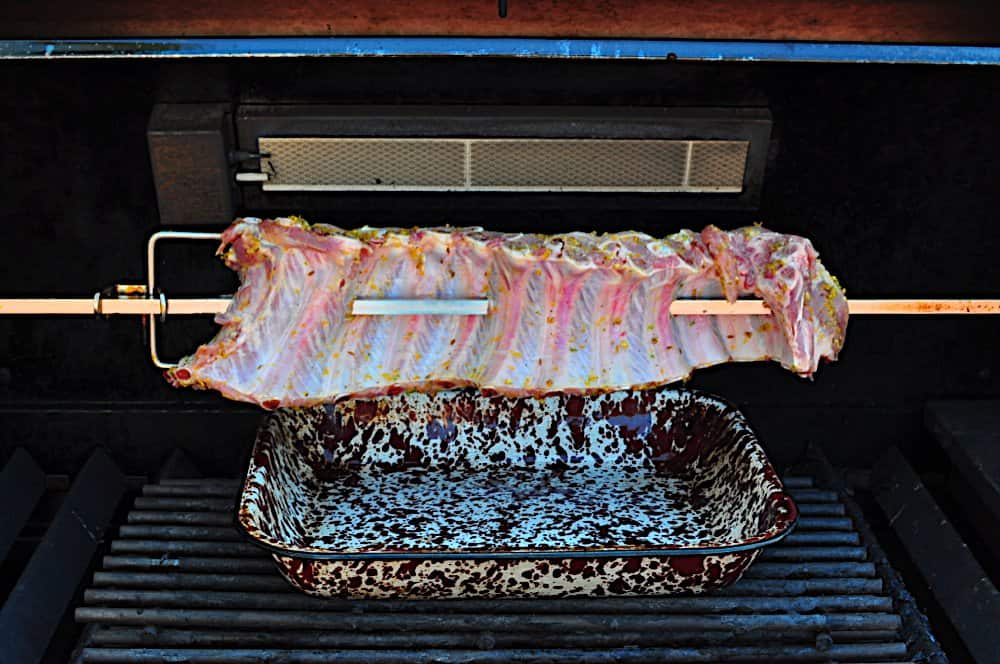
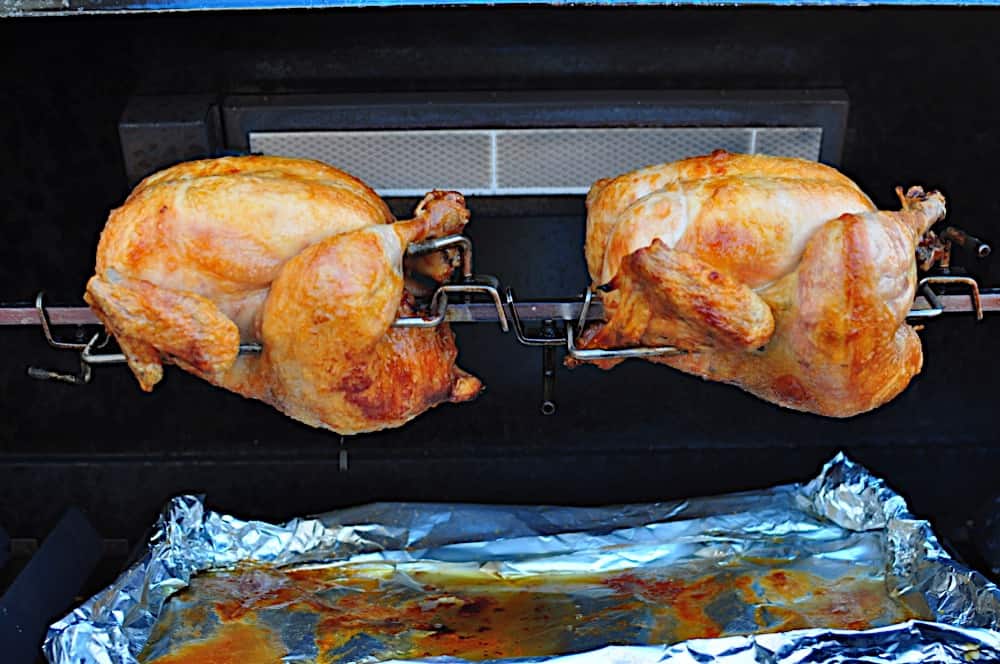
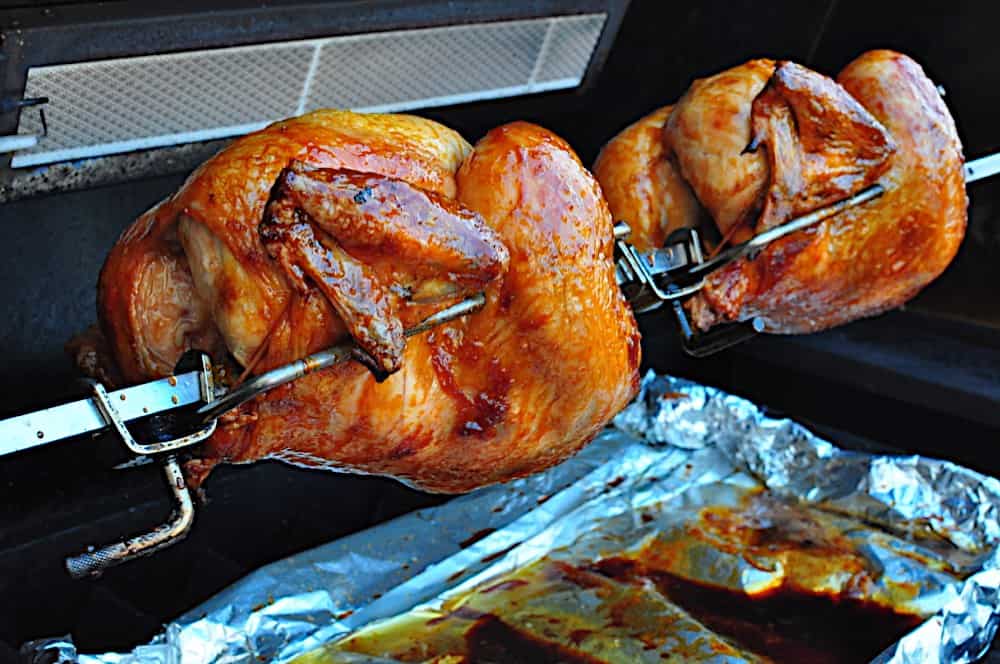
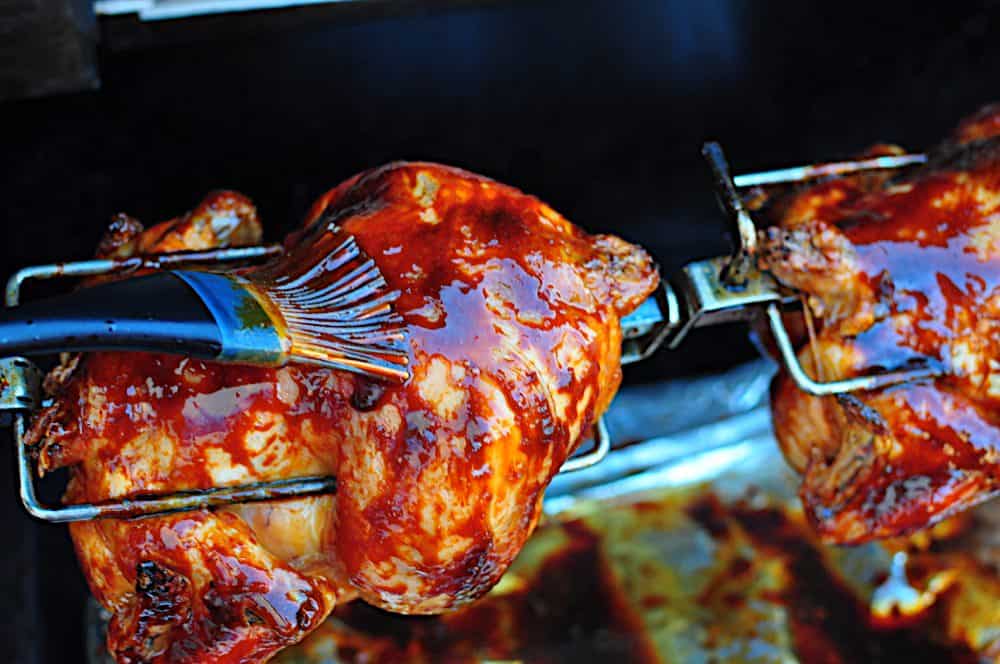
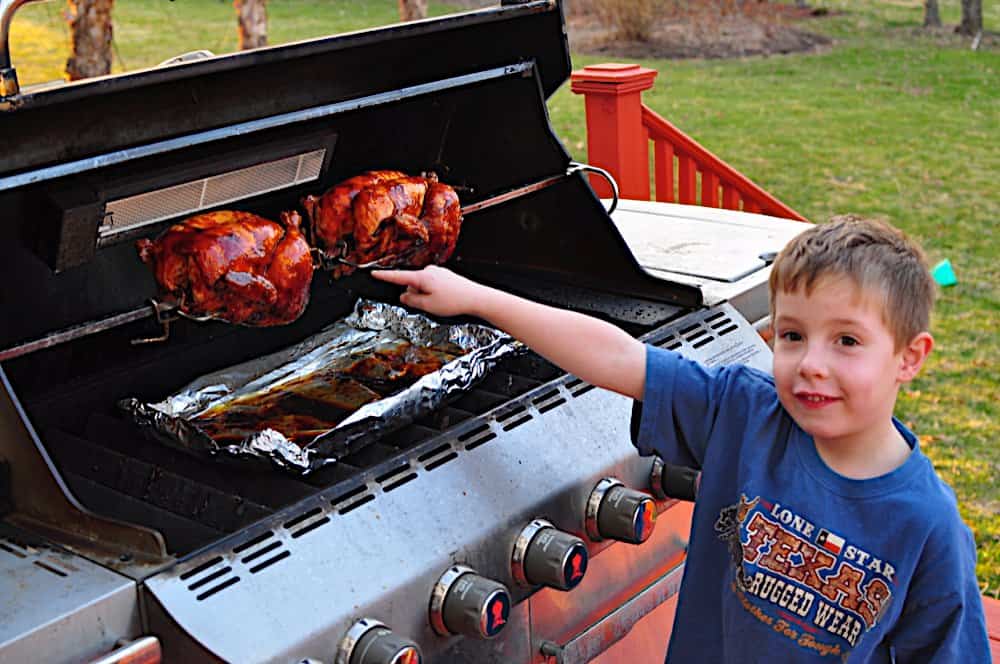
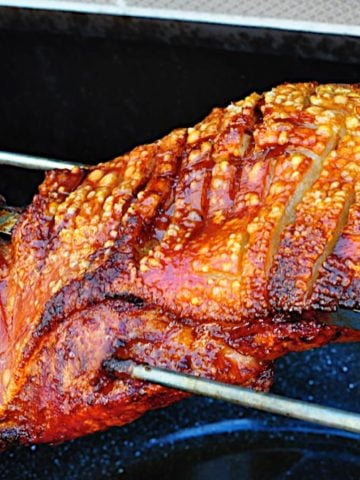
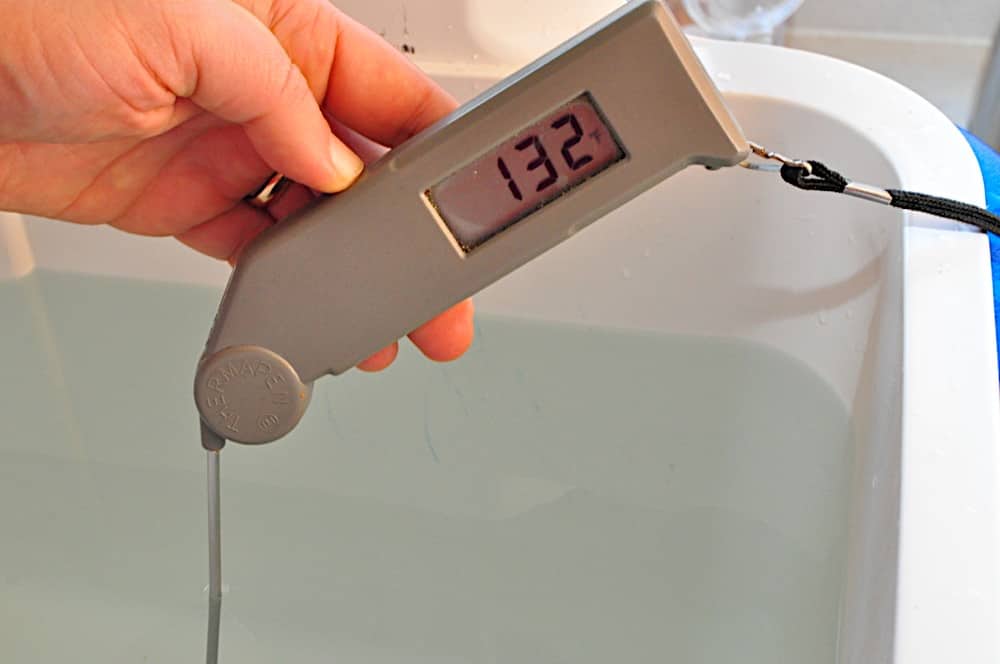
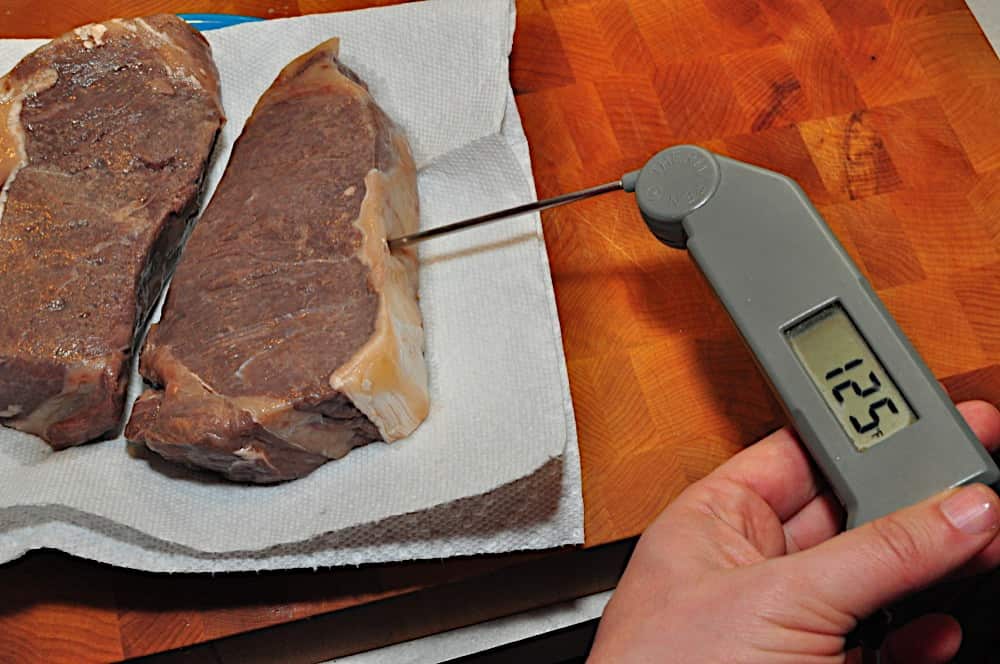
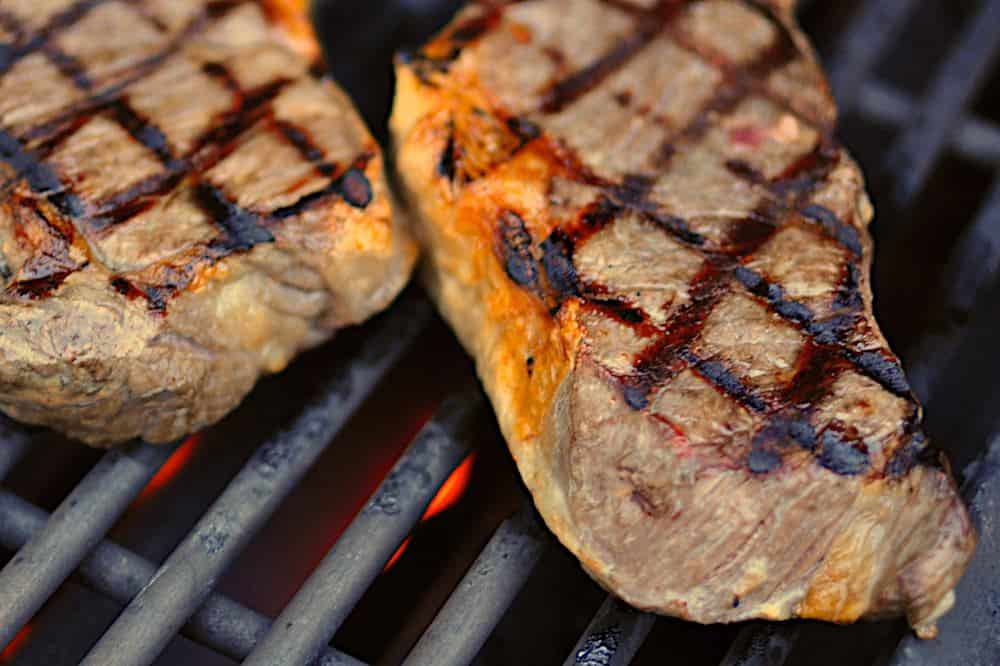
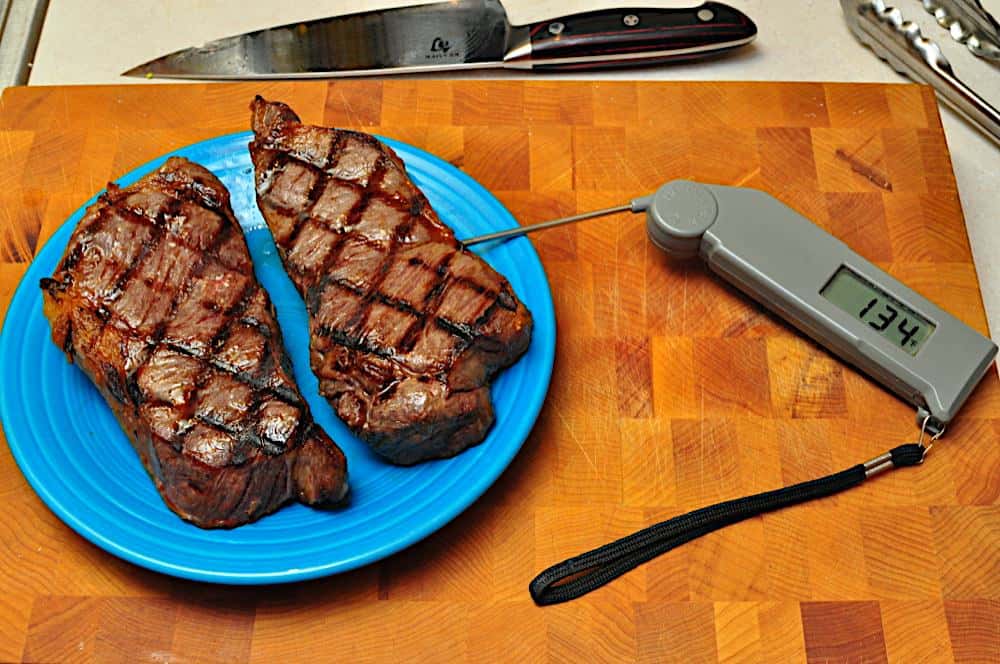
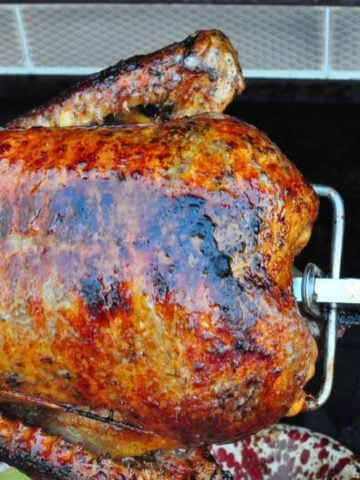
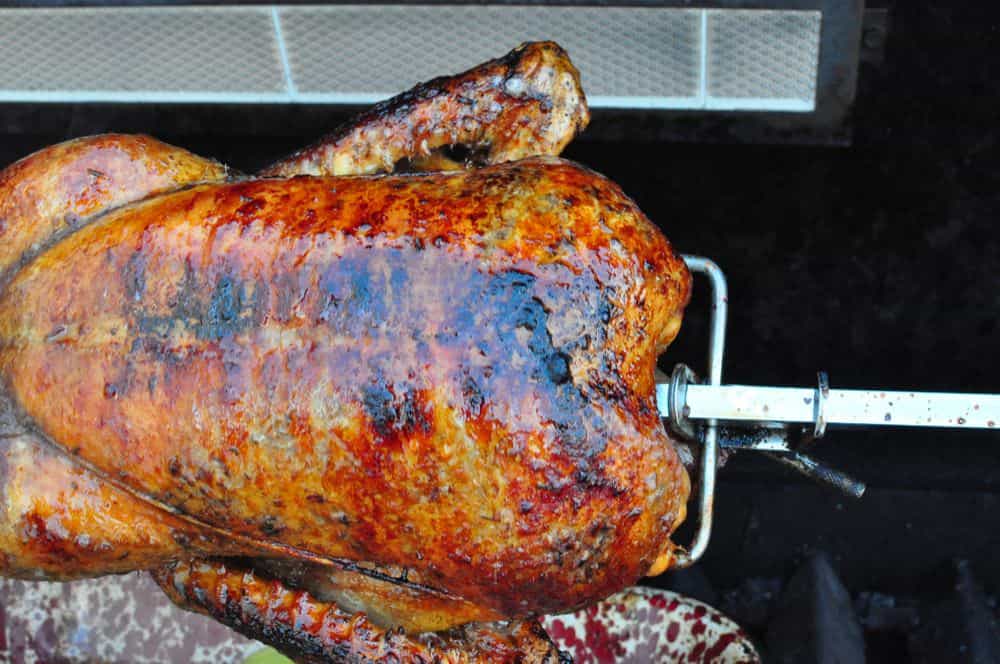
3. Rotisserie the hens: Put the spit on the grill, turn on the rotisserie motor, and cook with the lid closed. The cooking time will be from 30 minutes to 1 hour, depending on the size of the bird. My 1.75 pound Cornish hens cooked in 45 minutes. Checking the temperature in the thickest part of the breast meat with an instant read thermometer is the best way to tell if the hens are done. You want the temperature to be 160*F to 165*F.
*I check the temperature at the 30 minute mark, and every 5 to 10 minutes after that.
 |
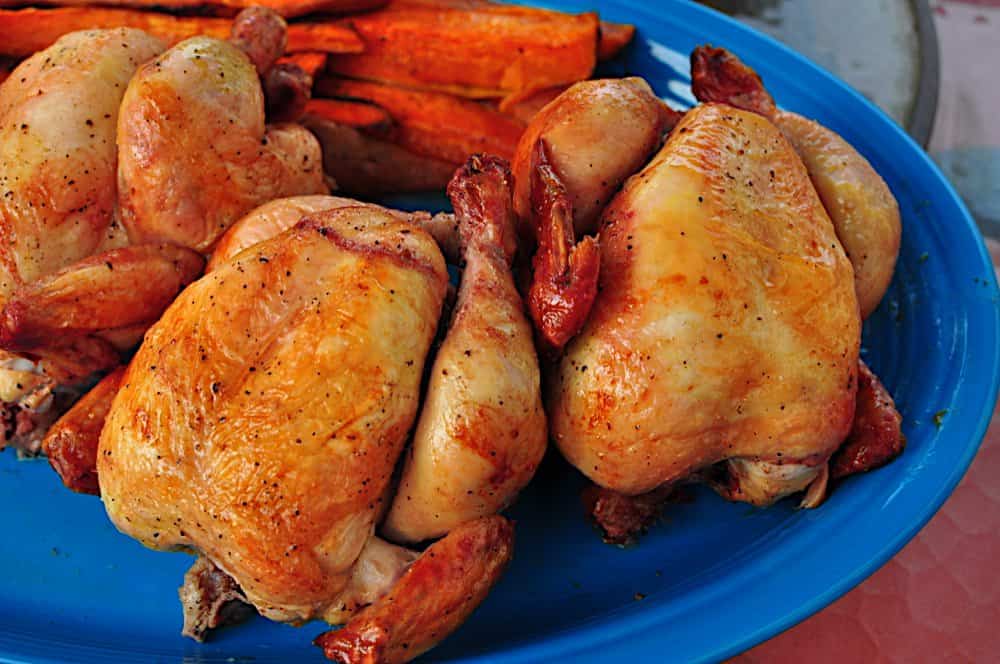
| Make sure the hens are on tight, or they get a little wobbly. The second hen from the left is trying to shake loose. |
4. Serve: Remove the spit from the grill, remove the hens from the spit, and remove the trussing string from the hens. Let the hens rest for at least 15 minutes, then split in half, discarding the lime and herbs. Serve.

Variations:
*Different citrus or herbs: Substitute Lime (quartered) or orange (wedges) for the lemon; substitute your favorite herbs (any of the "song" herbs, parsley, sage, rosemary and thyme will work.)
Notes:
*One hen will serve two regular eaters, or one big eater. Like me, when I get rolling. Oh, those hens were so good...
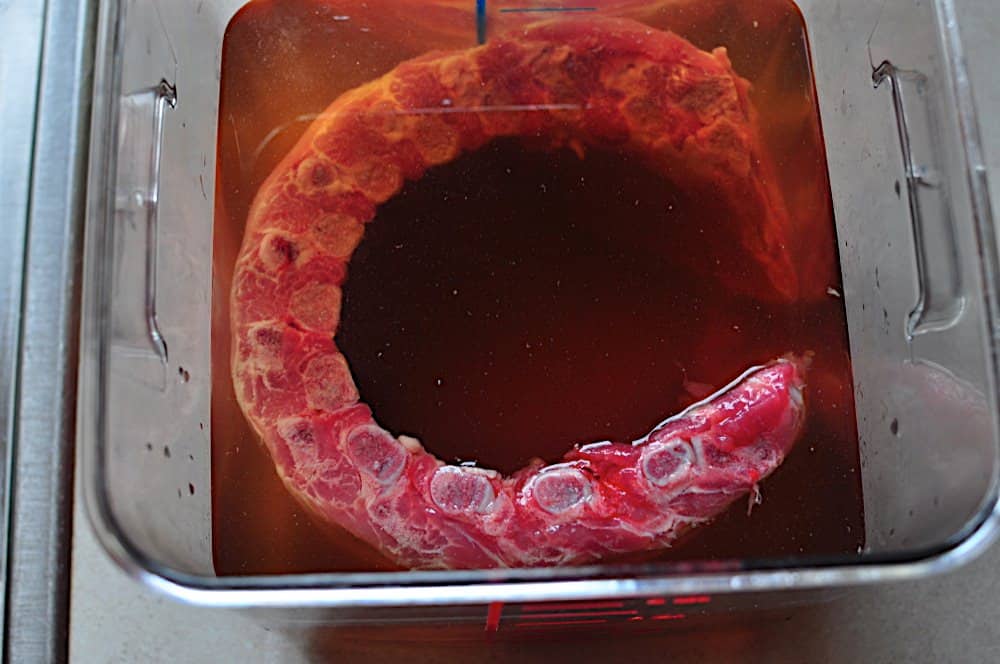
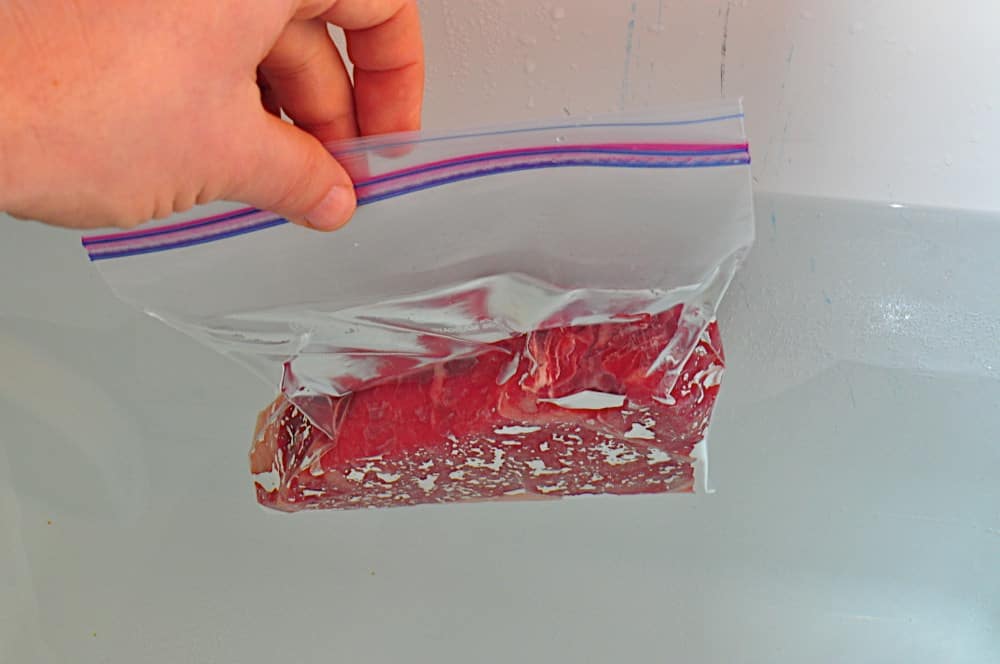
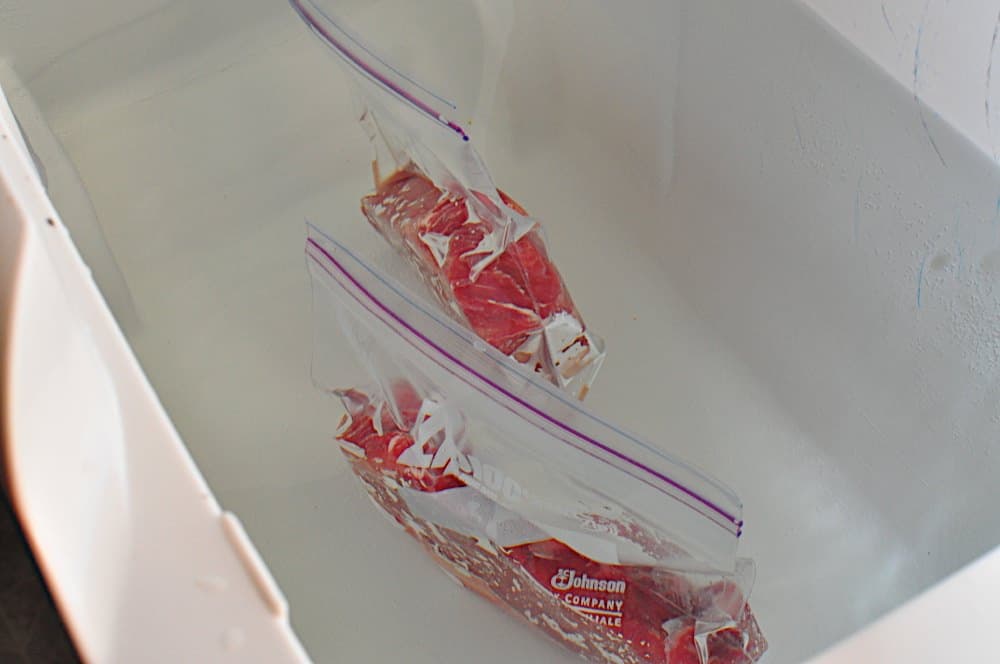
*Thawing frozen game hens: I put them in a large container, covered them with cold water, and replace the water every hour. To hurry things along, after every water replacement I leave the faucet running for five to ten minutes, to keep the water circulating around the hens. The result was thawed hens in four hours.
What do you think? Questions? Other ideas? Leave them in the comments section below.
Related Posts:
Rotisserie Cornish Game Hens, Dry Brined
Rotisserie Cornish Game Hens, Brined and Herbed
Click here for my other rotisserie recipes.
 Check out my cookbook, Rotisserie Grilling. Check out my cookbook, Rotisserie Grilling. |
Everything you could ask about the rotisserie,
plus 50 (mostly) new recipes to get you cooking.
It's a Kindle e-book, so you can download it and start reading immediately!
*Enjoyed this post? Want to help out DadCooksDinner? Subscribe to DadCooksDinner using the RSS or Email options on the right, link to this post from your blog, recommend DadCooksDinner to your friends, or buy something from Amazon.com through the links on this site. (Like my Rotisserie Grilling cookbook...)