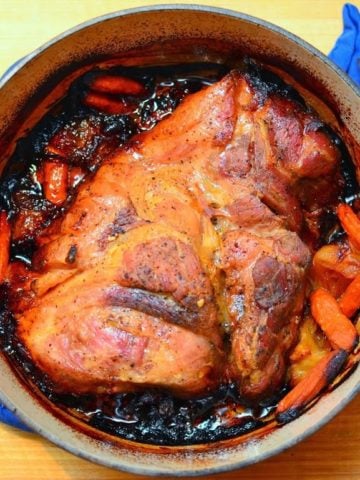
Leg of Pork is a common cut in England. Here in the states, we don't see leg of pork roasts that often; they are usually cured and sold as ham. I have a good butcher, so I can get fresh pork legs whenever I want.
The English also call a roast a "joint of meat", and their Sunday roast is often called a "Sunday joint." Here in the states, that name is a little too close to a marijuana joke. Like, you can only eat it in Colorado or Washington…thank you, thank you, I'll be here all week.
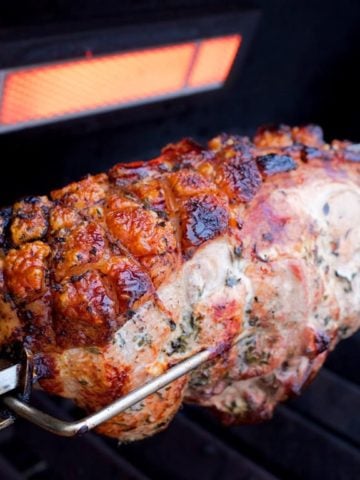
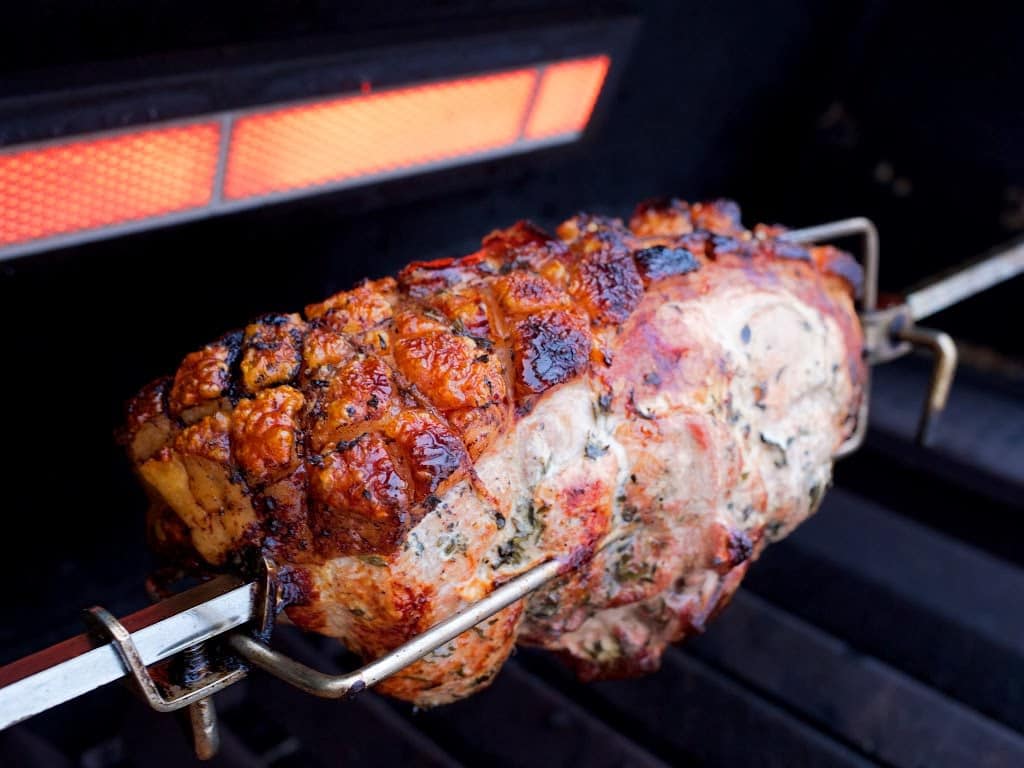
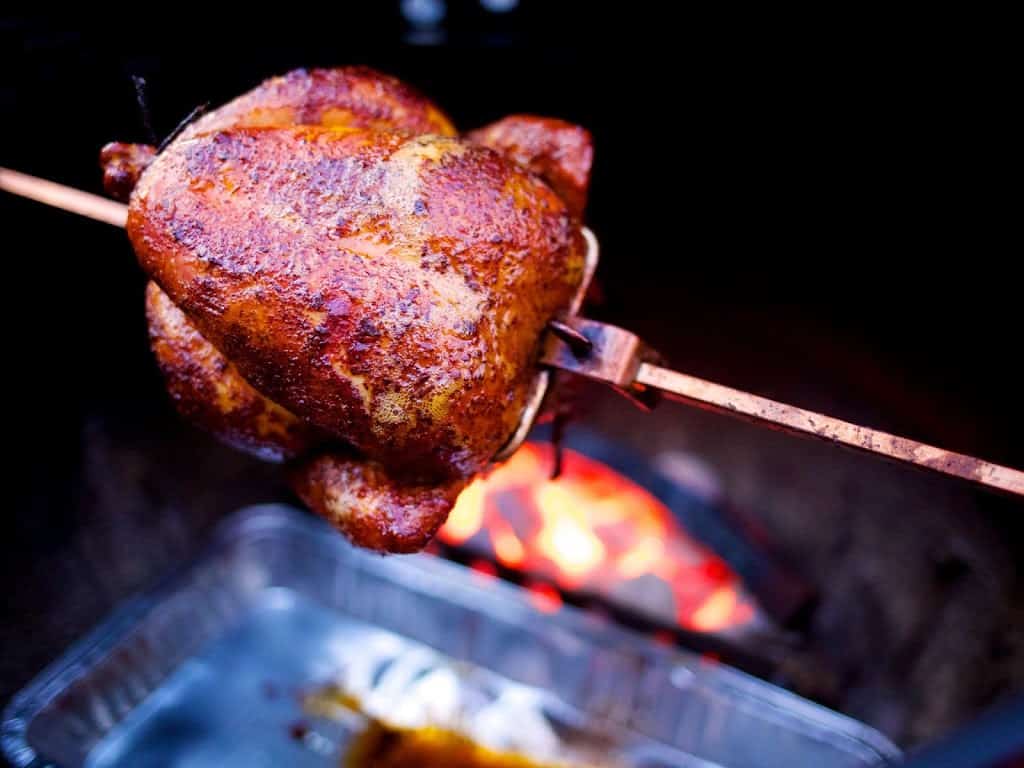
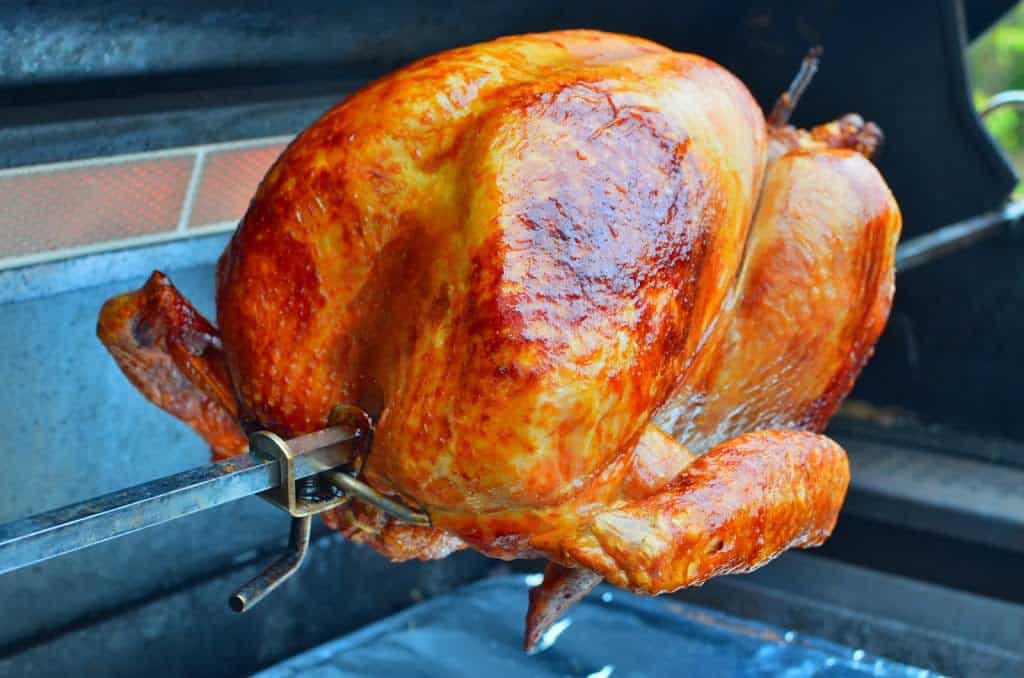
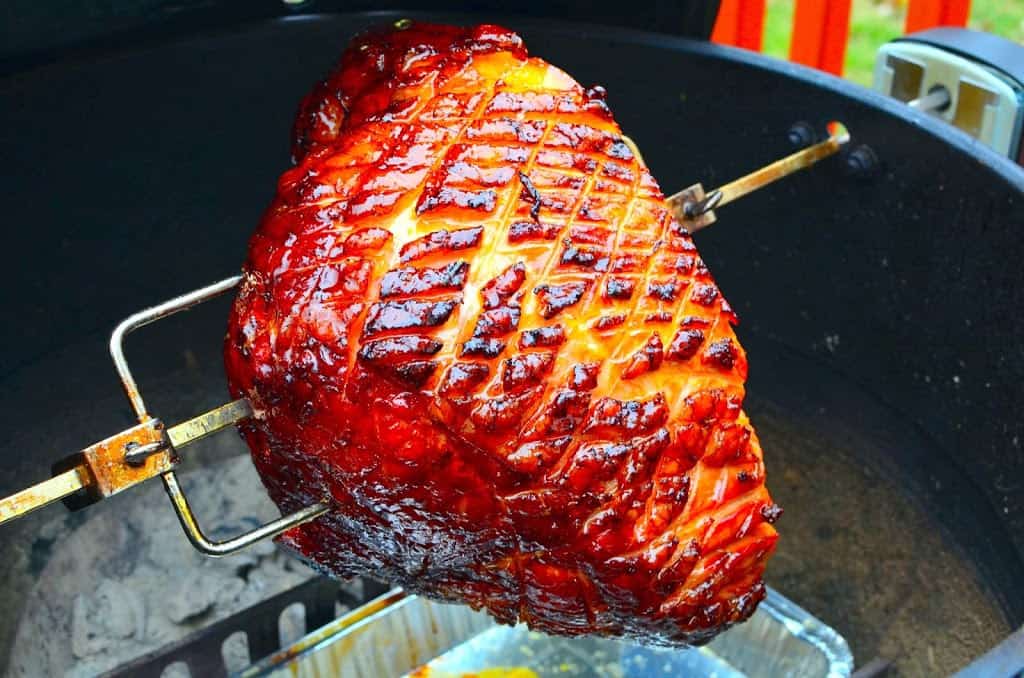
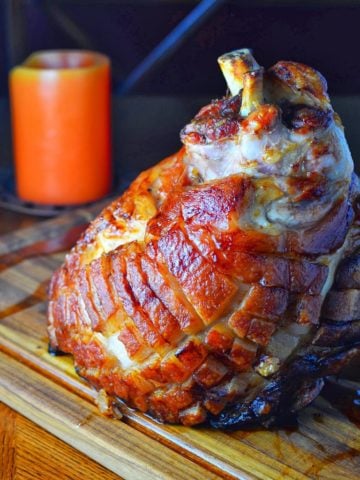
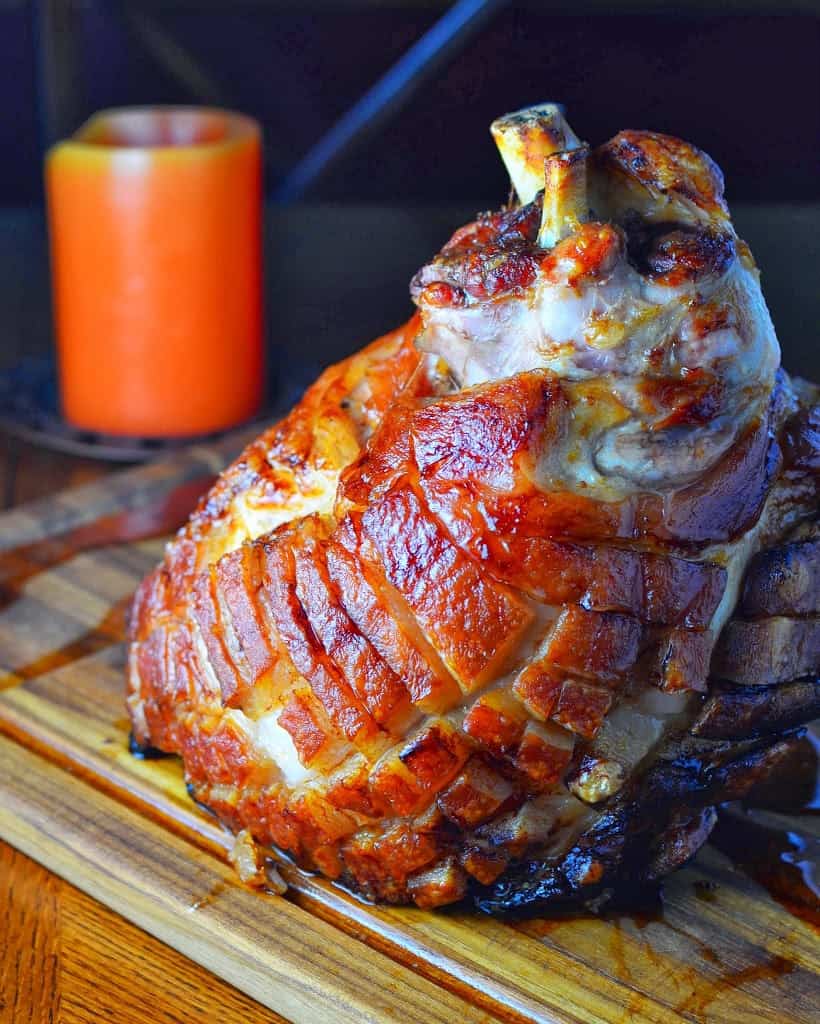
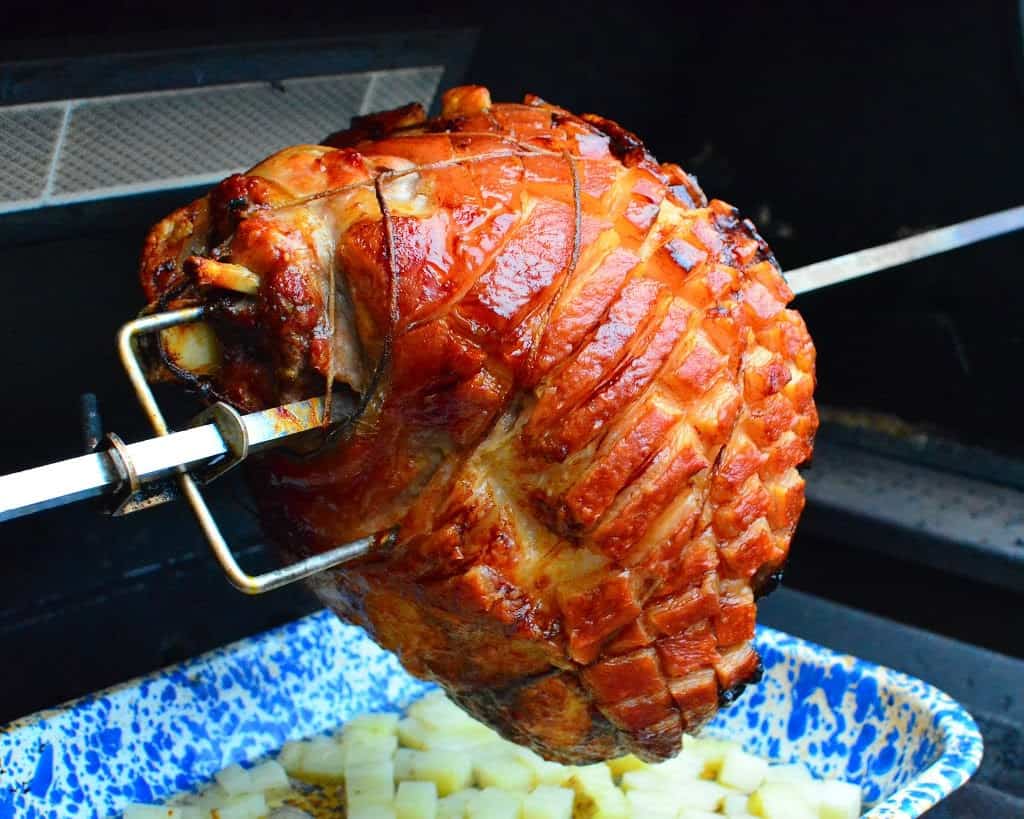
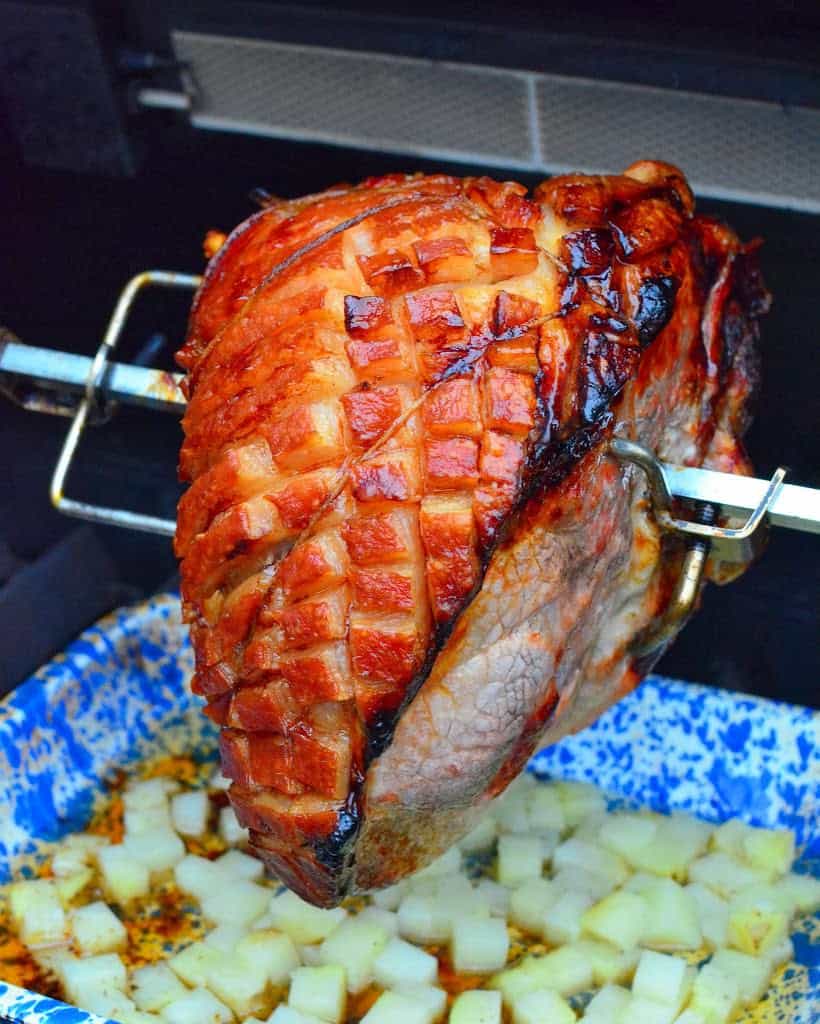
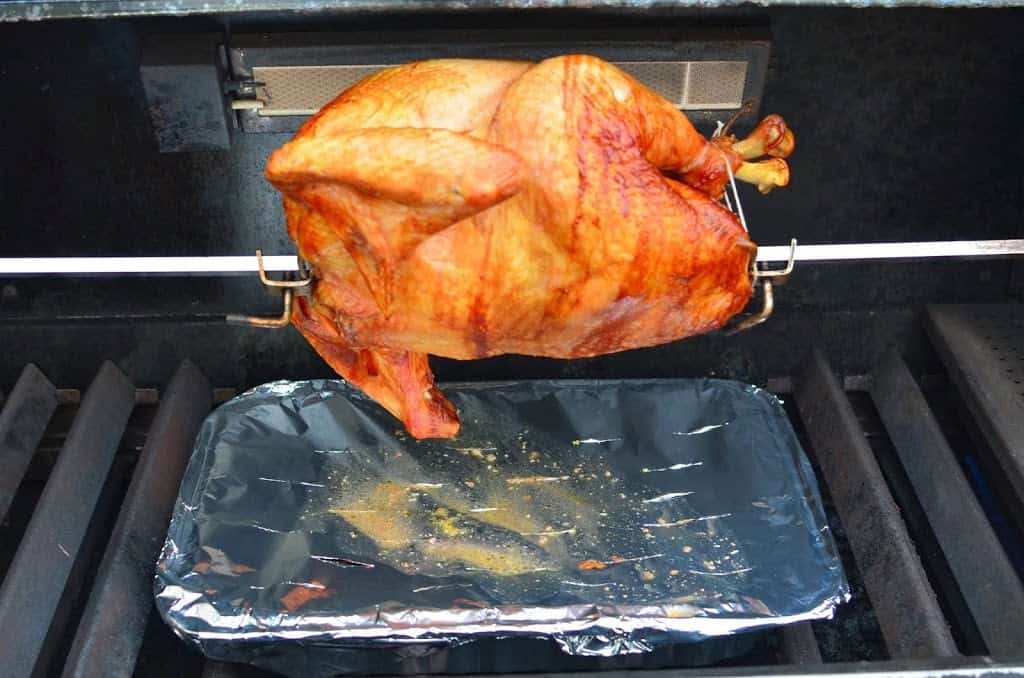
Pork leg is a lean cut of meat, similar to pork loin. So, why cook pork leg, instead of the ubiquitous boneless pork loin roast? Because you can get pork leg with the skin on, and a thick layer of fat between the skin and the meat. Pork skin and a rotisserie give you cracklings - crunchy crisped pork skin - which I eat like pig candy. Also, the thick layer of fat bastes the lean meat as it spins in the rotisserie, resulting in a juicier roast.
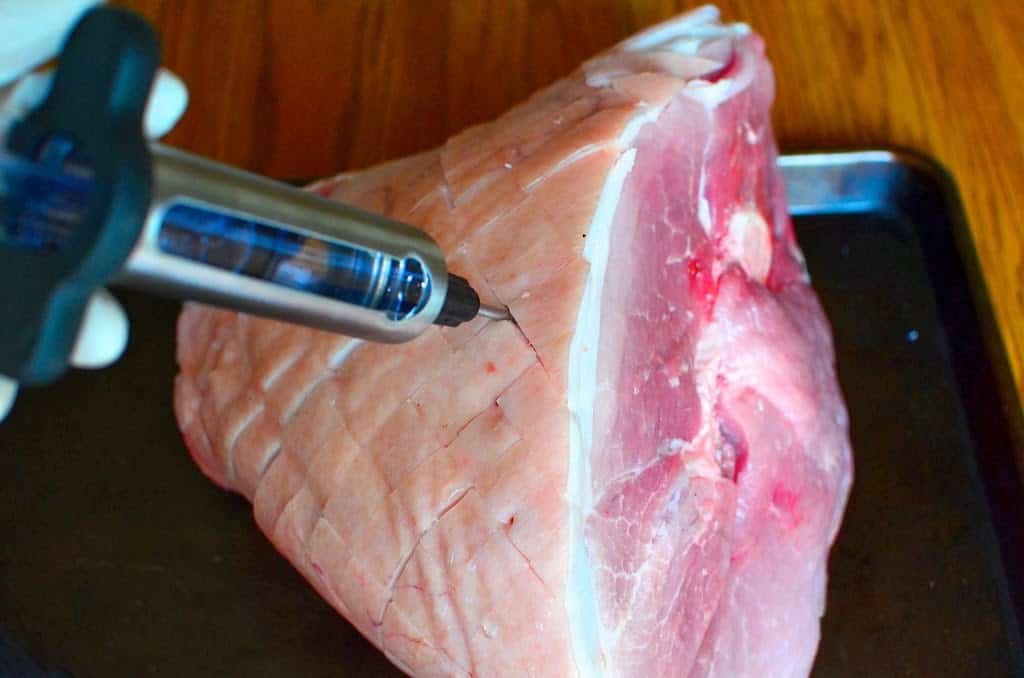
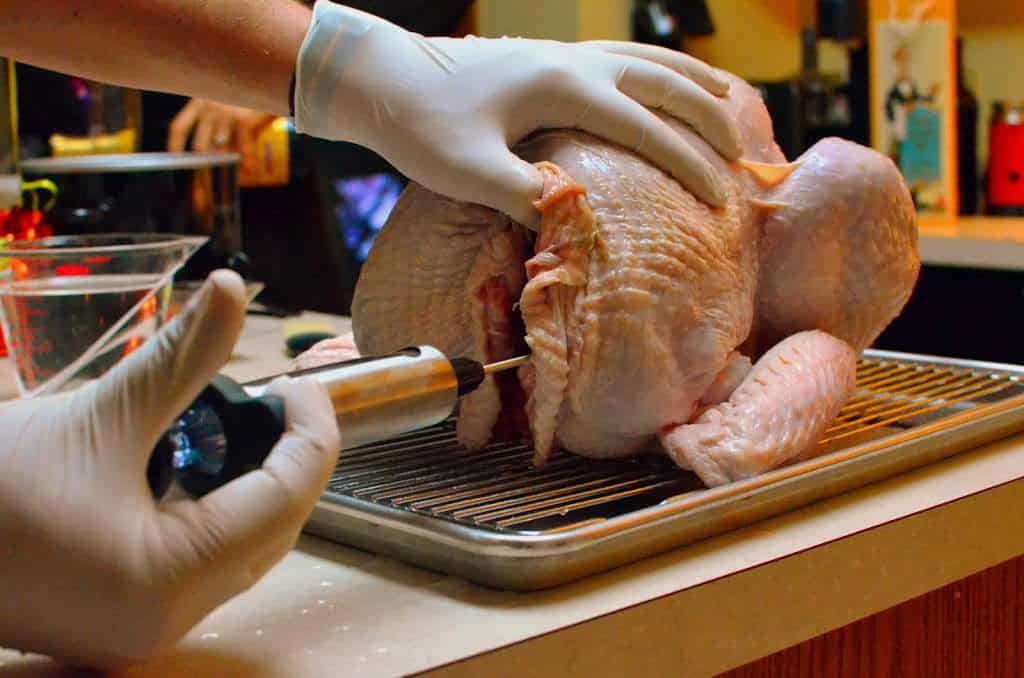
Also, just like when I cooked a bone-in fresh ham, this is the perfect time for an injection brine. I prefer wet brined pork, but I don't want to waterlog the skin. Wet skin makes it hard to crisp up the cracklings. Solution? Get out the big needle.
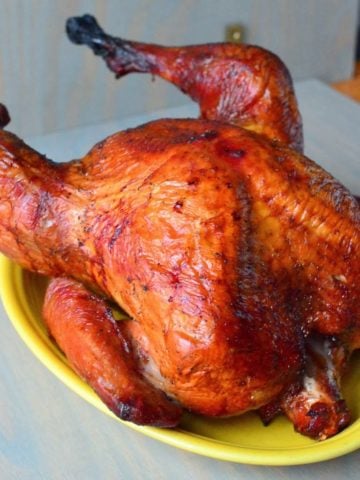
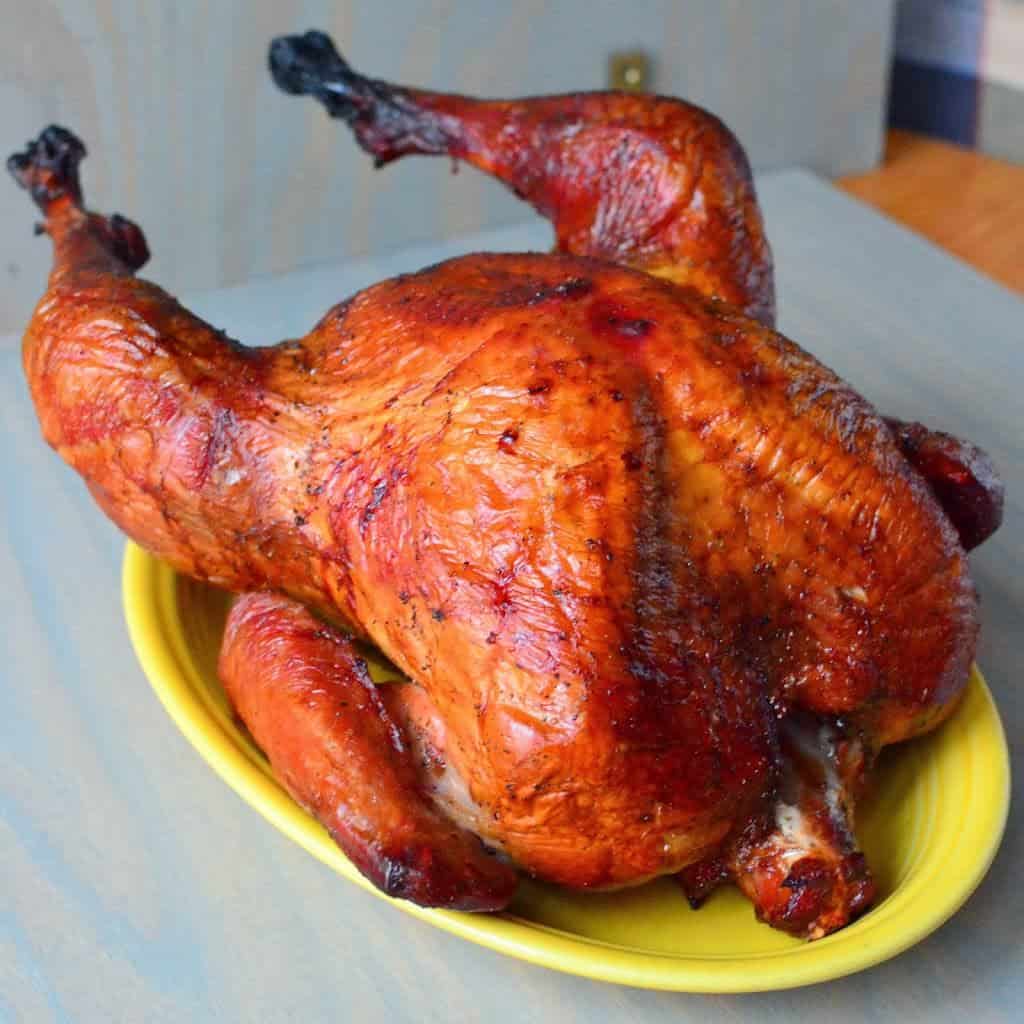
Crackling skin, lean meat? The perfect Sunday joint.
Shout out to my local butcher, Sherman Provision, for stocking fresh ham legs an trimming this one to order. Thanks, Mike and Mauri!
Recipe: Rotisserie Leg of Pork Roast with Injection Brine and Herb Rub
Prep Time: 20 minutes
Cook Time: 1 hour 30 minutes
Equipment
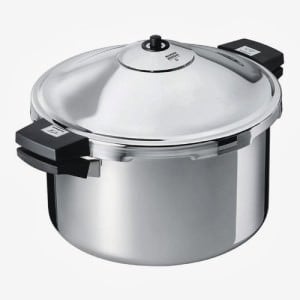
- Grill with Rotisserie Attachment (Here's the current version of my Weber Summit)
- 9 by 13 aluminum foil drip pan
- Butcher's twine
Ingredients
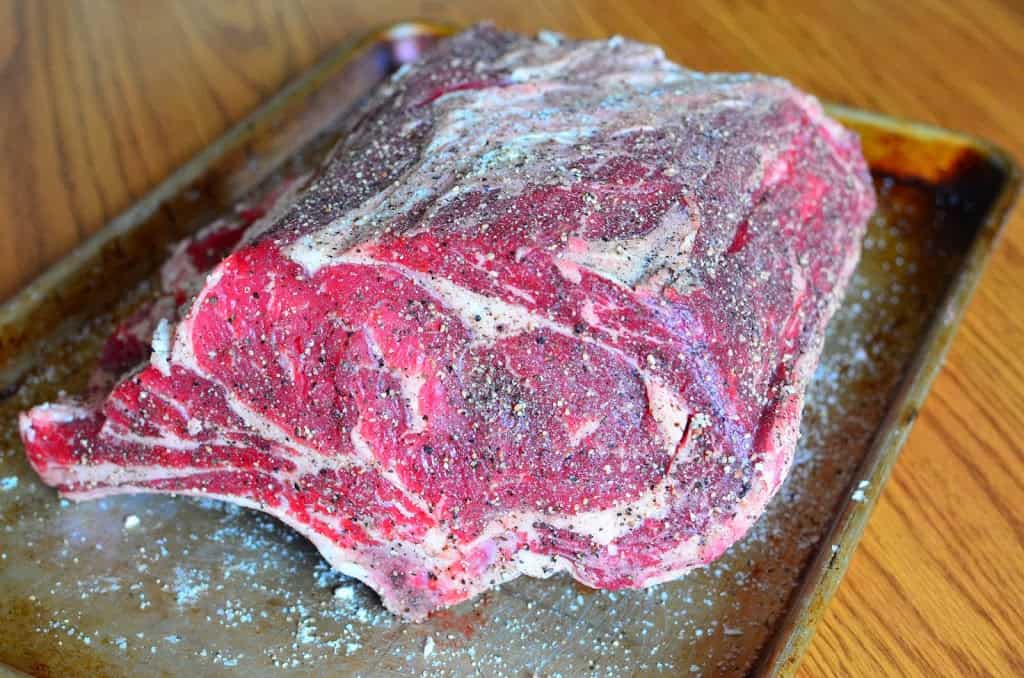
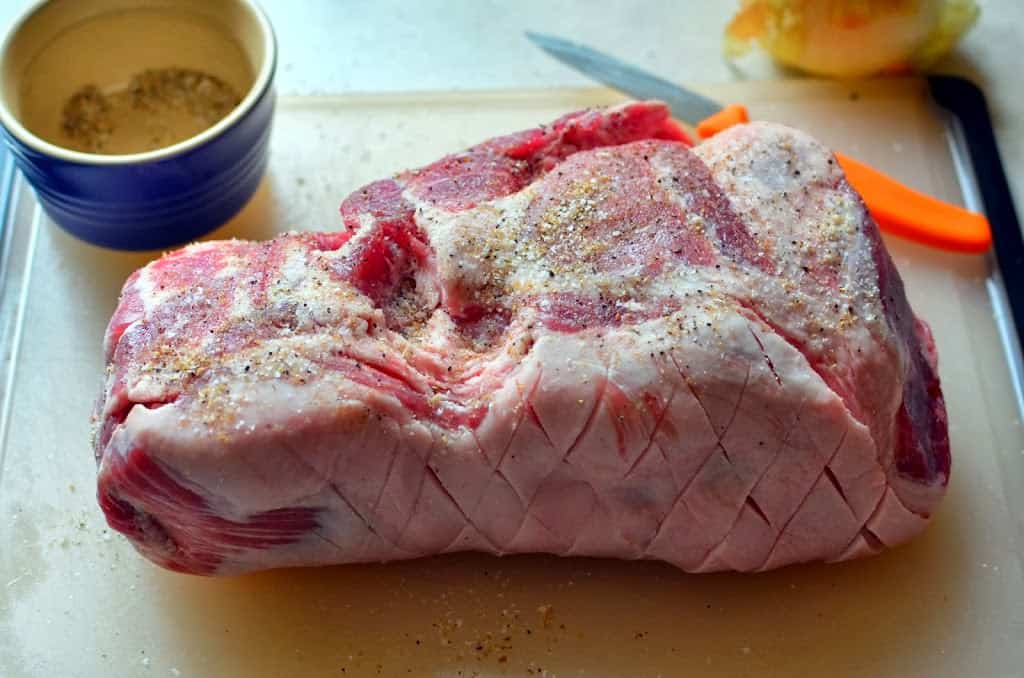
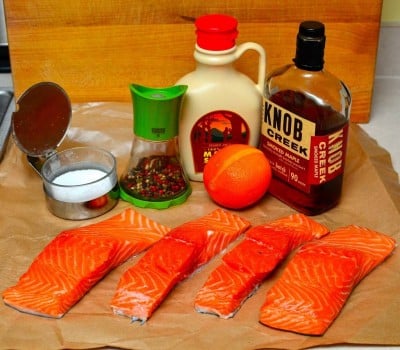
- 1 (5 pound, 4 inch thick) boneless leg of pork roast, skin and fat cap still attached
- 1 cup wood chips (or 1 fist sized chunk of smoking wood) - oak, hickory, or apple are my favorites with pork
Injection Brine
- 1 cup water
- 1 tablespoon kosher salt (1 ½ teaspoons table salt)
- 2 teaspoons brown sugar
Herb Paste
- 1 tablespoon minced thyme
- 1 ½ teaspoons minced rosemary
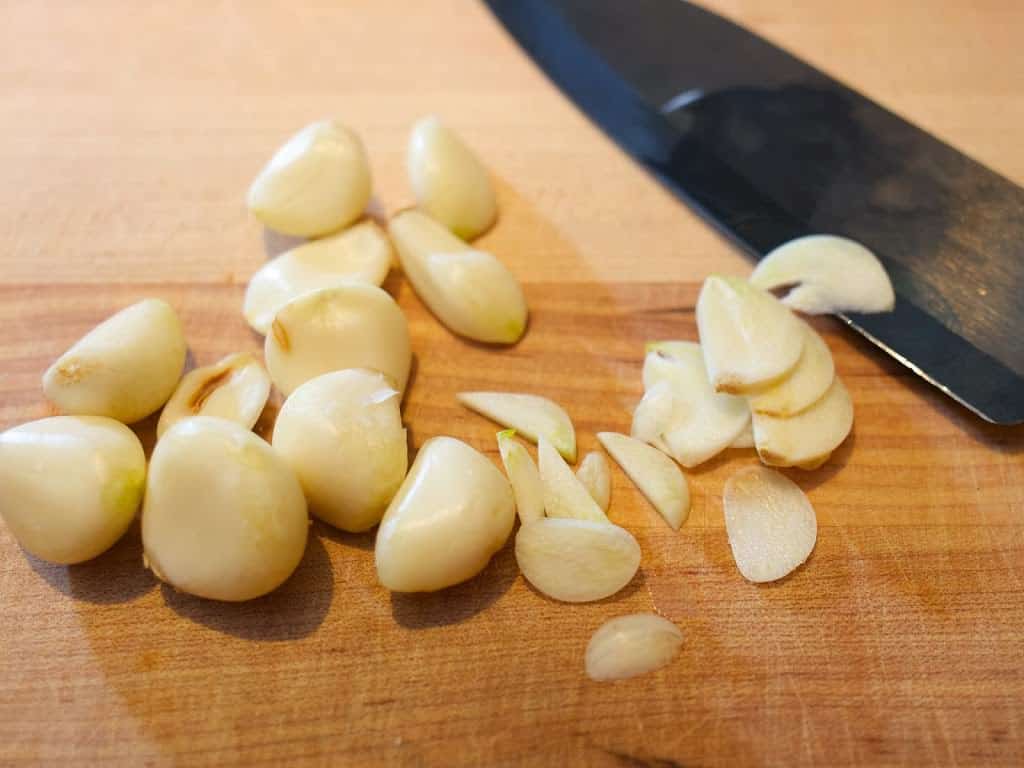
- 2 cloves garlic, peeled and minced
- ½ teaspoon fresh ground black pepper
- ¼ teaspoon kosher salt
- 1 tablespoon extra virgin olive oil
Directions
1. Score and injection brine the pork
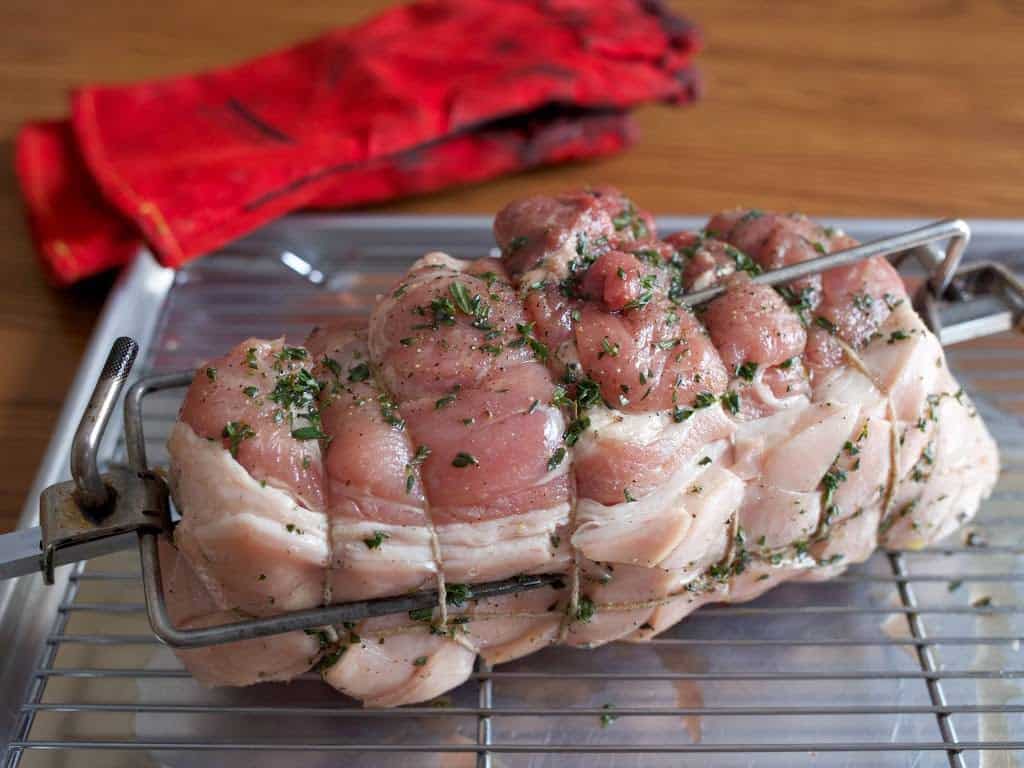
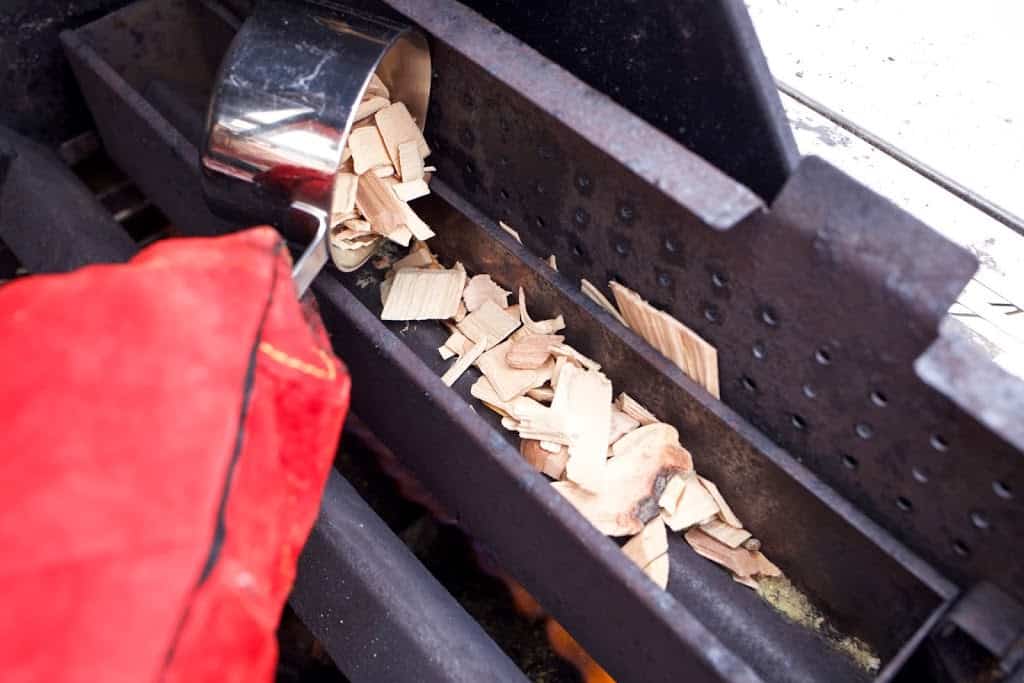
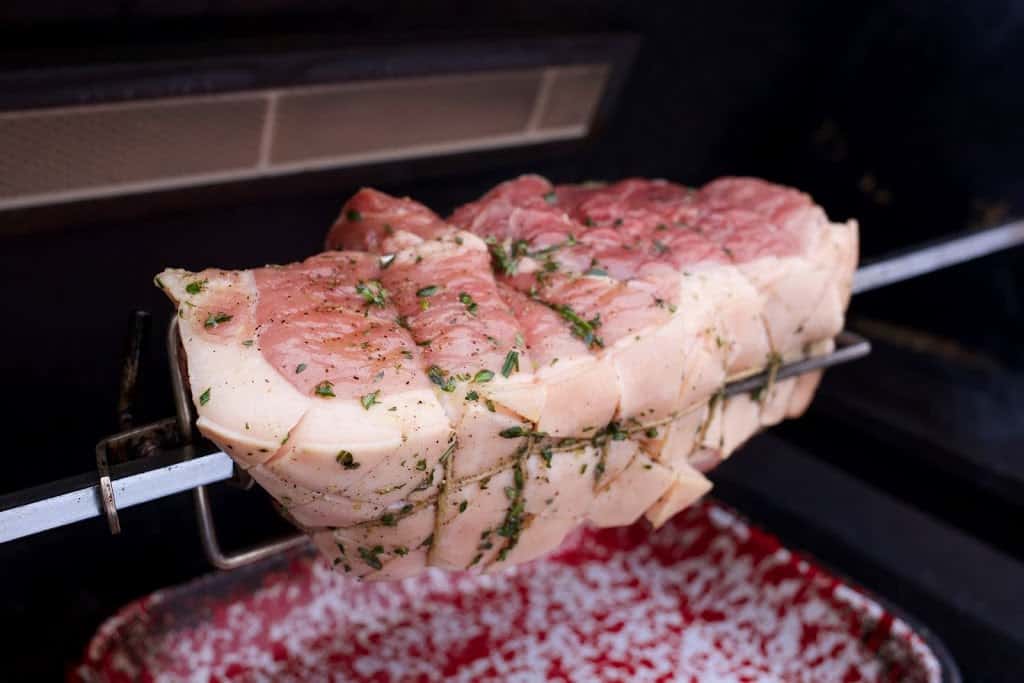
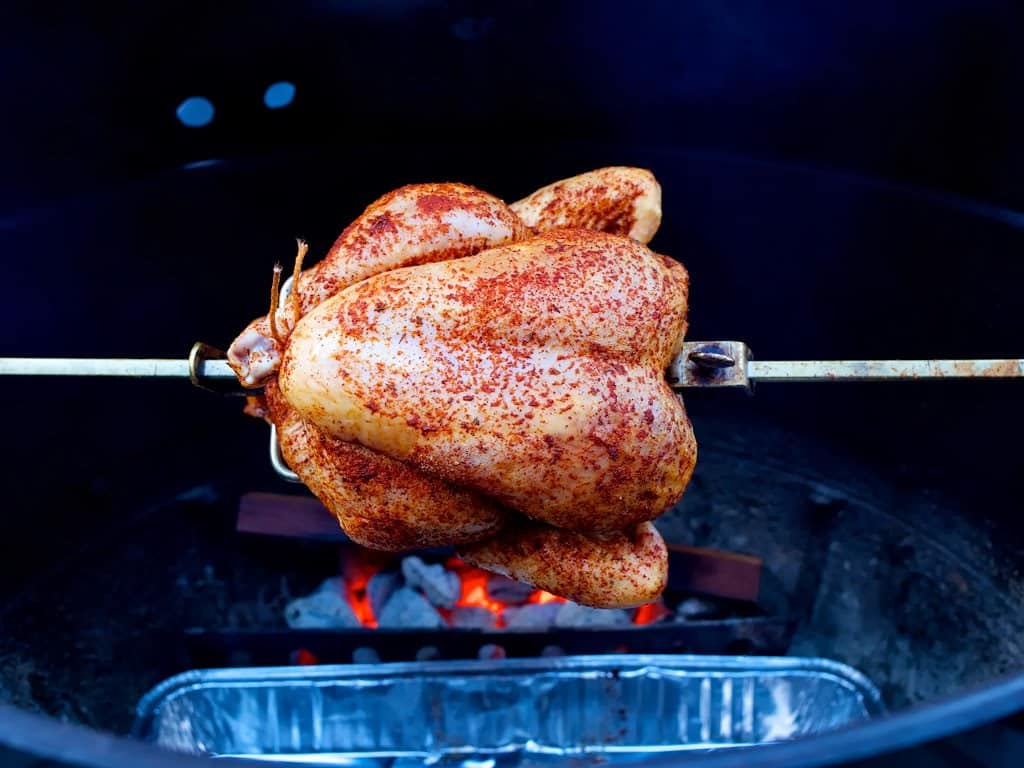
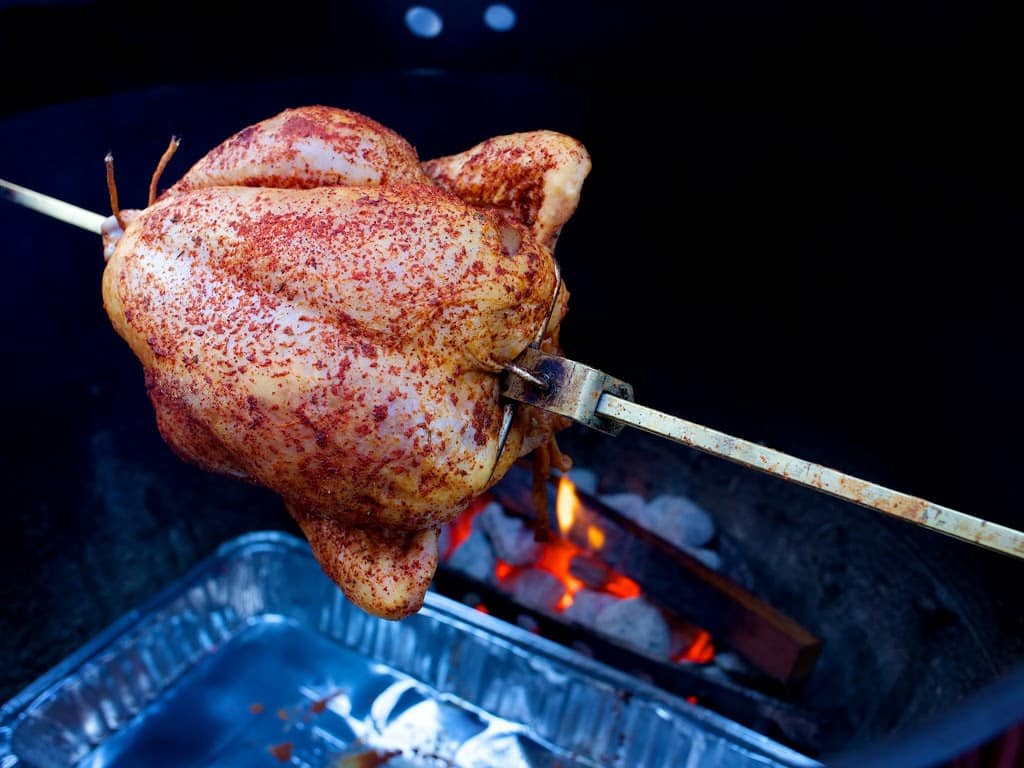
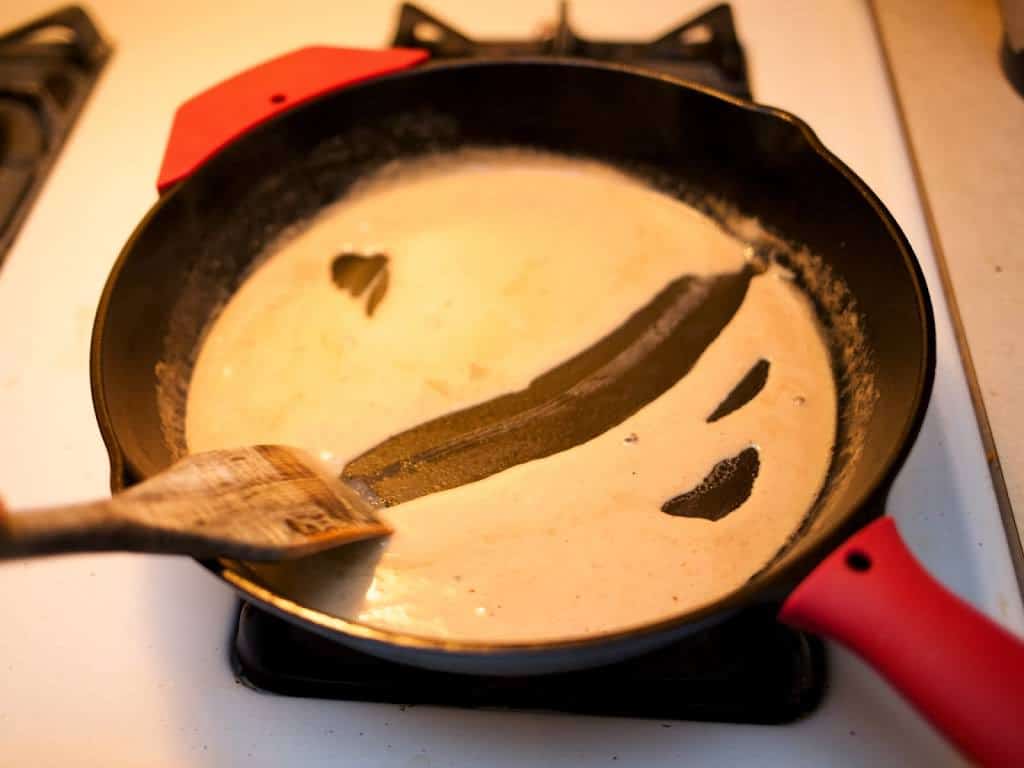
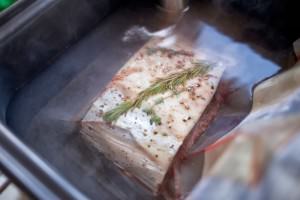
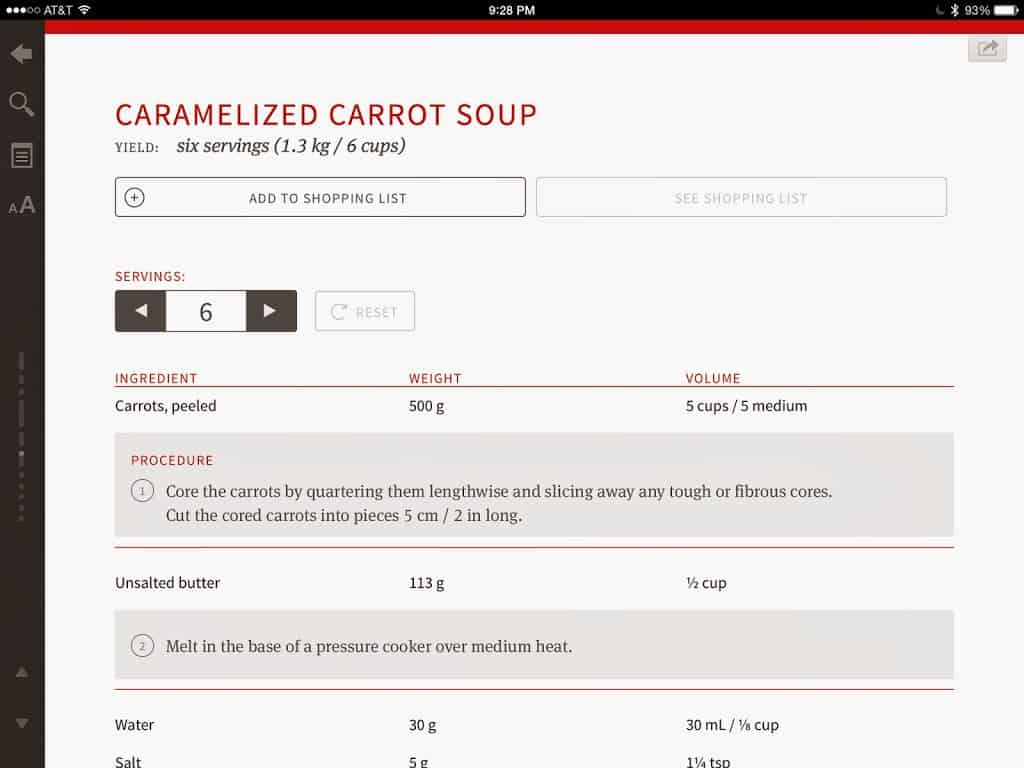
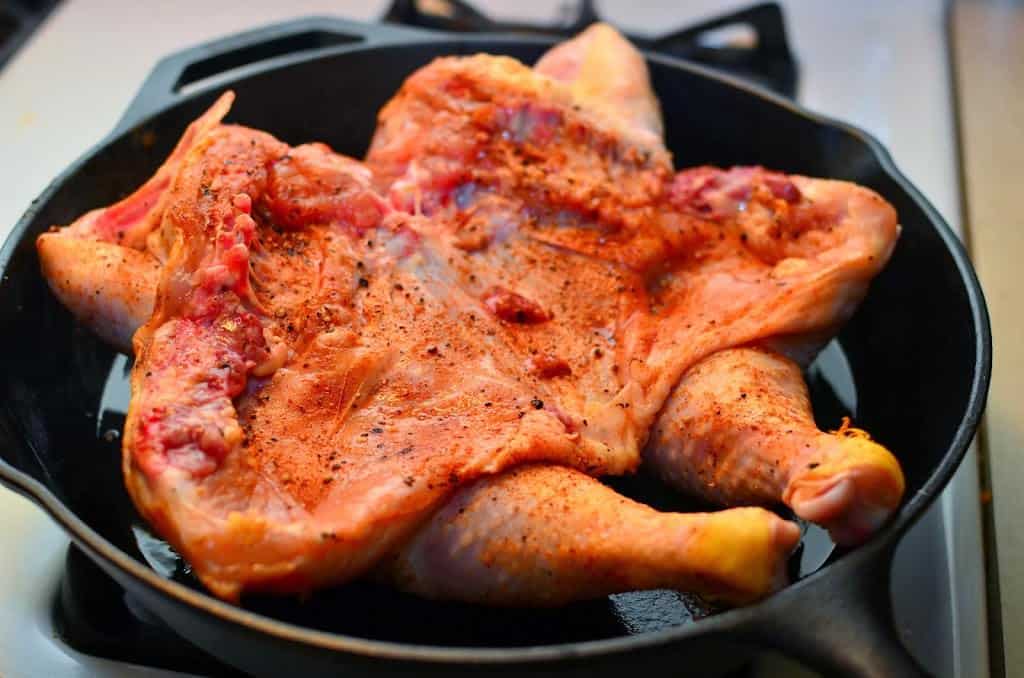
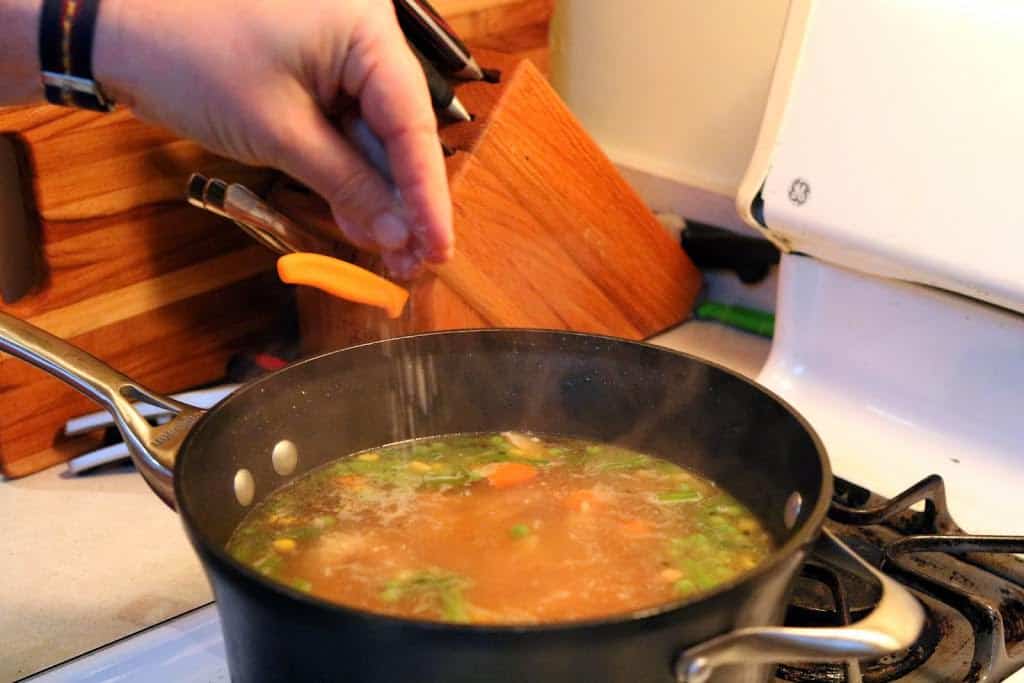
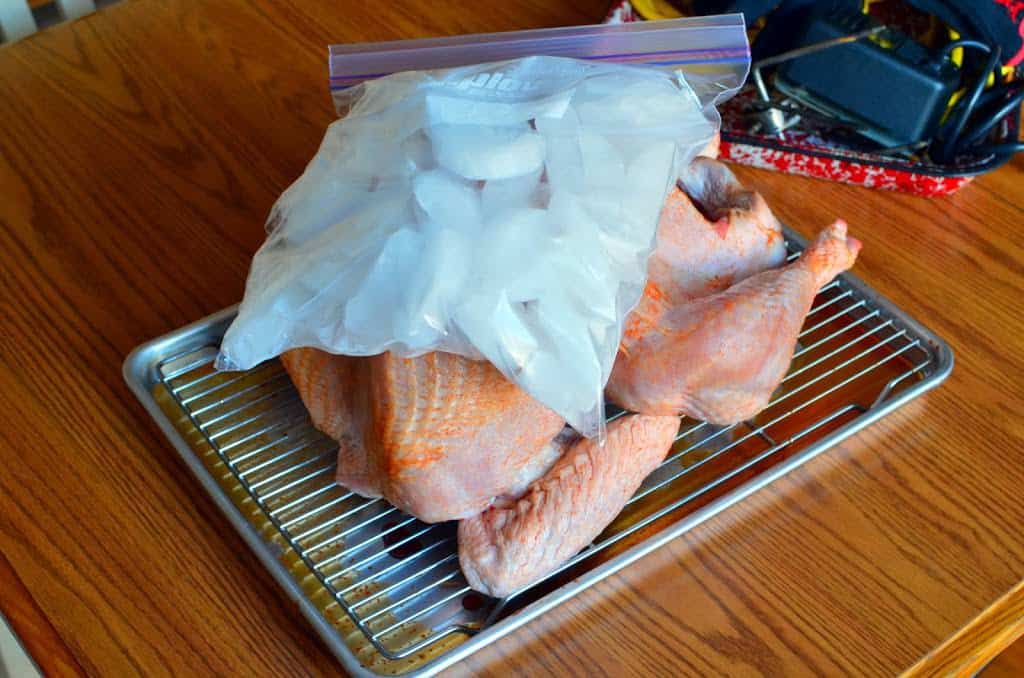
Stir the brine ingredients in a measuring cup until the salt and sugar dissolve. Score the skin on the leg of pork in a 1 inch diamond pattern. Inject the brine into the pork, poking through the scores in the skin every couple of inches. Push the needle all the way in, then depress the plunger while slowly pulling the needle out, spreading the brine along the puncture. Let the leg of pork rest in the refrigerator for at least an hour to absorb the brine; four to eight hours would be better. Soak the smoking wood, starting an hour before cooking time.

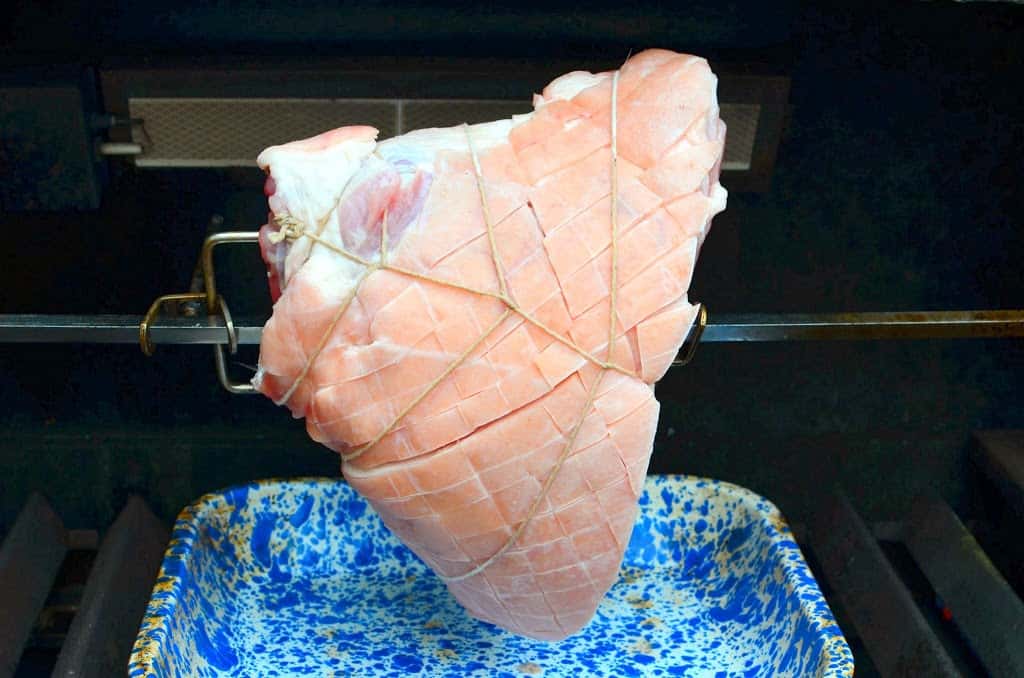
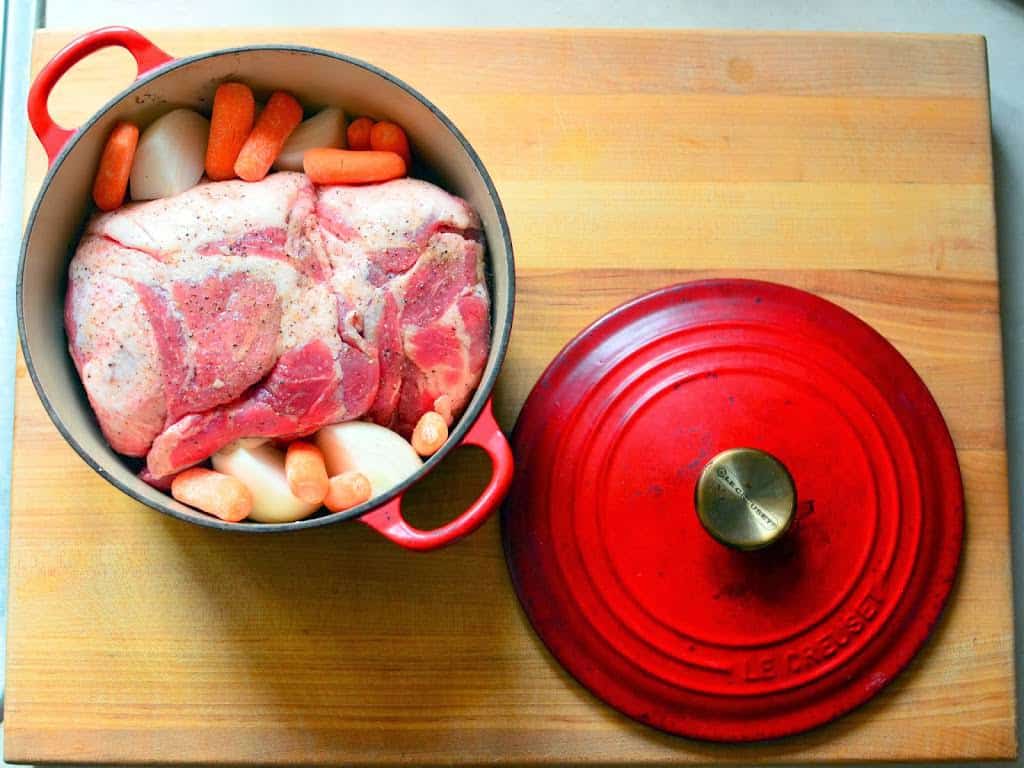
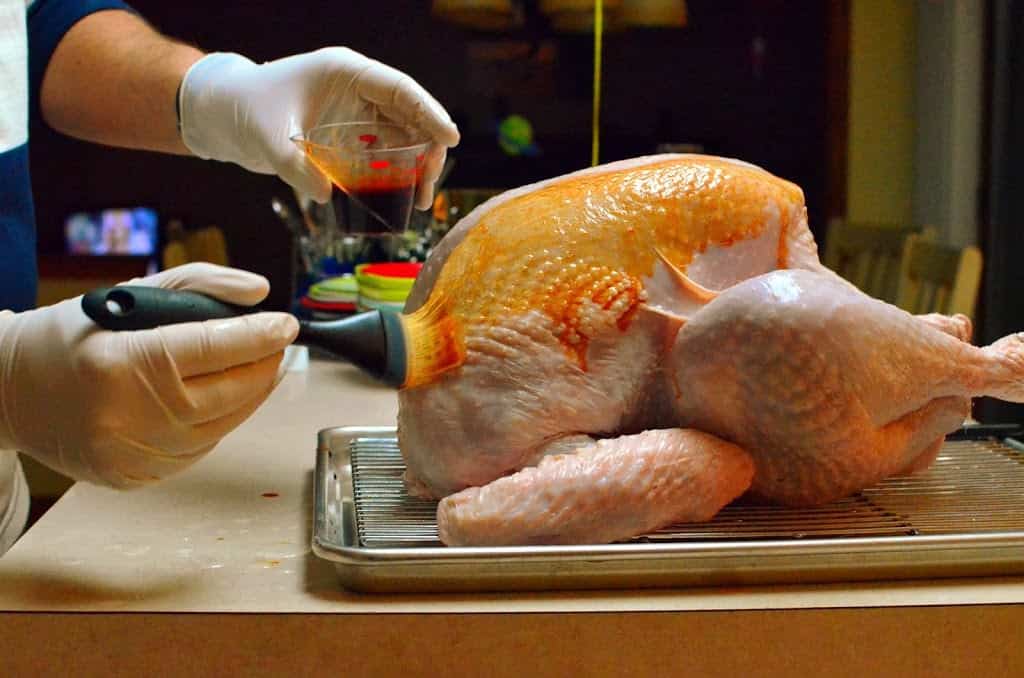
2. Truss and spit the pork
Before preheating the grill, remove the pork from the refrigerator. Mix the herb paste ingredients in a small bowl, then spread the herb paste over the pork leg, working it into the natural seams of the meat. Truss the pork roast every 1 ½ inches. Run the spit through the roast, aiming for center mass, and secure the roast to the spit with the spit forks. Let the roast rest at room temperature while the grill pre-heats.
3. Set up the grill for indirect medium-low heat
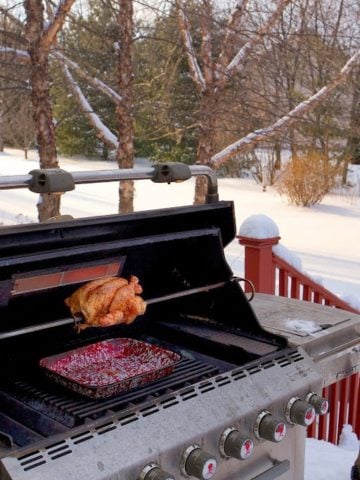
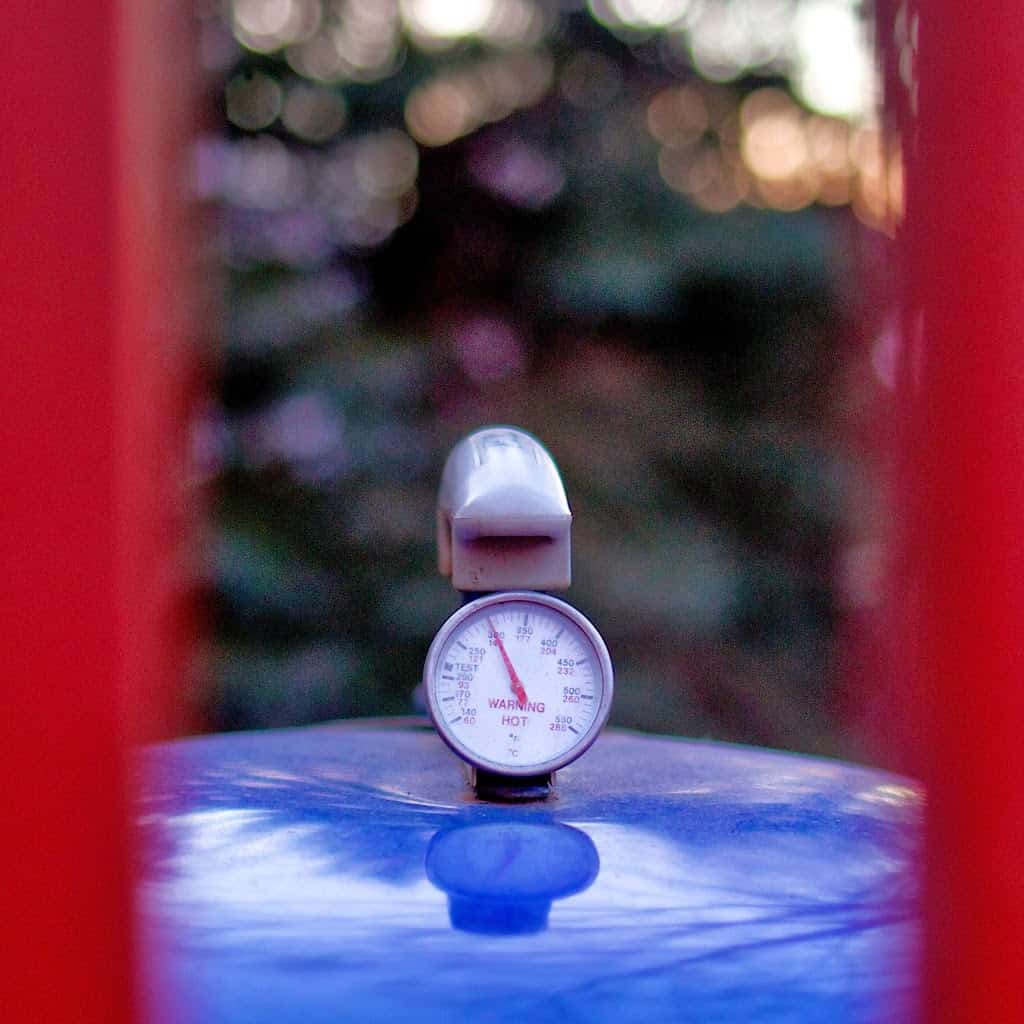
Set your grill up for indirect medium-low heat (300°F), with a drip pan in the center of the grill grate, and preheat for ten minutes. For my Weber Summit, I remove the grates, turn burner #1 and #6 to medium, turn the smoking burner to high, and put my drip pan in the middle of the grill, over the unlit burners. (If I didn't have the smoker burner, I'd go with #1 and #6 at medium.) For a charcoal grill, light a chimney ½ full with charcoal. When it is covered with gray ash, spread it in two piles on the grill grate, with a drip pan in the middle.
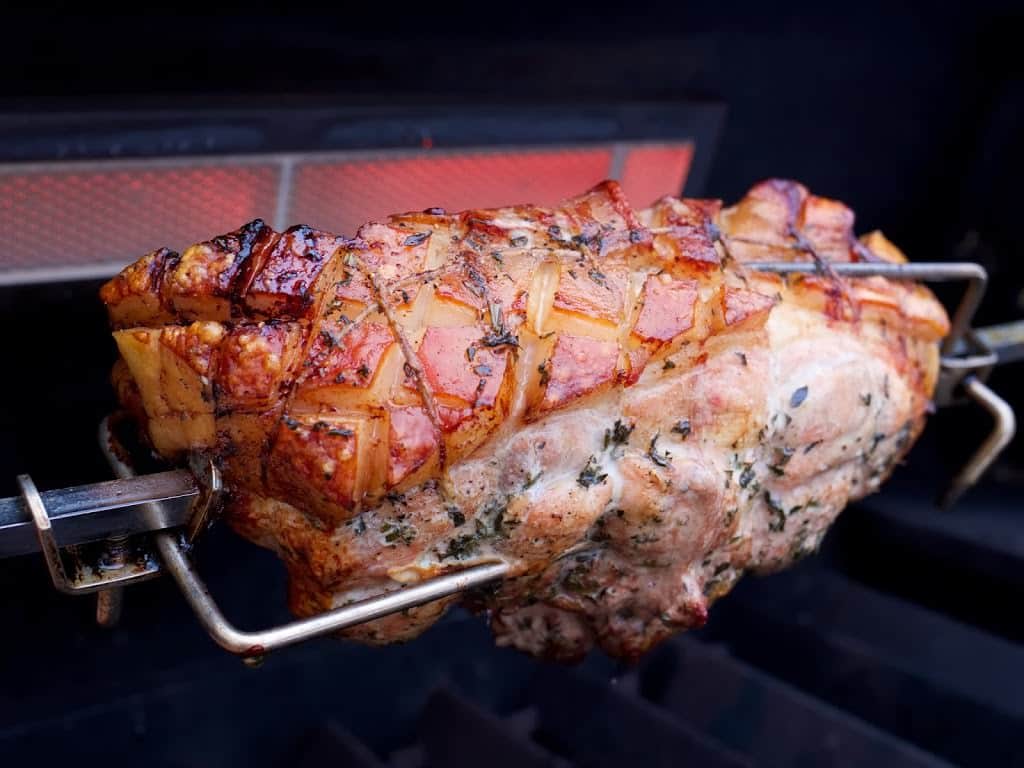
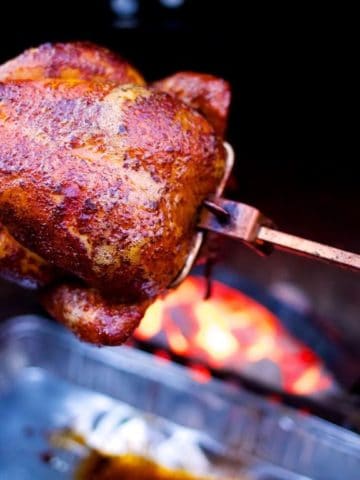
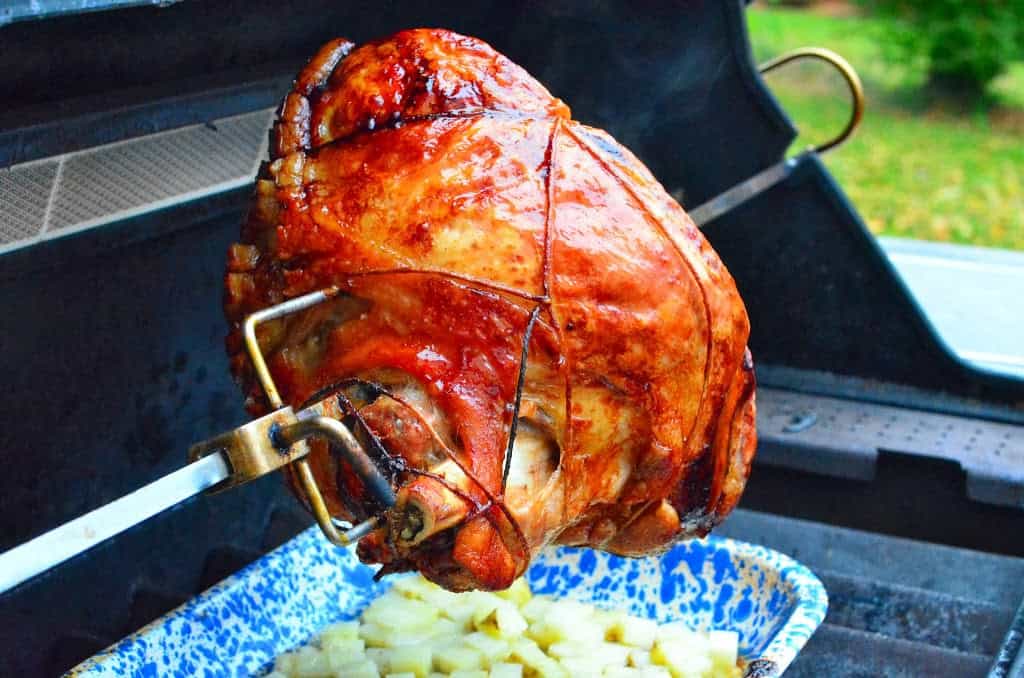
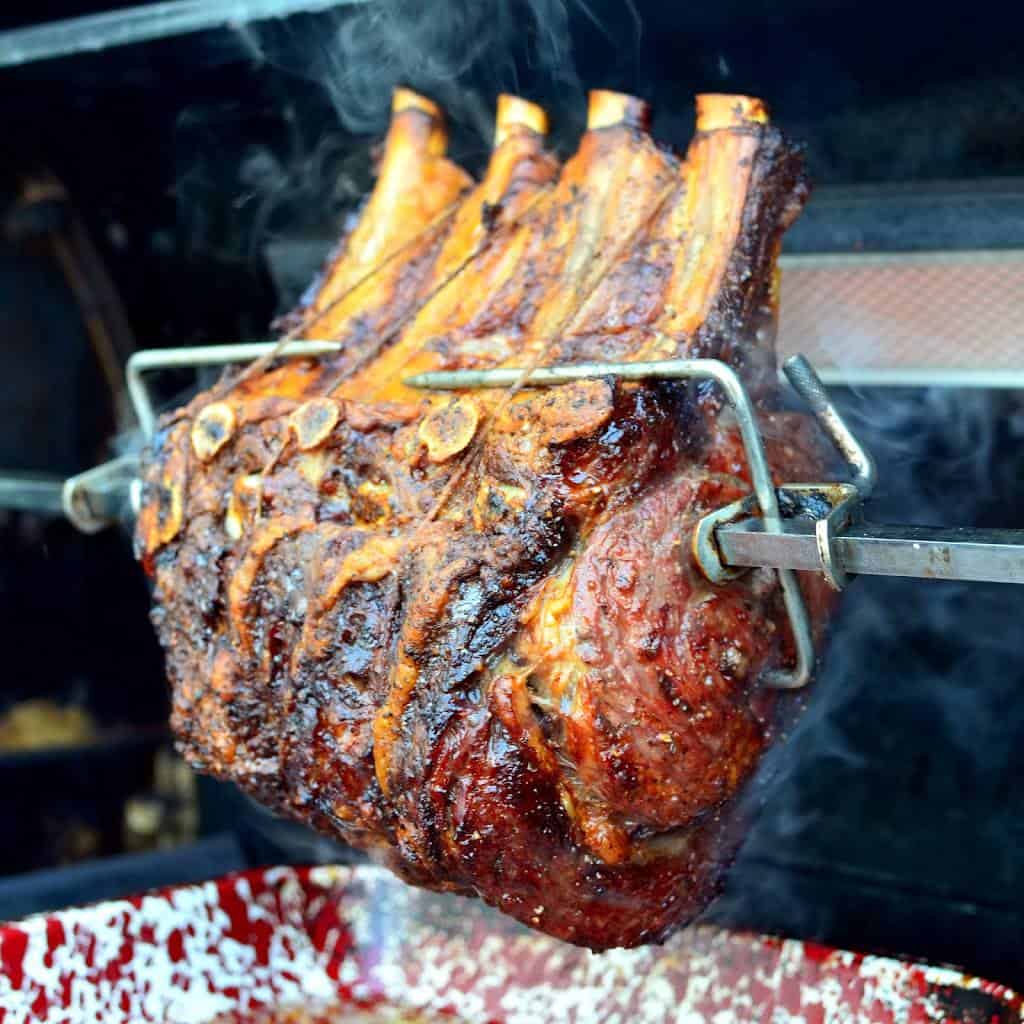
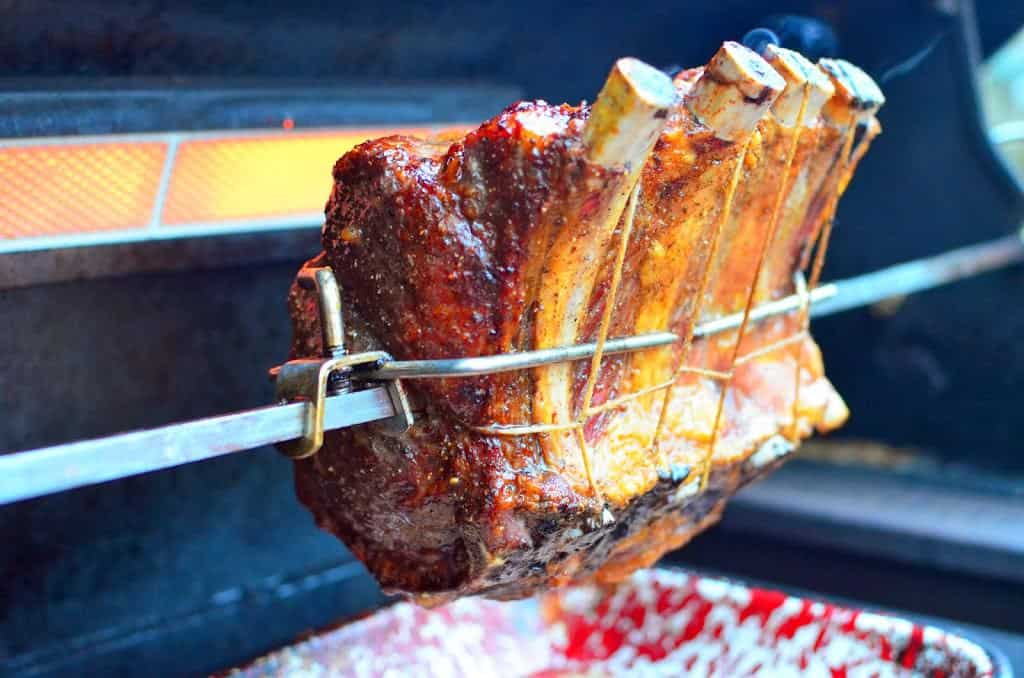
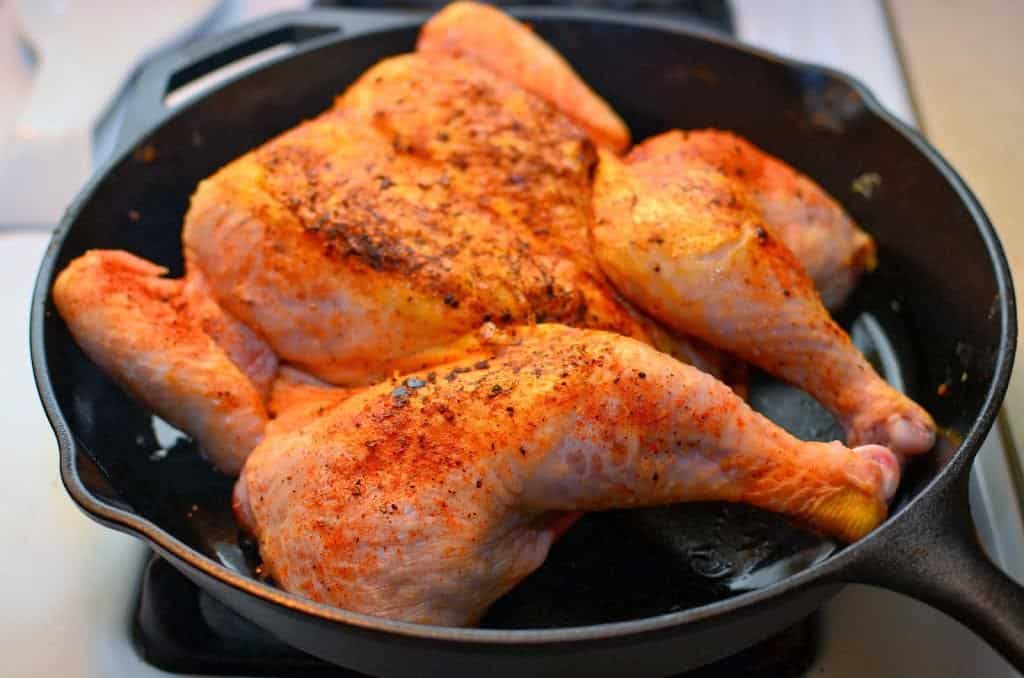
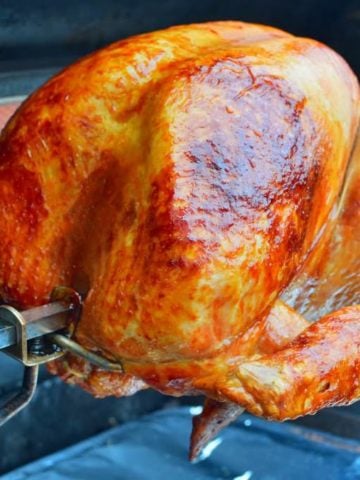
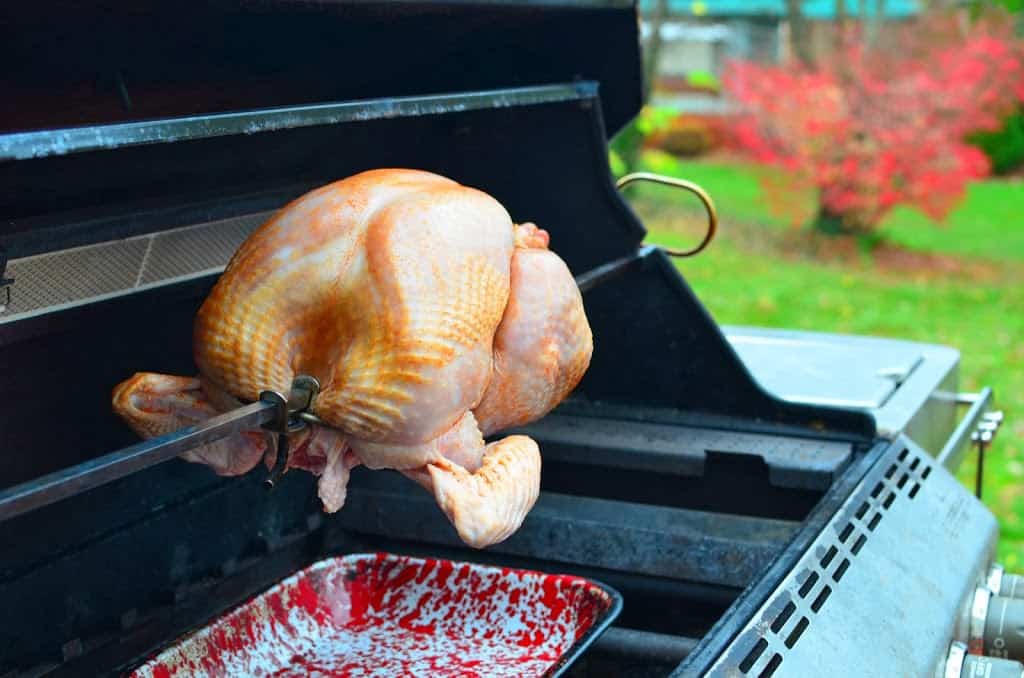
4. Rotisserie the leg of pork
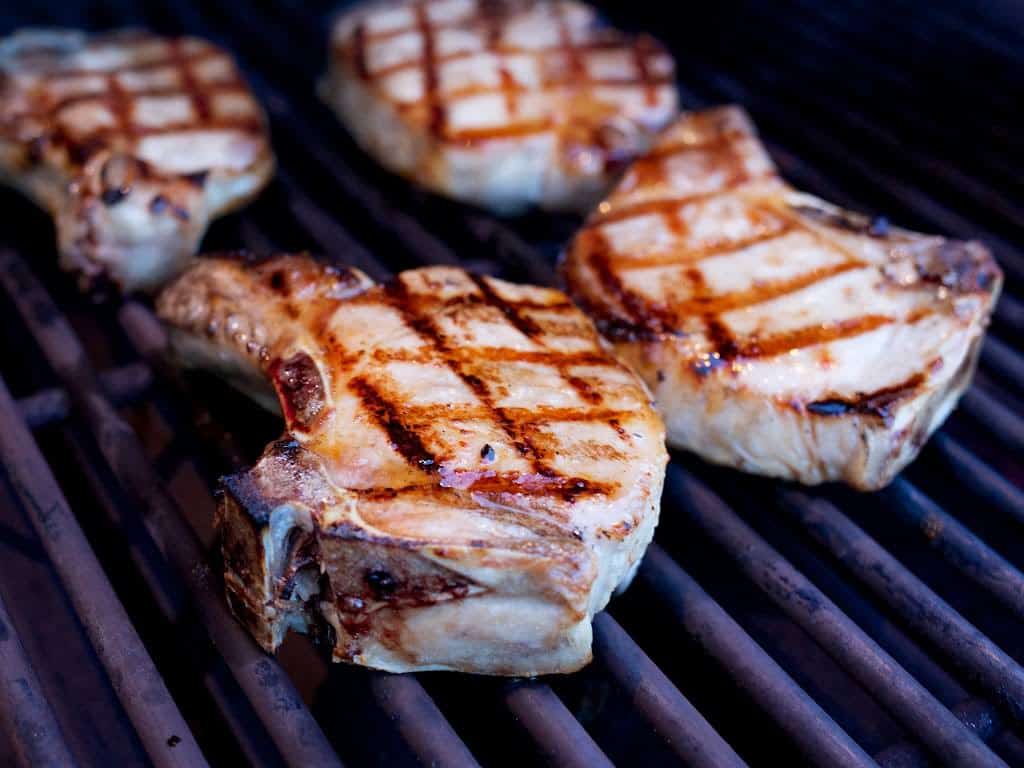
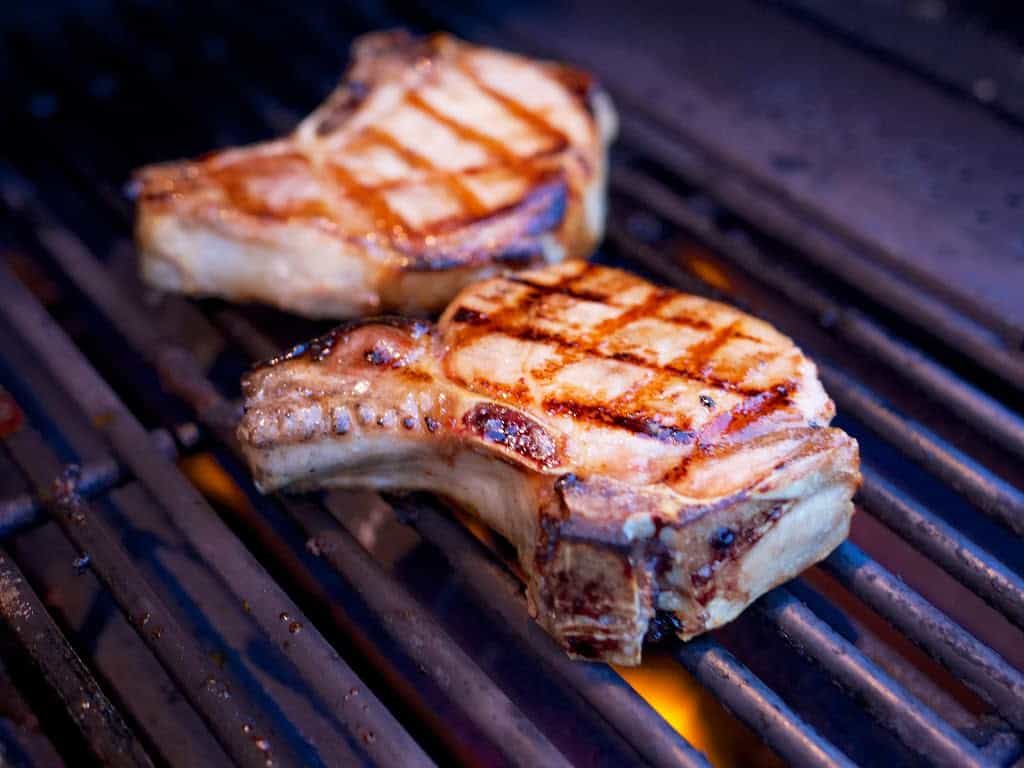
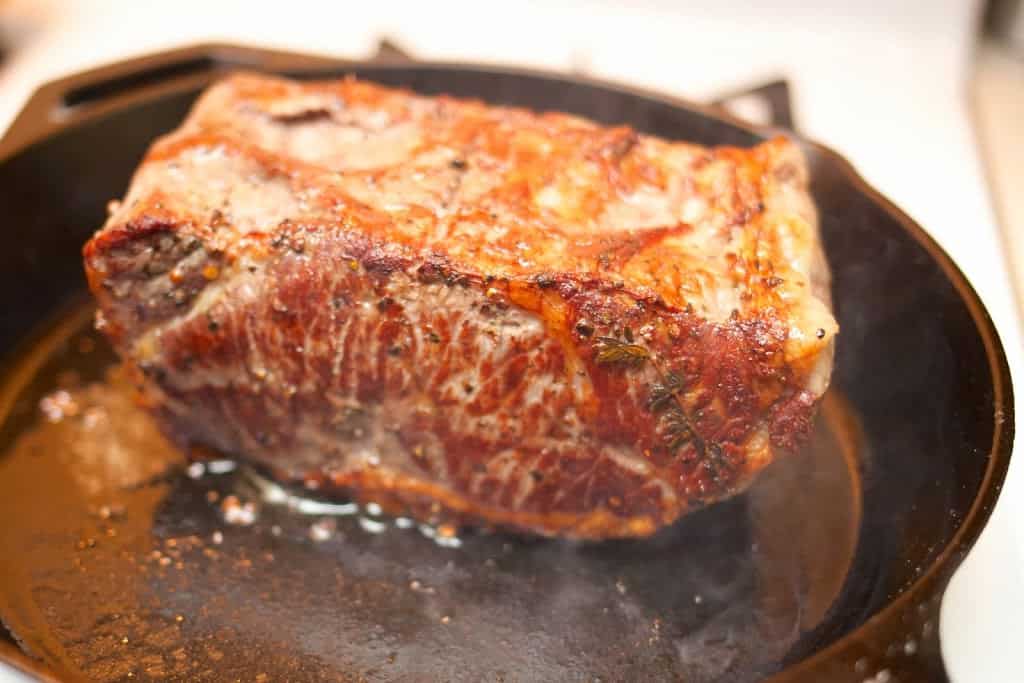
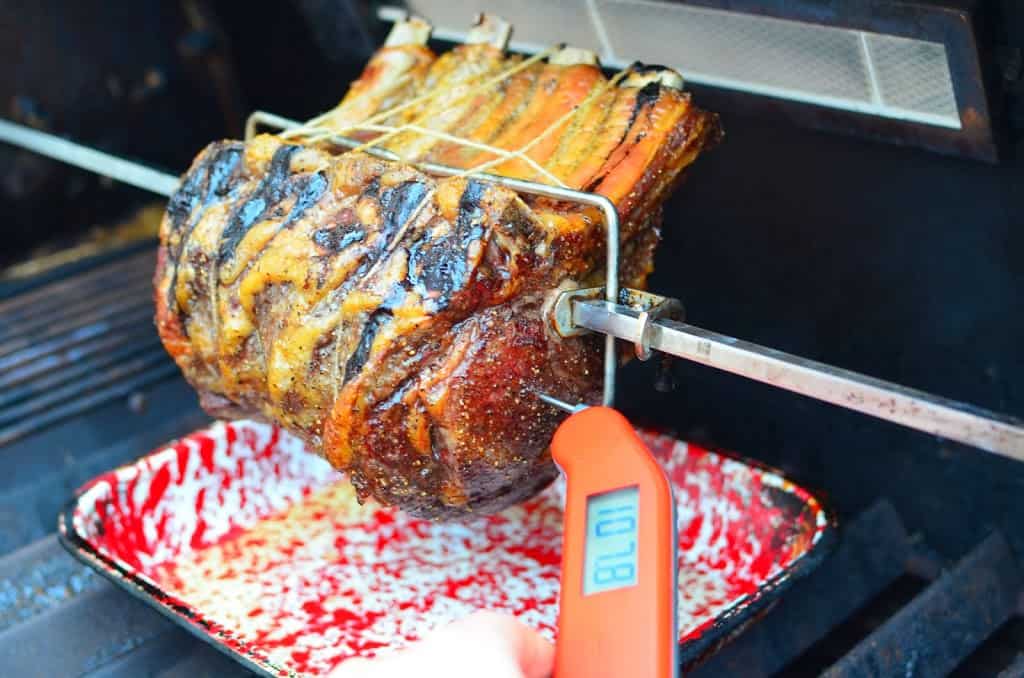
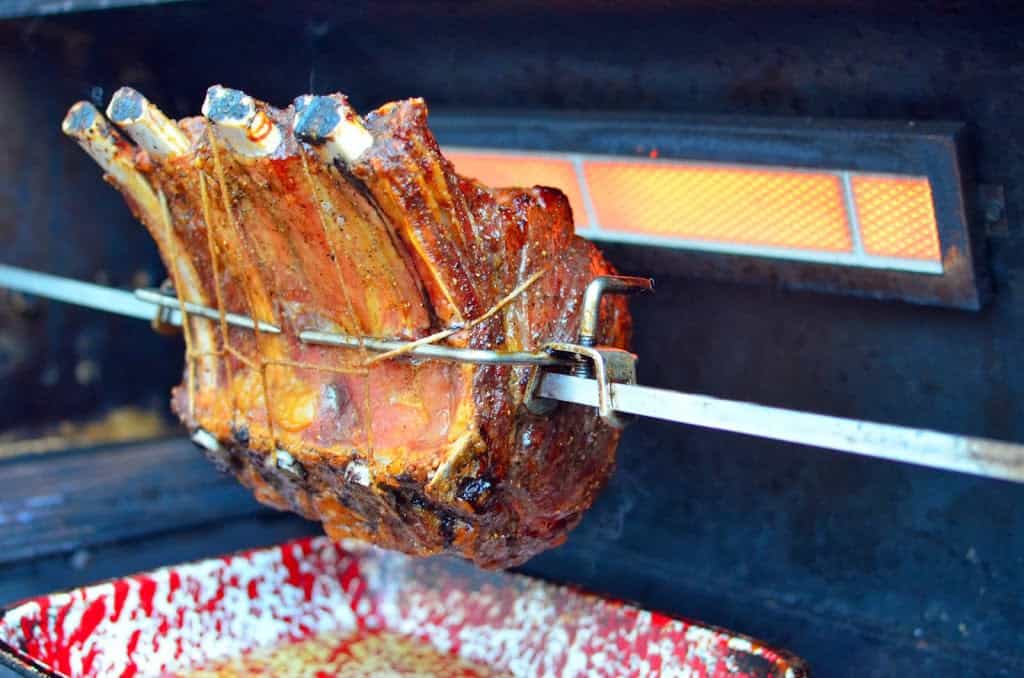
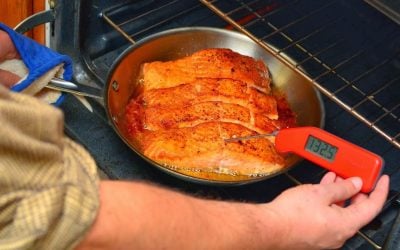
Put the smoking wood on the fire - chips wrapped in foil and on the burner cover directly over a lit burner in a gas grill, or chunk on the coals for a charcoal grill. Put the spit on the rotisserie, start it spinning, and center the drip pan under the pork roast. Cook with the lid closed until the pork reaches 120°F in its thickest part, about 1 hour and 15 minutes. Increase the heat to indirect high to crisp up the pork skin. (If you have an infrared rotisserie burner, set it to high to help with the browning.) Cook the pork until the skin is crisped and bubbling in spots, and the pork reaches 140°F in its thickest part, about 15 minutes. For a charcoal grill, start another half a chimney of charcoal after the pork has been cooking for 50 minutes. When it is covered with gray ash (this should take about 20 minutes), add it to the coals on one side of the charcoal rate, and give the roast another 15 minutes to crisp up the skin.
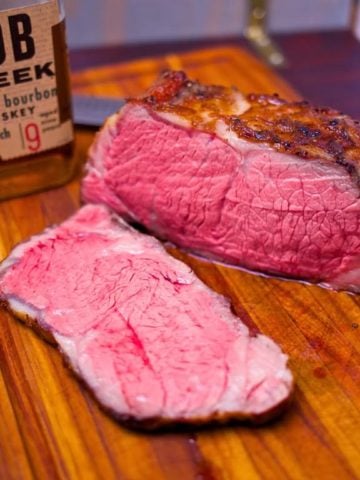
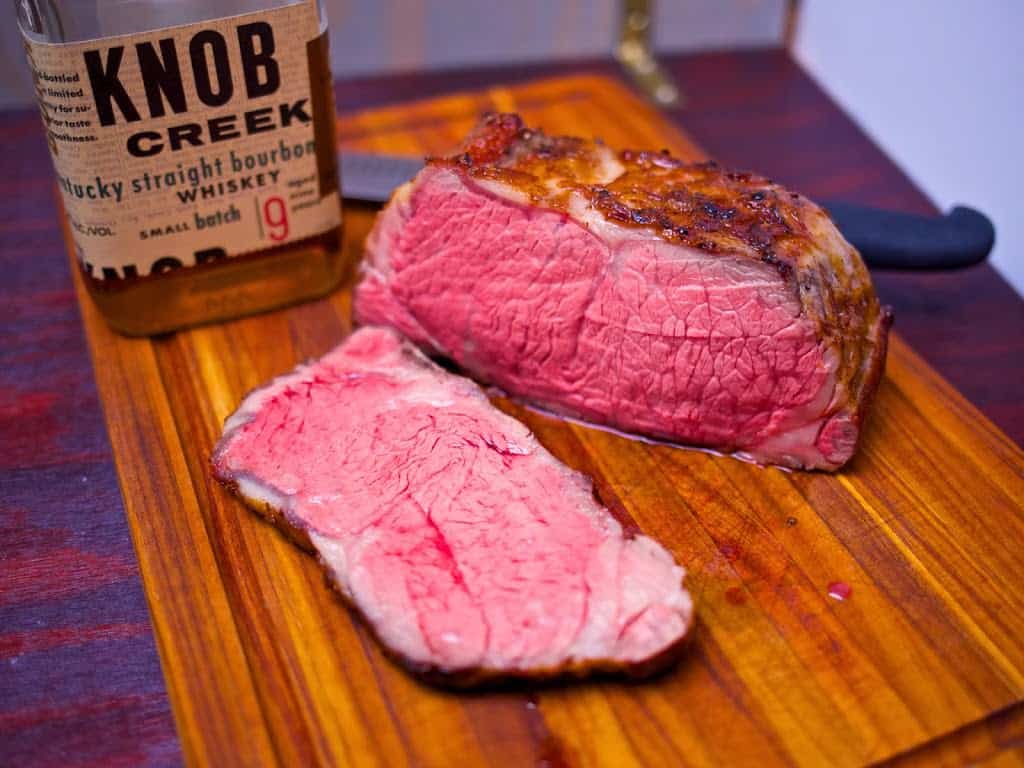
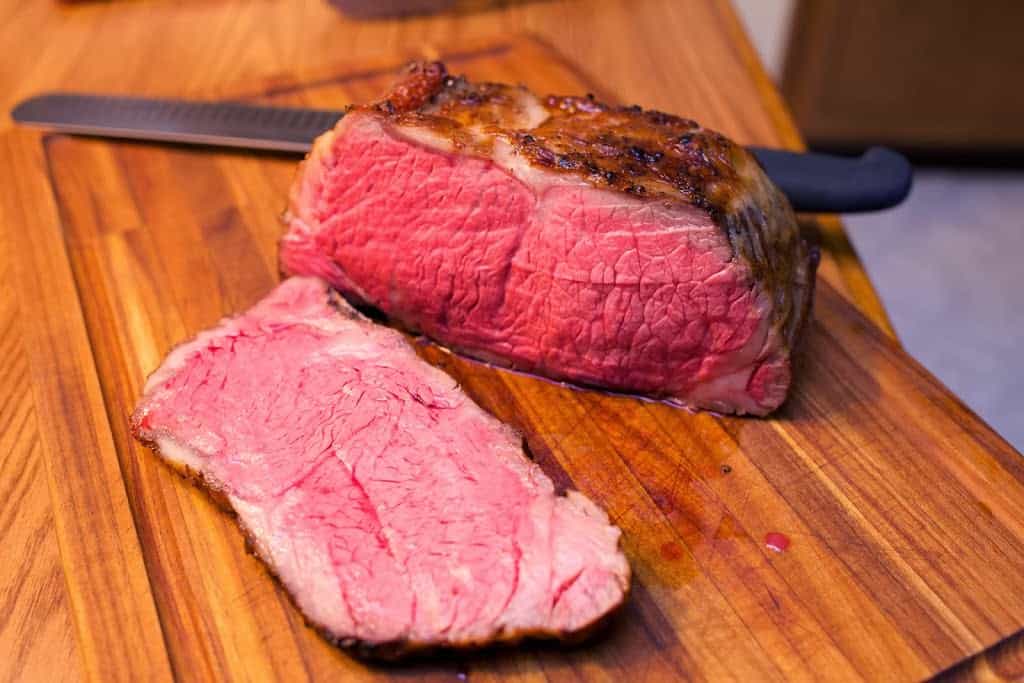
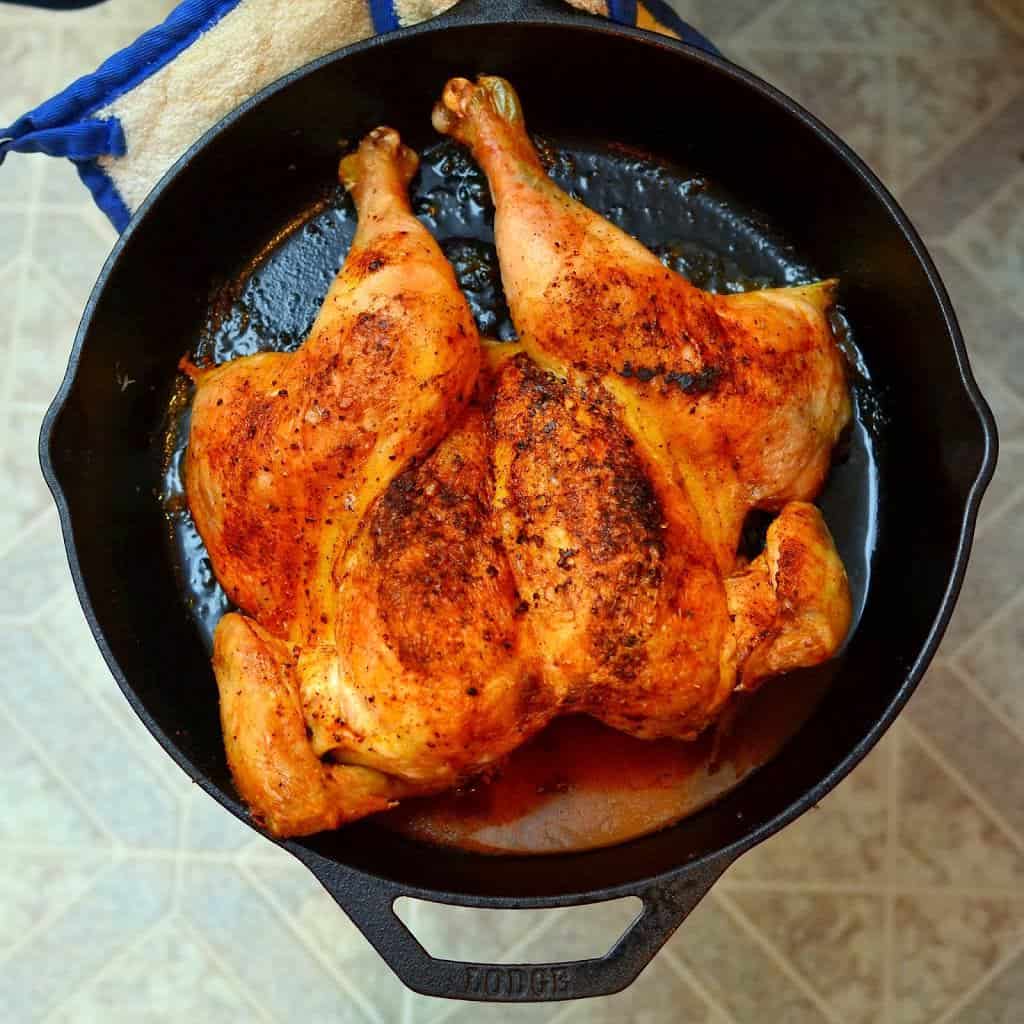
5. Rest, carve and serve
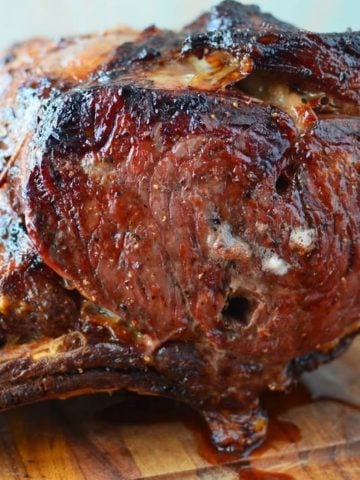
Remove the spit from the rotisserie, remove the pork roast from the spit, and cut the trussing twine away from the roast. Let the pork rest for 15 minutes, then carve into ½ inch thick slices and serve.
Notes
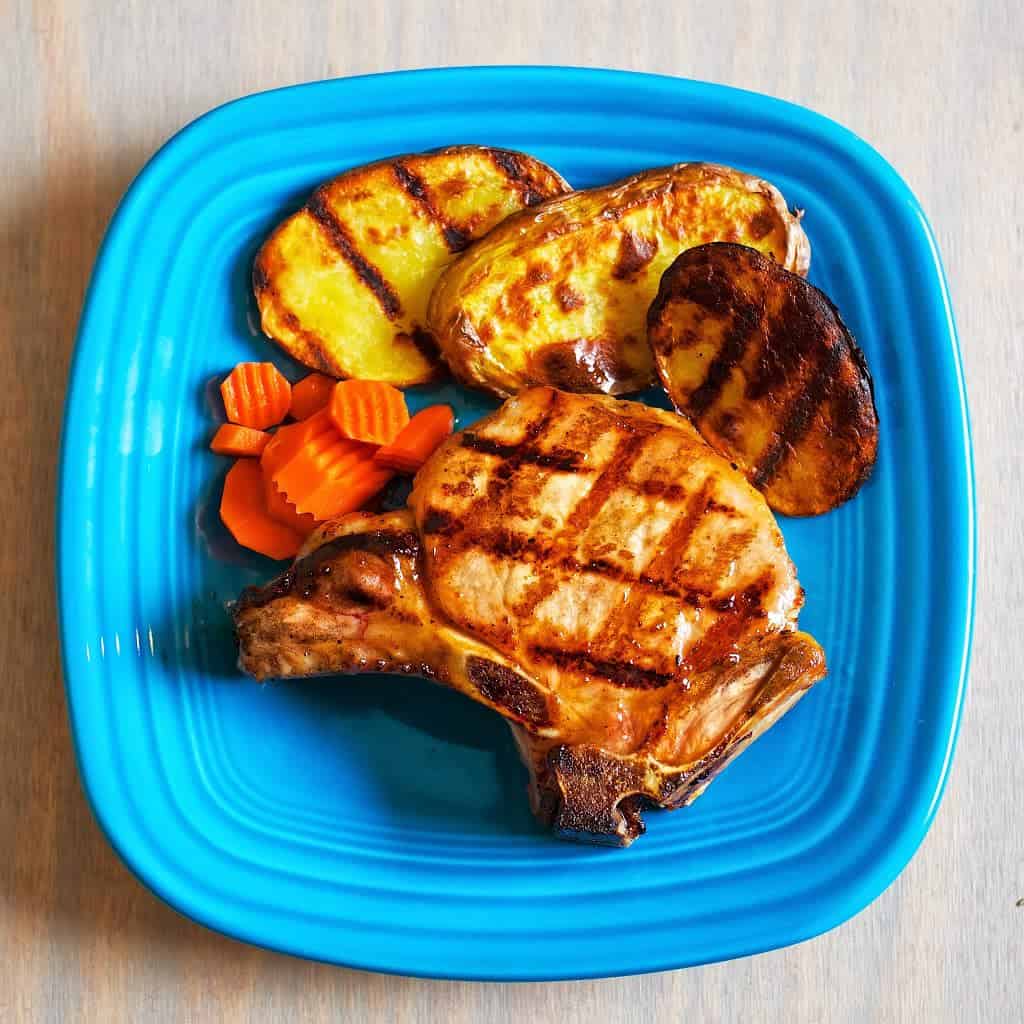
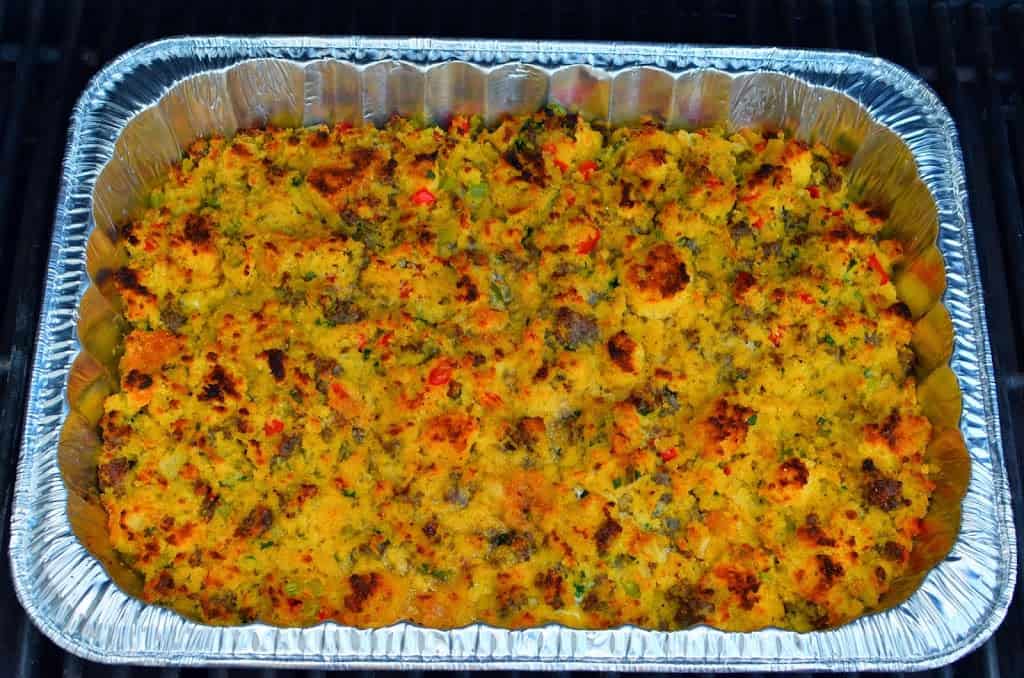
- You have to make drip pan potatoes with this recipe. Yes, have to. Pork drippings make fantastic drip pan potatoes. Add them to the pan when you increase the heat to crisp up the skin.
- You will not use all the brine - only a quarter to half cup of it. Why make extra brine? Because I don't like trying to chase the last few drops of brine around the cup.
What do you think?
Questions? Other ideas? Leave them in the comments section below.
Related Posts
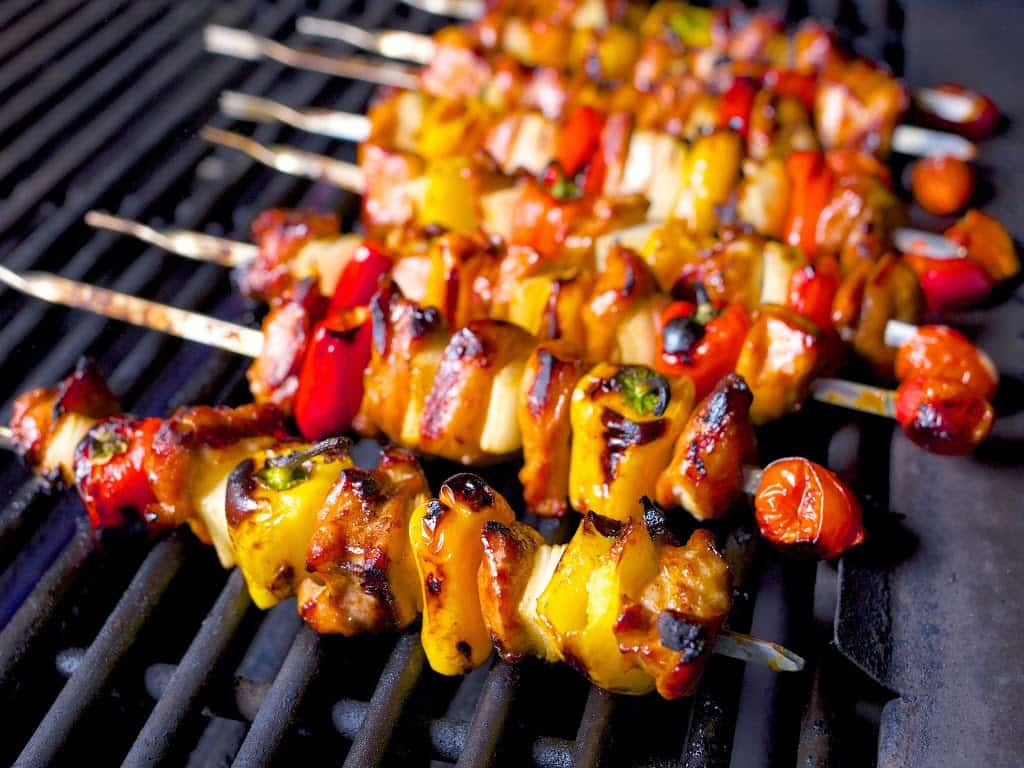
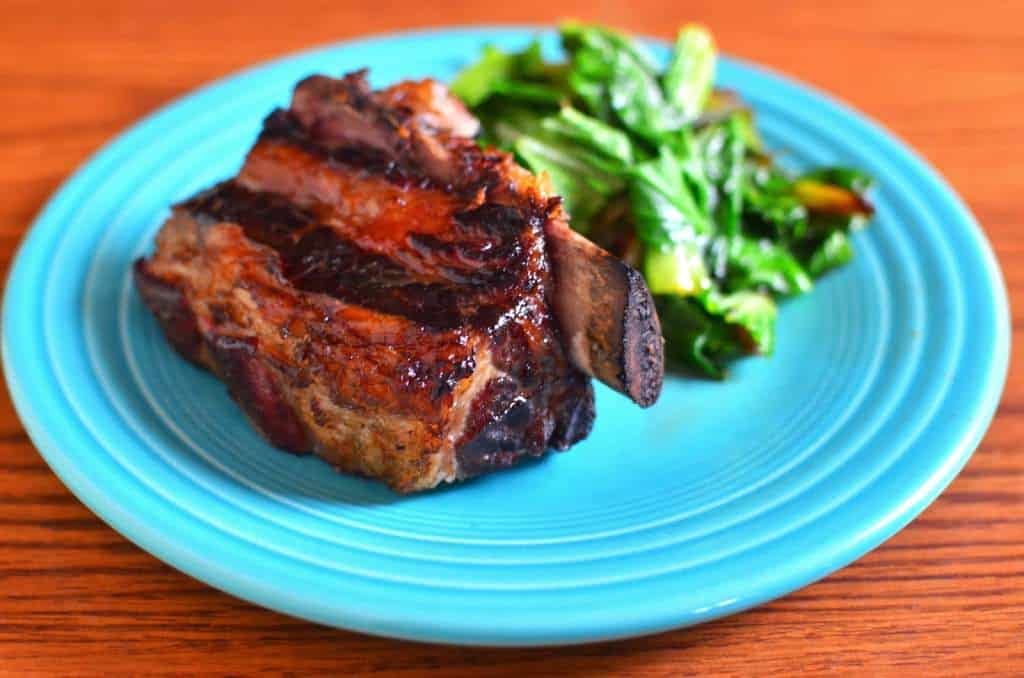
Rotisserie Fresh Ham with Injection Brine
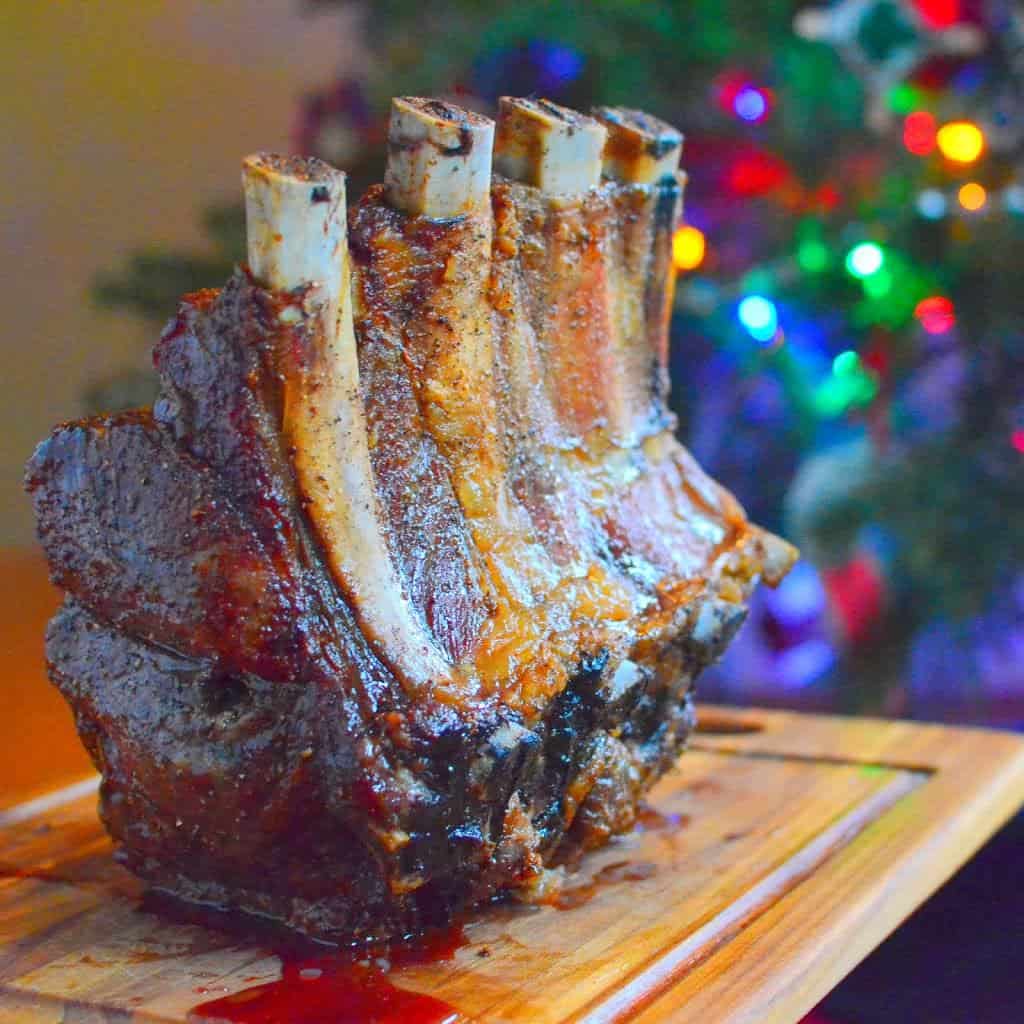
Rotisserie Rack of Pork with Apple Cider Brine
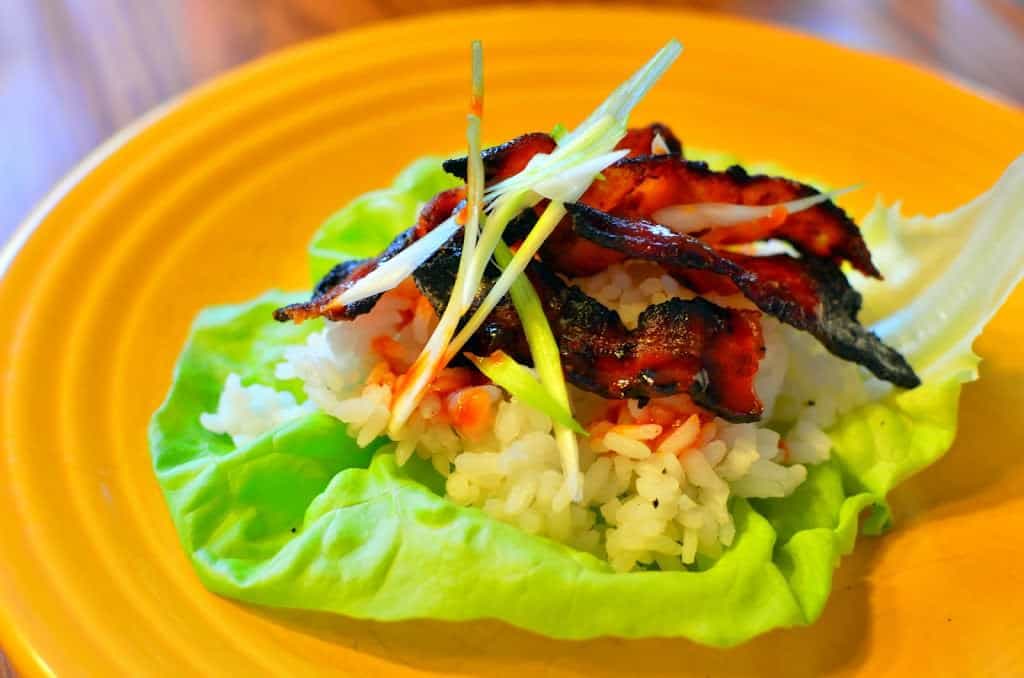
Rotisserie Boneless Pork Loin with Apricot Glaze
Enjoyed this post? Want to help out DadCooksDinner? Subscribe to DadCooksDinner via eMail or RSS reader, recommend DadCooksDinner to your friends, buy something from Amazon.com through the links on this site, or donate through my tip jar. Thank you.


