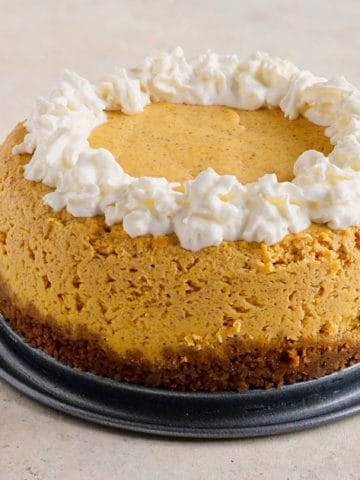

Hey Dad, I like the Pumpkin Spice Cheesecake!
Oh no. No. Nonononono. I went over to the dark side. I've joined…the Pumpkin Spice zombies! (Join us…join us…mmrrmmm...pumpkin spice...mrmmmm...)
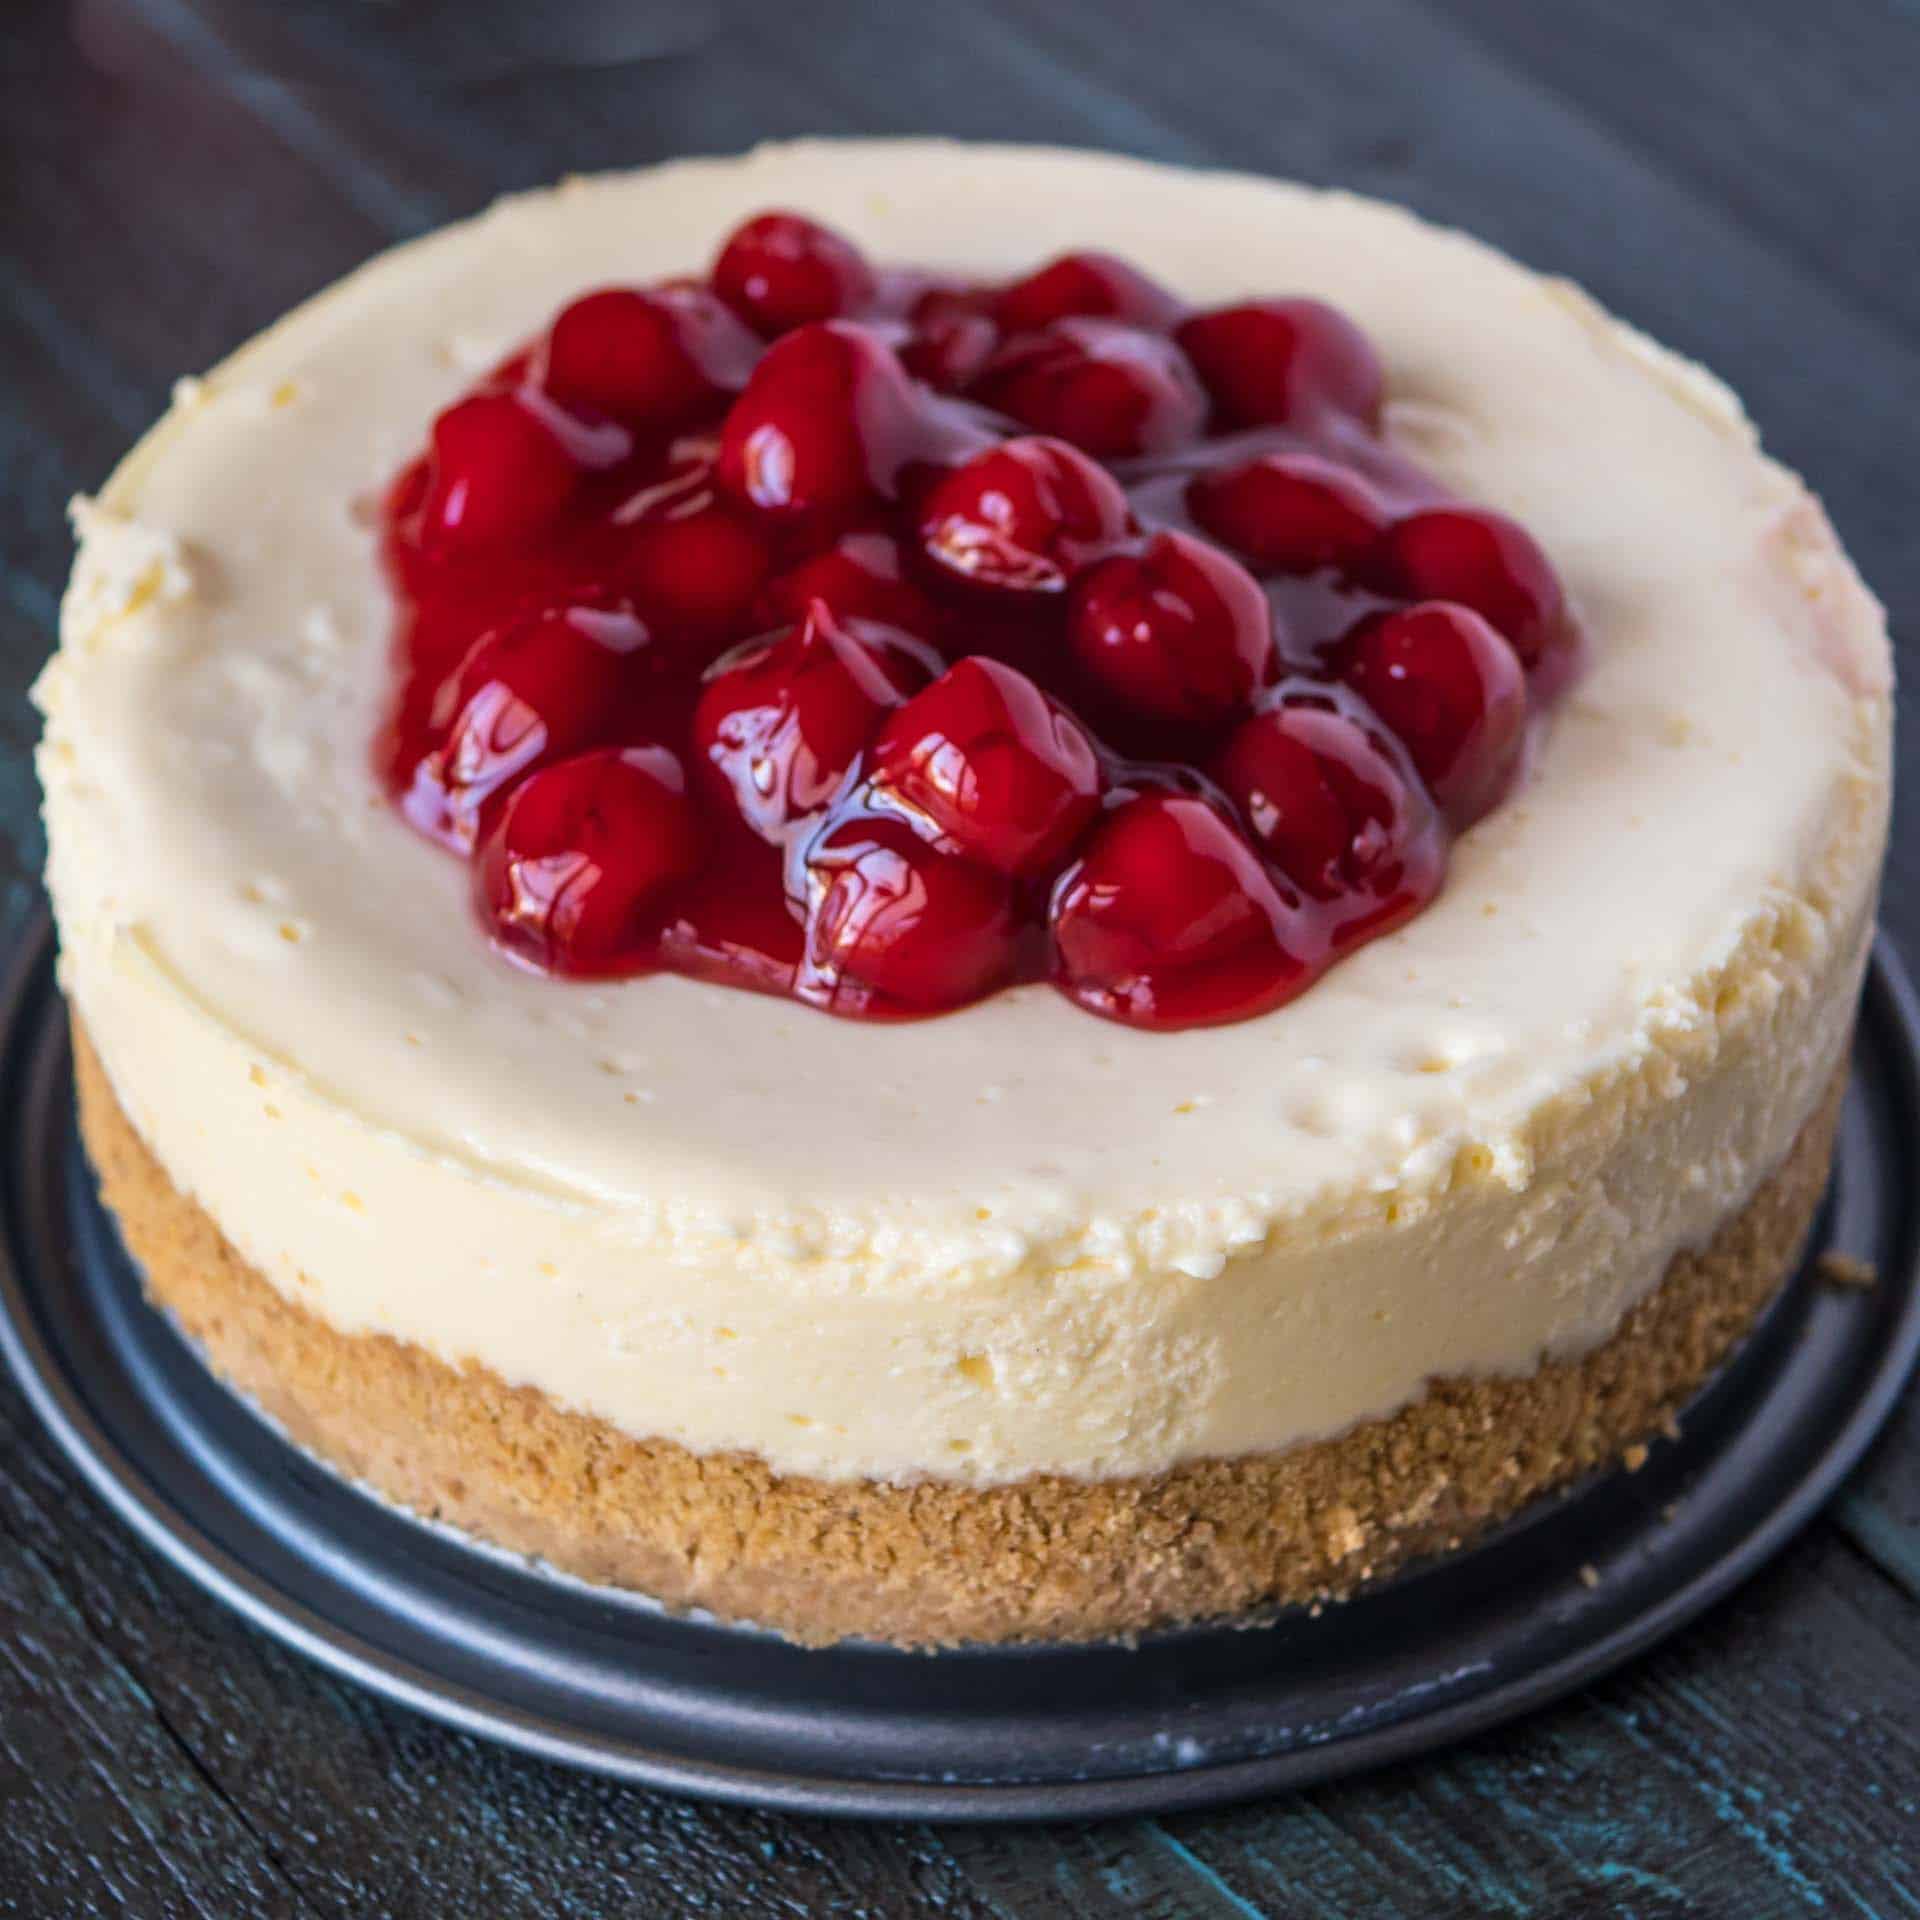
But…but this cheesecake is so good! I have to share it!
Ahem. Sorry. Pumpkin spice is towering over the food world right now. (I picture it like Godzilla wearing a Halloween pumpkin head.) But seriously, this is a fantastic fall dessert. I'm making a couple of these cheesecakes for Thanksgiving dinner.
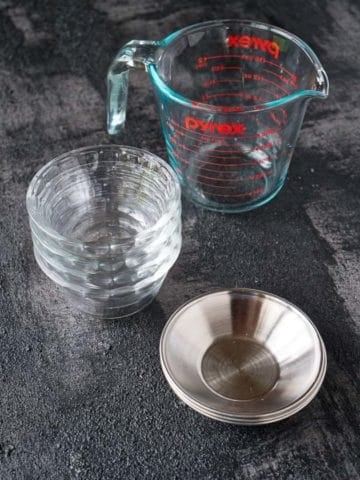
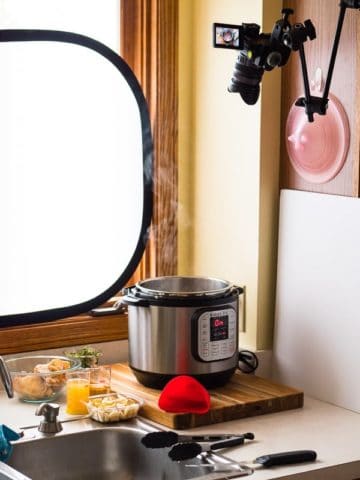
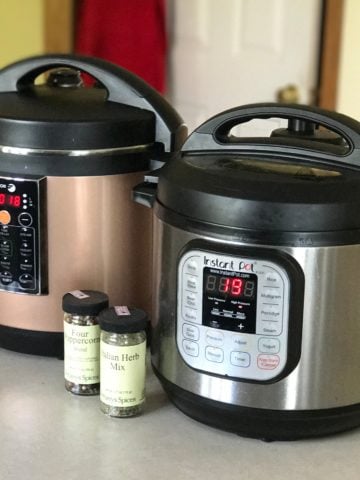
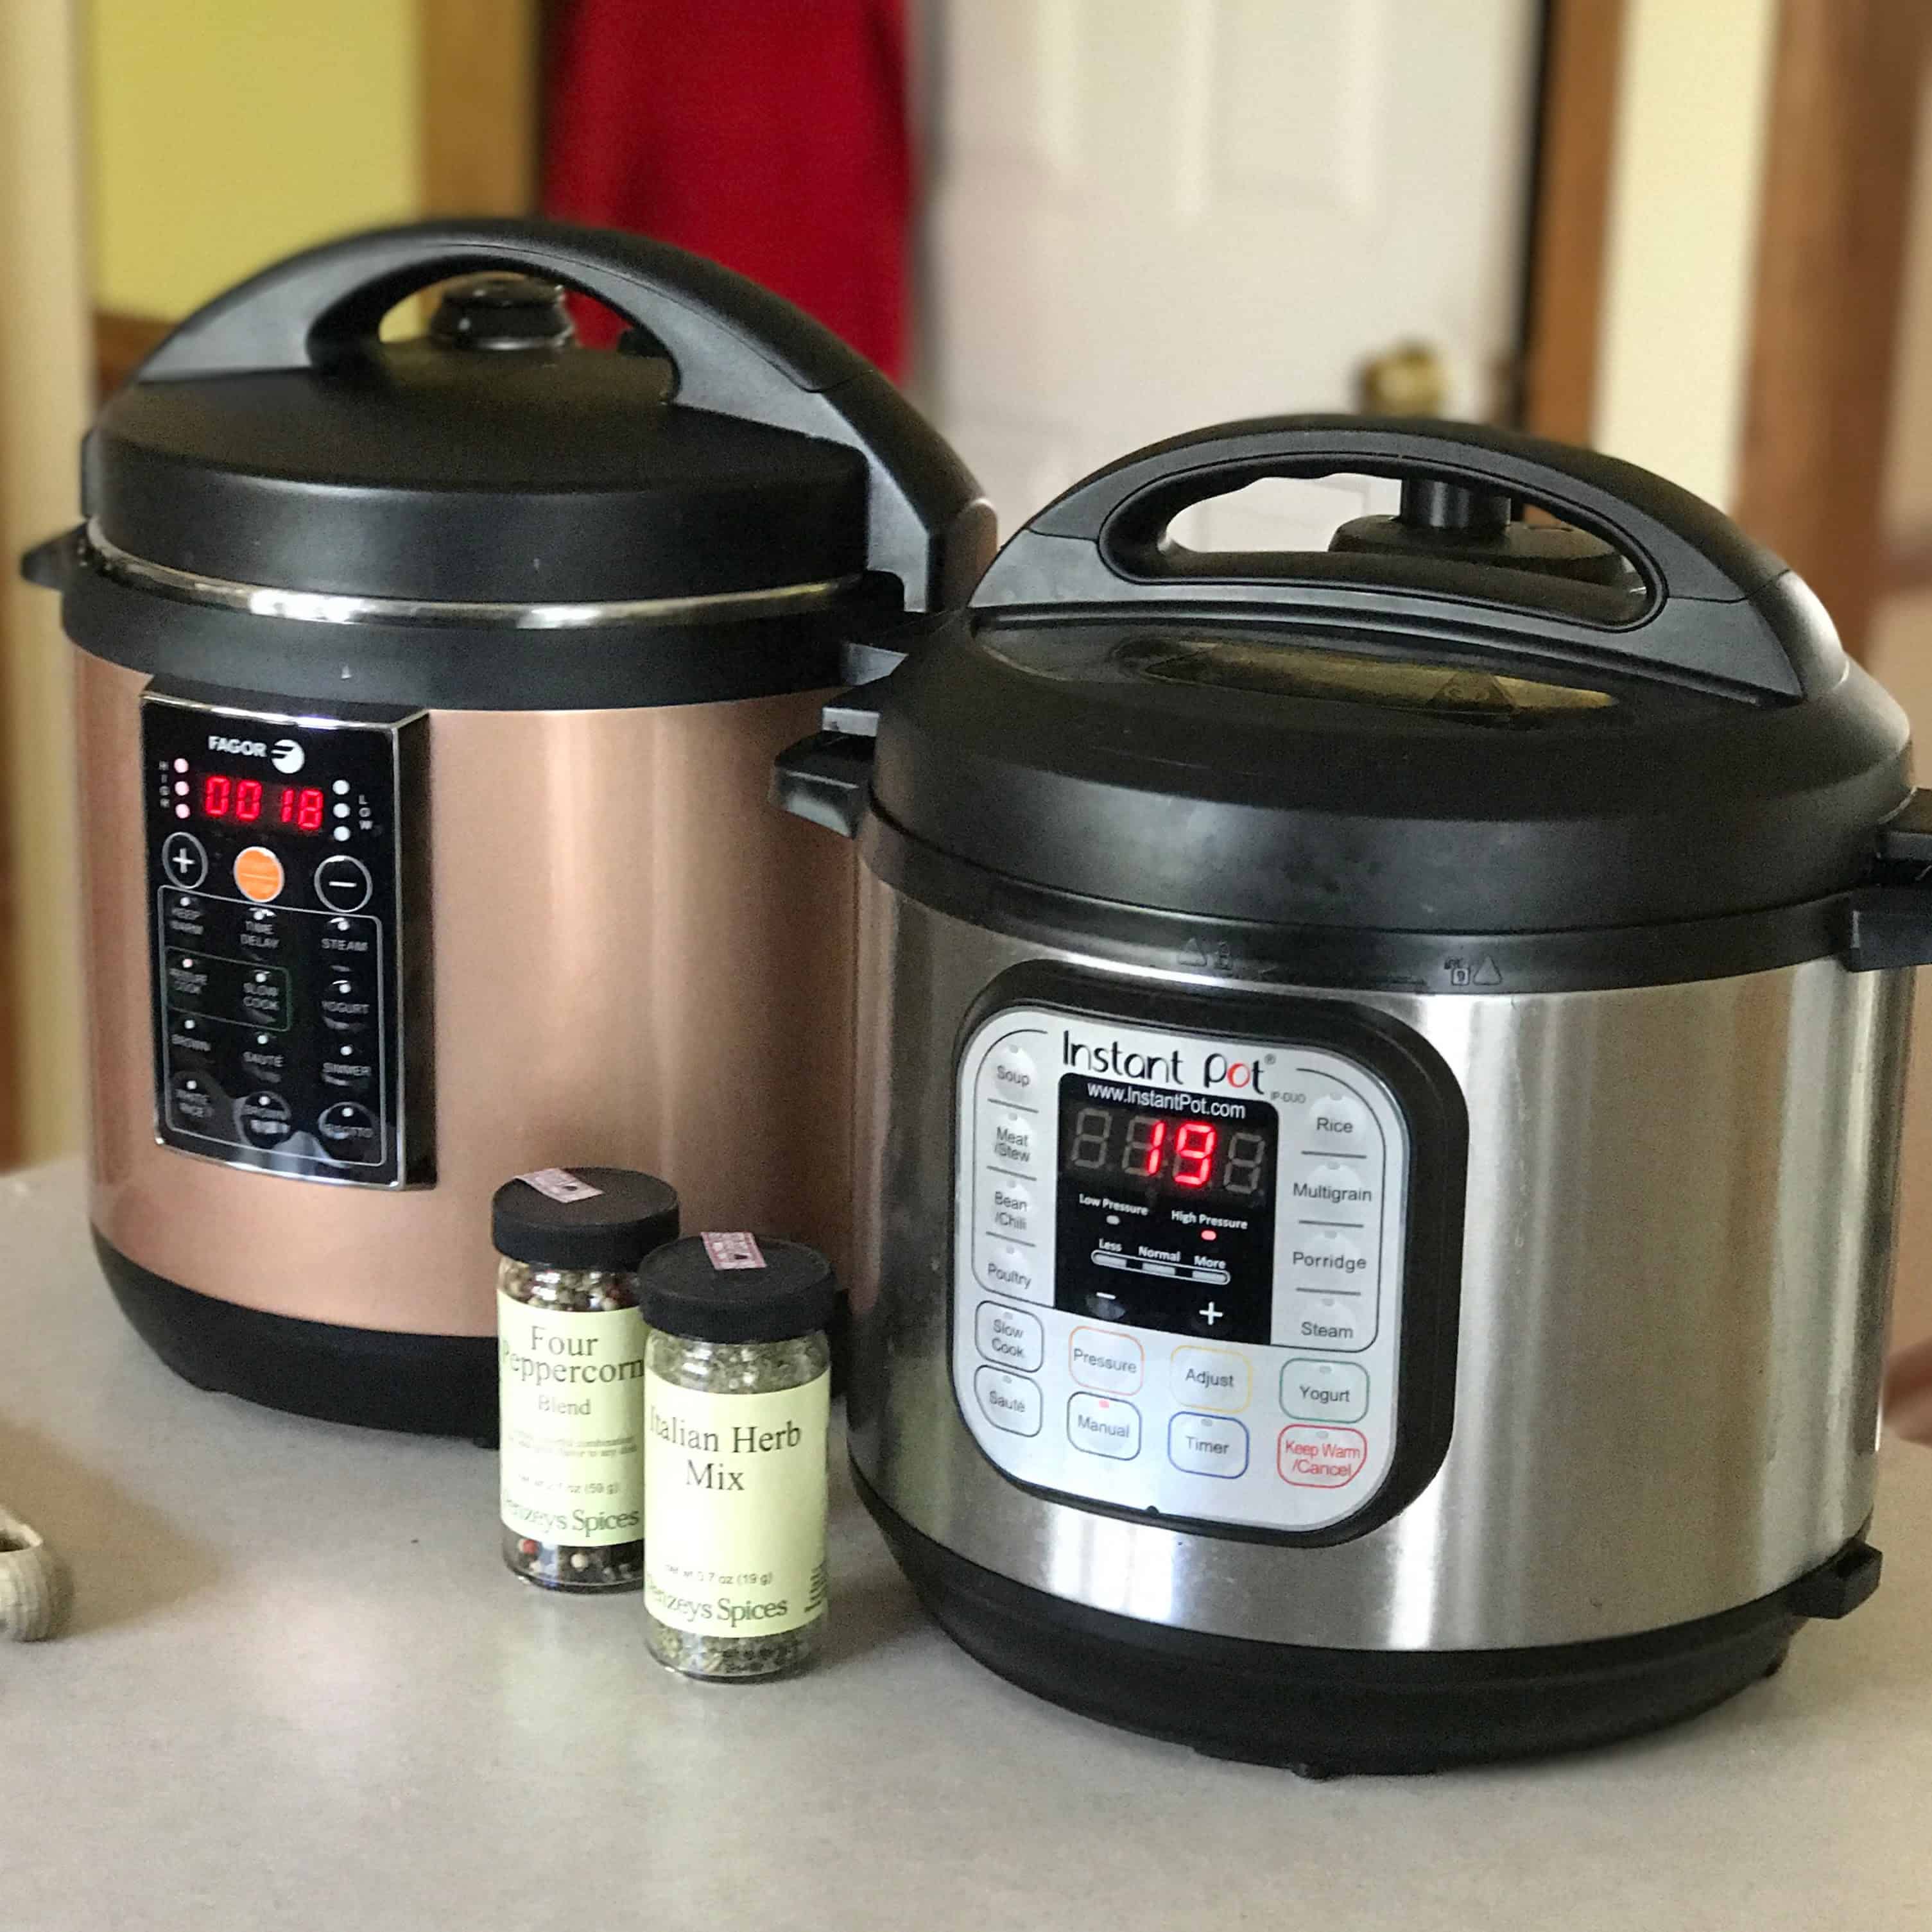
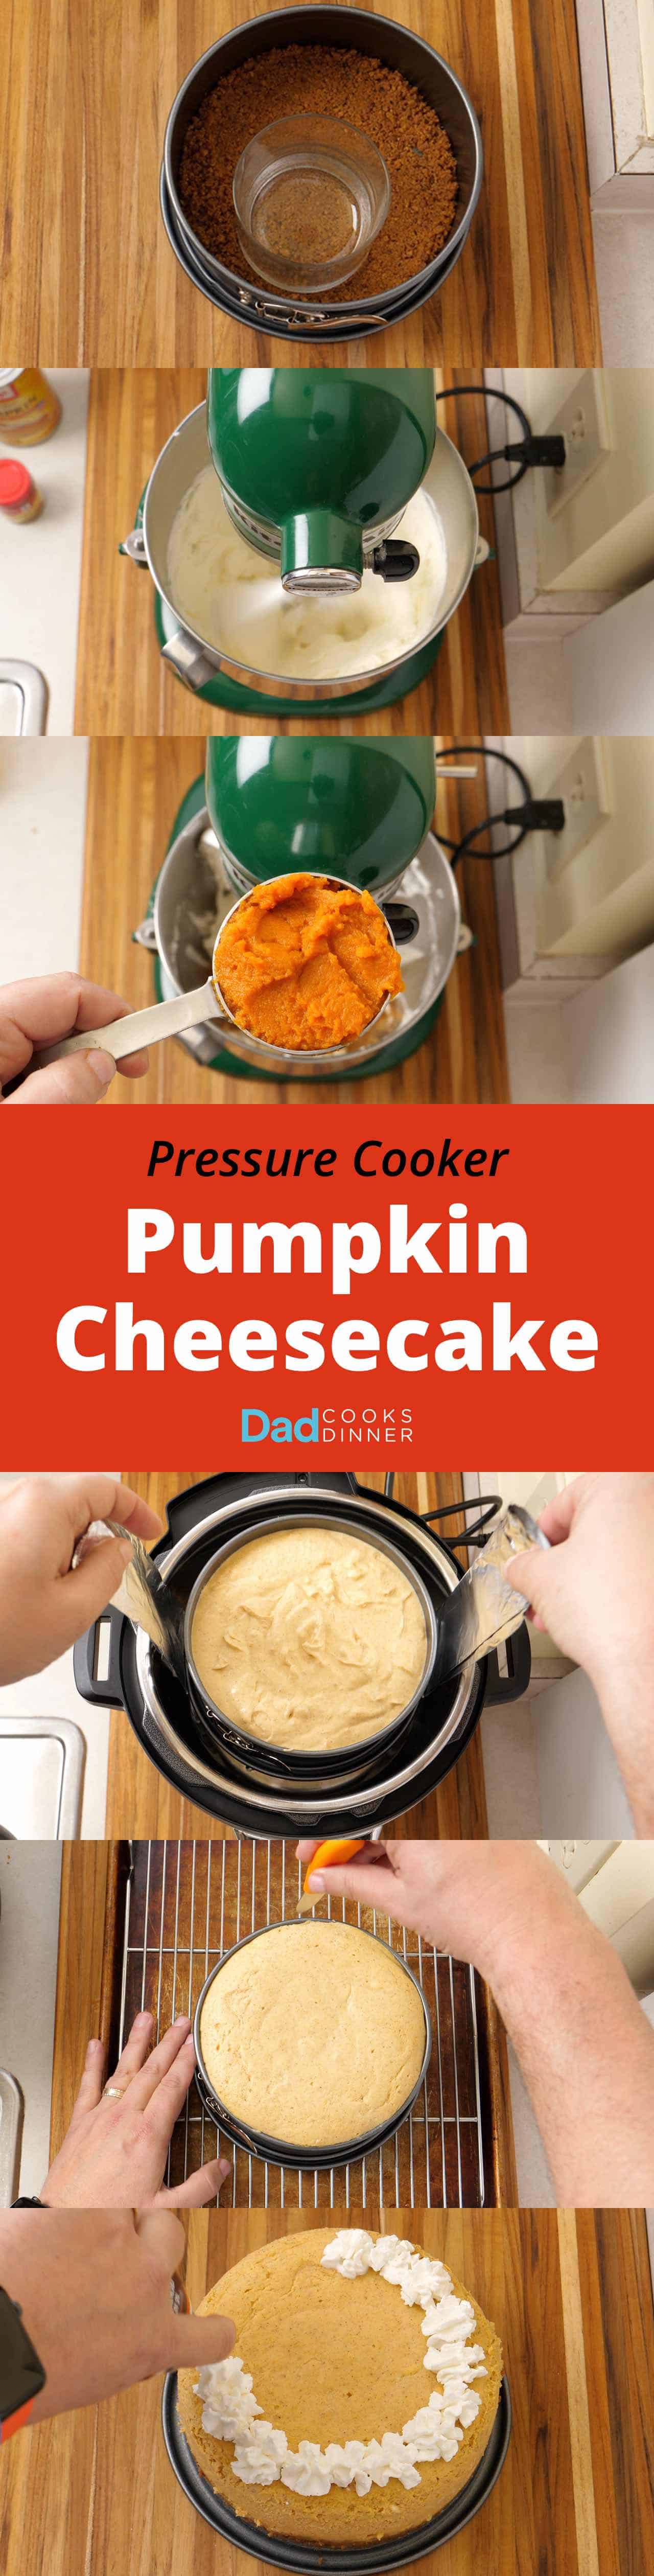
I know pressure cooker cheesecake seems strange, but using the pressure cooker as a steamer is a great trick. The key to pressure cooker cheesecake is a 7-inch springform pan - just large enough to fit in a 6 quart Instant Pot. (Or Fagor Lux, or any other 6 quart electric pressure cooker - they're all roughly the same size.)
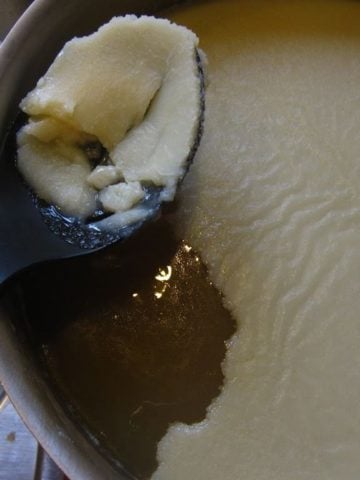
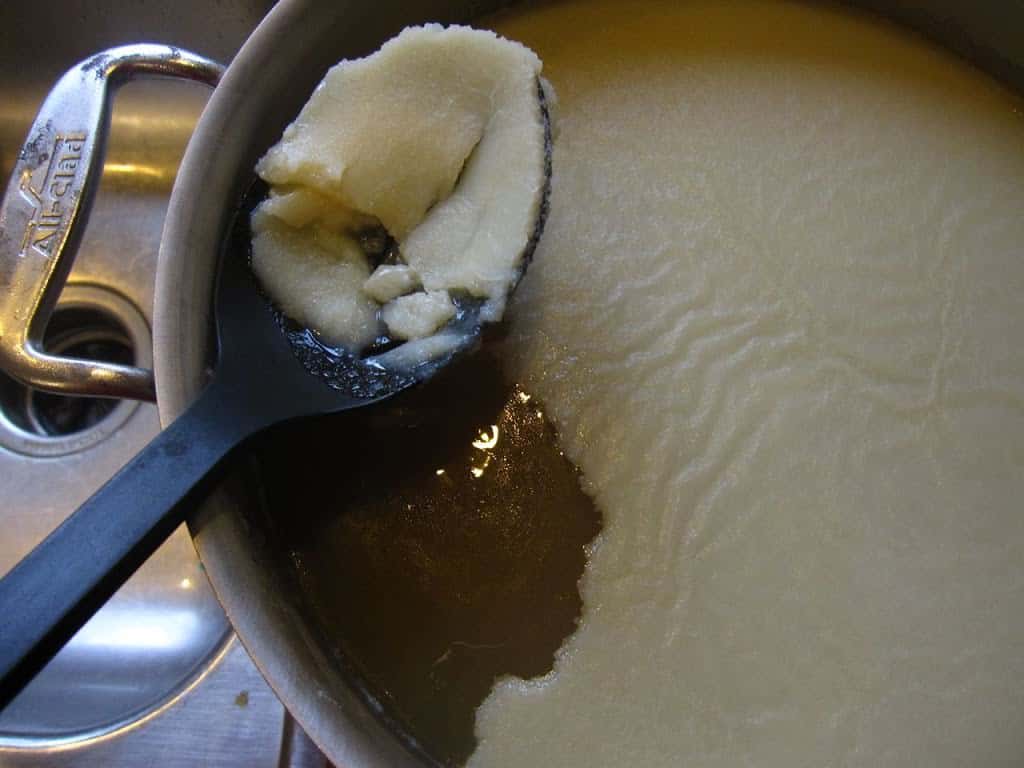
And, as much as I love pressure cooker cheesecake, I had to change my cheesecake technique for this recipe. The change: do NOT cover the cheesecake pan with foil. This recipe puffs up as it cooks...and sticks to the foil, making a mess of the top. Once I got rid of the foil, I found out how much it was slowing down the cooking, too. I cut the cooking time to 20 minutes without foil. And finally, foil makes the cheesecake cook unevenly - I'd wind up with the outside cooked, but the middle still soupy. So, no more foil on the cheesecake!
(Why did I foil the cheesecake? To protect the cheesecake from steam. Turns out, the steam is no big deal. If water condenses on top. of the cheesecake, I dab it off with paper towels, and the cheesecake is fine.)
Recipe: Pressure Cooker Pumpkin Cheesecake
What do you think?
Questions? Other ideas? Leave them in the comments section below.
Related Posts
Pressure Cooker New York Cheesecake
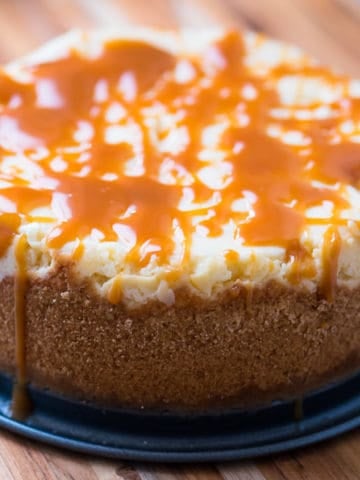
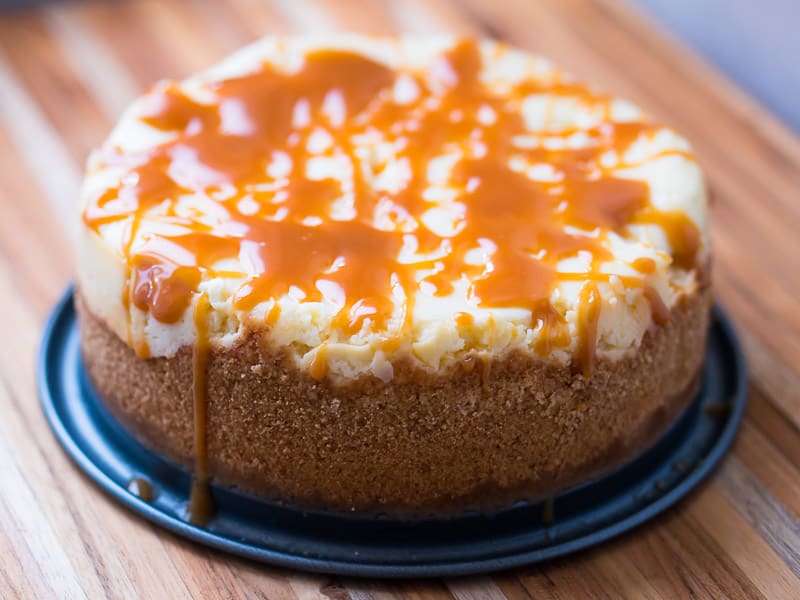
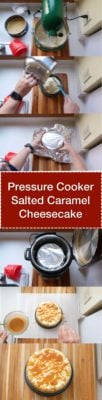
Pressure Cooker Salted Caramel Cheesecake
My other Pressure Cooker Recipes
My other Pressure Cooker Time Lapse Videos
Enjoyed this post? Want to help out DadCooksDinner? Subscribe to DadCooksDinner via eMail and share this post with your friends. Want to contribute directly? Donate to my Tip Jar, or buy something from Amazon.com through the links on this site. Thank you.