Happy New Year, everyone! Welcome to 2019. Sorry for the slow posting over the last week or so; first I was spending time with my family, then I got a nasty ear infection that knocked me down for a few days.
Here's a look back at some of my most popular posts from 2018, top 5 list style:
Top 5 new recipes for 2018
Pressure Cooker Asian Zing Chicken Wings (From Frozen)
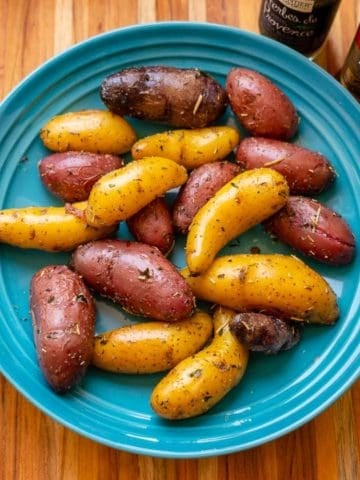
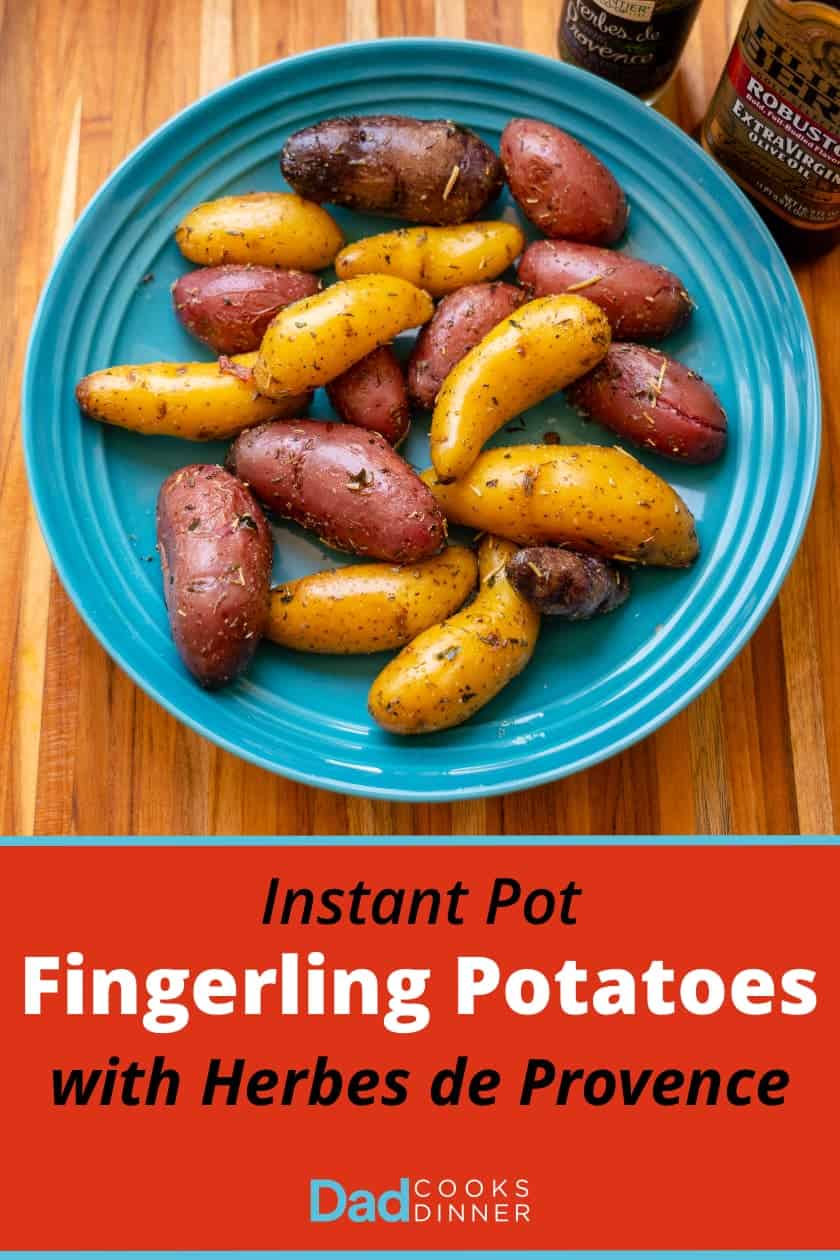
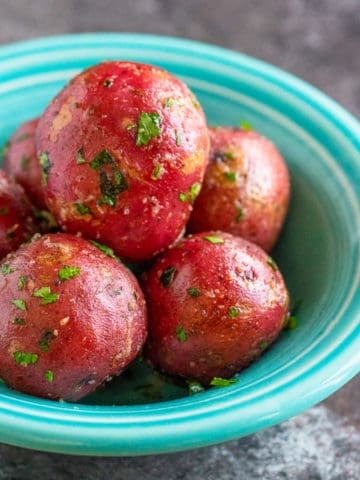
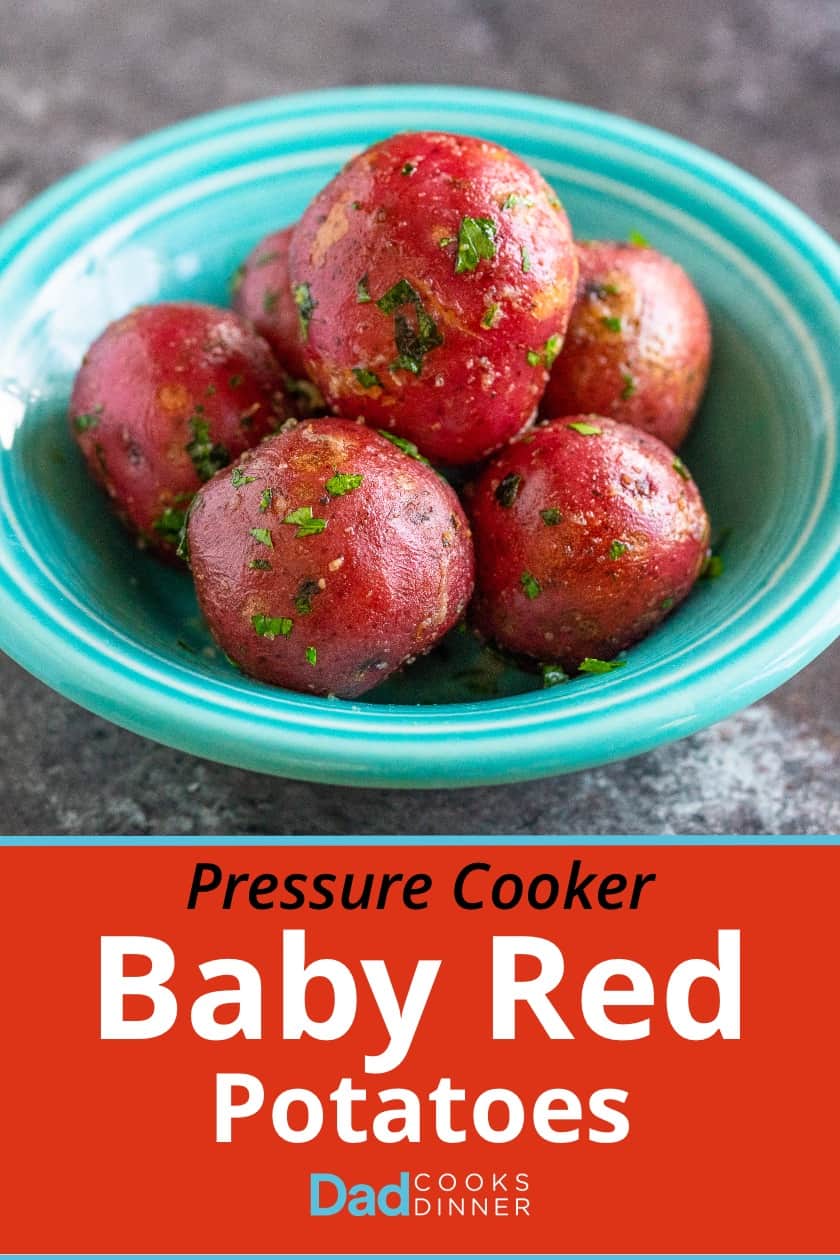
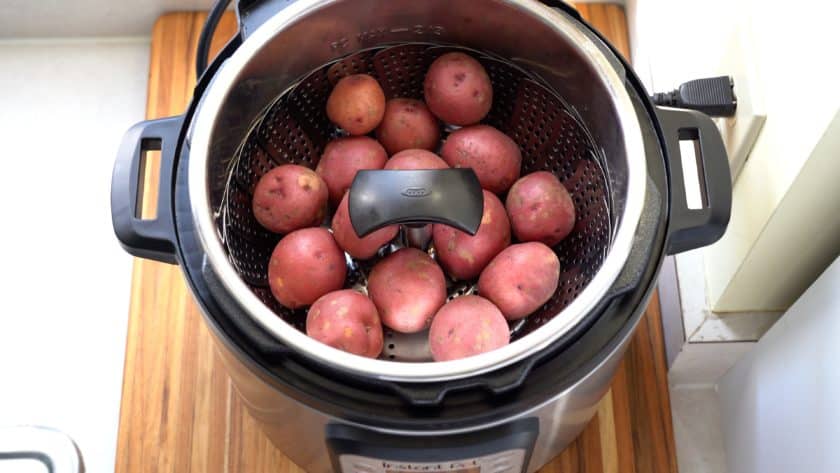
Pressure Cooker Baby Potatoes with Butter and Parsley
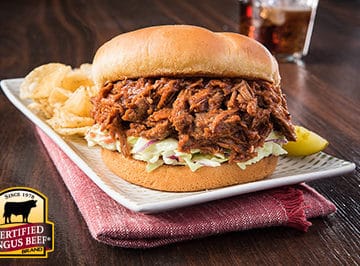
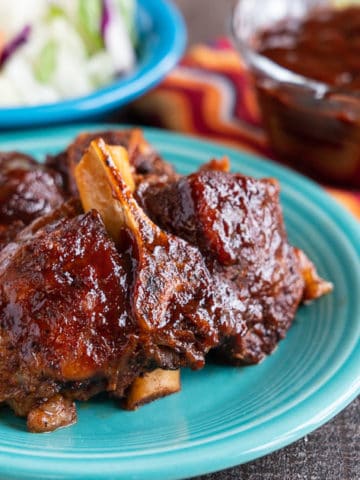
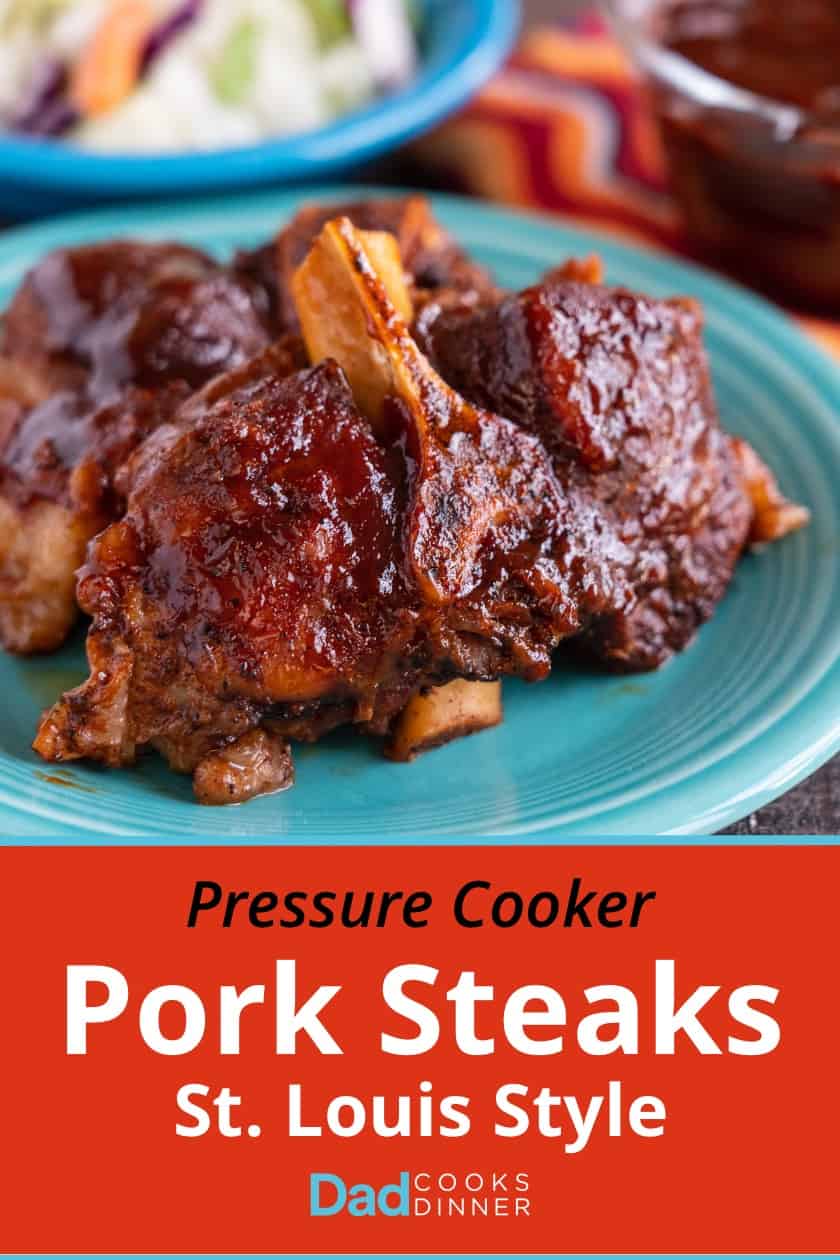
Pressure Cooker Pork Steaks, St. Louis BBQ Style
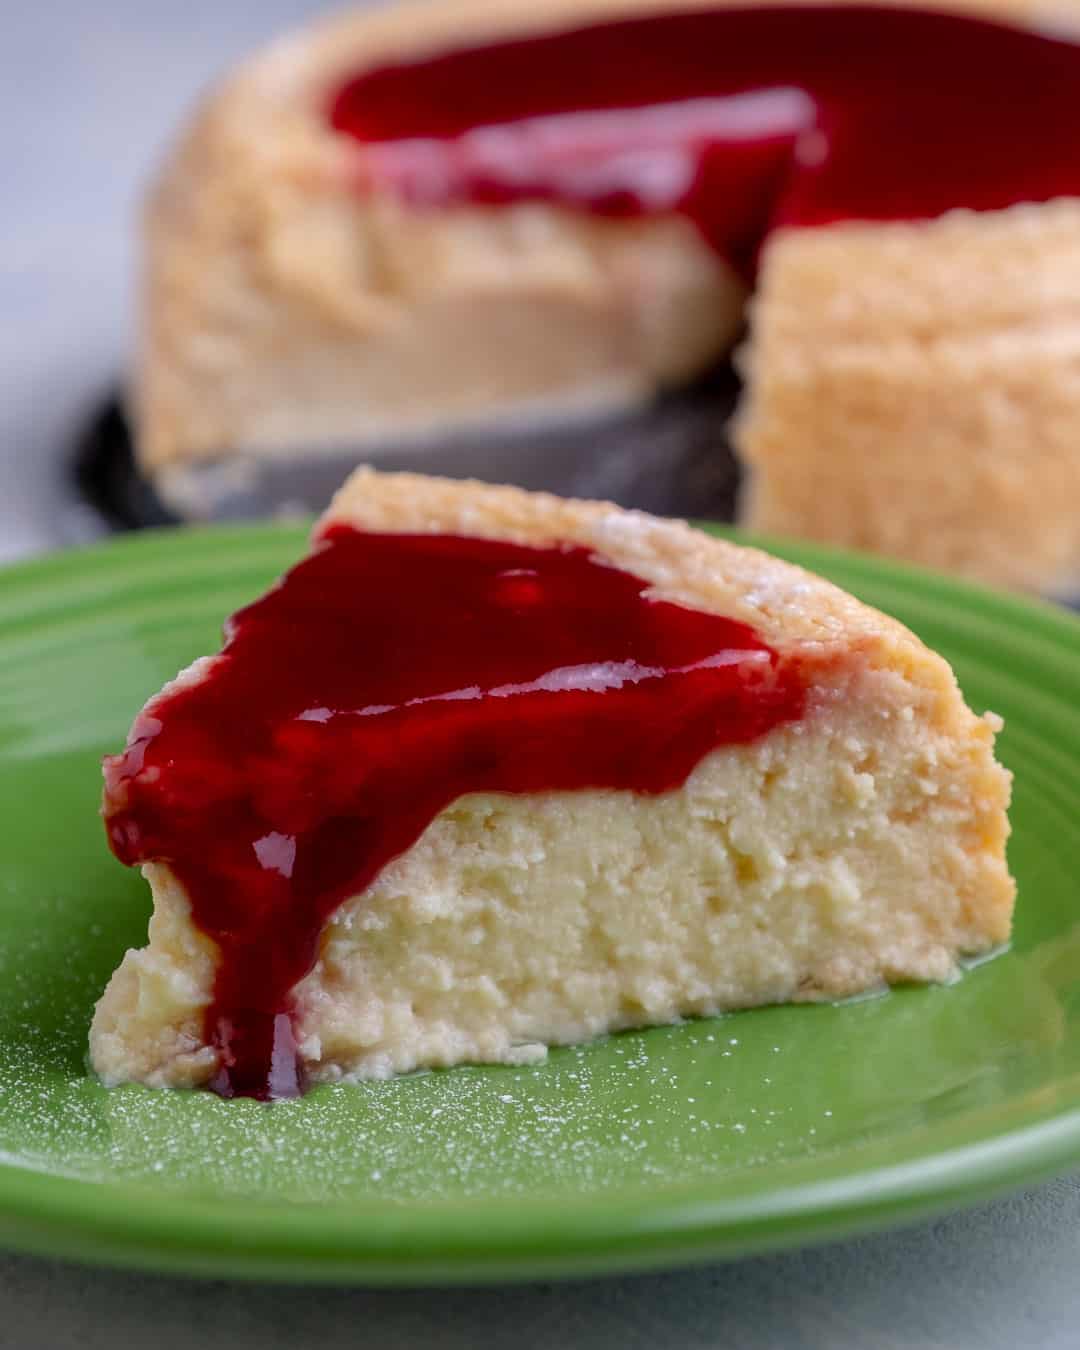
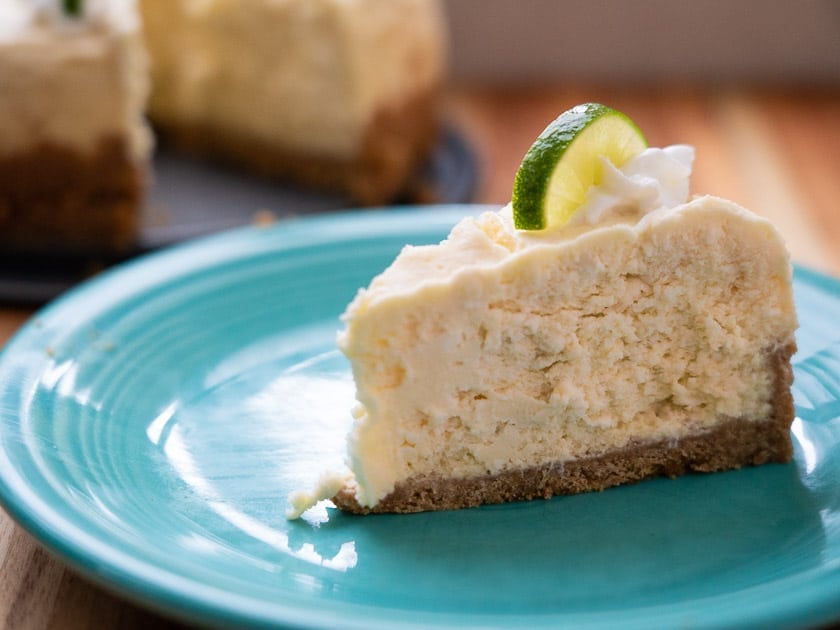
Pressure Cooker Oreo Cheesecake
Pressure Cooker Beef Back Ribs Texas BBQ Style
Top 5 non-recipe articles from 2018
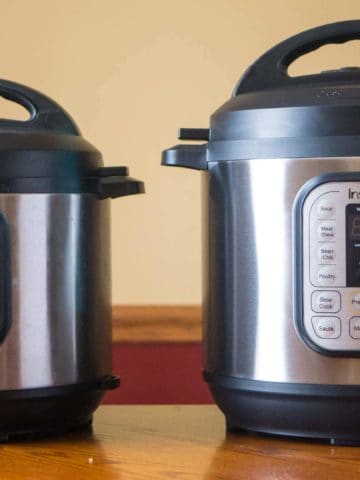
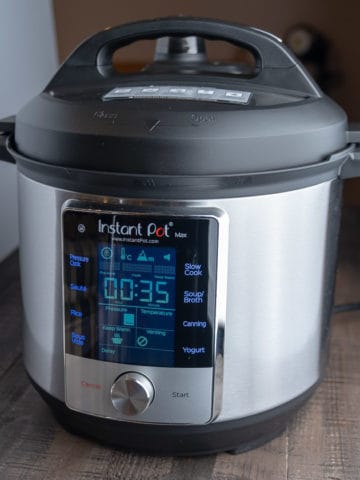
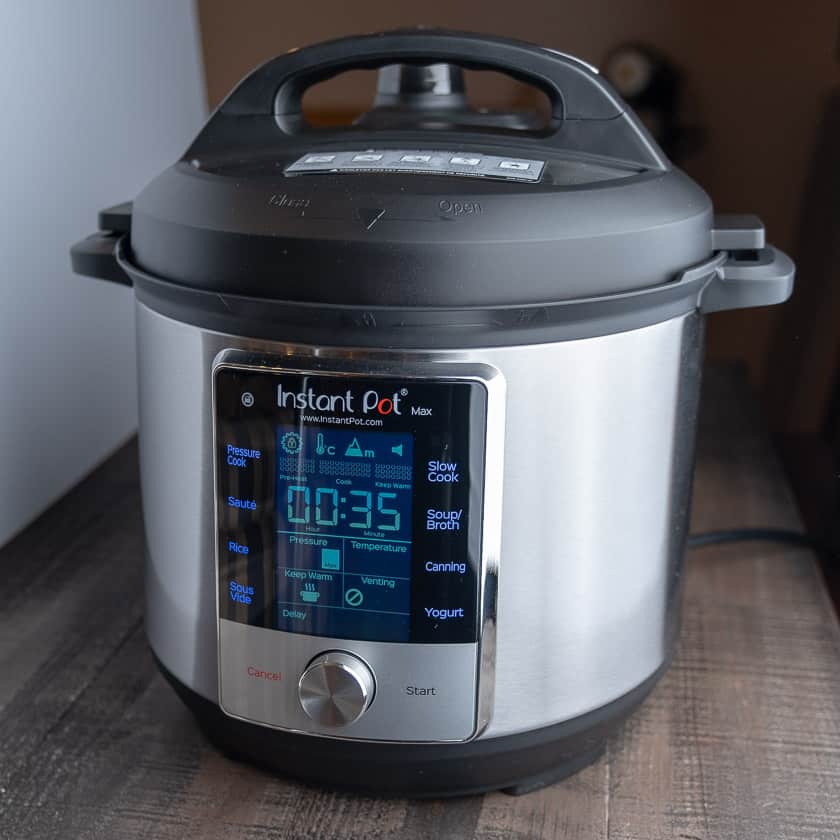
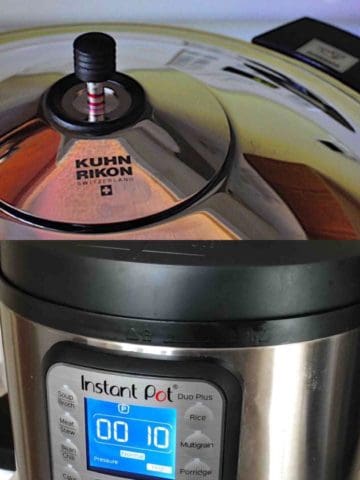
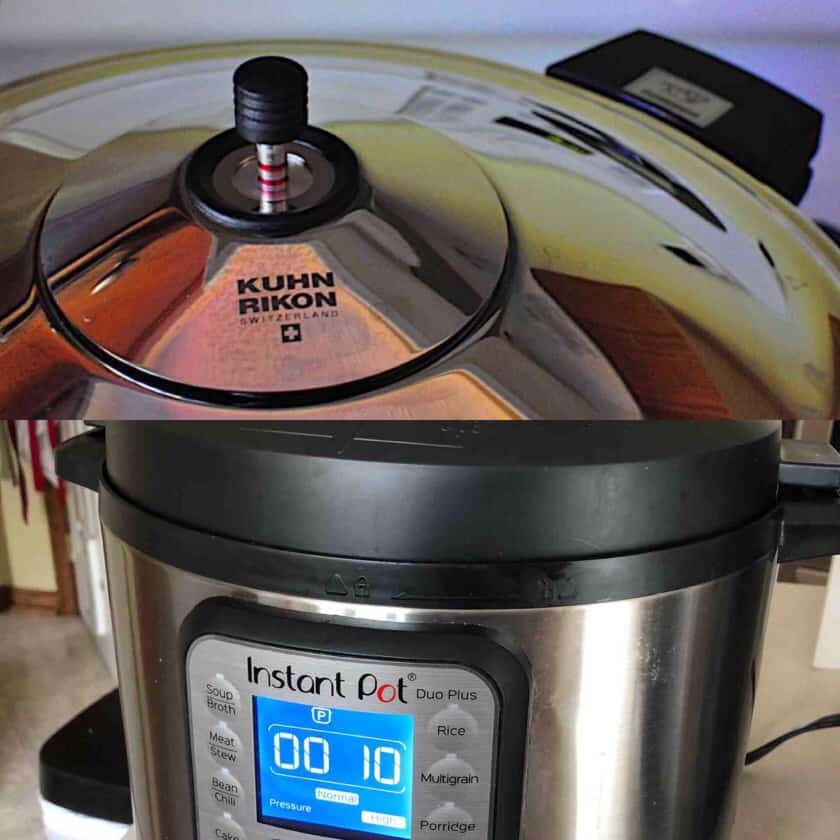
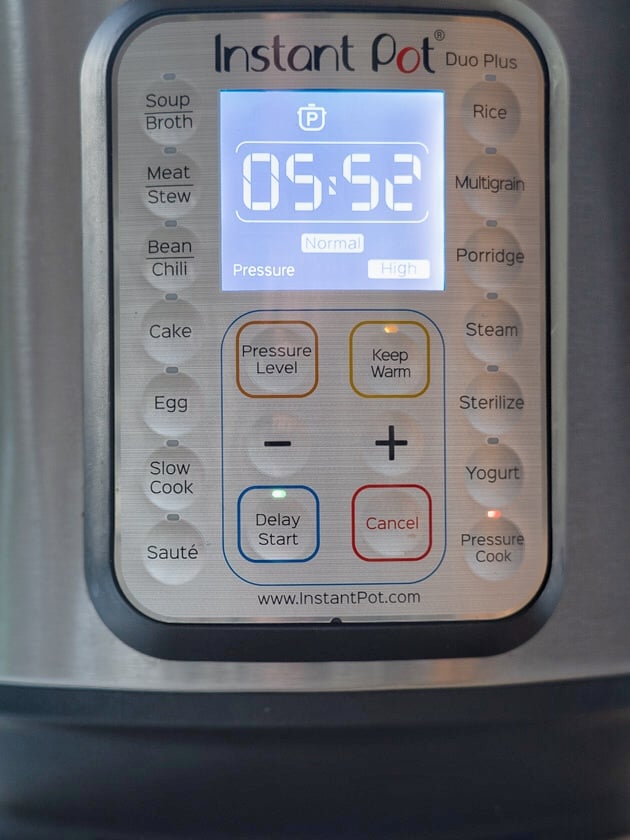
Review: Instant Pot Ultra 6 Quart (vs Instant Pot Duo Plus 6 Quart)
What to Do if I Dump Liquid Into My Instant Pot Without the Pot Liner
How to Fix Instant Pot Quick Release Spraying Starch
Is Instant Pot Delay Start Safe to Use?
Reader Survey: Pressure Cooking Frozen Chicken Drumsticks?
Top 5 Holiday Recipes in 2018
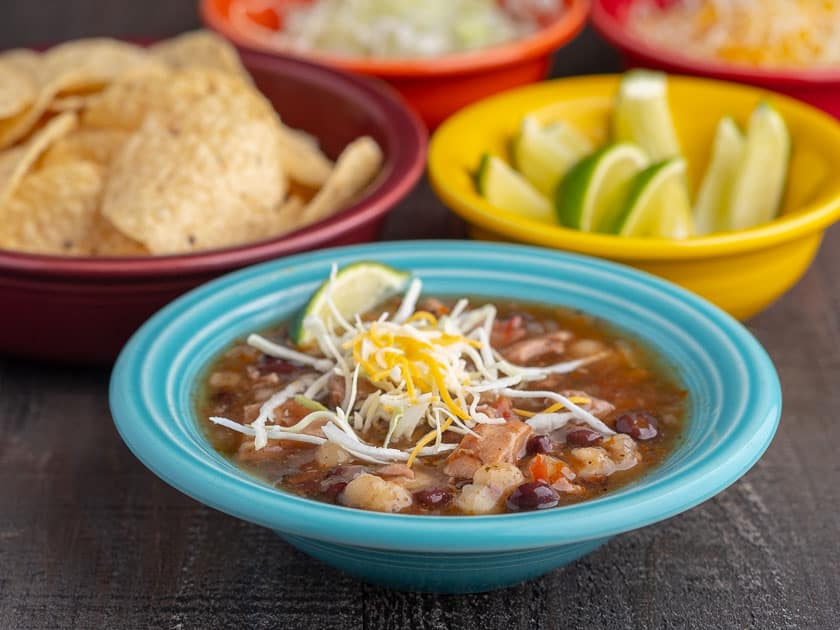
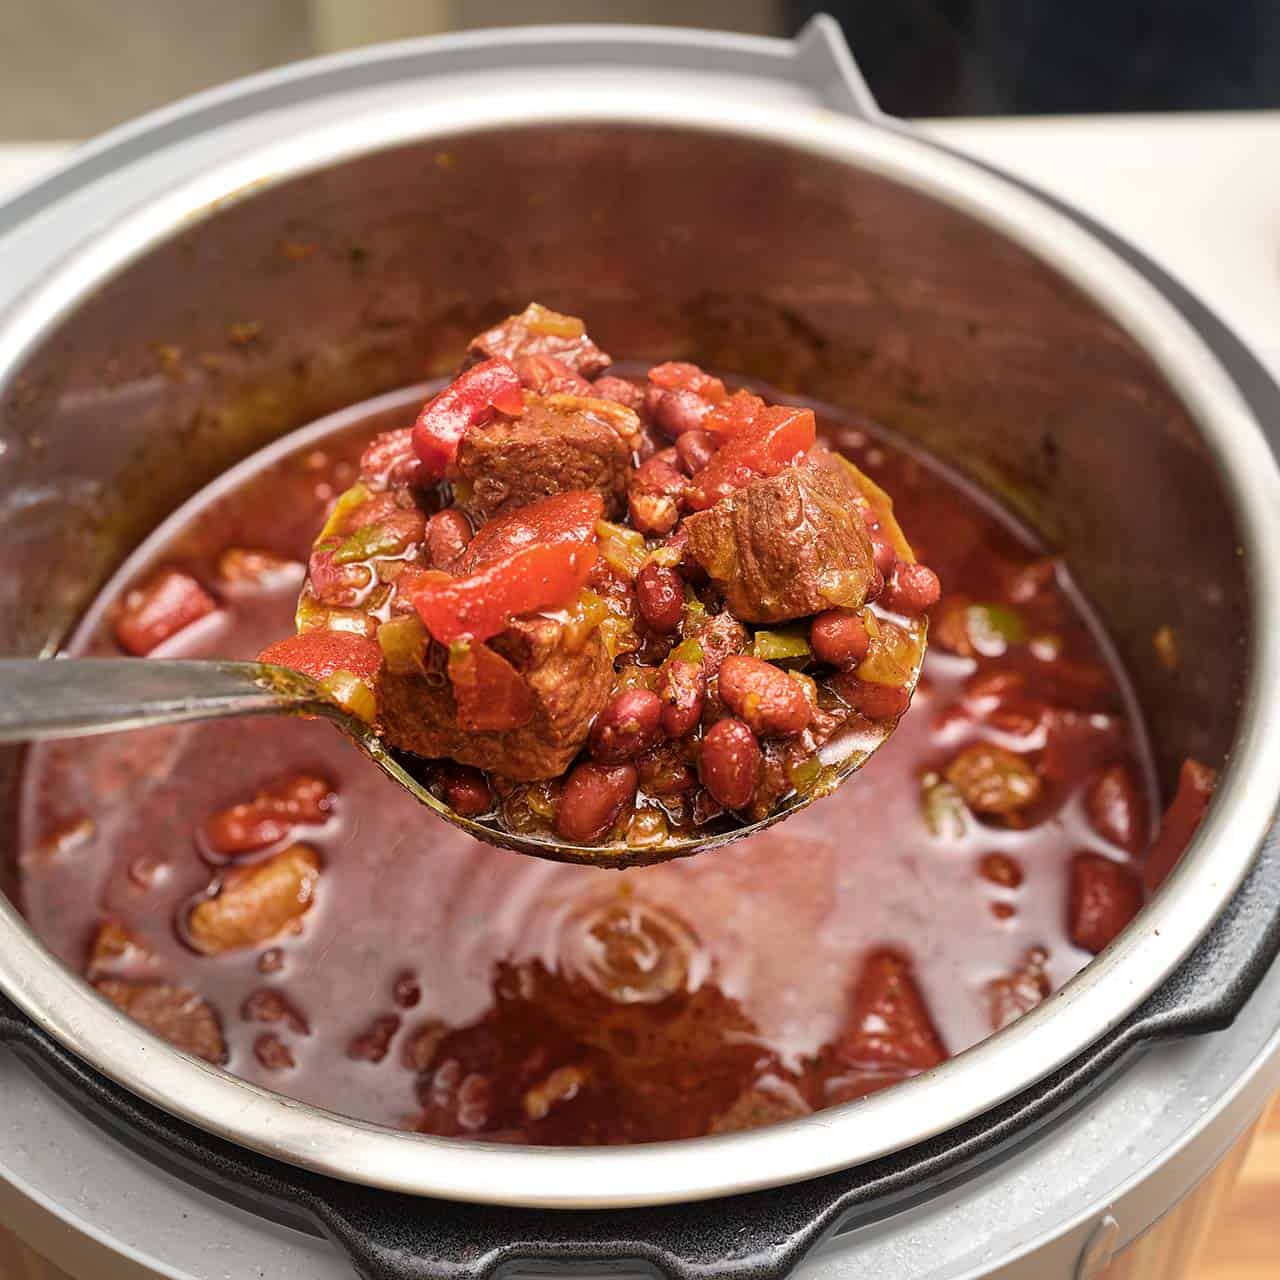
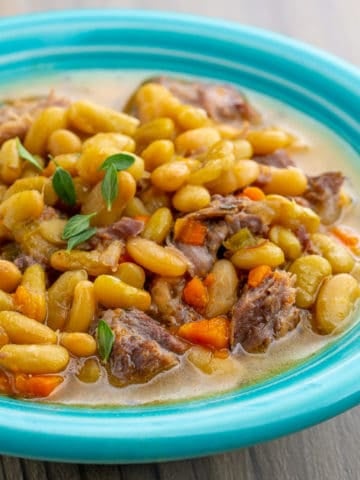
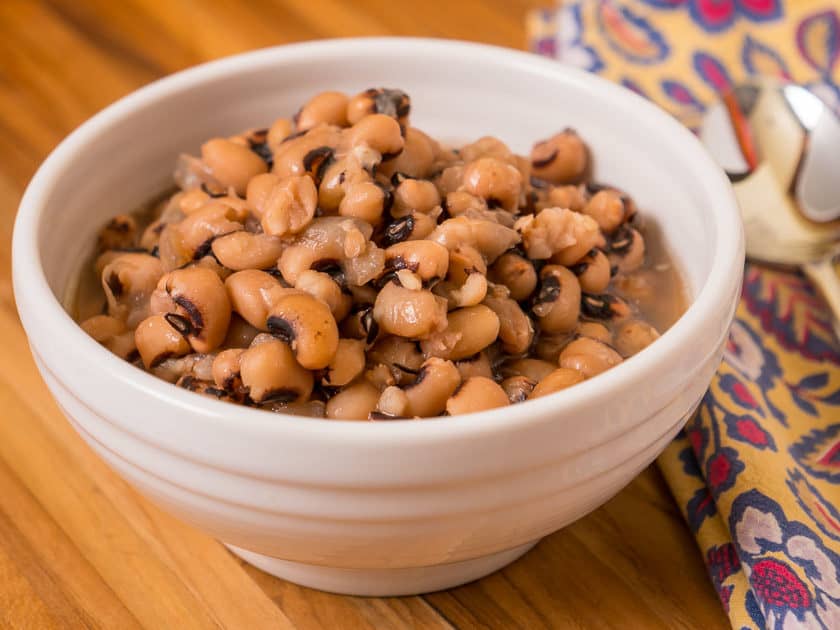
New Year's Day: Pressure Cooker Black-Eyed Peas
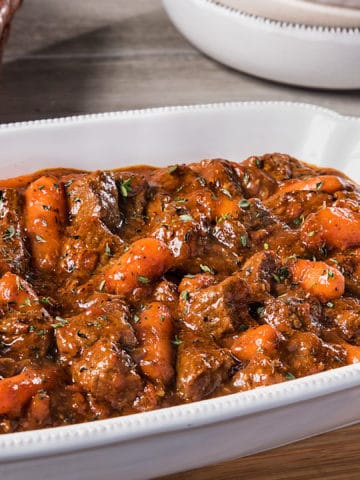
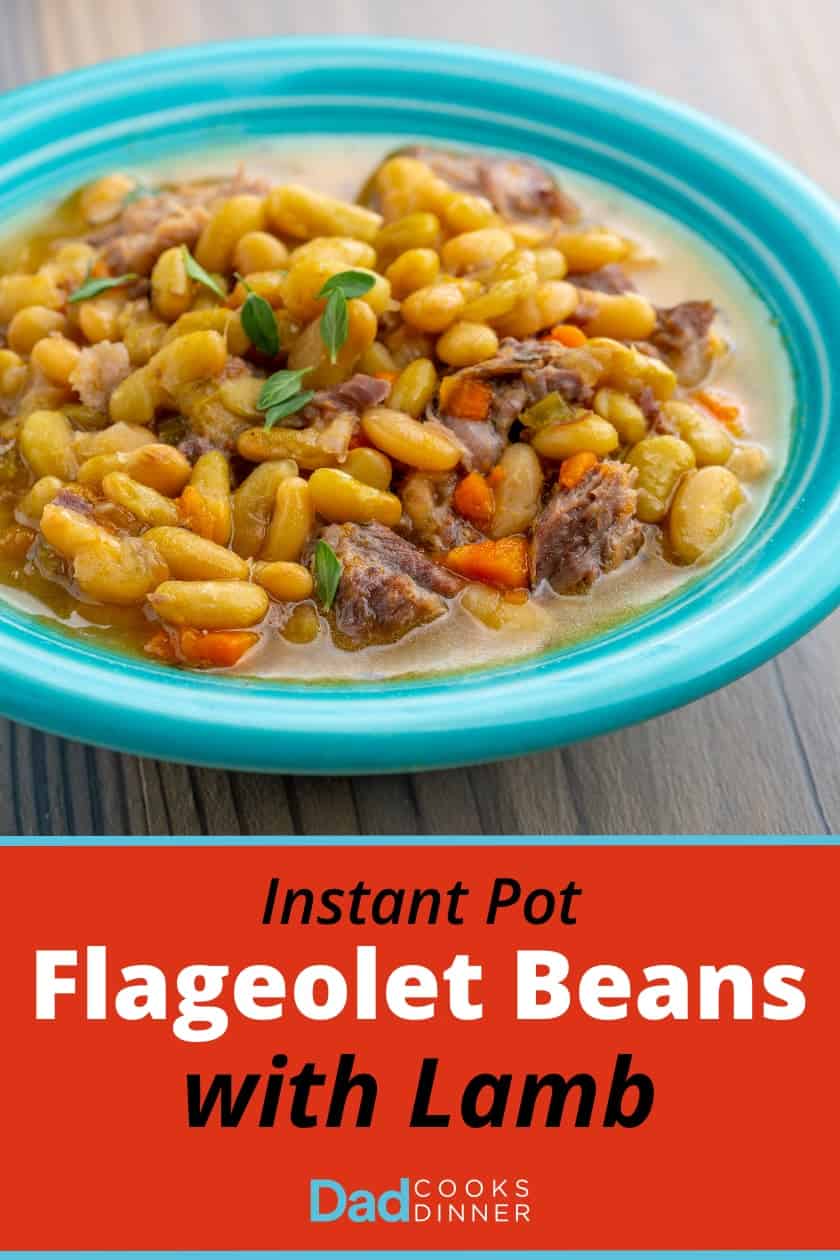
Easter: Pressure Cooker 7 Hour Leg of Lamb (in 90 minutes)
Father's Day: Grilled Tomahawk Steak - Long Bone Ribeye - Reverse Seared
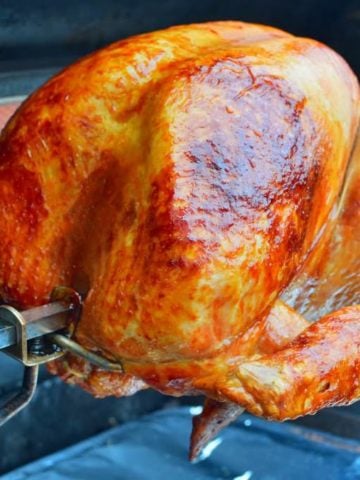
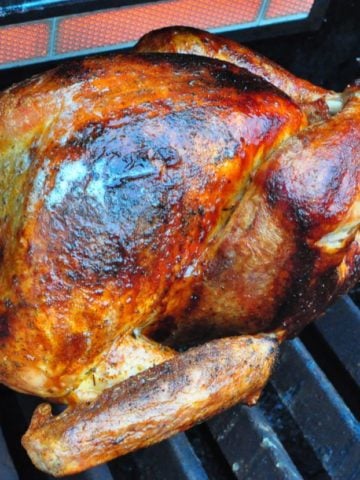
Thanksgiving: Rotisserie Turkey Breast with Spice Rub
Christmas: Sous Vide Boneless Ribeye Roast
And, that's it. Happy New Year, everyone, and welcome to 2019. Let's make it a good one!
What do you think?
Questions? Other favorite recipes from 2018? Leave them in the comments section below.
Related Posts
My Instant Pot Pressure Cooker Recipe List
Enjoyed this post? Want to help out DadCooksDinner? Subscribe to DadCooksDinner via email and share this post with your friends. Want to contribute directly? Donate to my Tip Jar, or buy something from Amazon.com through the links on this site. Thank you.