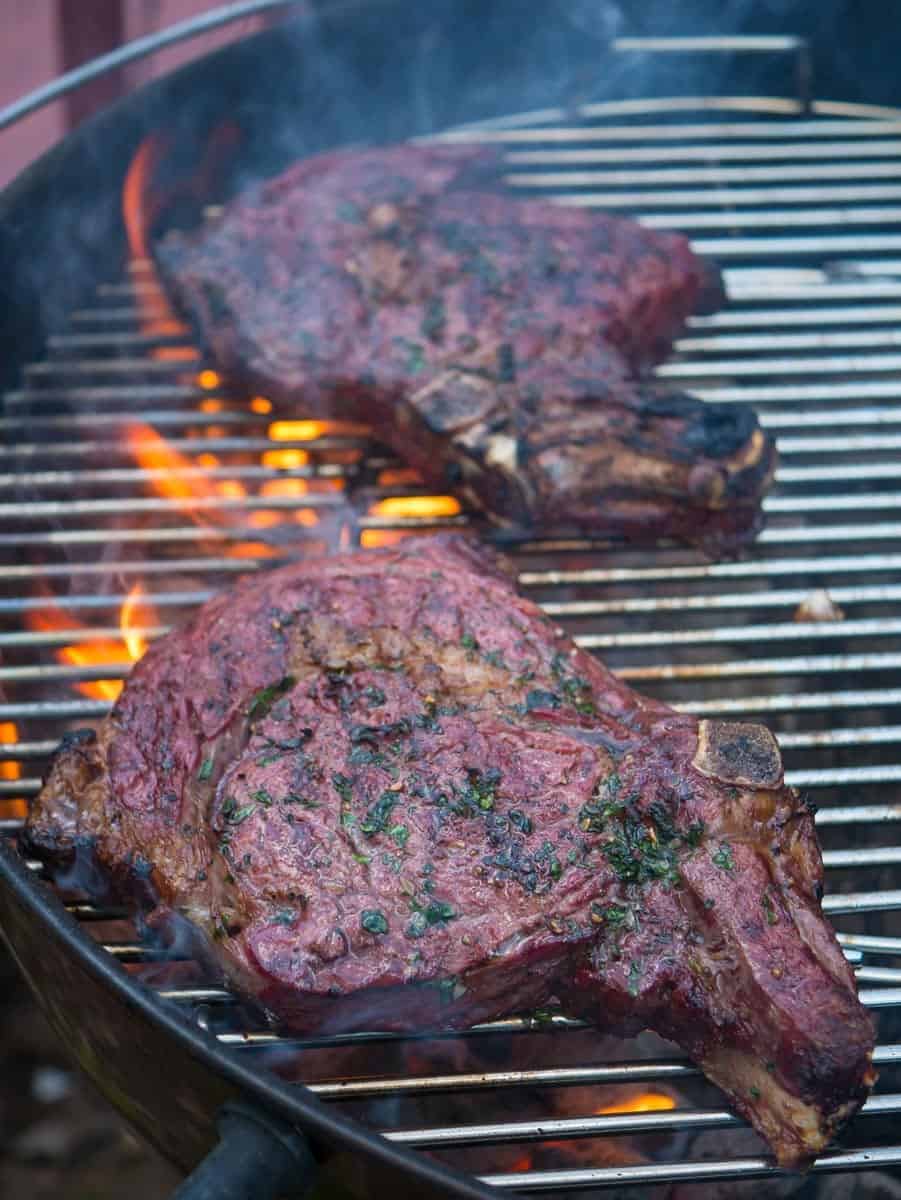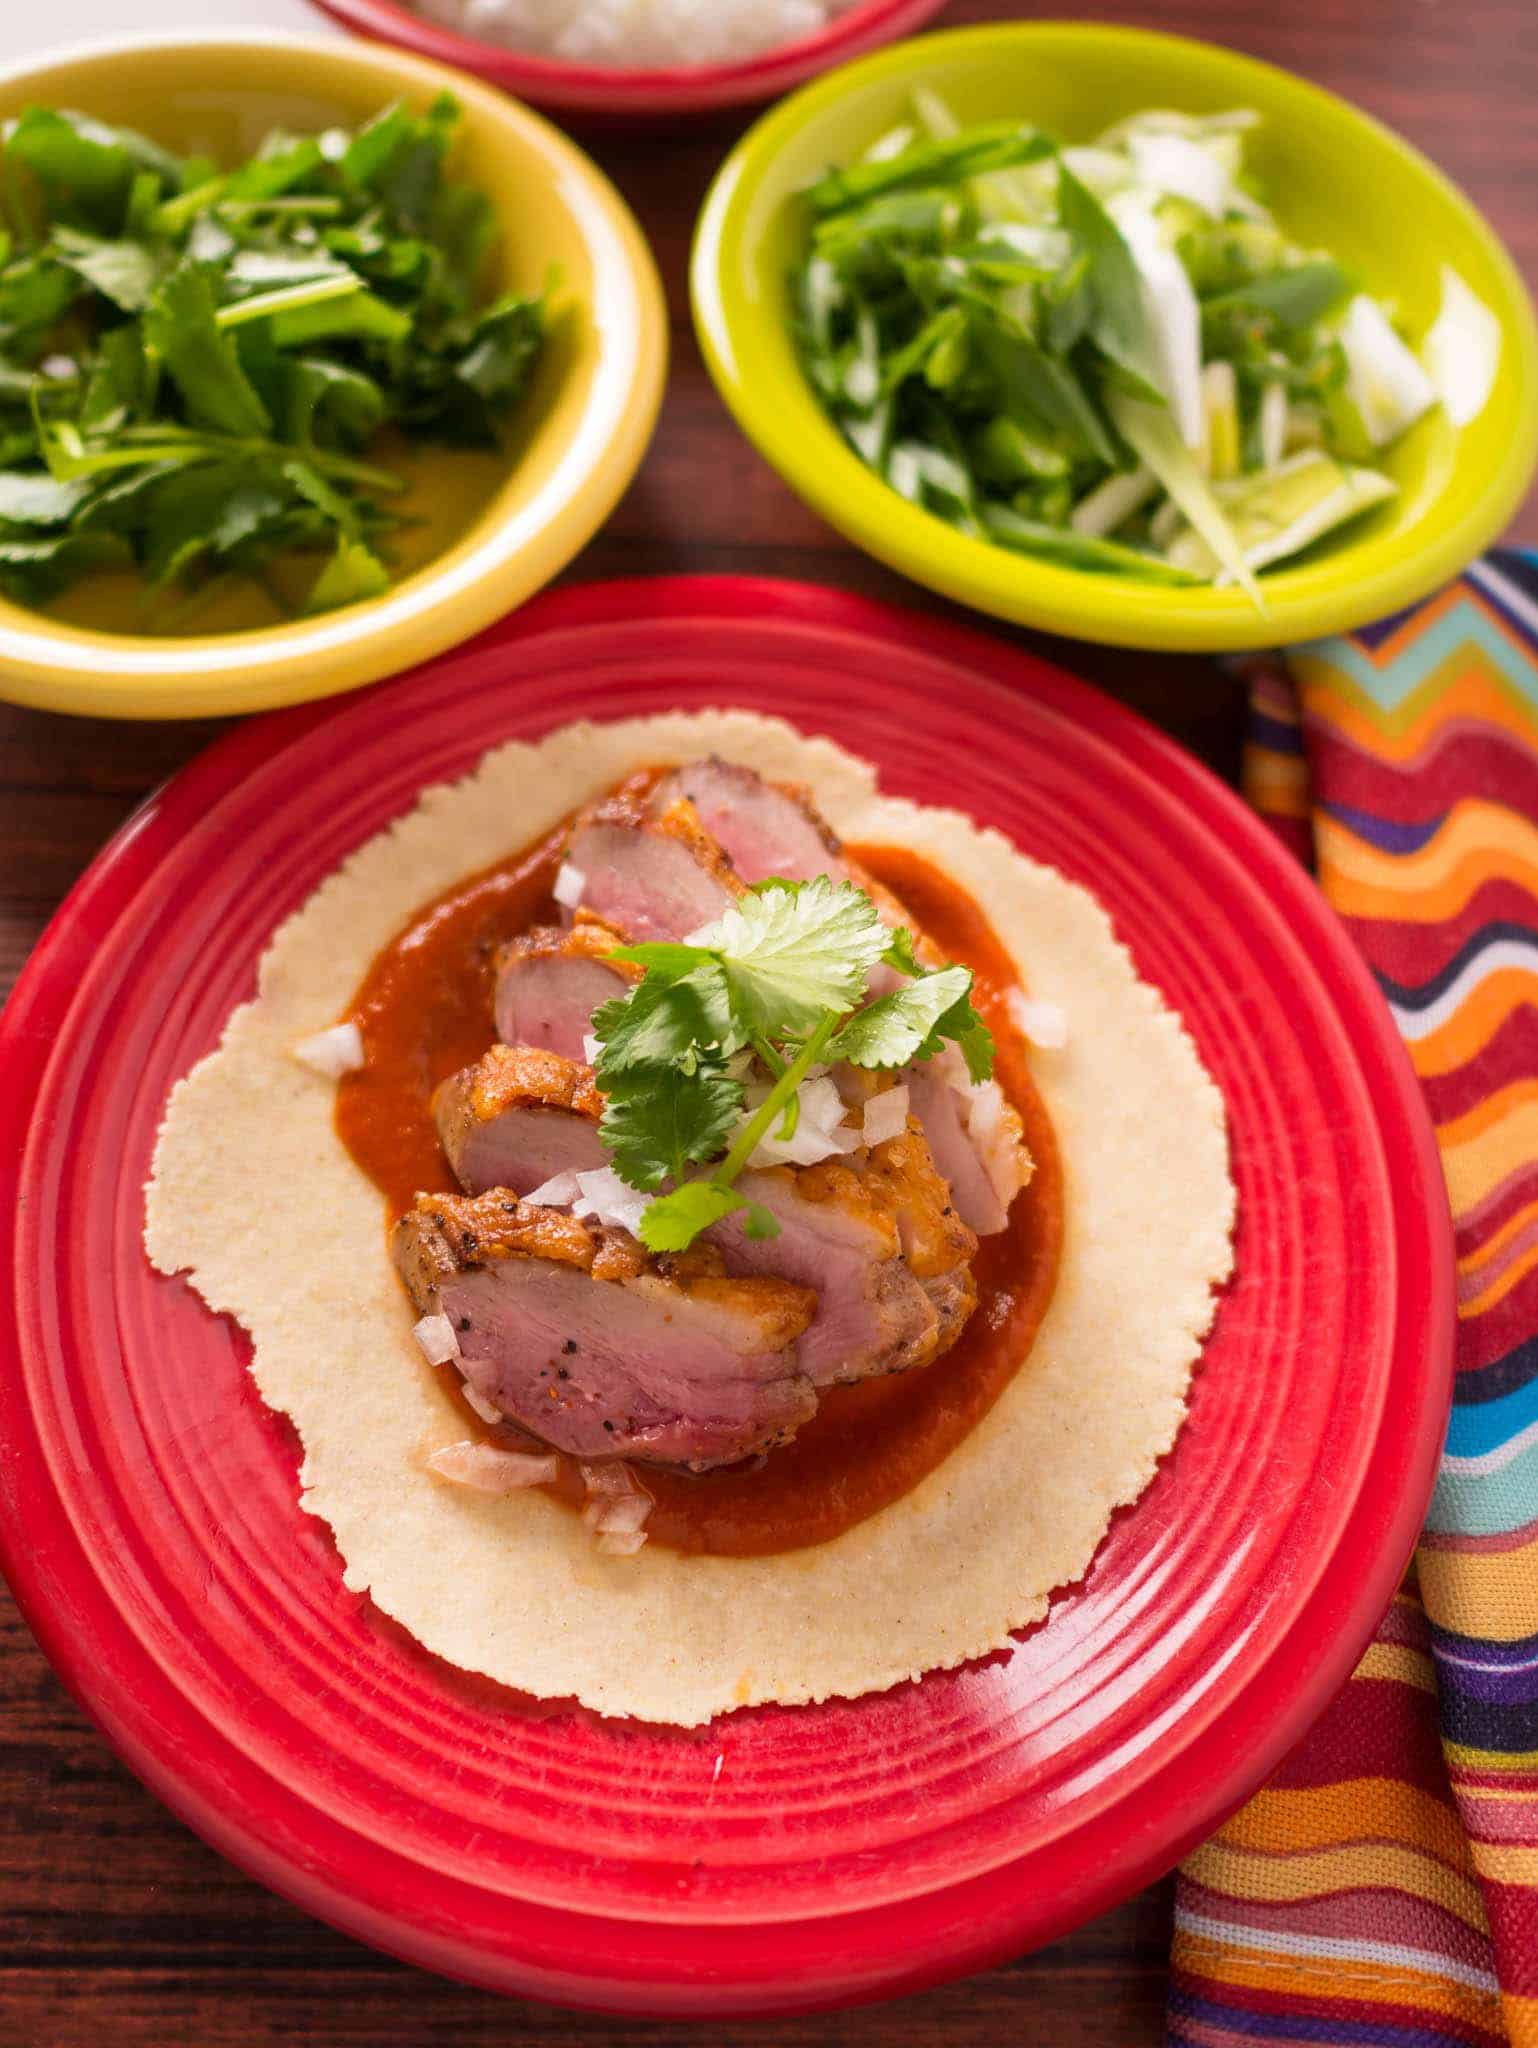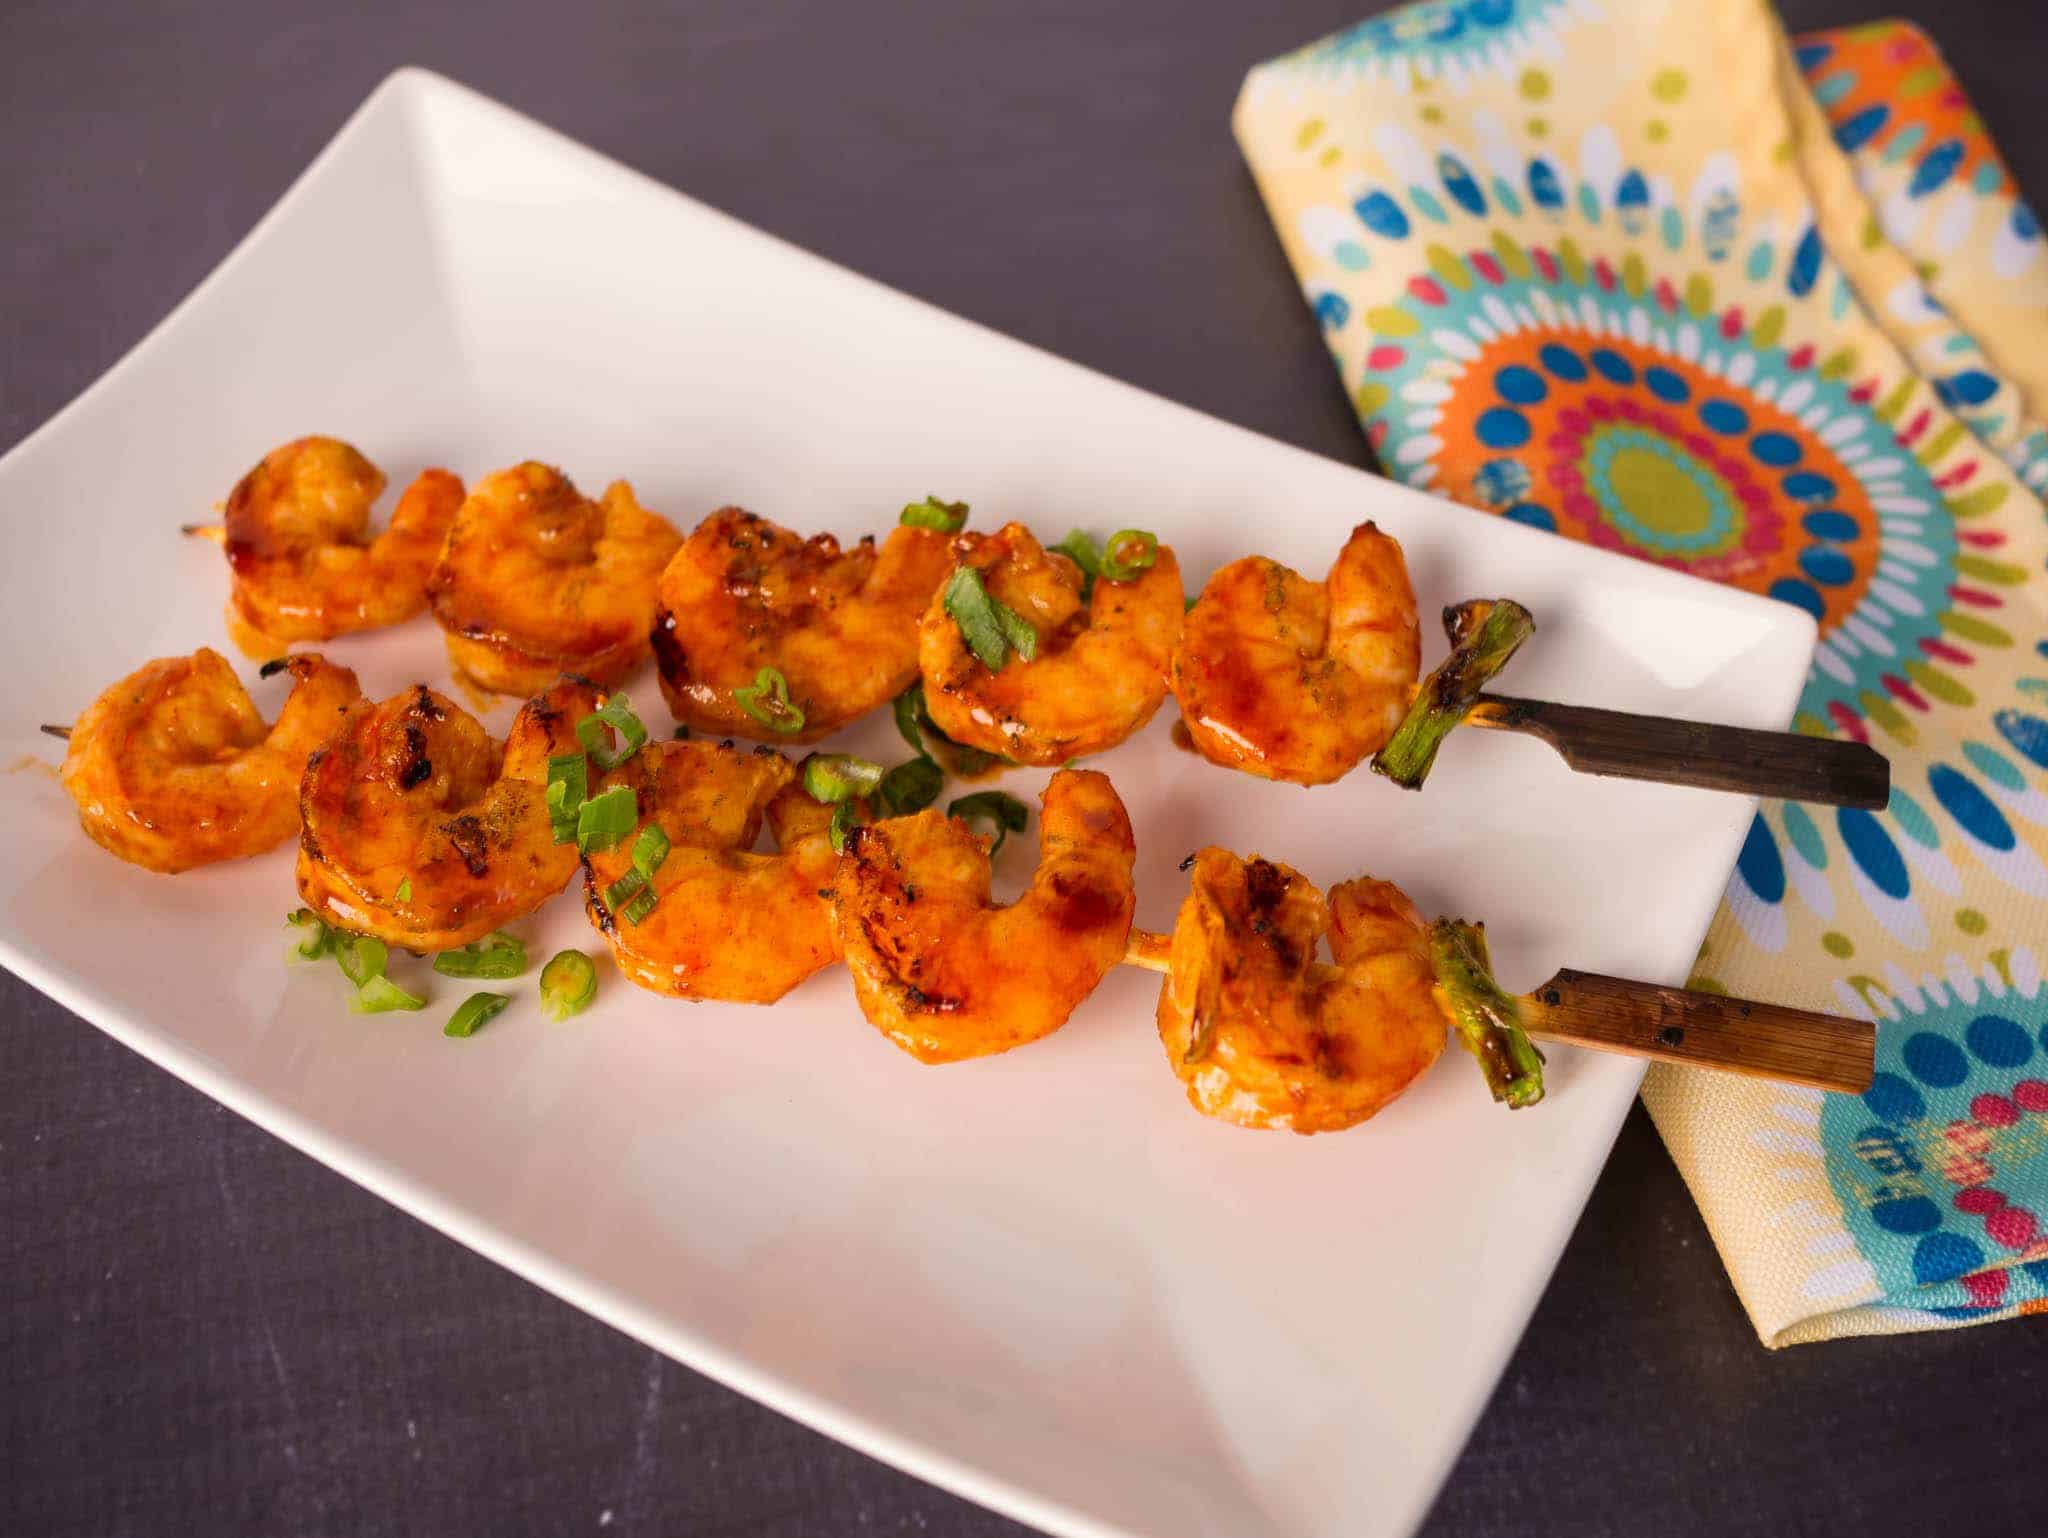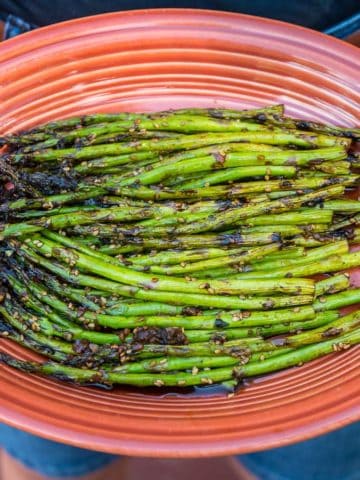
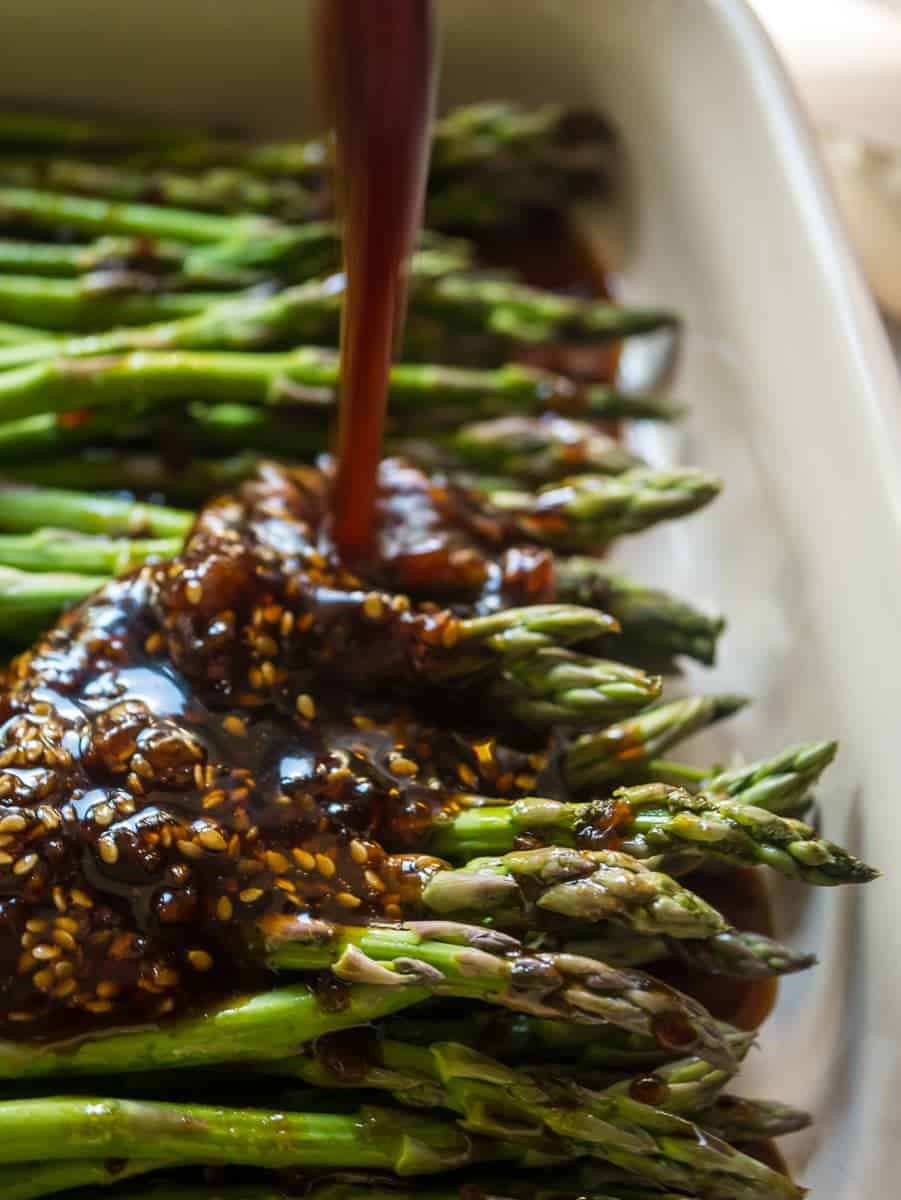
Time for asparagus, my favorite grilled vegetable. (Spring edition. I'm always sad when Asparagus season ends, but by mid-summer, sweet corn is ramping up.) My son has been on a teriyaki kick - he asks for it on everything - so I thought, why not tempt with grilled teriyaki asparagus? It turned out great! Well…other than the tempting him to try asparagus. He wouldn't touch it. (That's OK - I loved the asparagus.)

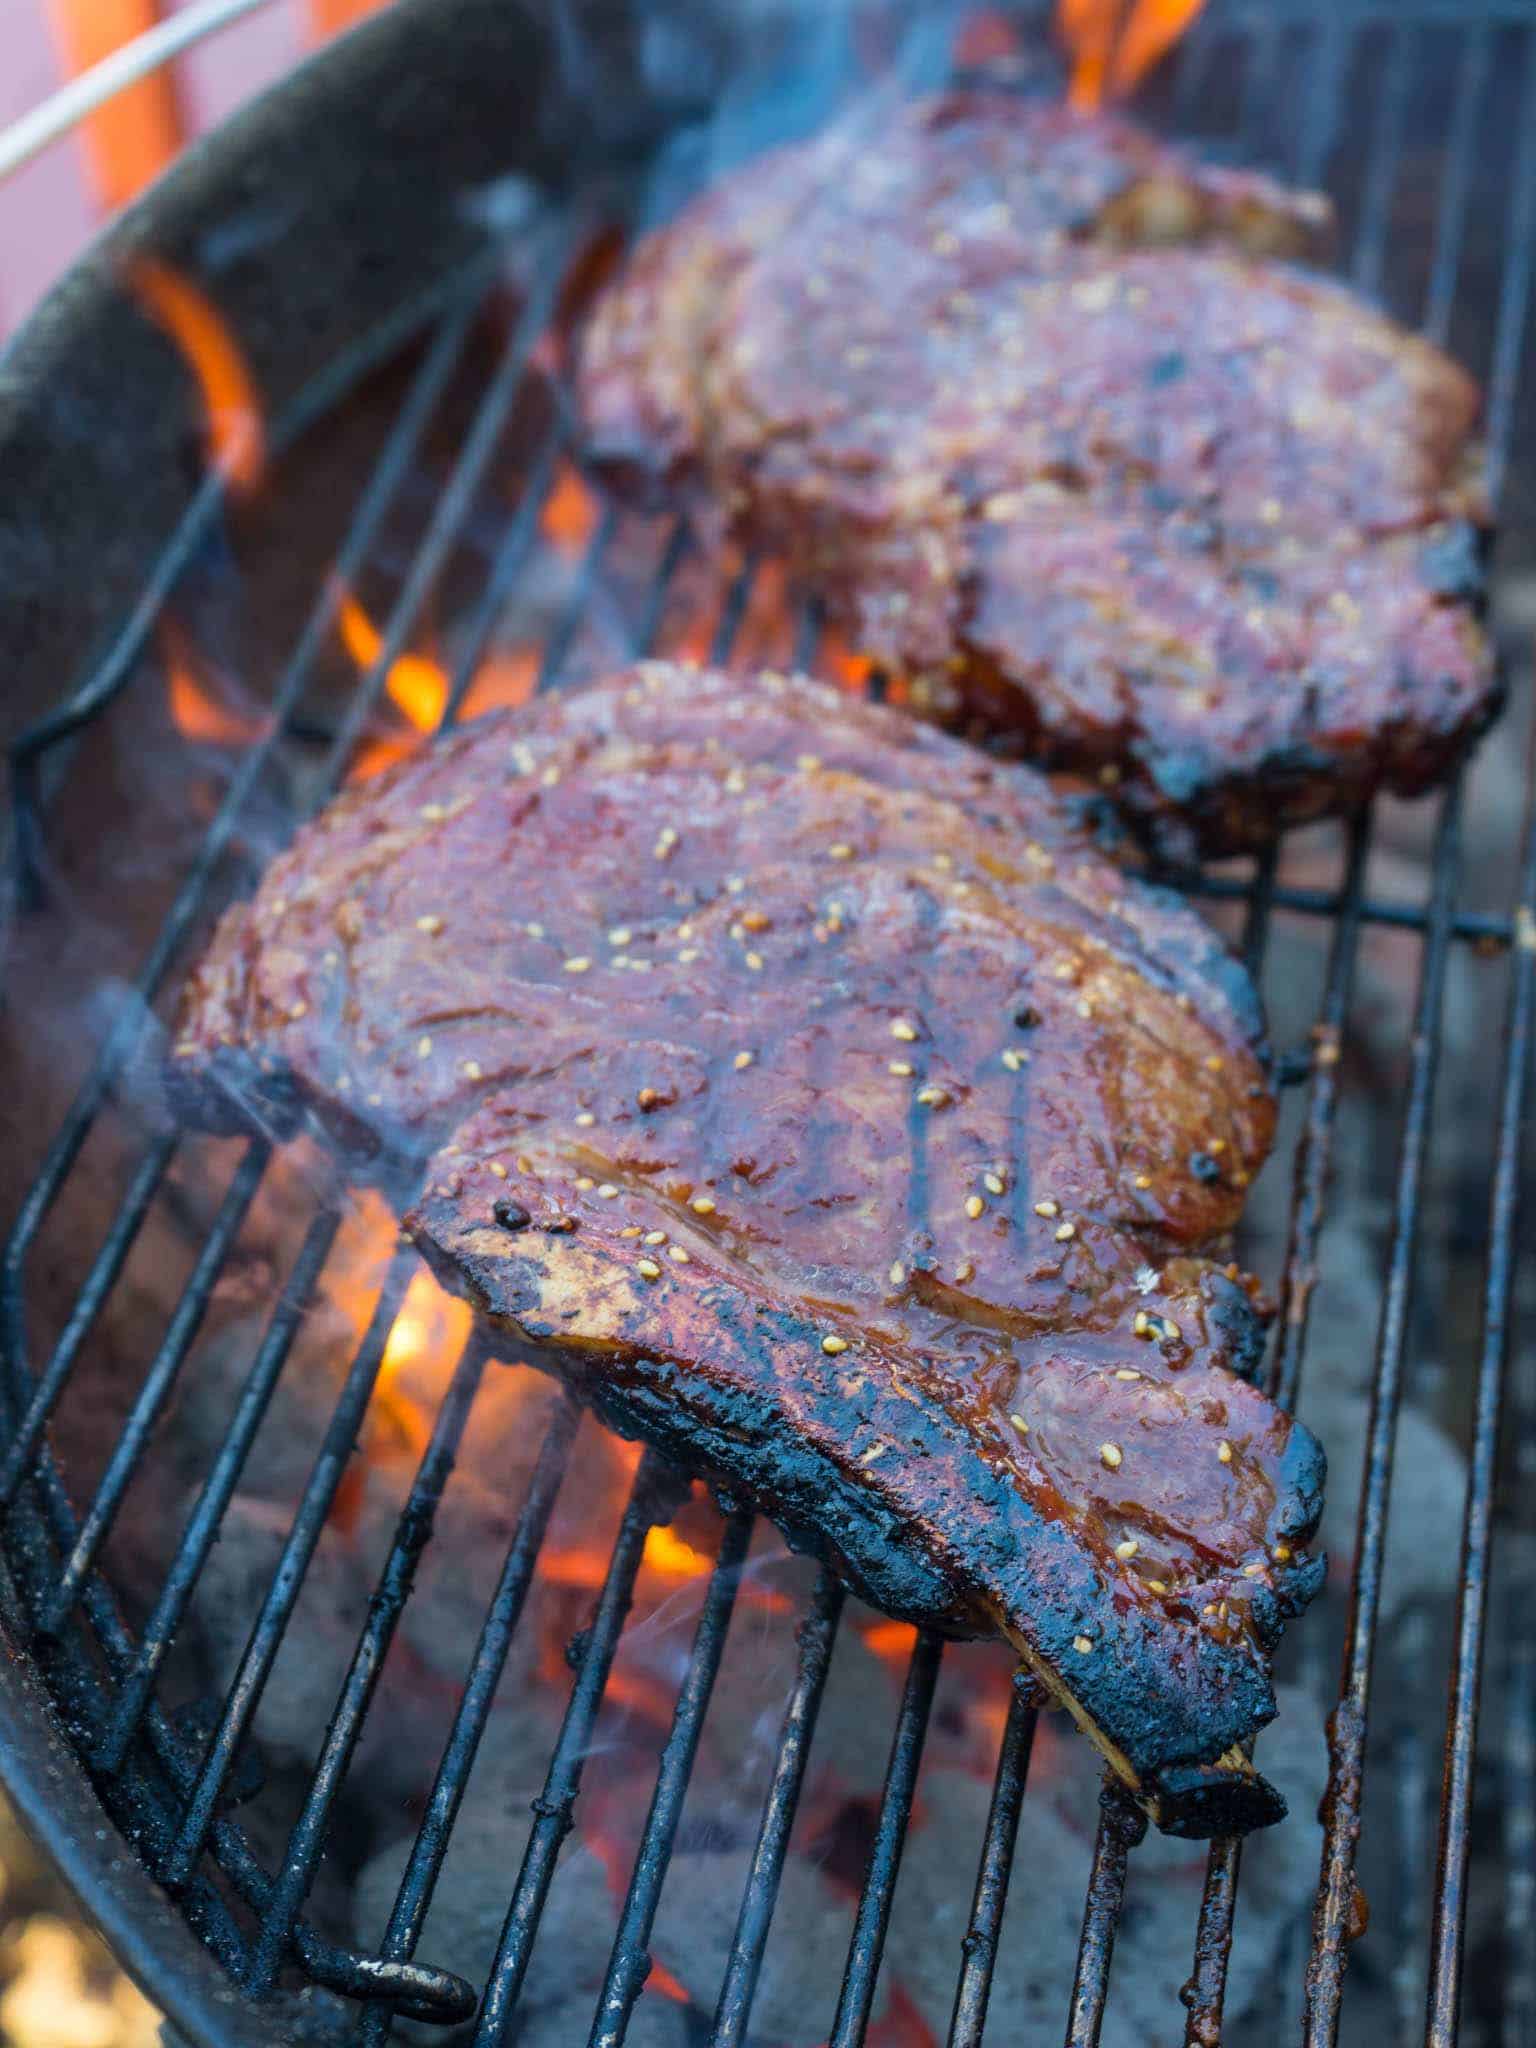
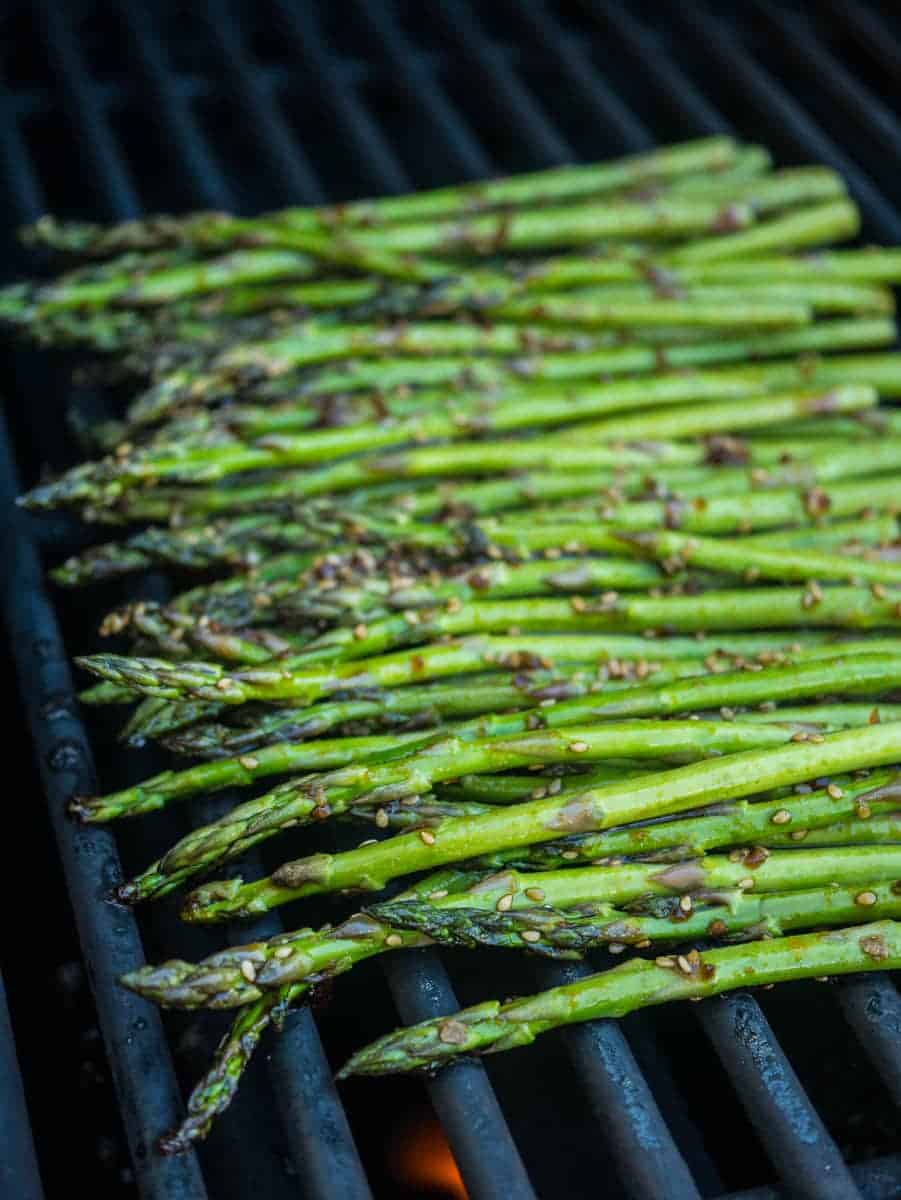
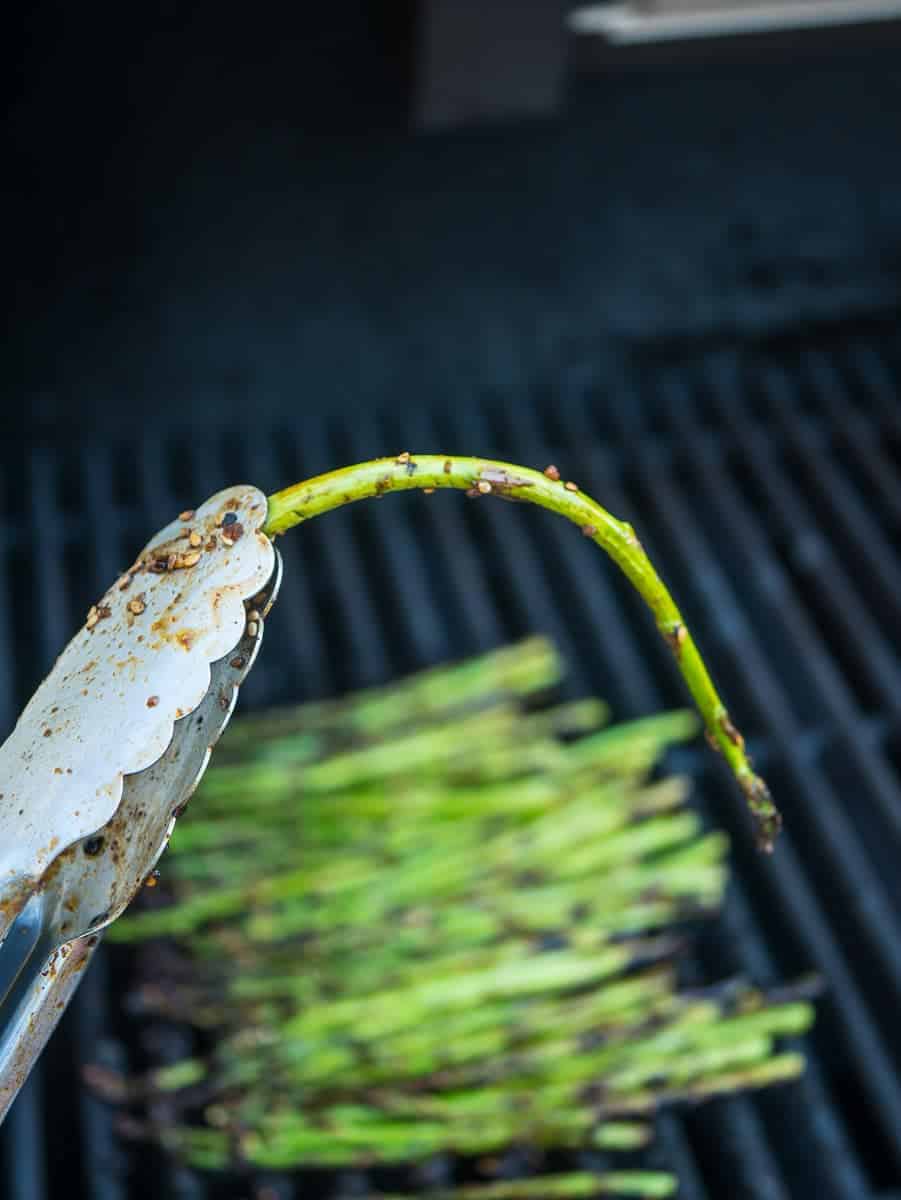
Now, for the one question you've got to ask yourself about grilling asparagus: do you feel lucky? Well, do you, punk? (Ahem. Sorry, I'm a child of the 80's, I can't help myself). I like to live dangerously when I grill my asparagus, and do it right on the grill grate. And, as long as the asparagus stays perpendicular to the grate, this works fine. But…if a spear gets turned sideways, or I drop it pointy end down, it slides right through the grate and drops into the grill. I view that as the price of grilled asparagus - I'm willing to lose a spear or two - but if you don't trust your luck or your tong skills, use a grill pan. No worries about losing asparagus that way!

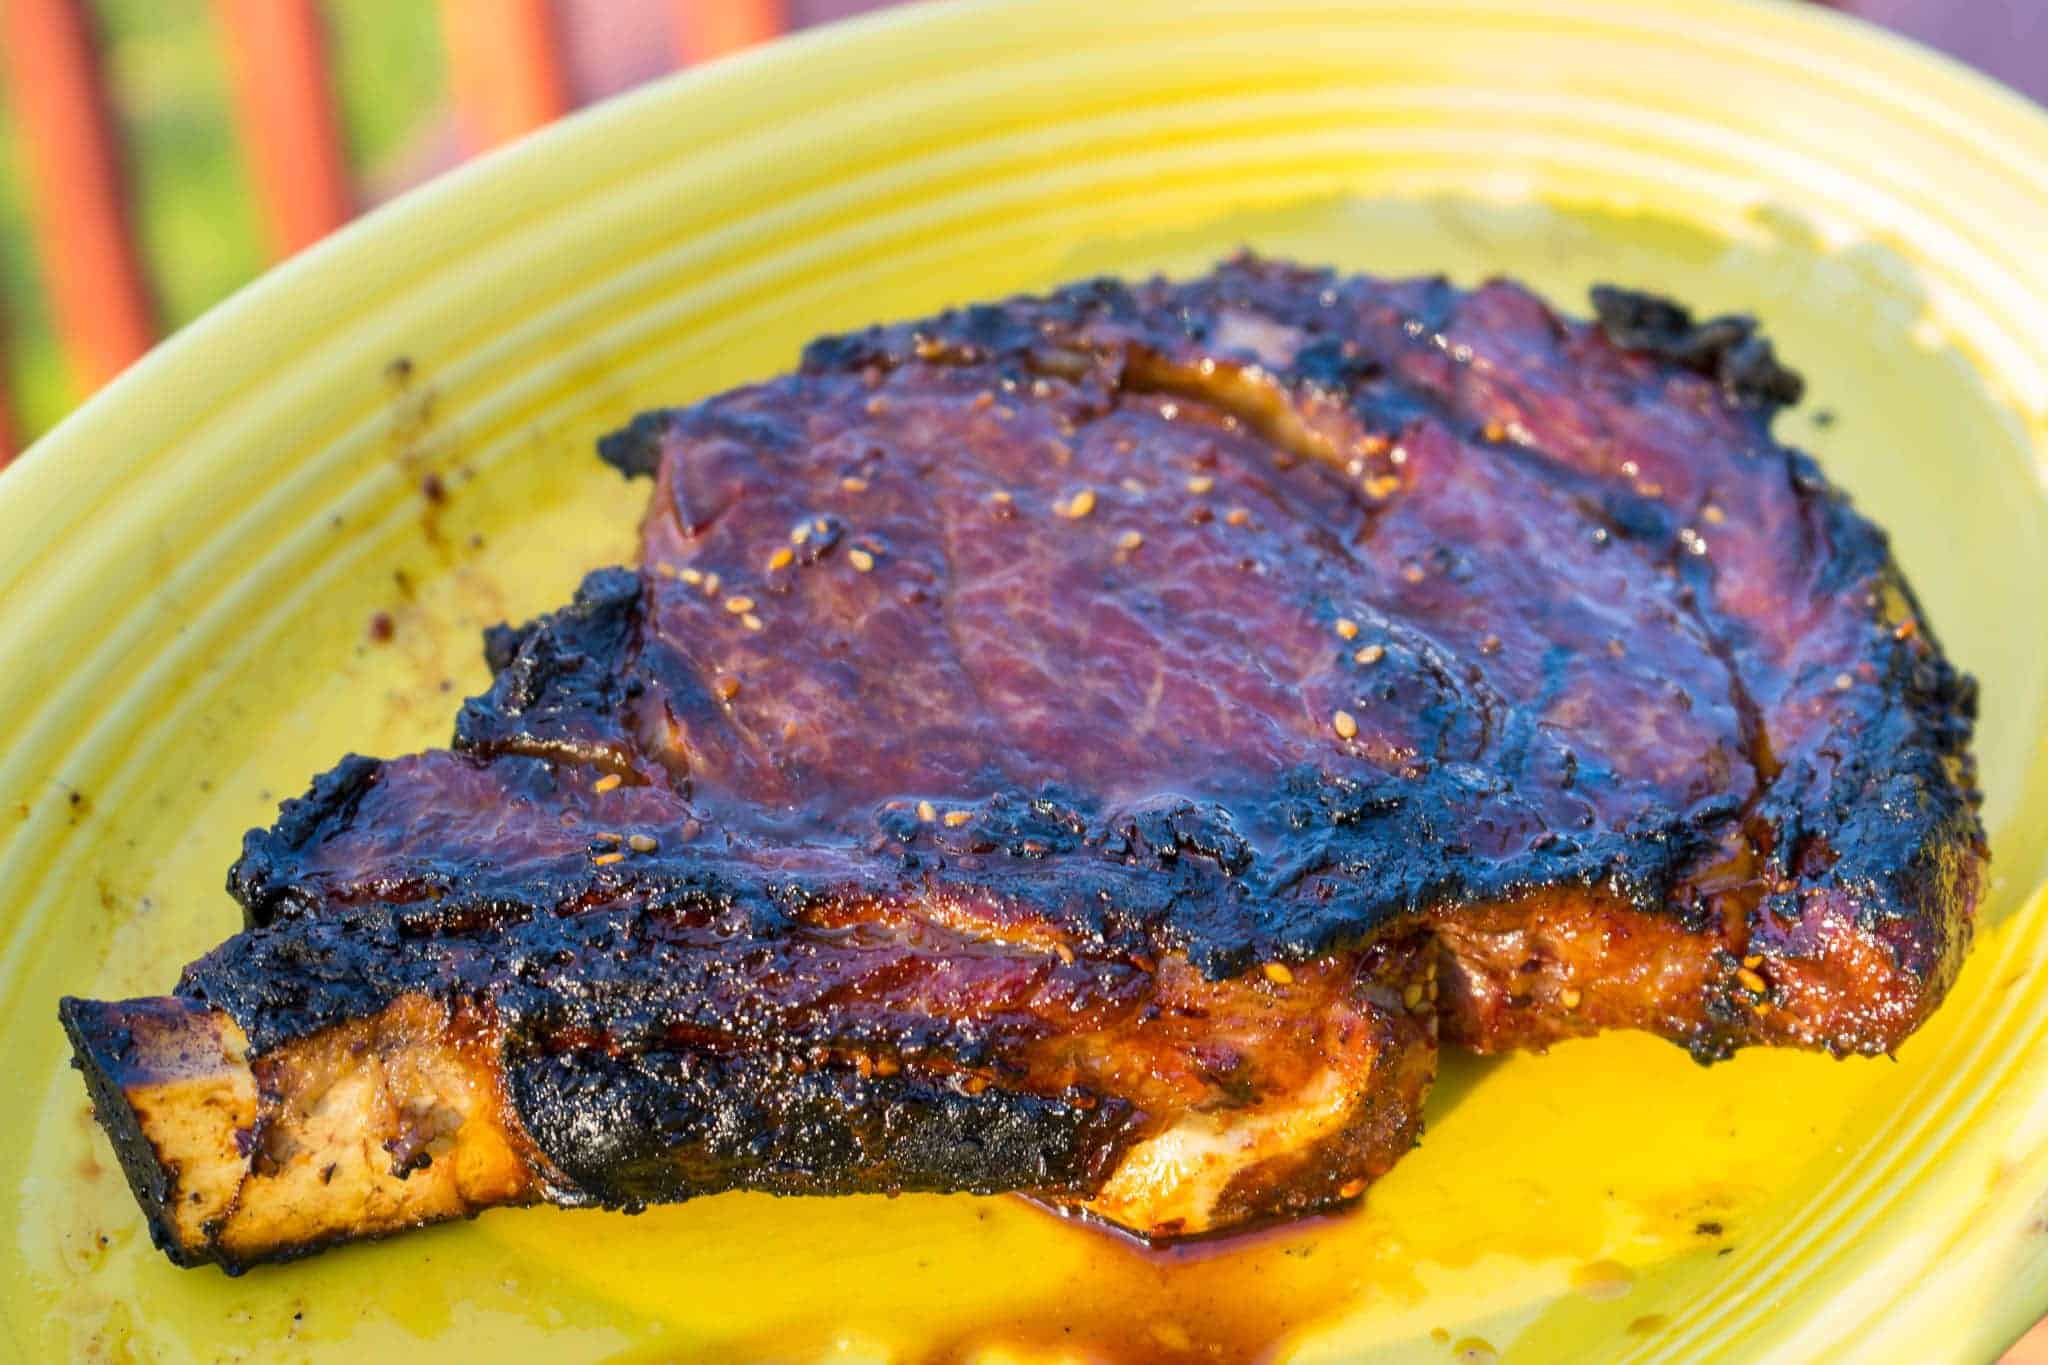
Also, because of the teriyaki sauce, the asparagus will burn on the grill if you leave it sit. Keep the asparagus moving, rolling it over on itself (I treat it as one big pile), and pull it off as soon as it is cooked through.
Equipment
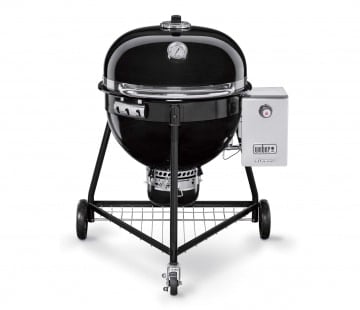
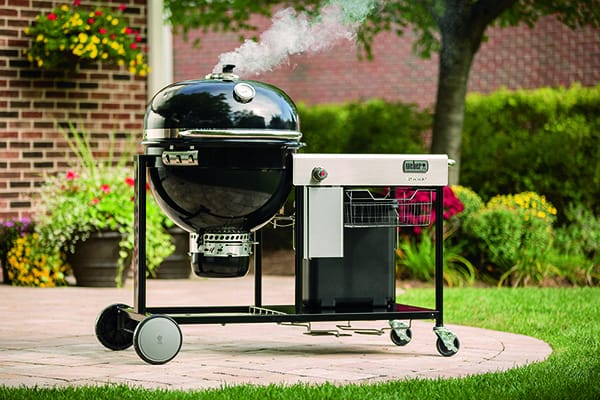
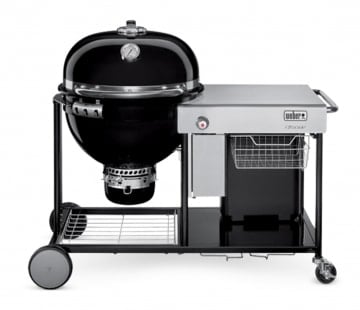
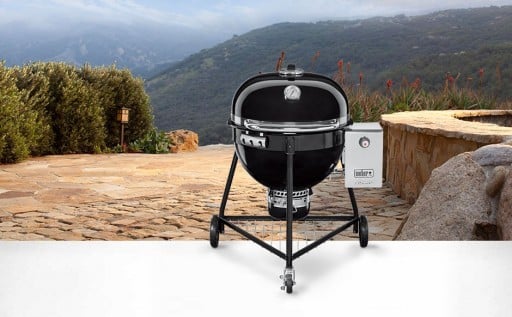
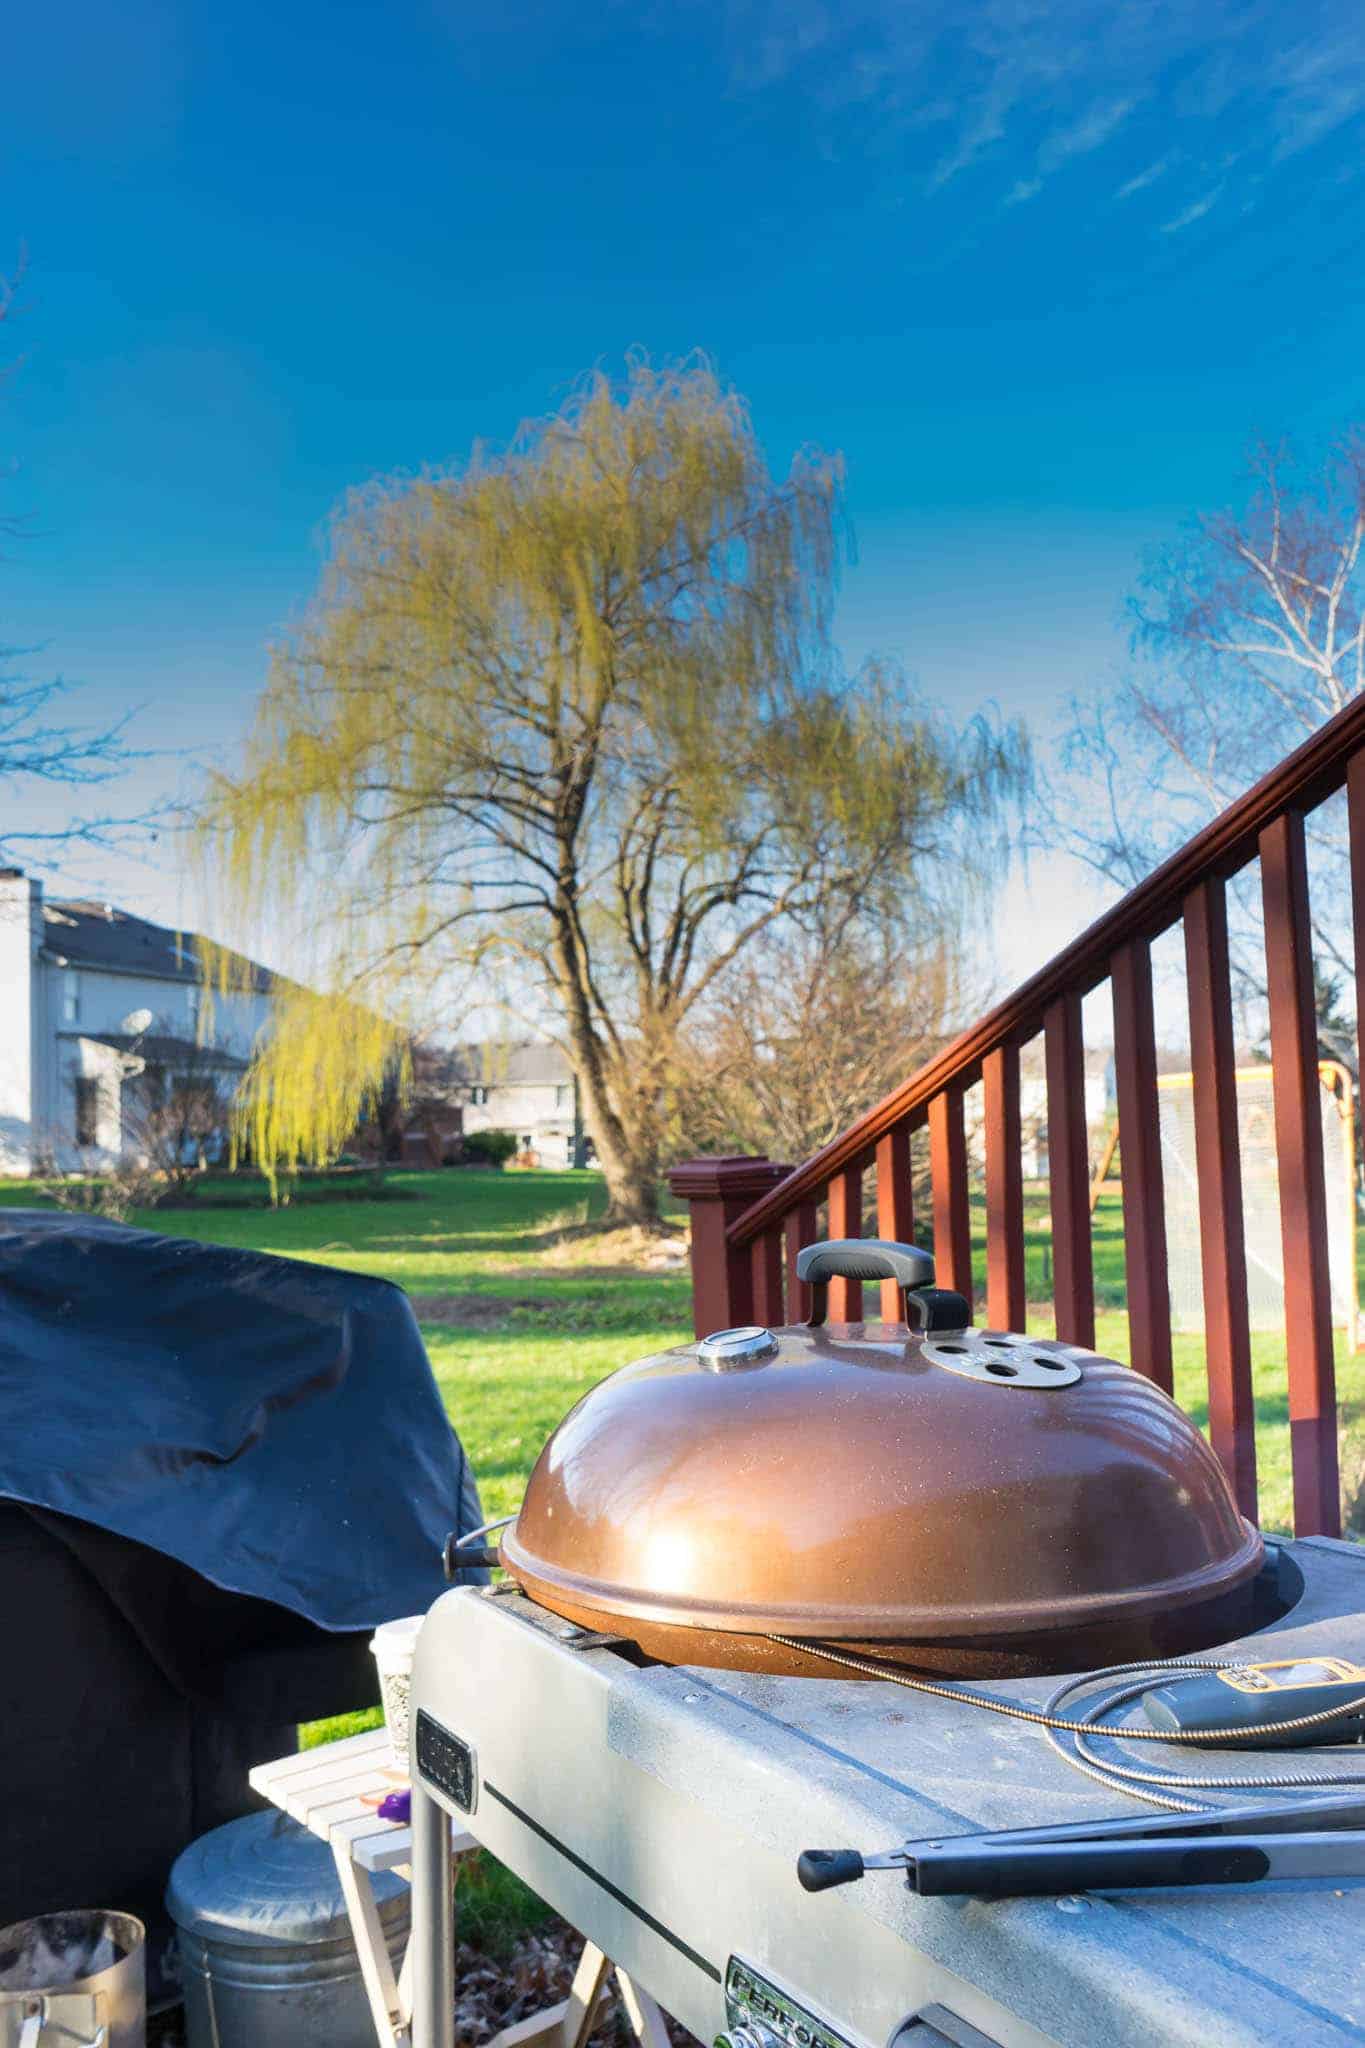
- Grill (I love my massive Weber Summit gas grill)
- Vegetable Grill Pan (Optional)
What do you think?
Questions? Other ideas? Leave them in the comments section below.
Related Posts
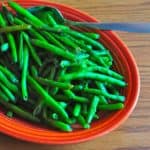
For a different fancy grilled asparagus recipe, try my Grilled Asparagus and Prosciutto Wraps. For other vegetables on the grill, check out my Grilled Peppers and Onions, Foil Pouch Grilled Green Beans, and Grilled Shishito Peppers.
Looking for something else? Here is my Grilling Recipe Index.
Enjoyed this post? Want to help out DadCooksDinner? Subscribe to DadCooksDinner via eMail or RSS reader, recommend DadCooksDinner to your friends, and buy something from Amazon.com through the links on this site. Thank you.