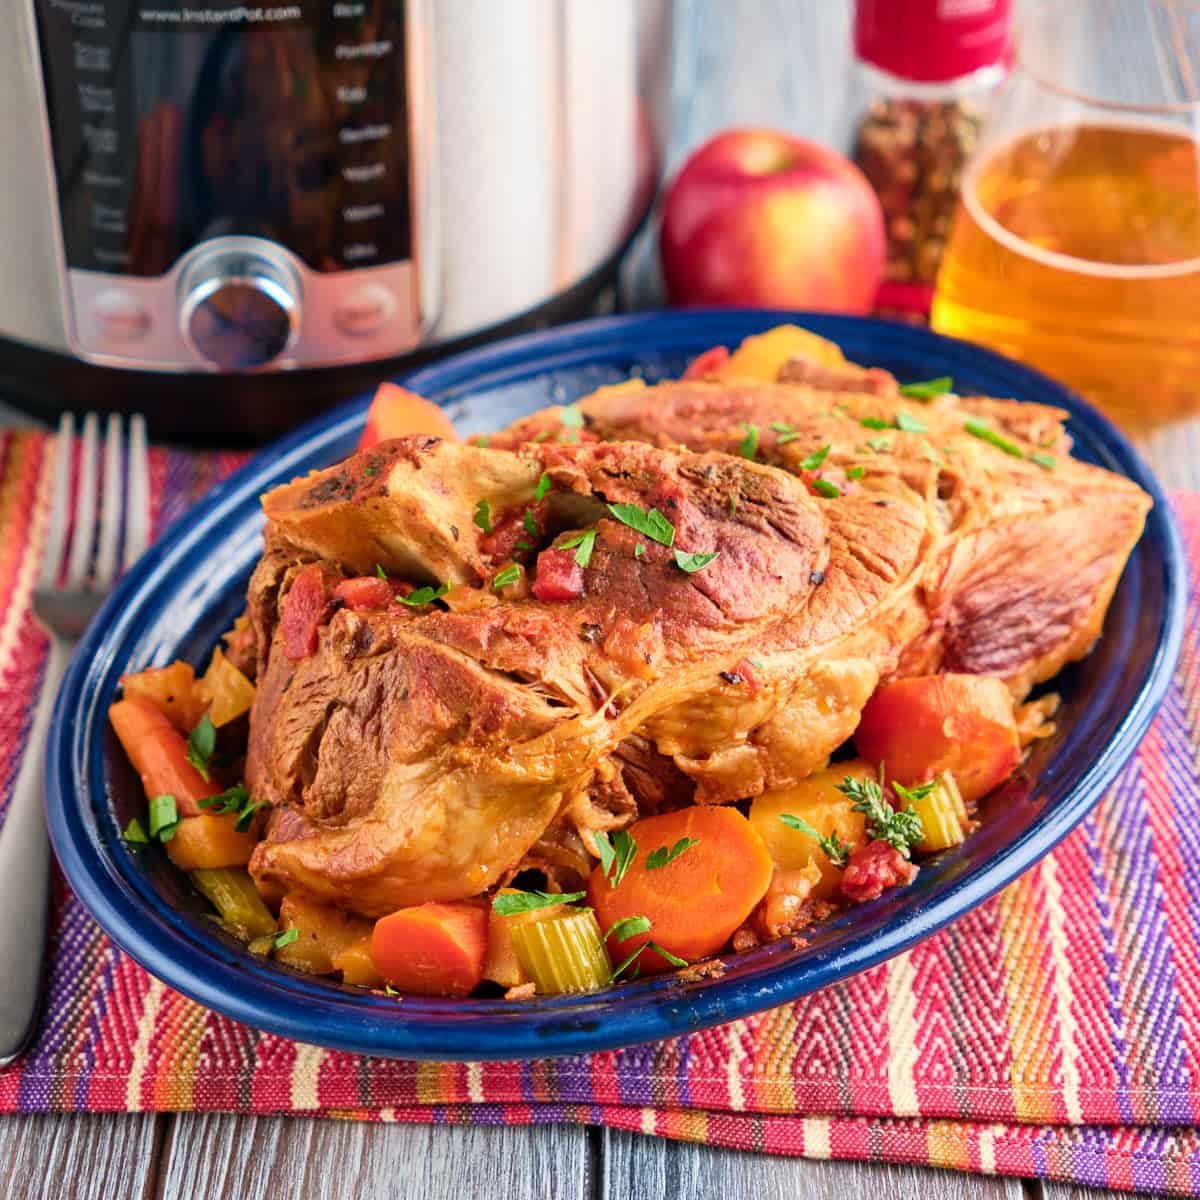
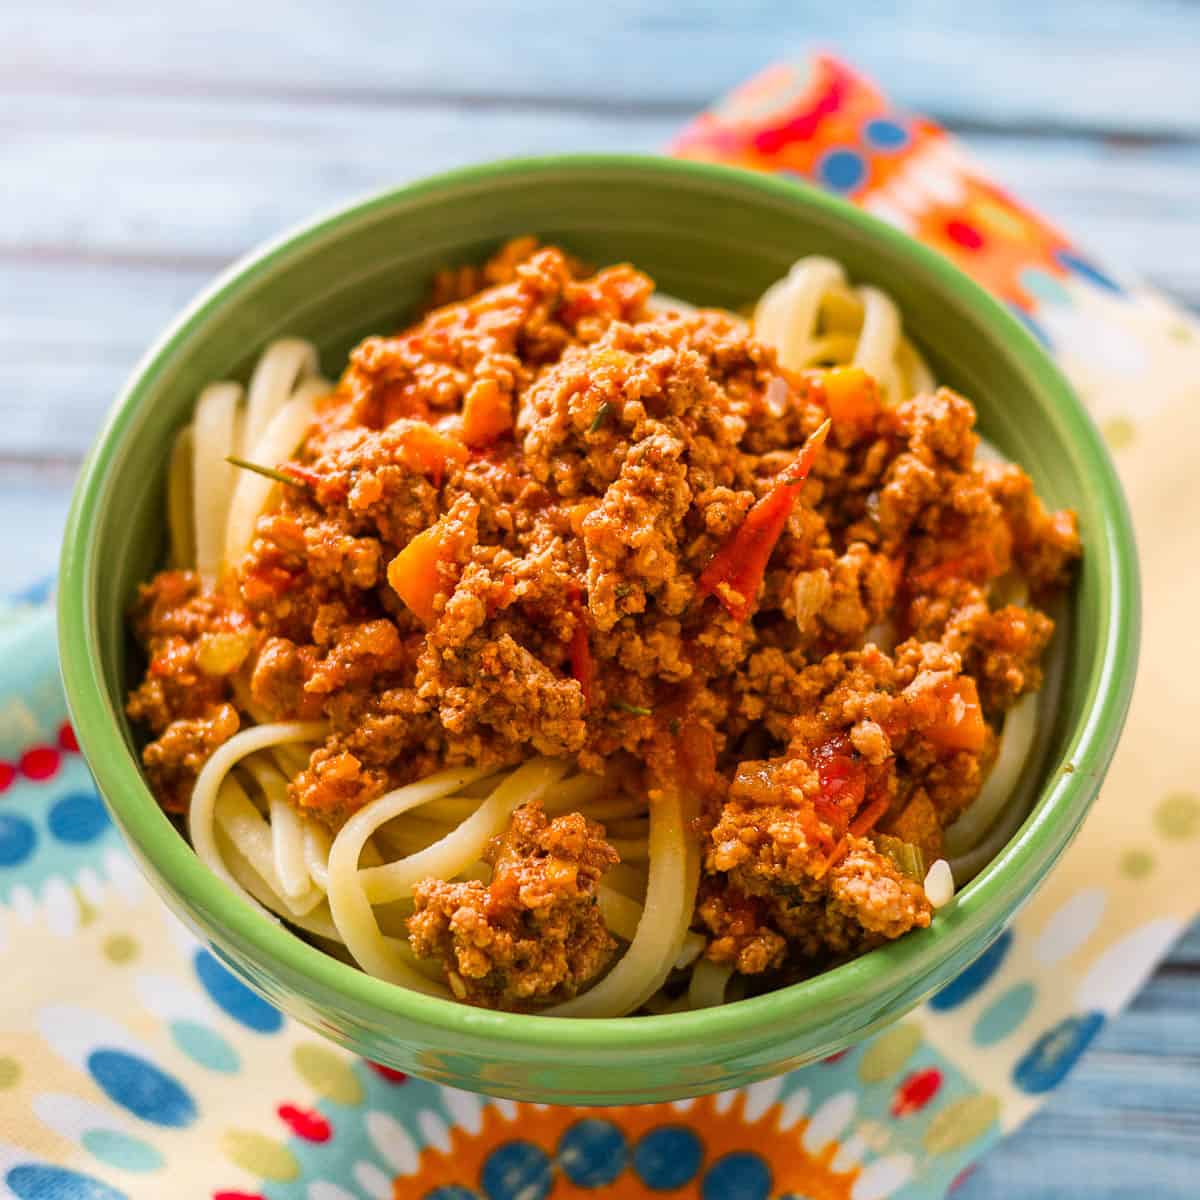
Instant Pot Red Pozole Recipe. (Pozole Rojo). A hearty Mexican stew of hominy, pork, and chiles, ready in an hour, thanks to canned hominy and pressure cooking.

Pozole is a hominy stew served throughout Mexico. It has been a staple of Mexican cuisine since pre-Columbian times. After pigs were introduced to Mexico by Spanish colonists in the 1500s, they became a key part of the stew. (I mean, who wouldn't add pork to their stew if it was available?) Over time, it migrated to Southwest America, where it is the "S", not "Z", named Posole.
(I'm with the Mexicans on this one - Z is a much cooler letter than S).
Hominy is the name we picked up from Native Americans for corn that is treated with lime, a process called nixtamalization. In Mexico, it is called pozole, posole, or nixtamal; the dish picked up its name from the main ingredient. And yes, the corn is the main ingredient; the meat is supposed to be a supporting player.

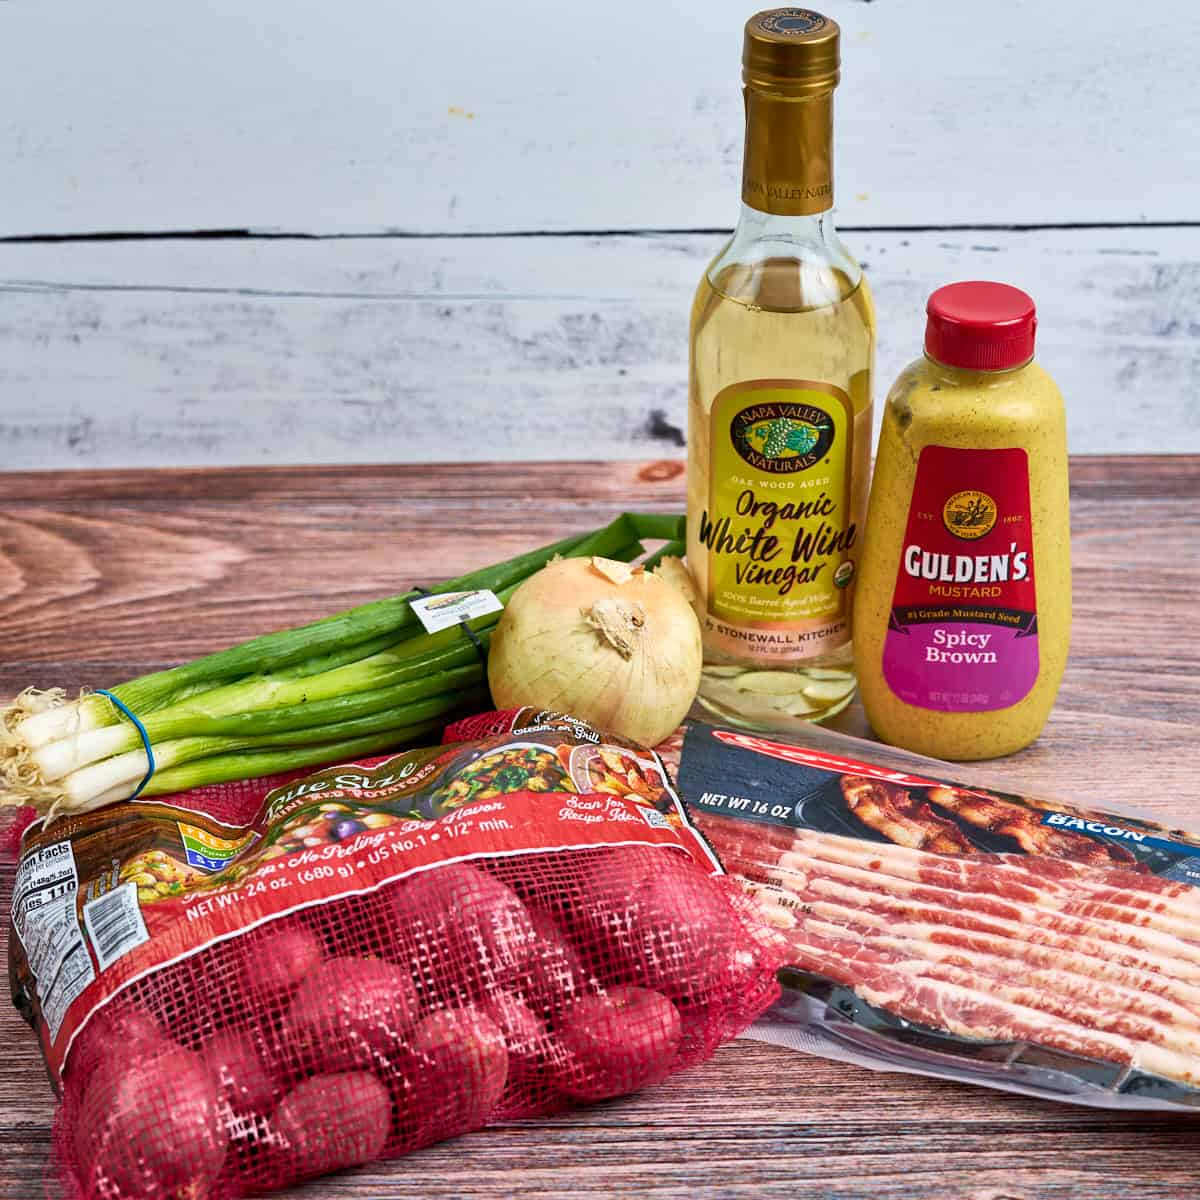
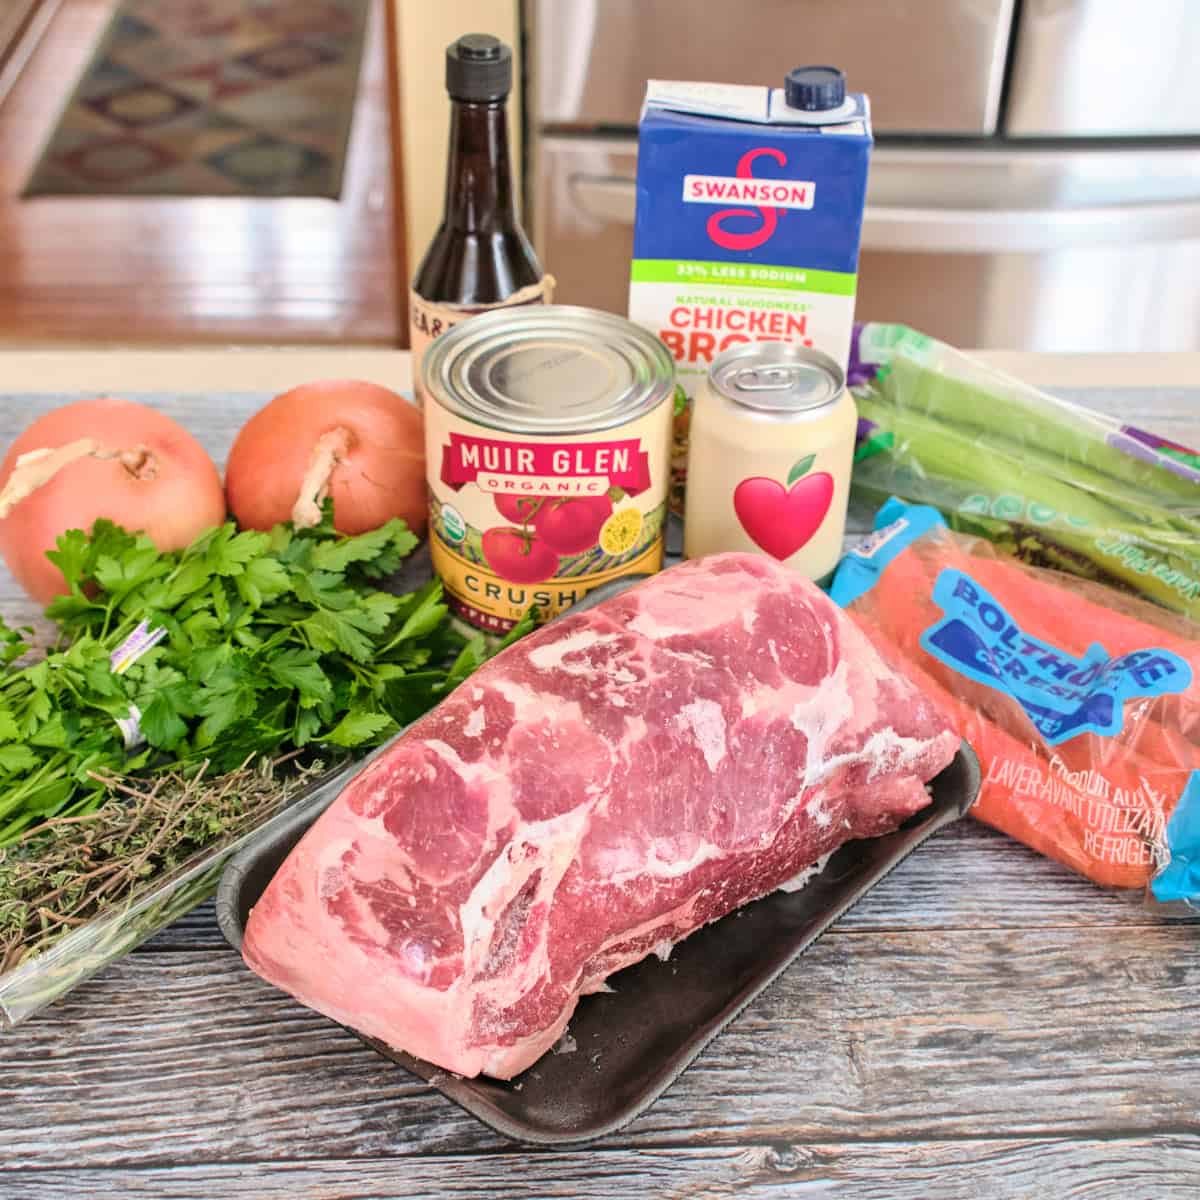
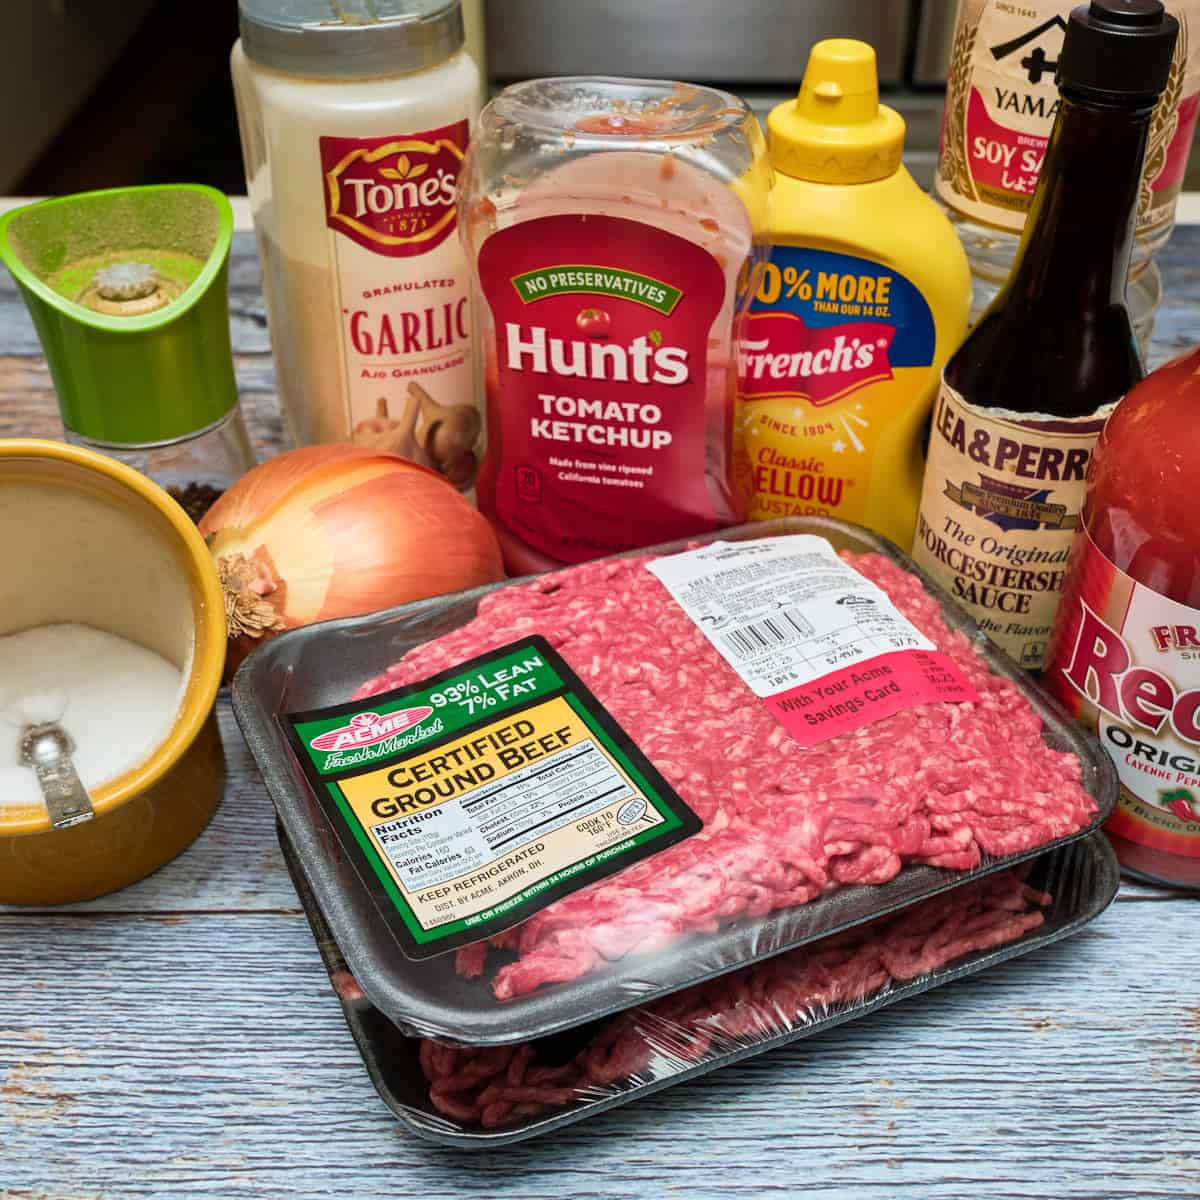
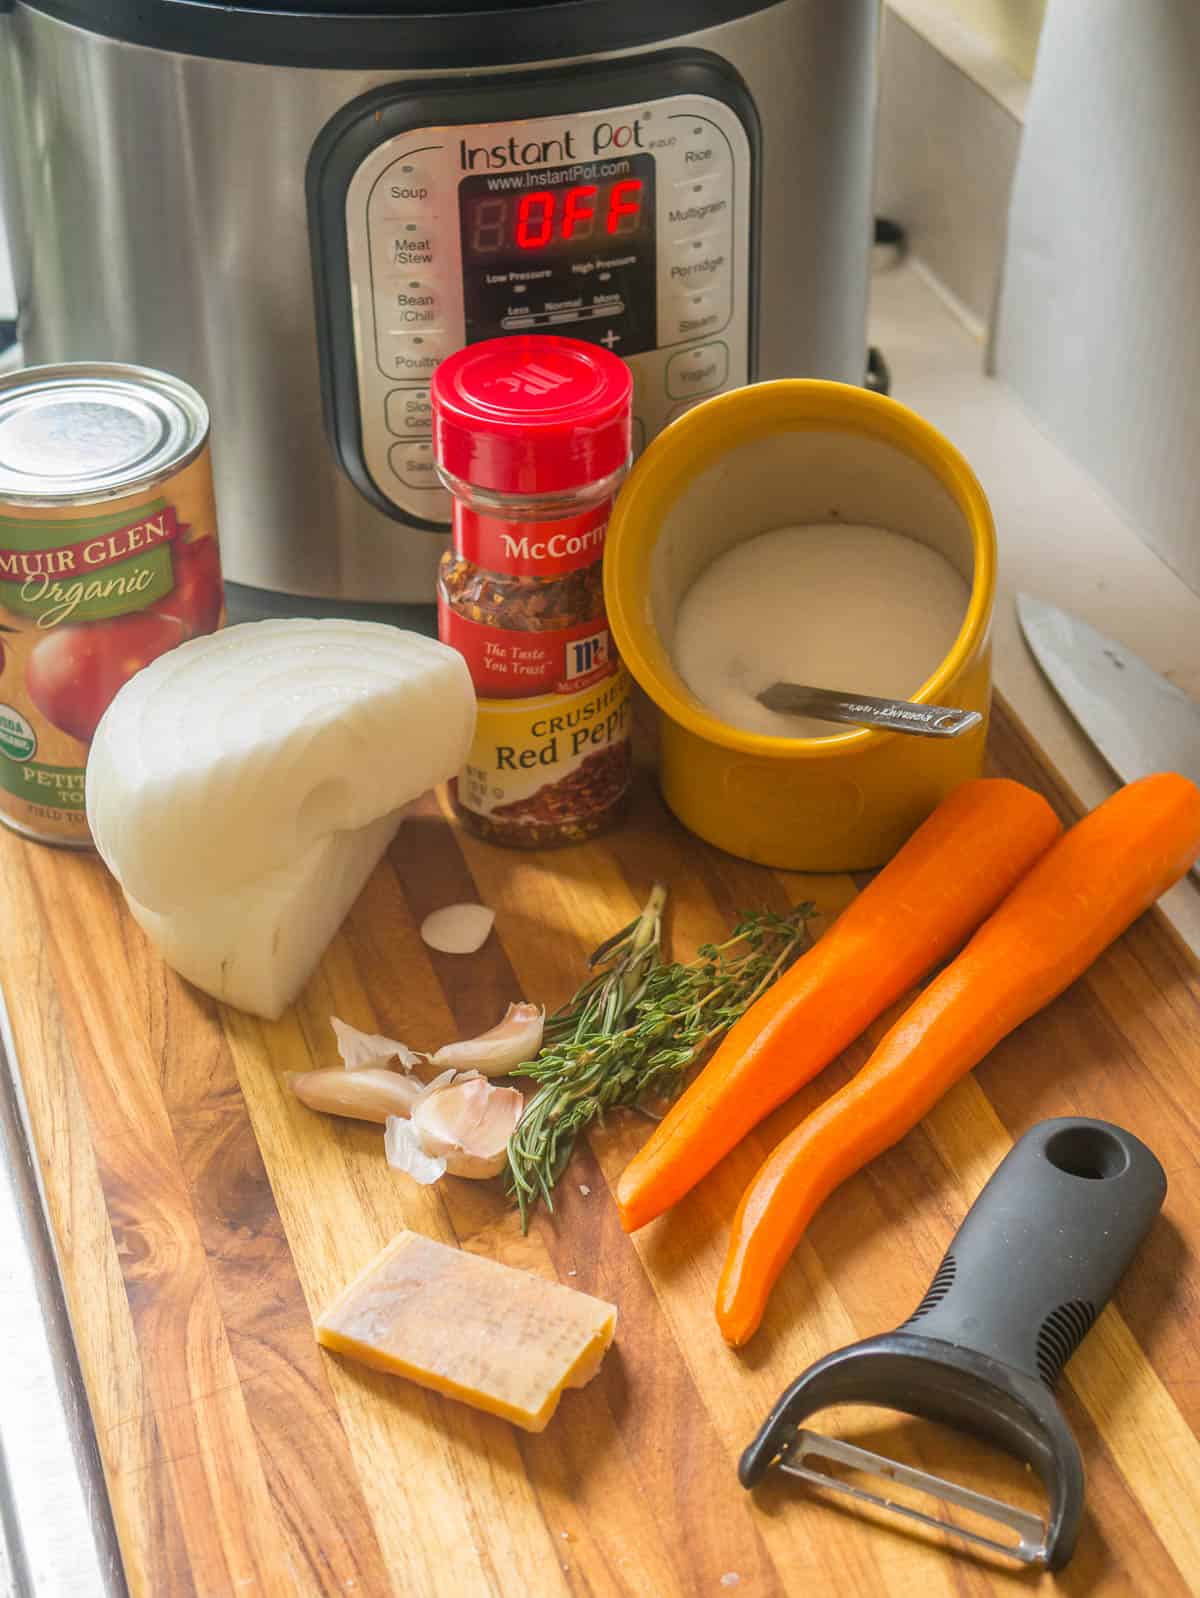
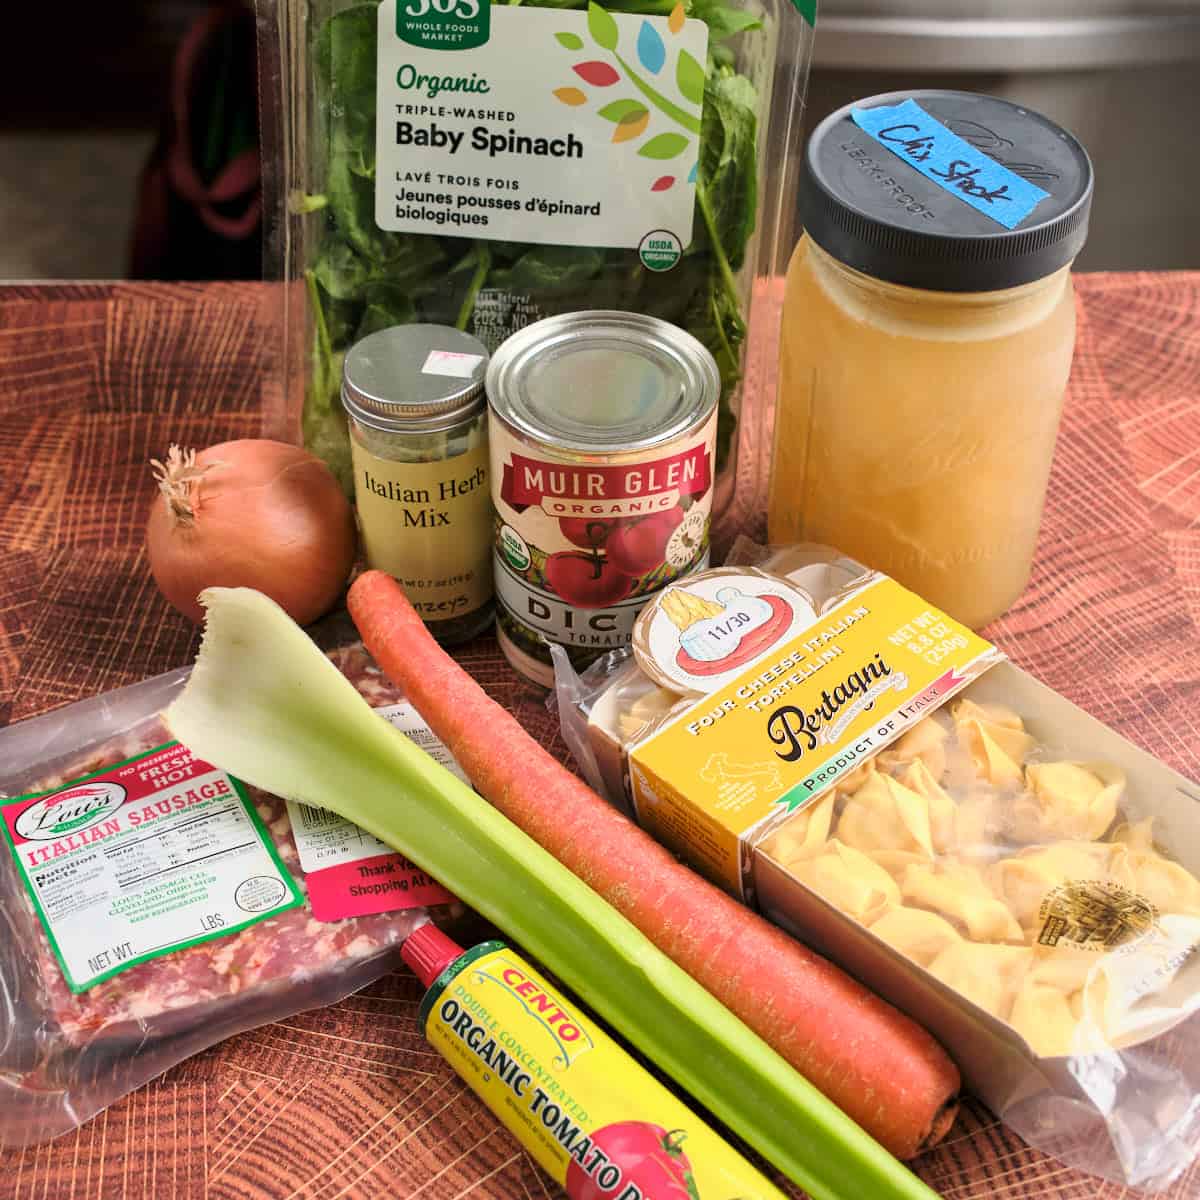
Ingredients Notes and Substitutions
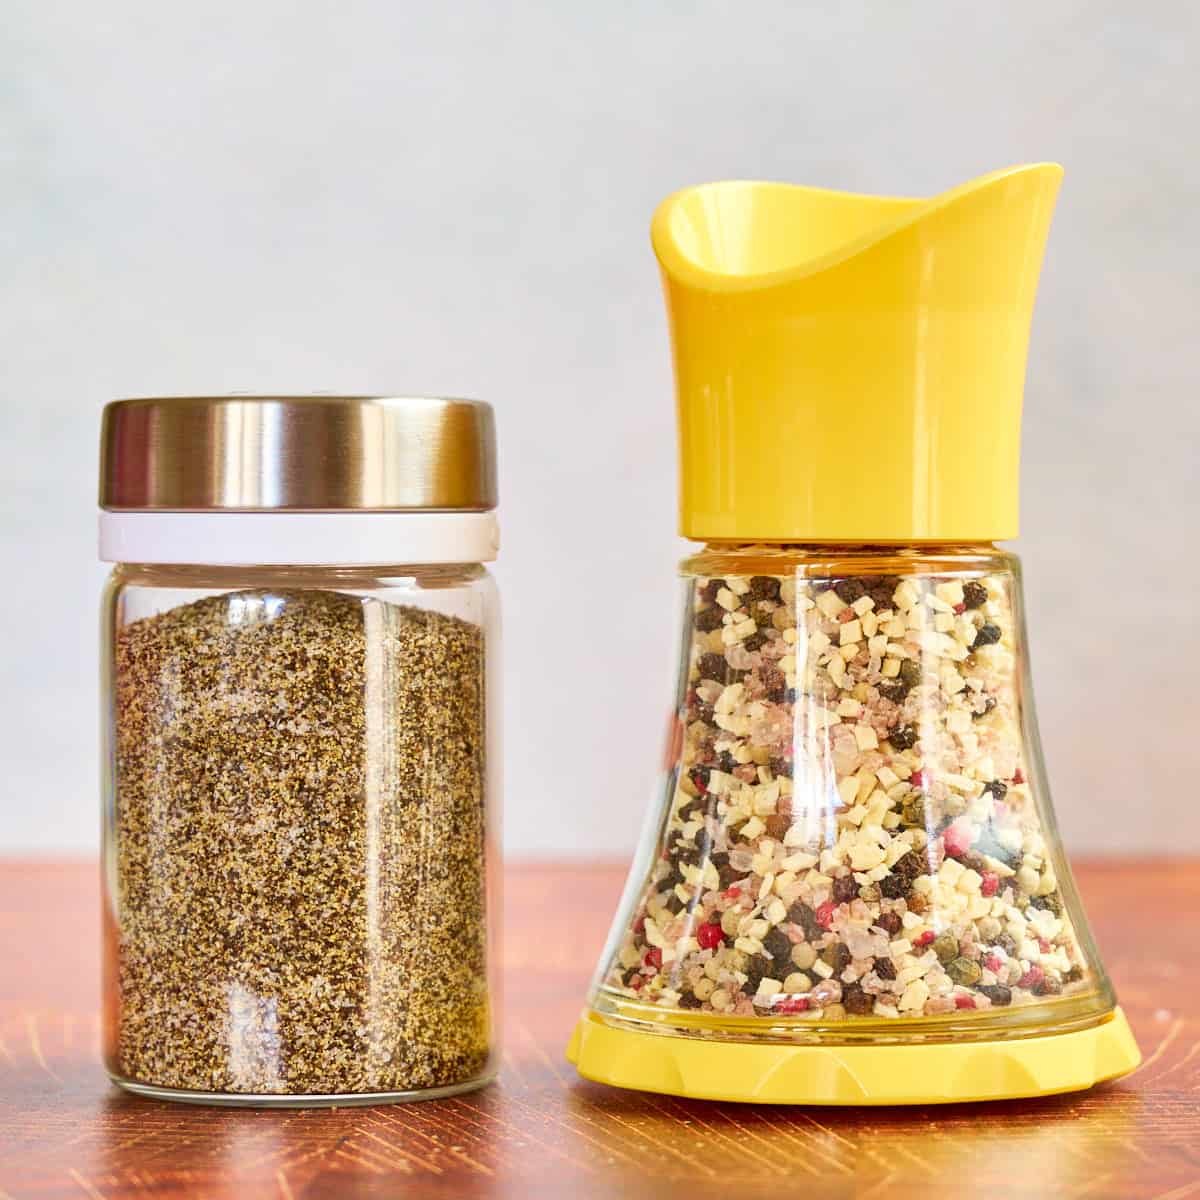
- Chipotle en adobo Substitutes: If you can't find chipotle en adobo, use a fresh jalapeno - chipotle is smoked jalapeno, so it's a very similar substitute. Or, substitute 1 teaspoon of dried chipotle powder for the chipotle en adobo. To be authentic, skip the chipotle en adobo and chili powder and use dried chipotles: stem and seed 3 to 4 dried chipotle peppers, soak in hot water for 20 minutes, then blend into a paste, and stir into the pot with the garlic.
- Heat level: Don't want a spicy Pozole? Skip the chipotle and it will be very mild, but still full of flavor. Want more heat? Up the chipotles to 2 chipotles. (Or, add hot sauce at the table, which is what I do.)
- Storing leftover chipotle: I puree the can of chipotles and save it in my refrigerator, where it lasts for months. One tablespoon of chipotle puree = 1 minced chipotle with adobo sauce.
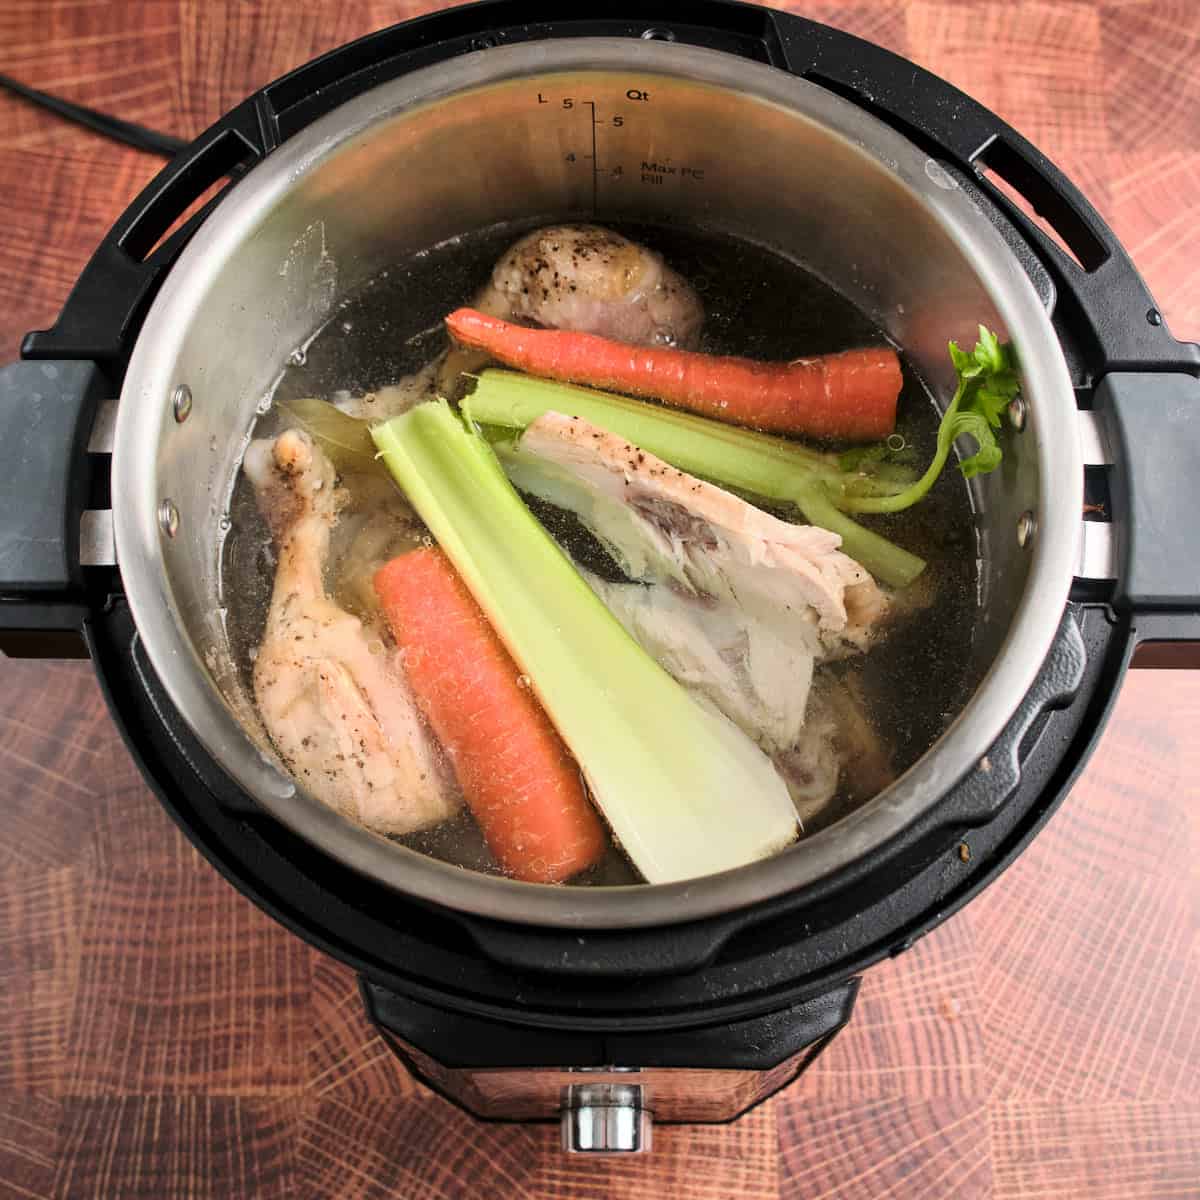
- Homemade broth vs Store-bought broth vs Water: I use homemade chicken broth or store-bought chicken broth to add body to the stew. (If you use store-bought broth, skip the extra salt, because store-bought broth is very salty). Water is fine too; it will pick up flavors from the spices and pork. Just don't forget the salt if you use homemade broth or water; this recipe is bland without enough salt.
- Homemade Hominy: I'm taking the easy way out and making this pozole with canned hominy. If you can find dry posole corn or hominy in your local stores, buy it, and cook it with my Instant Pot Hominy (From Dried) Recipe. If you make homemade hominy, use it for the broth! Substitute 4 cups of homemade hominy in its broth for the hominy and chicken broth in this recipe.
- Brown Sugar or Piloncillo: I add a little brown sugar to the pot for sweetness, to counterbalance the acidity of the peppers and tomatoes. You can skip it if you want. Or, if you want to be really authentic, buy a cone of piloncillo - dried raw sugar - and grate it into the pot.
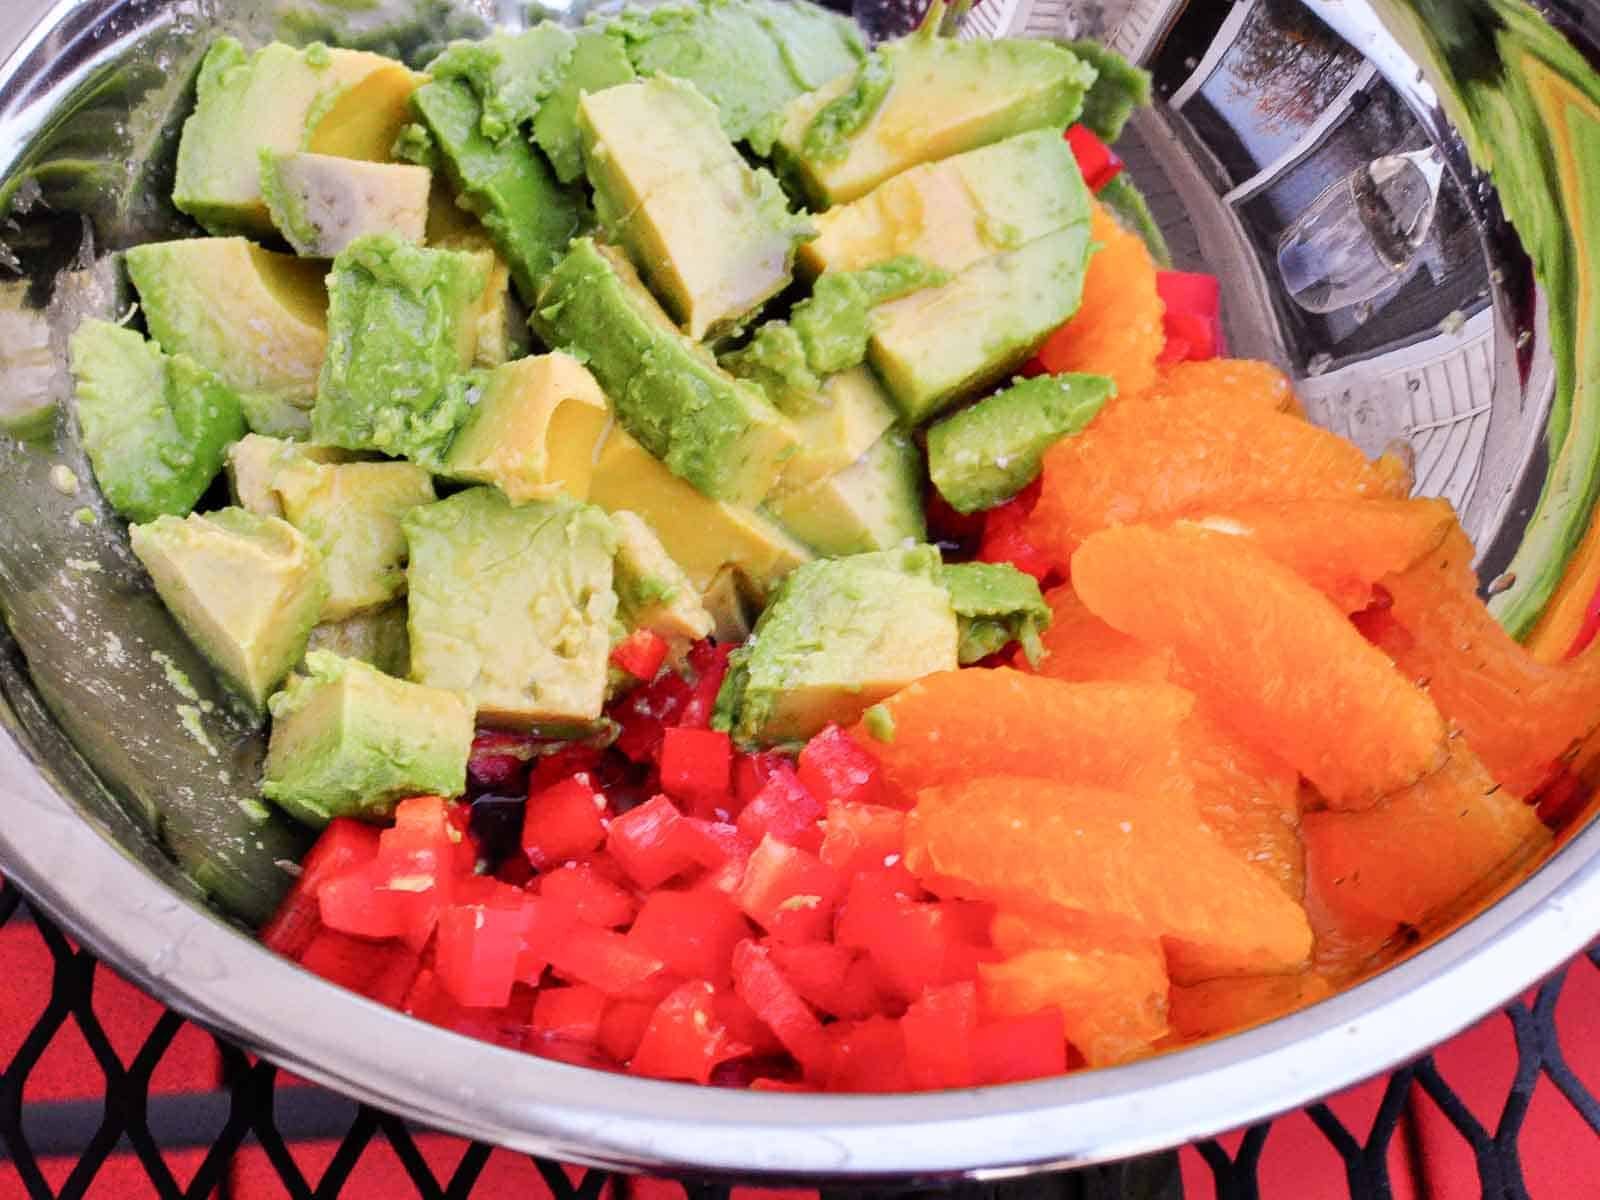
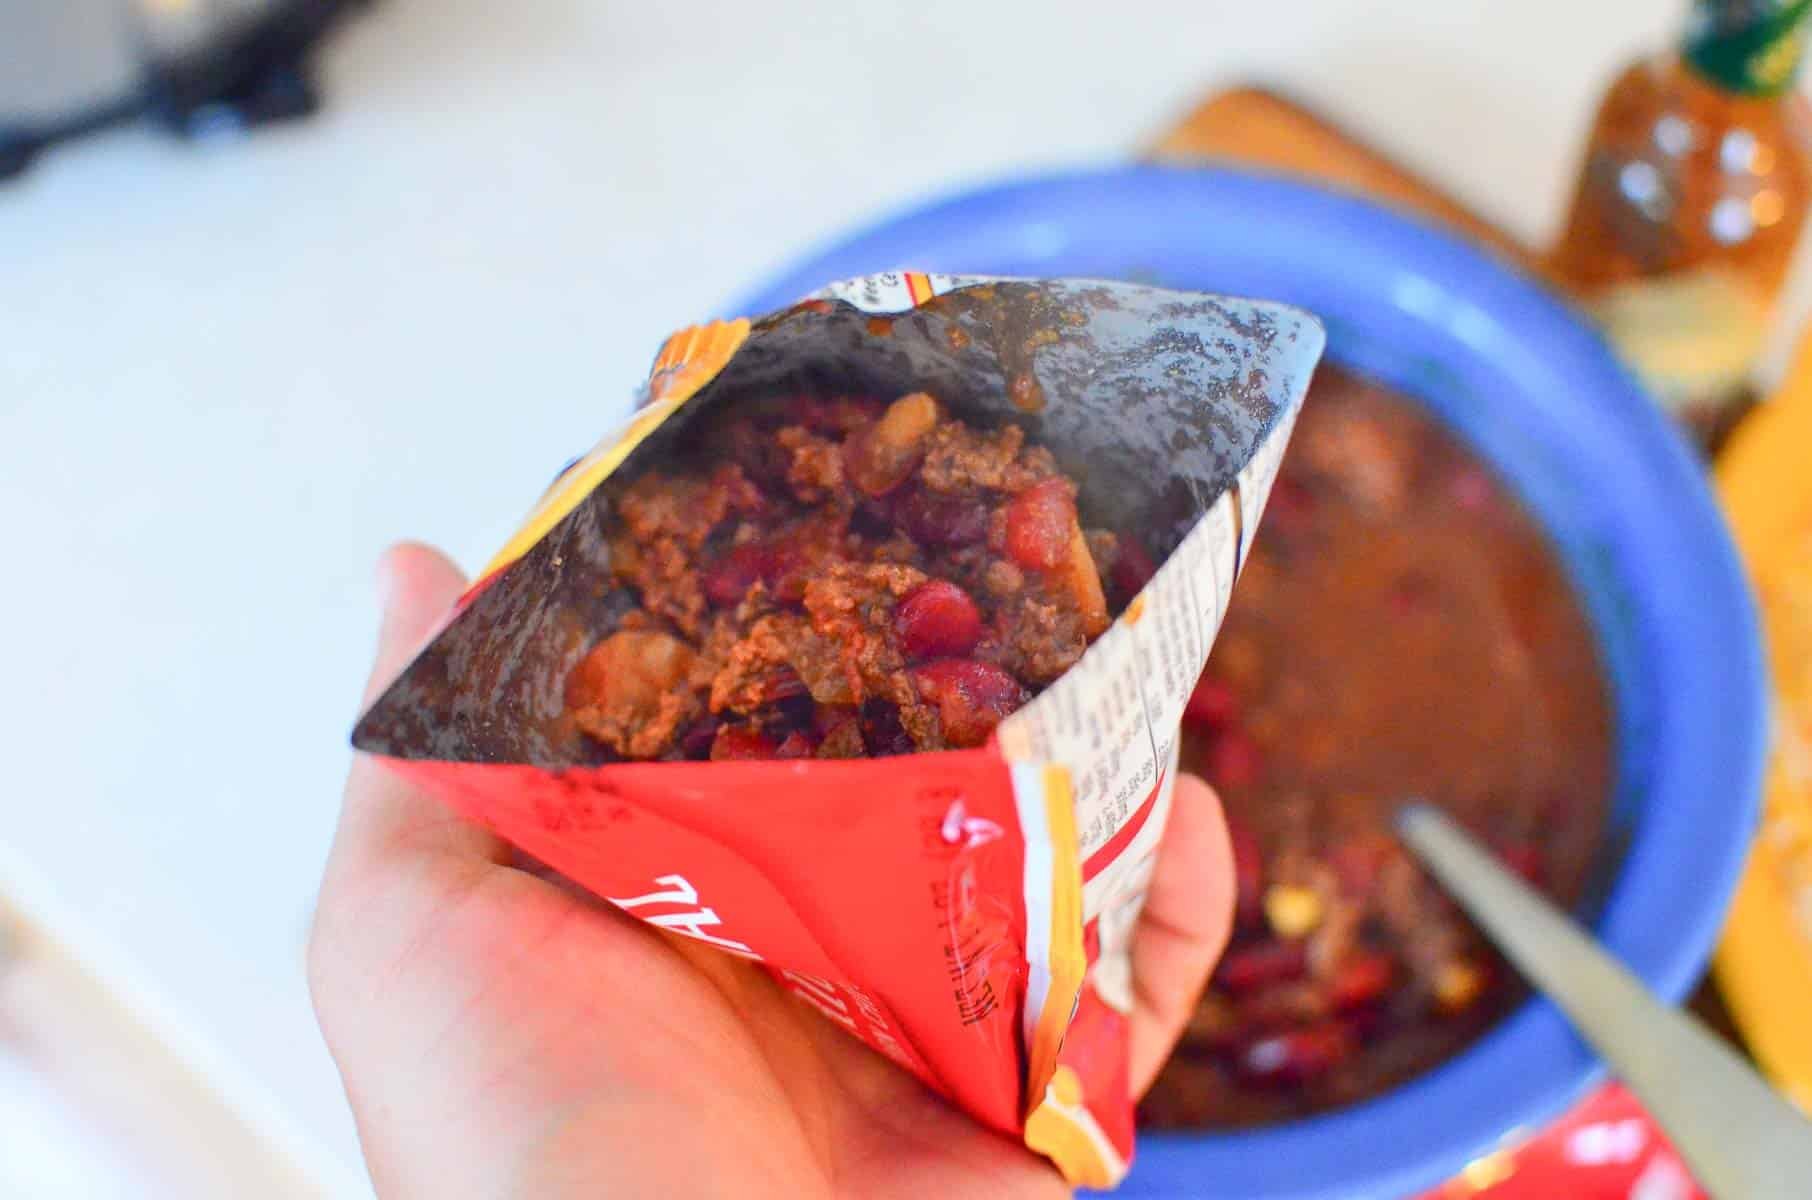
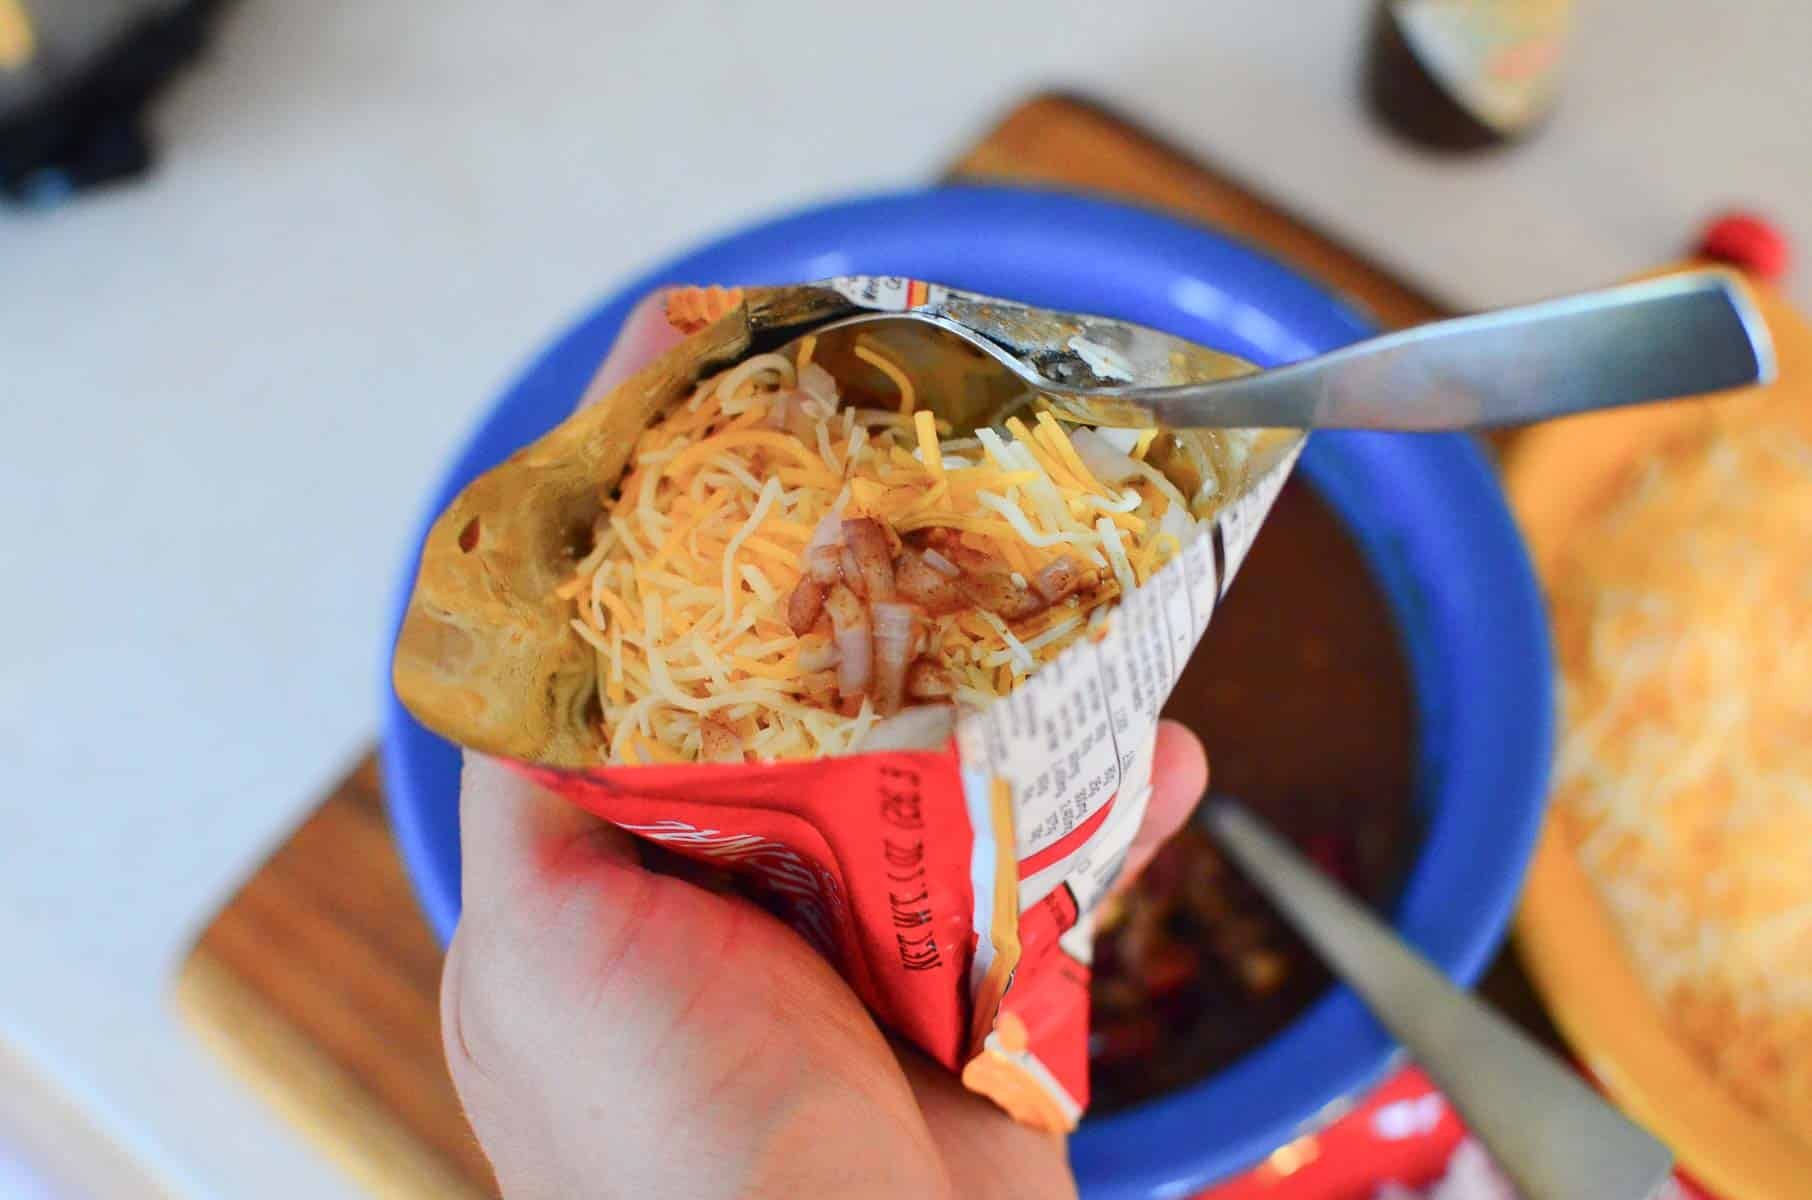
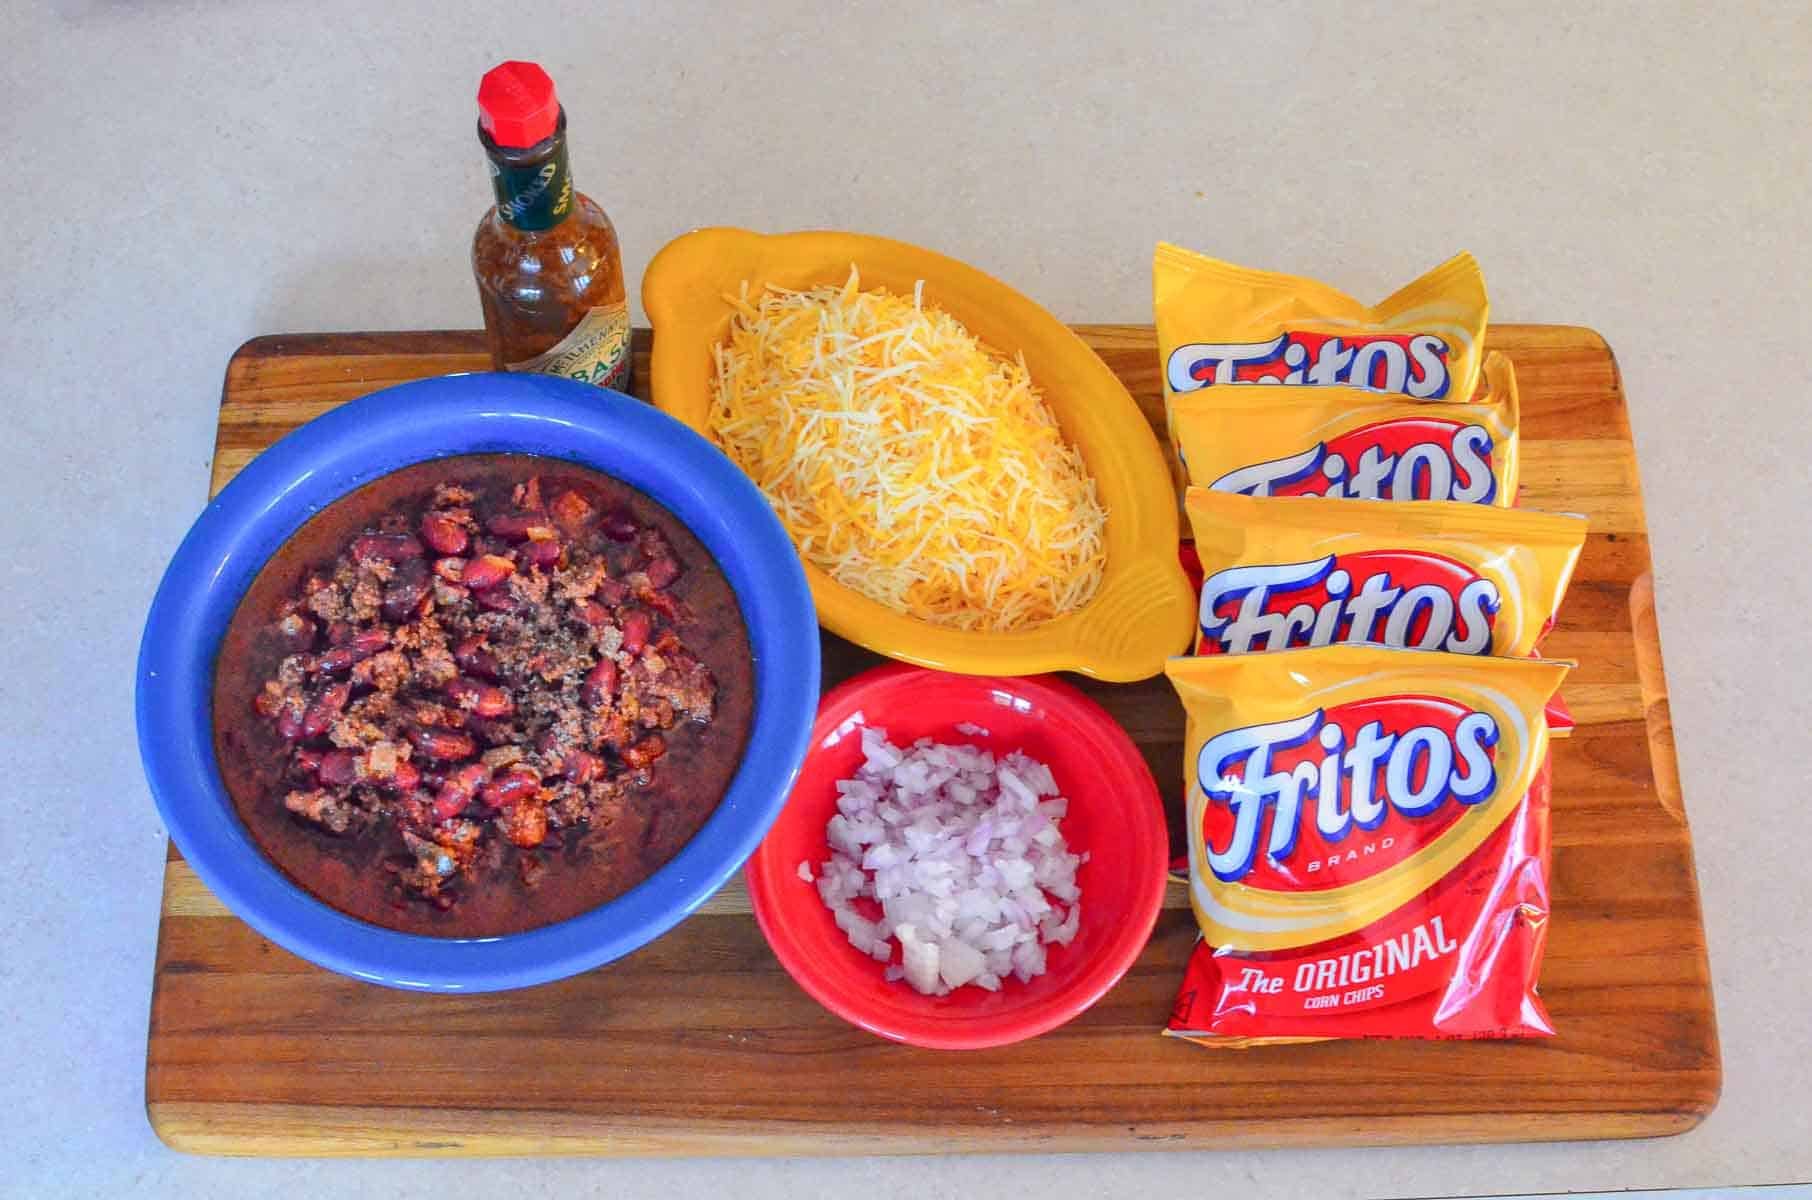
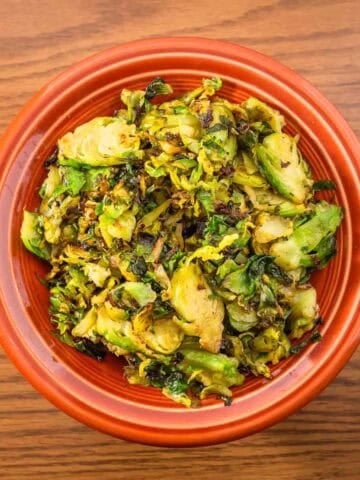
- Accompaniments: You can serve Pozole as-is, and it will be a great pork and hominy stew. And, if it's a weeknight, don't go crazy. But a fun part of this recipe is the optional add-ins. Think of a good taco night spread, with lots of fixings to add to your stew, and you have the right idea. I serve some or all of the following: shredded cabbage (buy bagged cole slaw mix if you are in a hurry), diced avocado, minced onion or green onion, sliced radish (I have colorful watermelon radishes in the pictures), sliced jalapenos or serranos, extra lime wedges for squeezing, you favorite bottle of Mexican hot sauce…whatever you want to add in will go well.
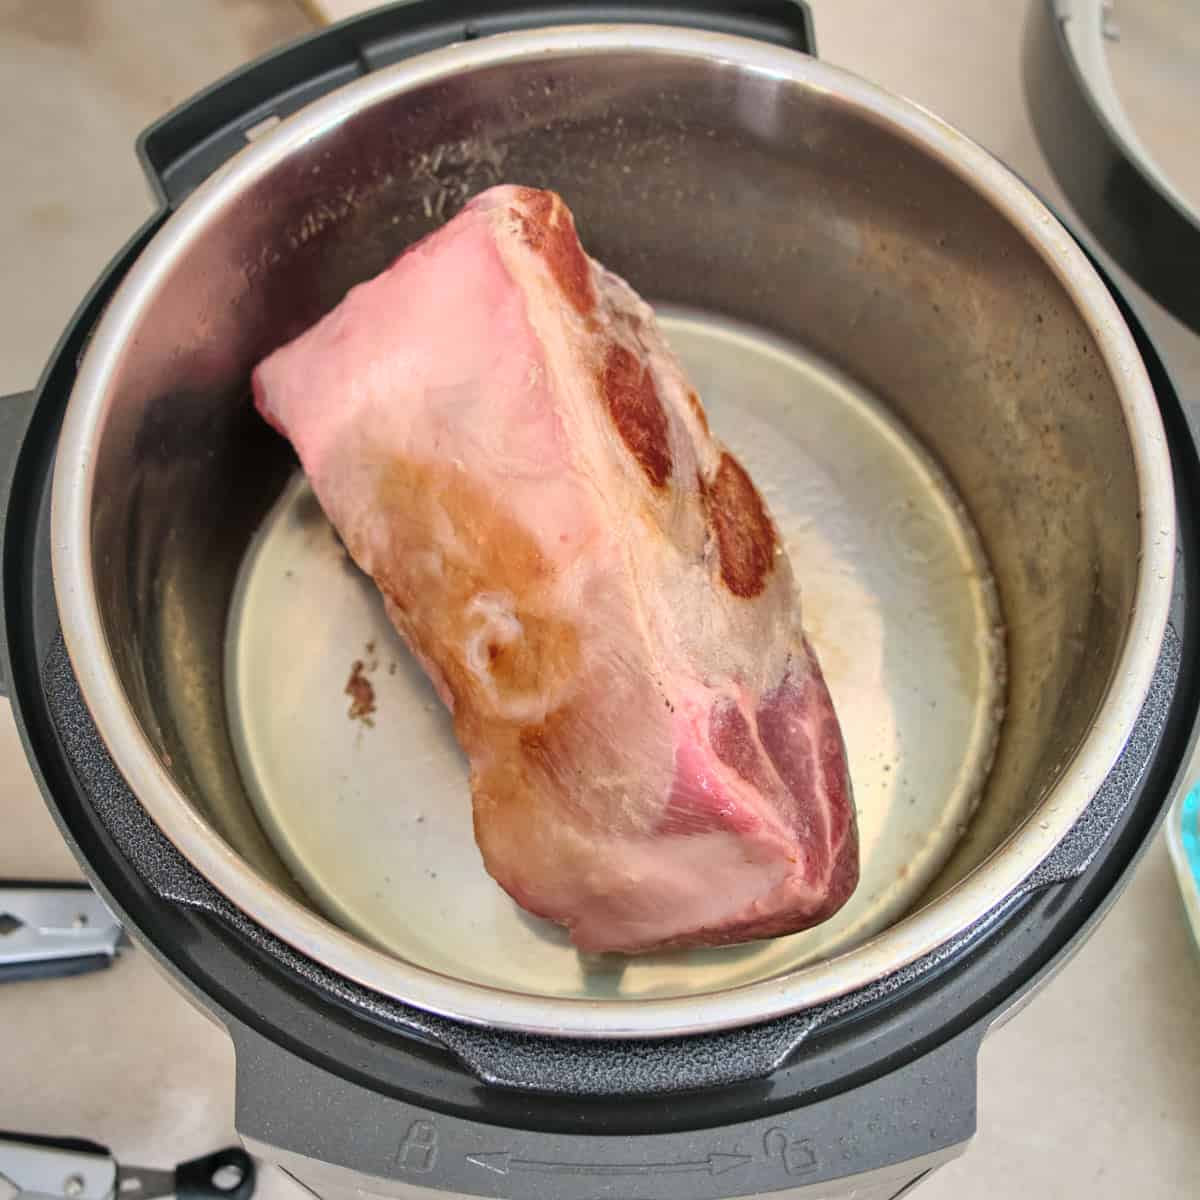
How to make Instant Pot Red Pozole in Pictures
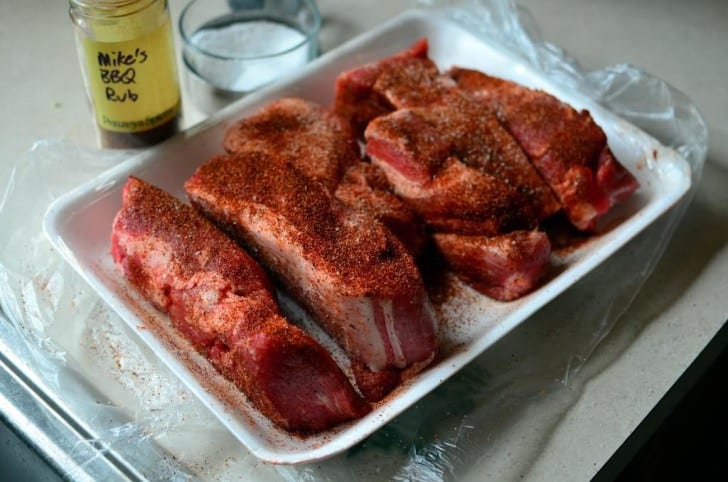
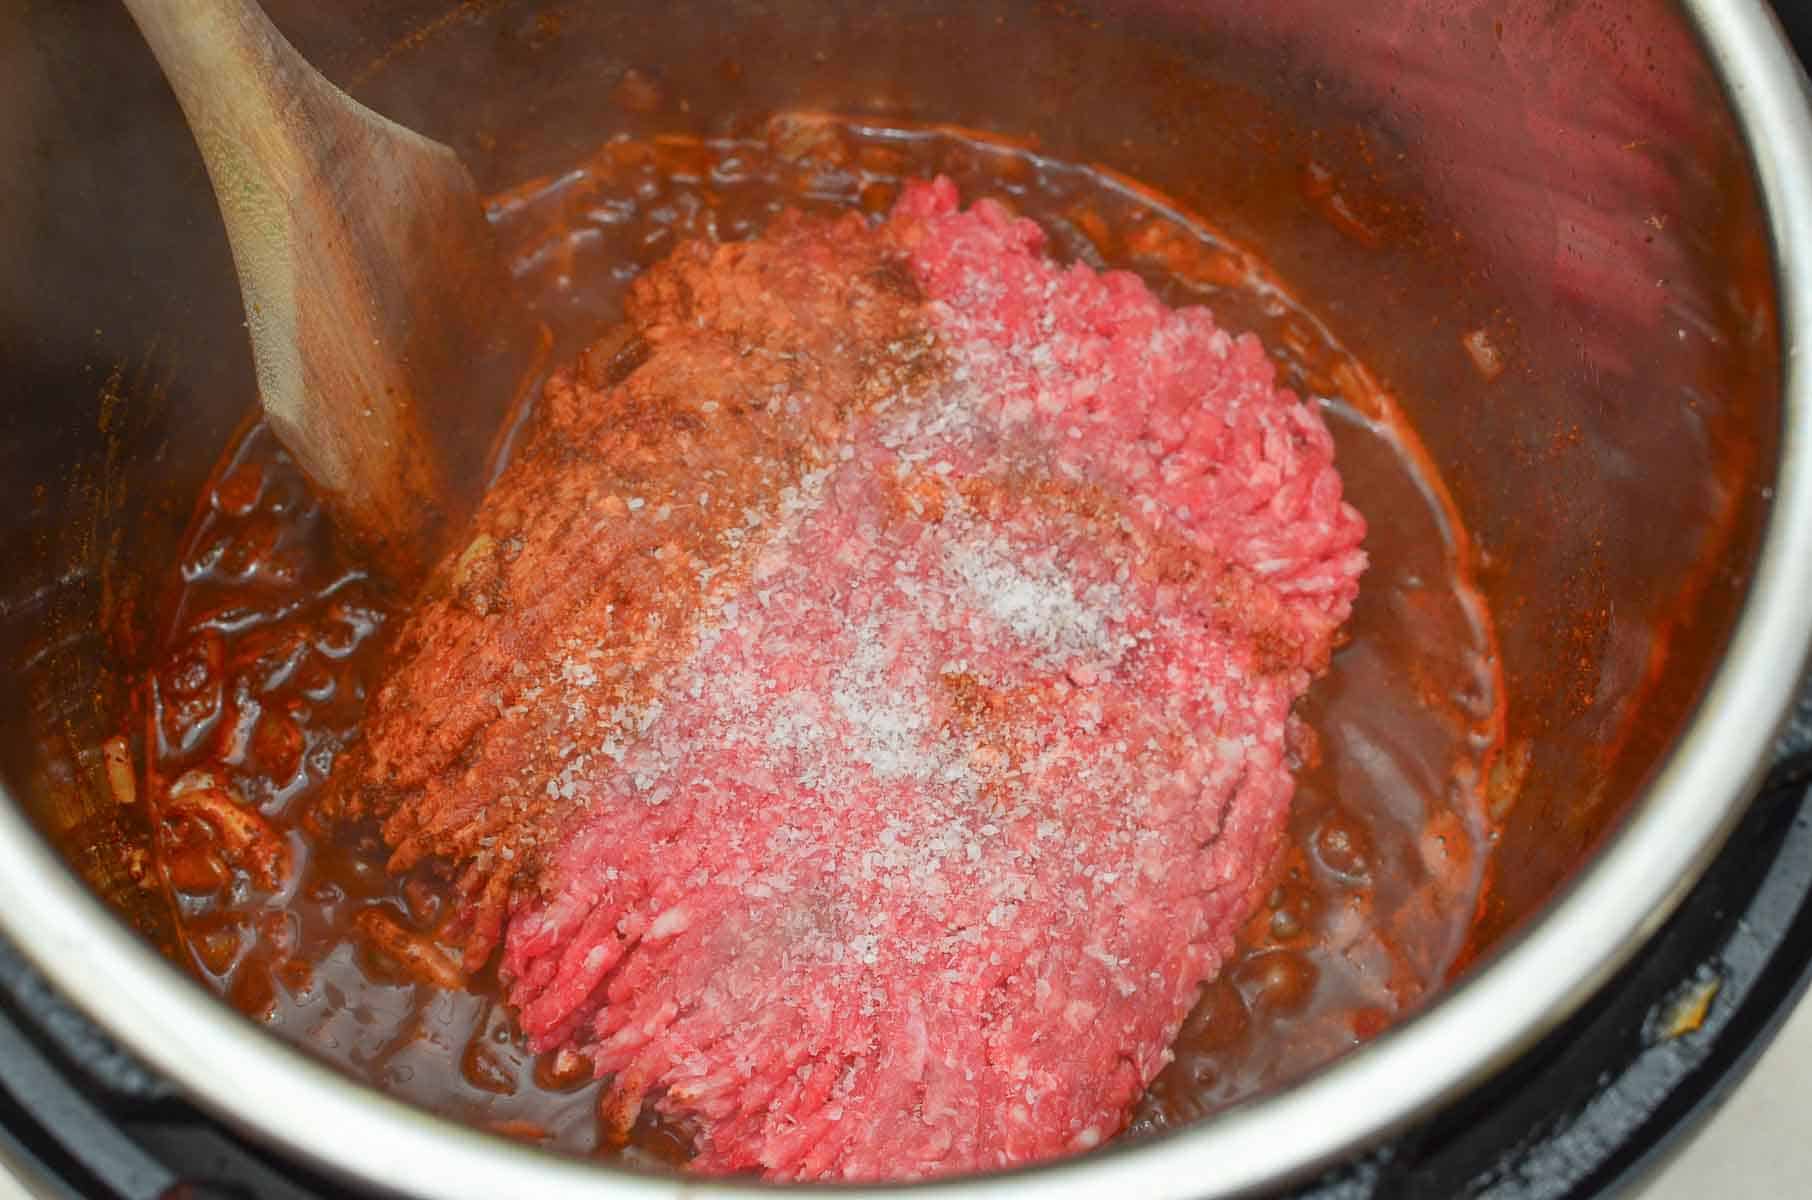
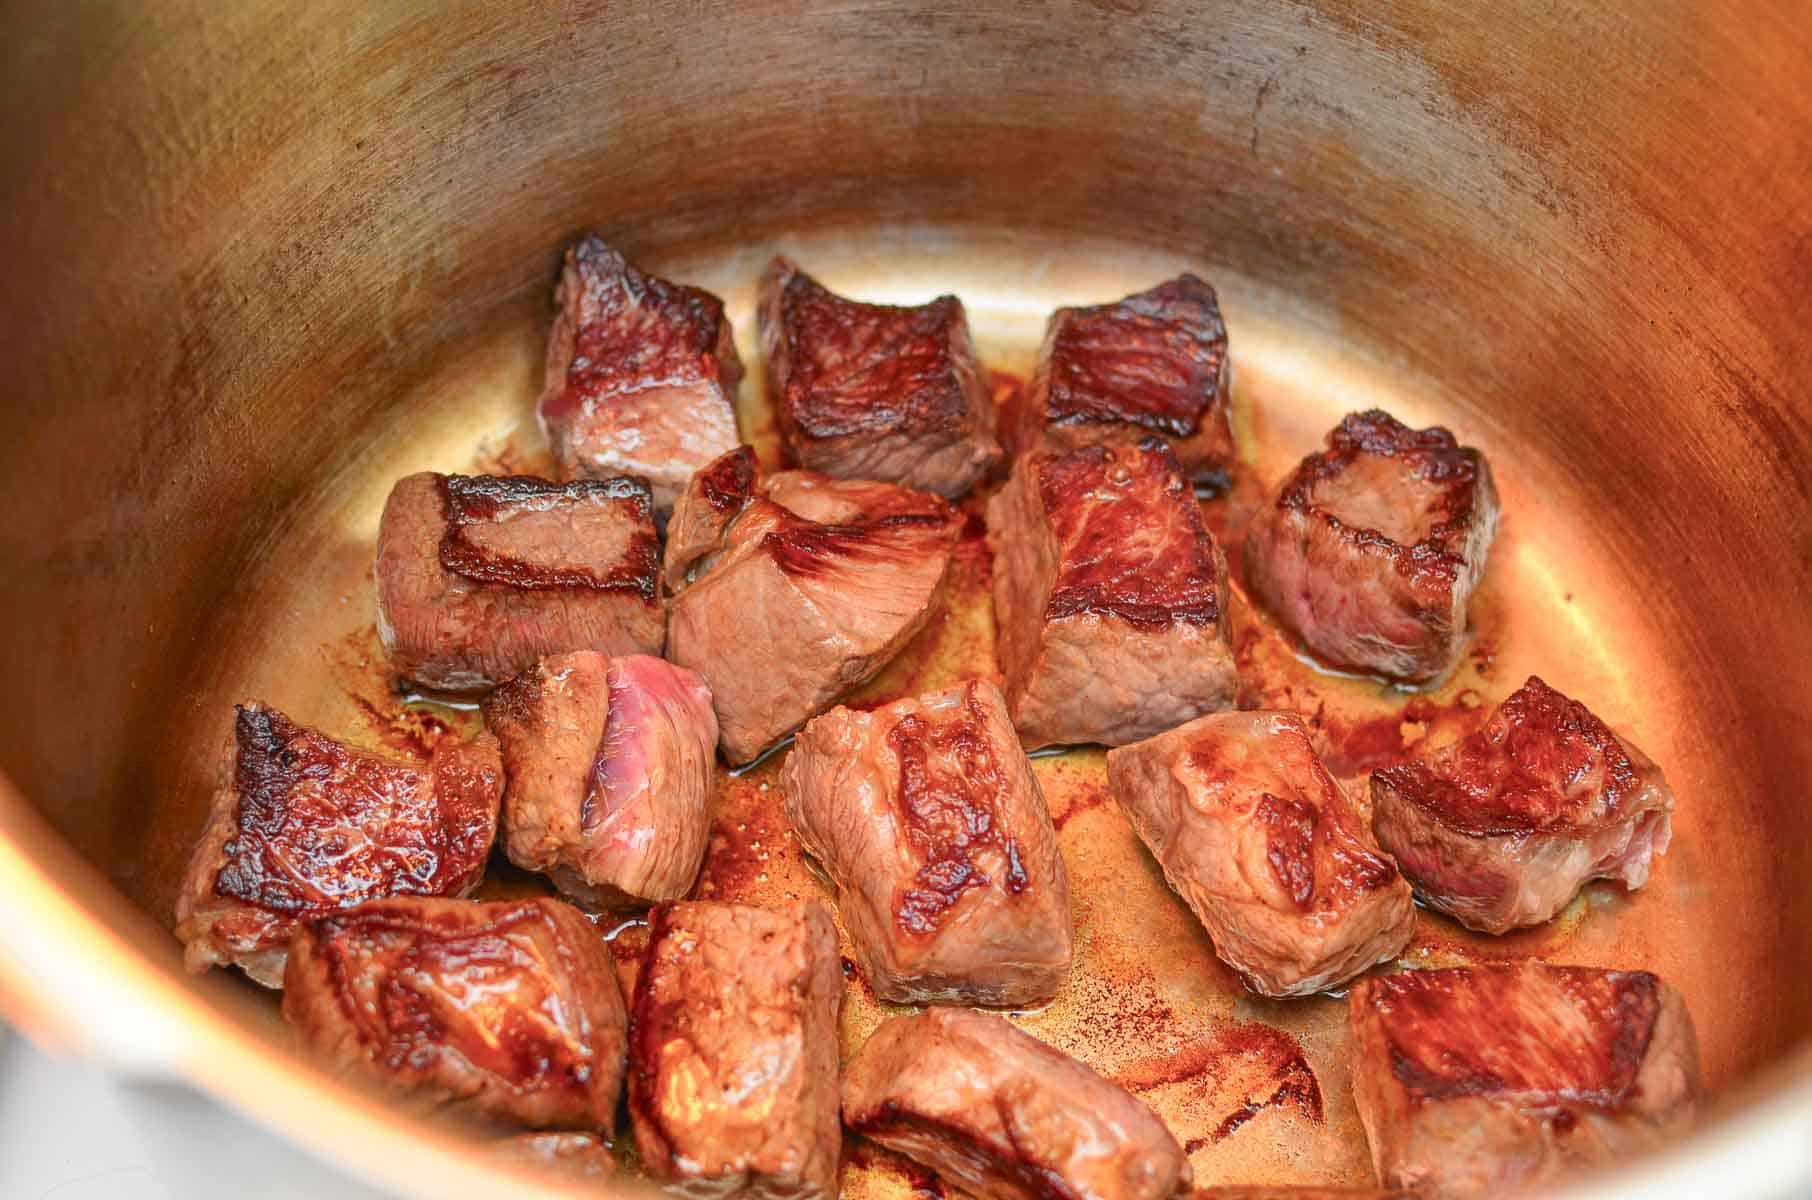
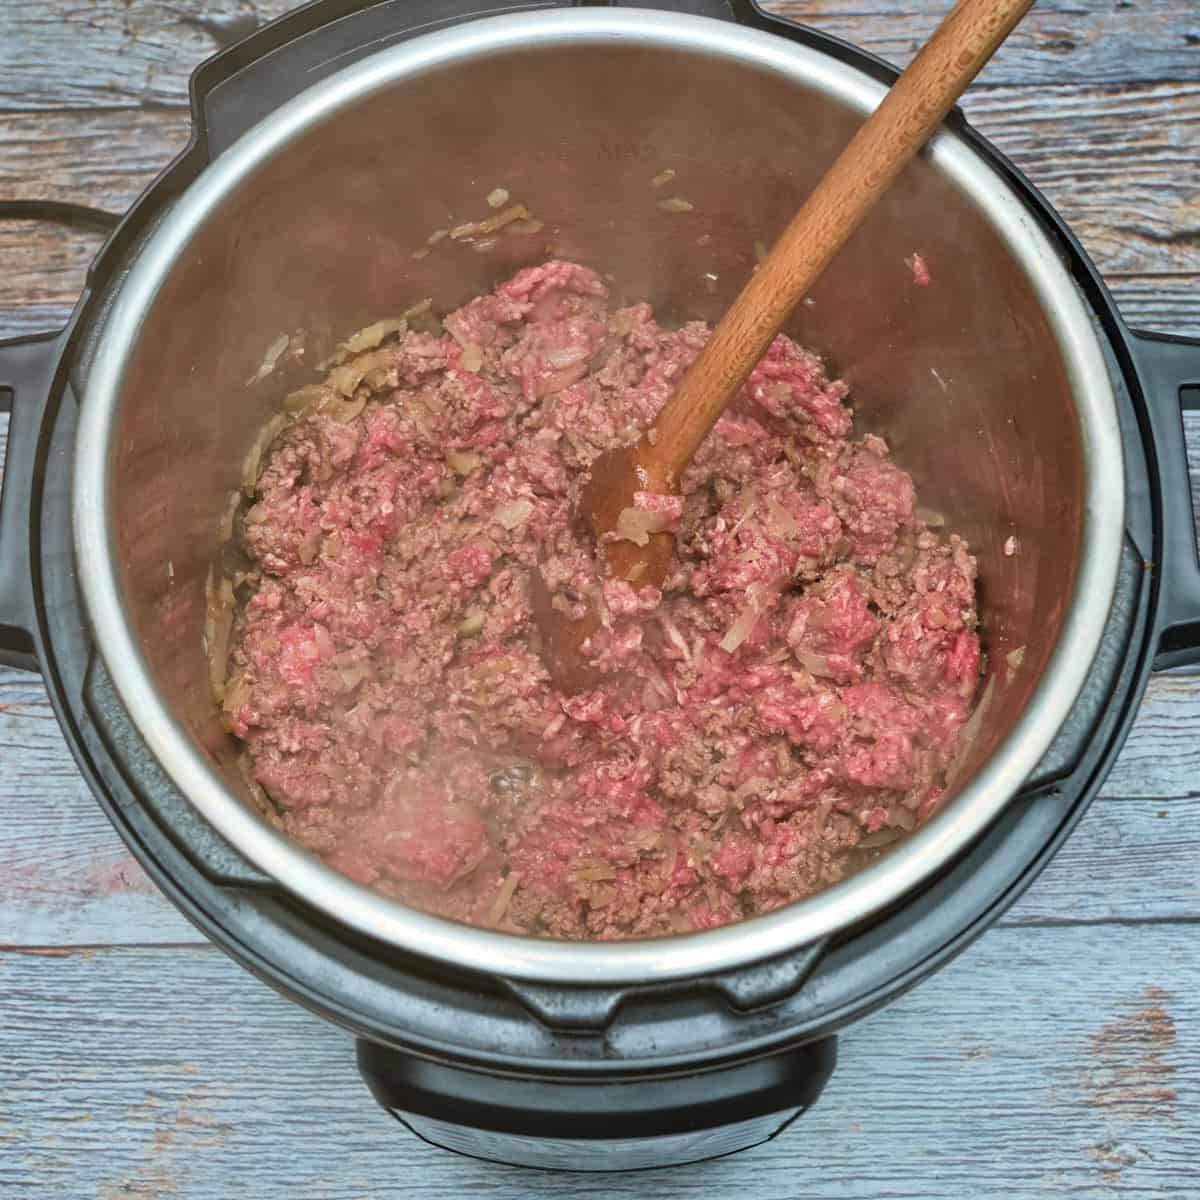
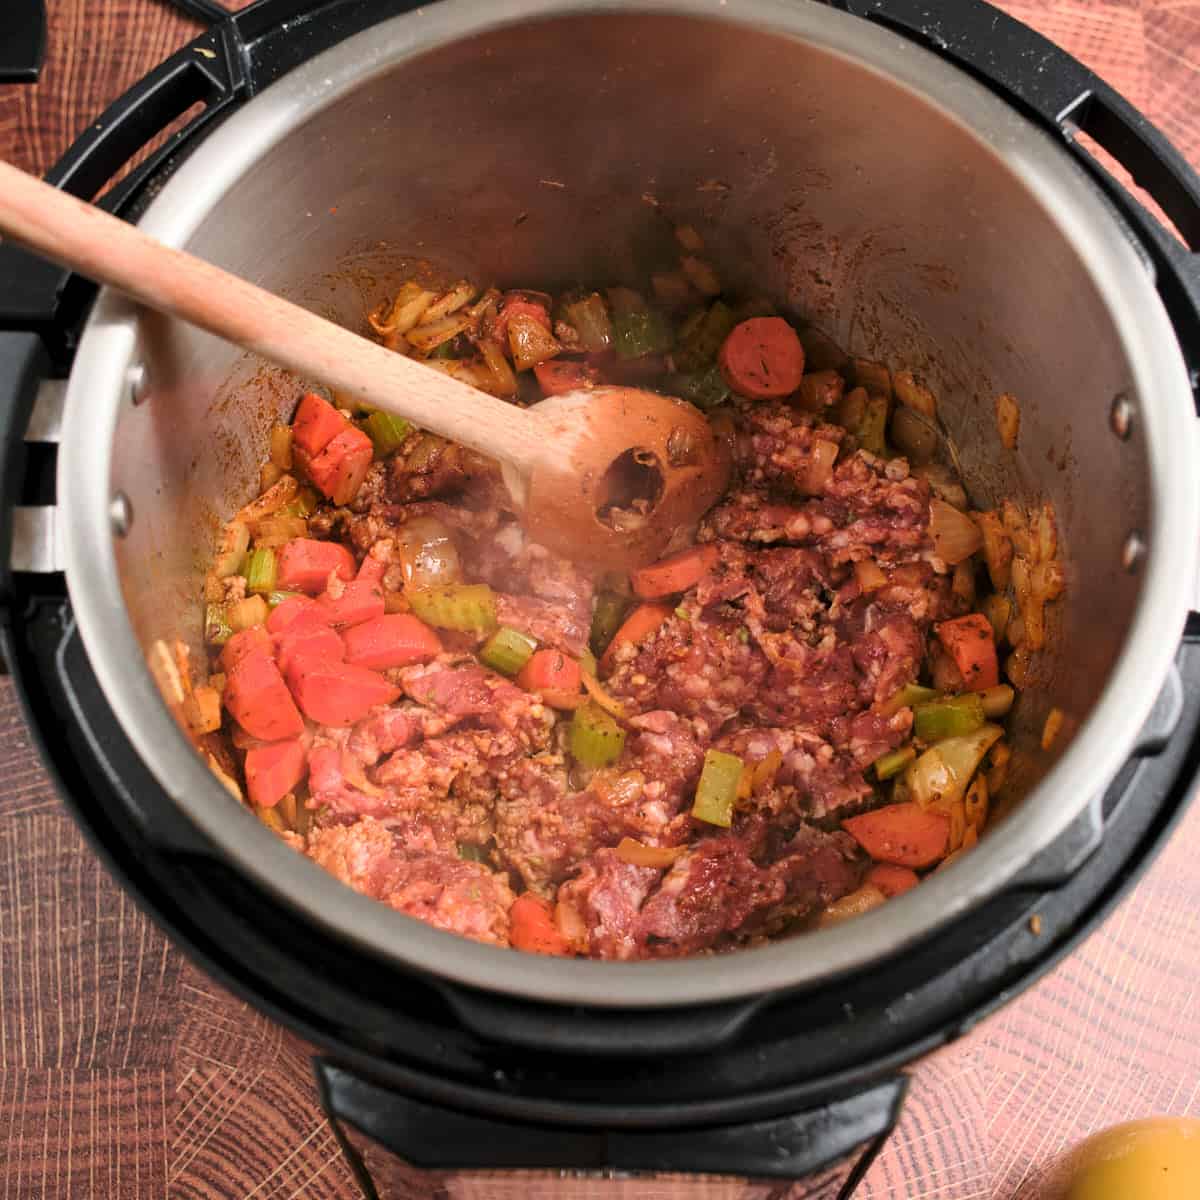
Brown the pork (in two batches)

Brown the pork in two batches using Sauté mode, making sure not to overcrowd the pan. Move the pork to a bowl with a slotted spoon or tongs.
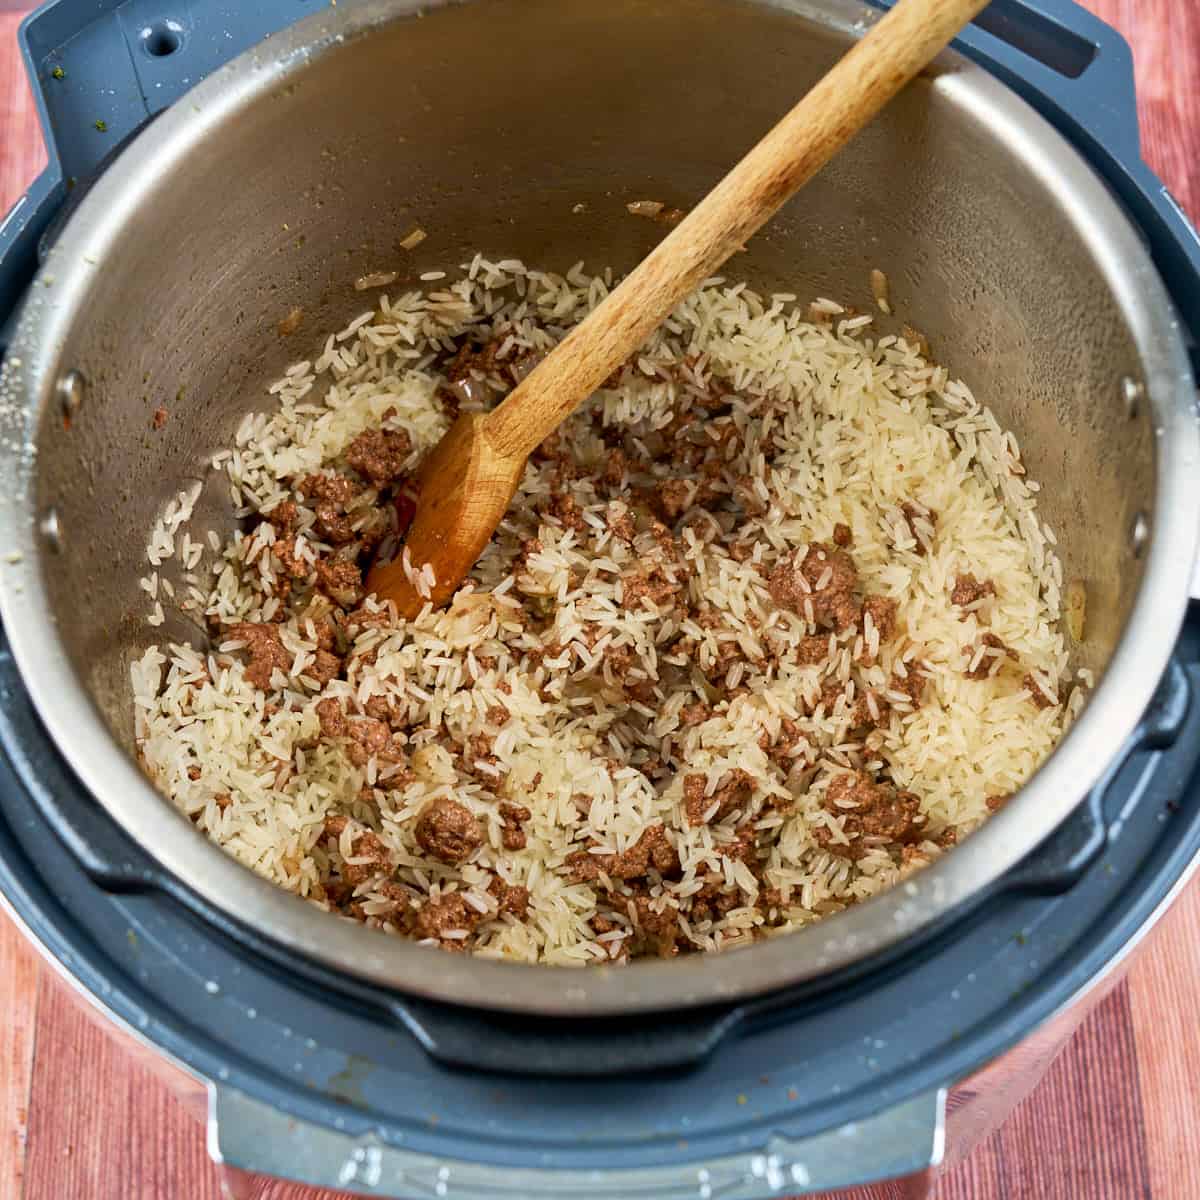
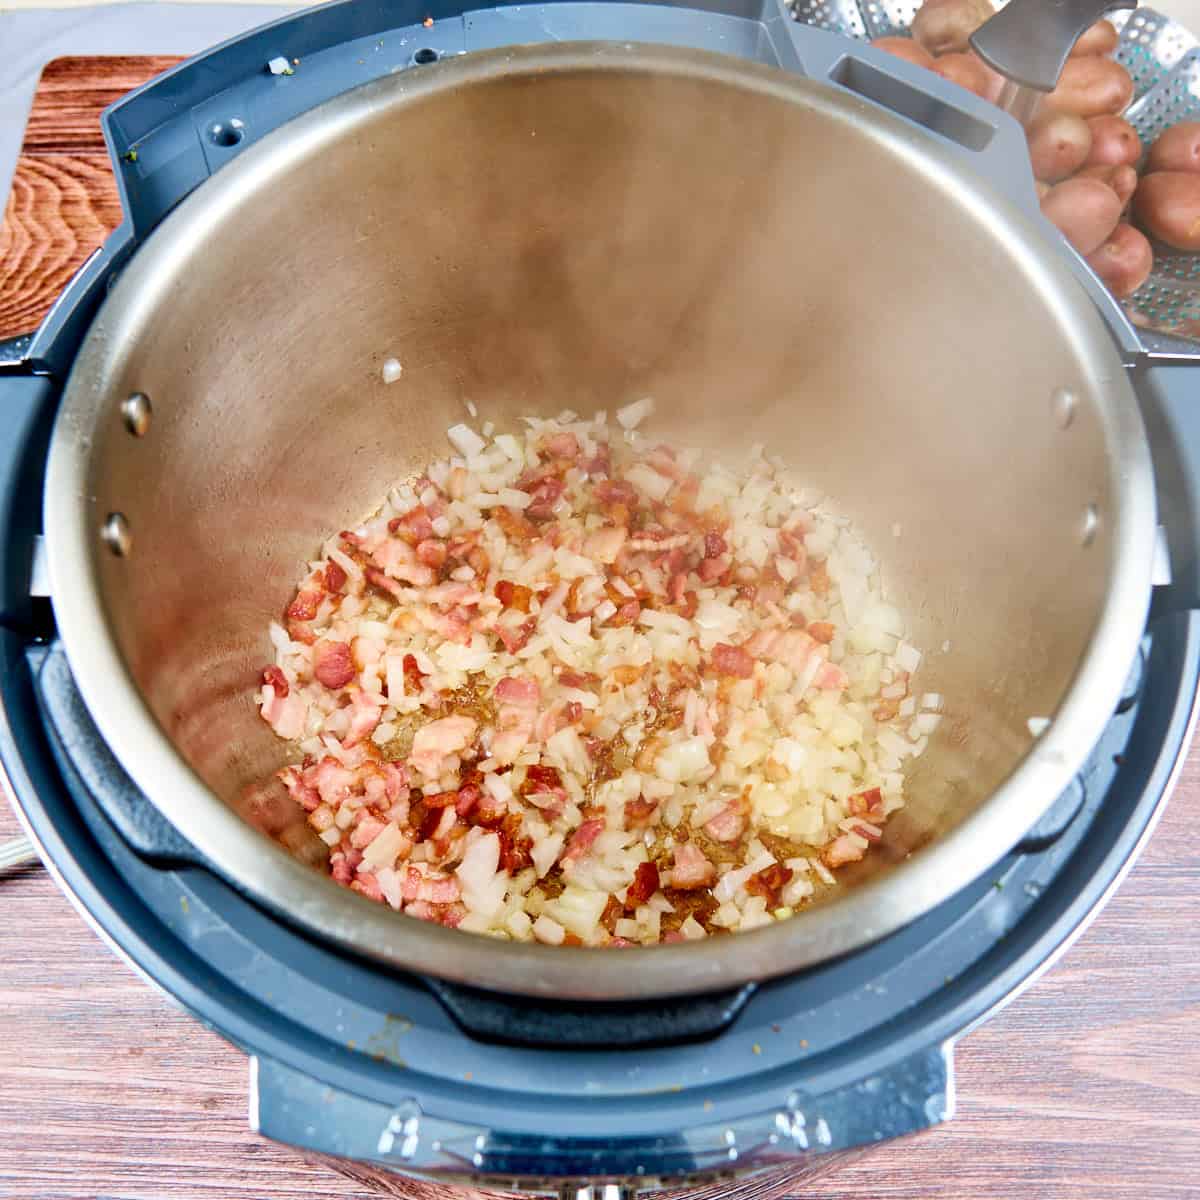
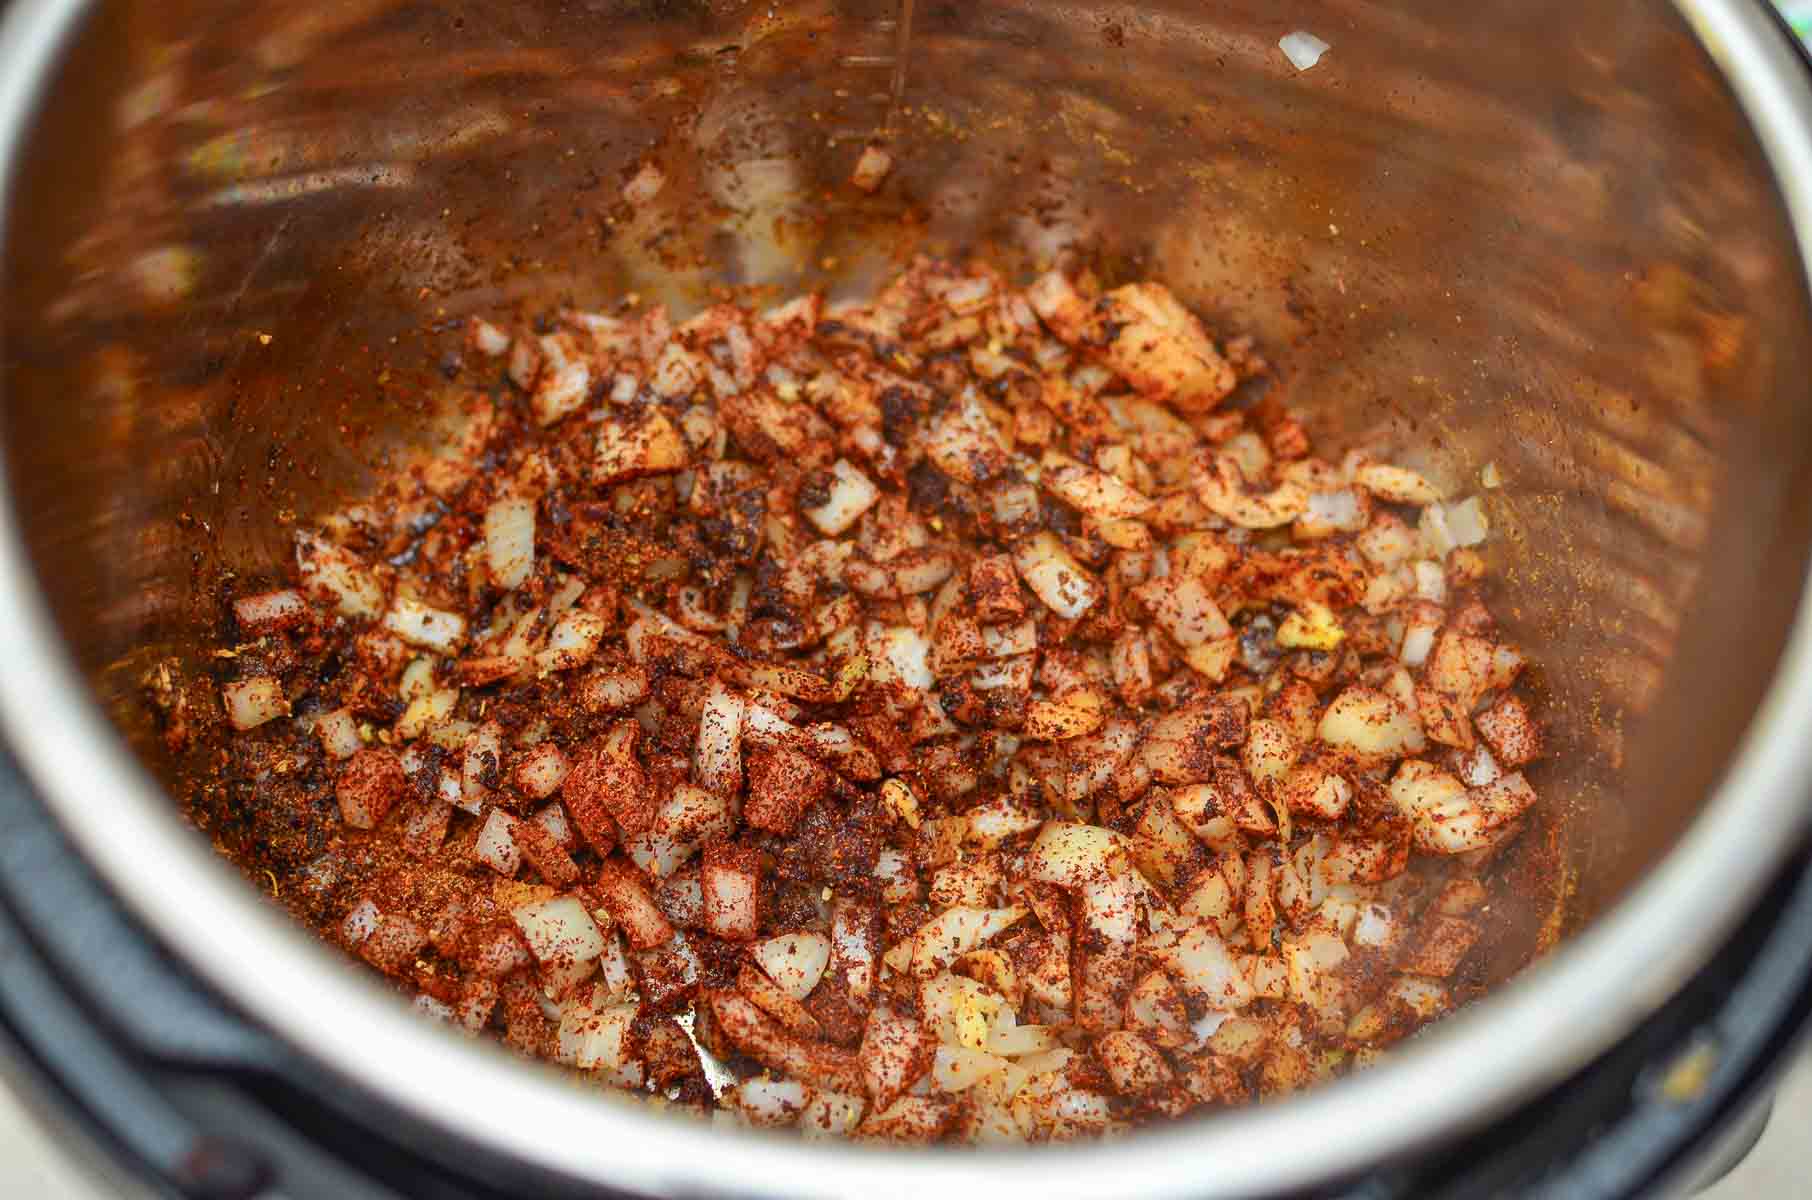
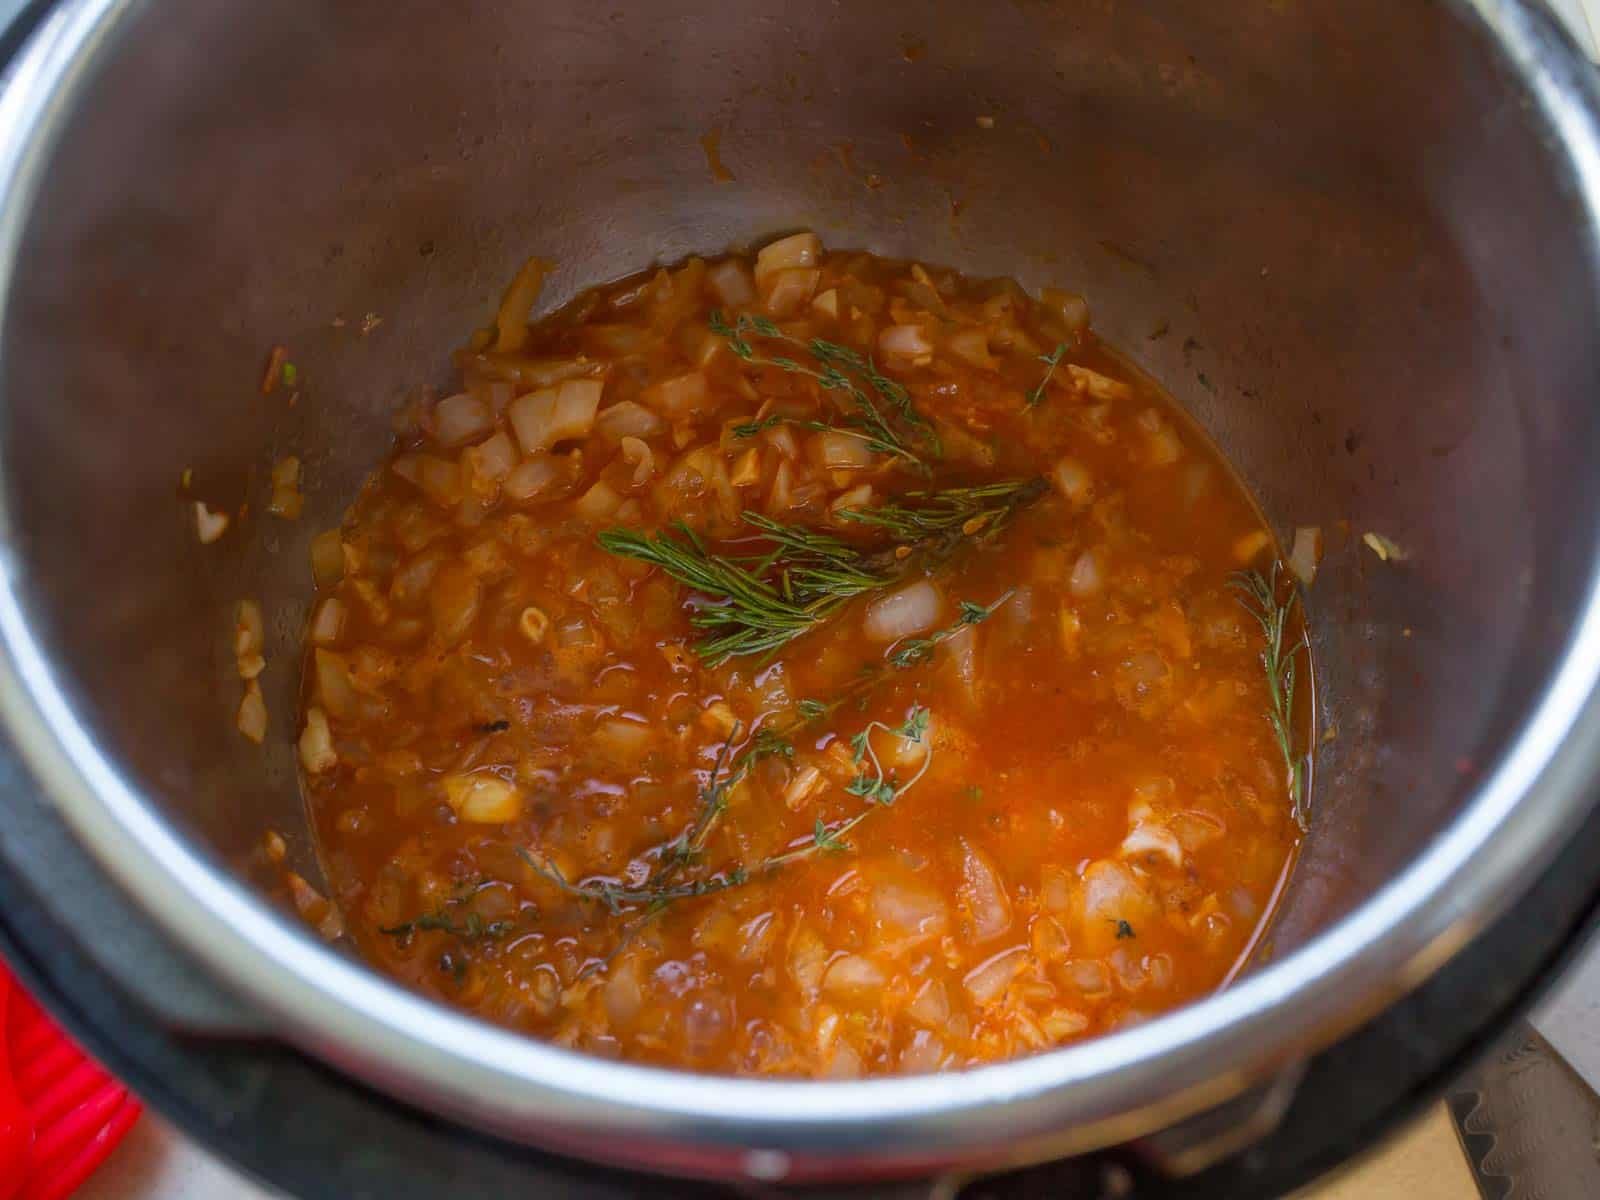
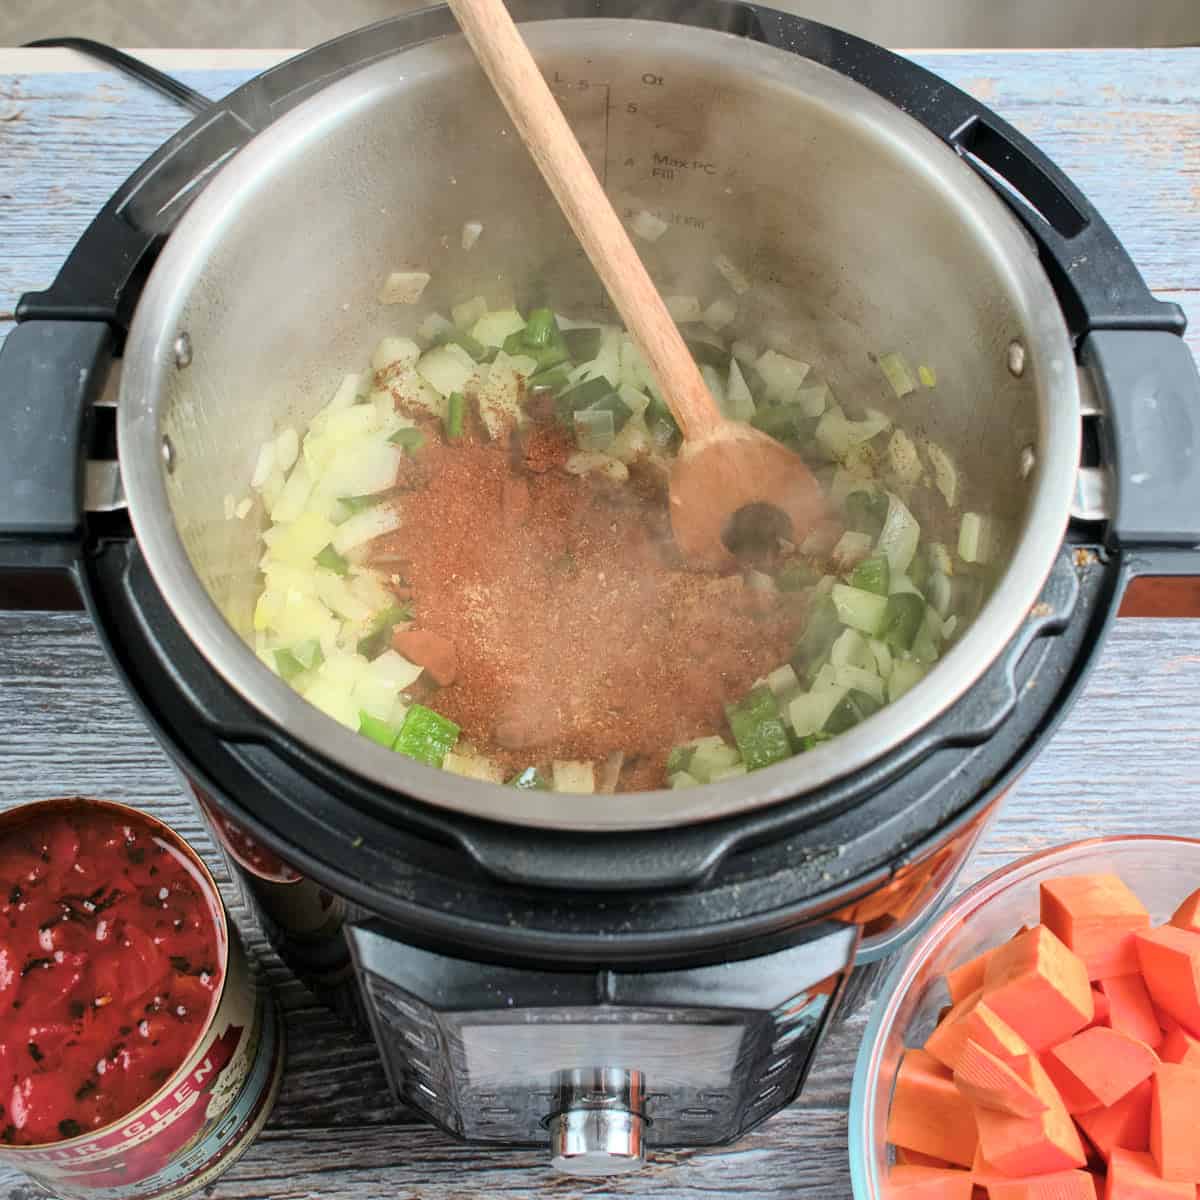
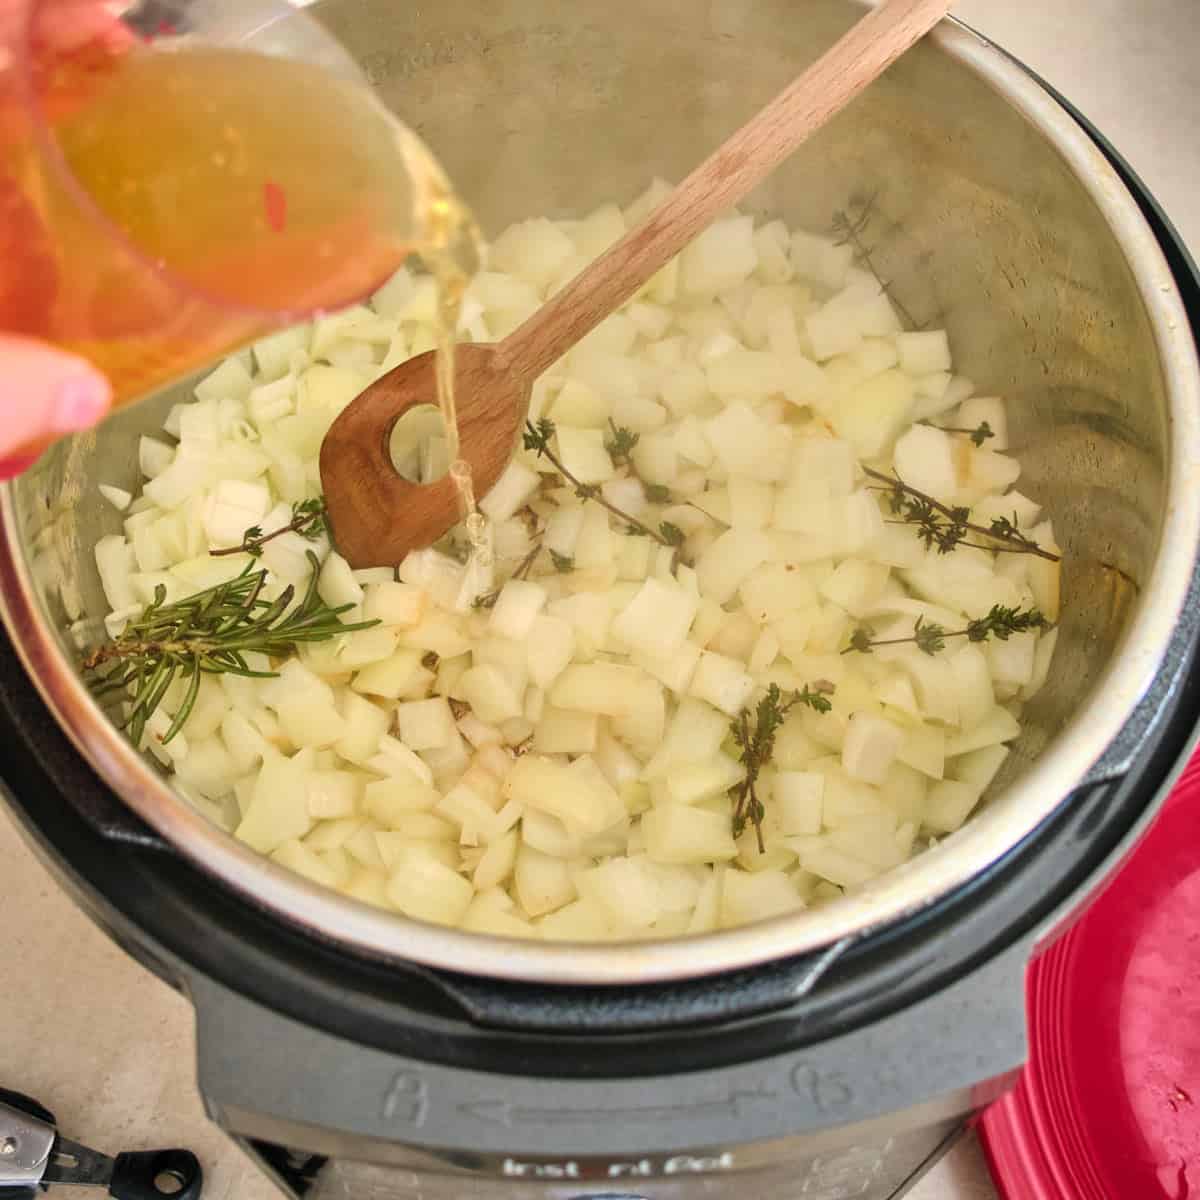
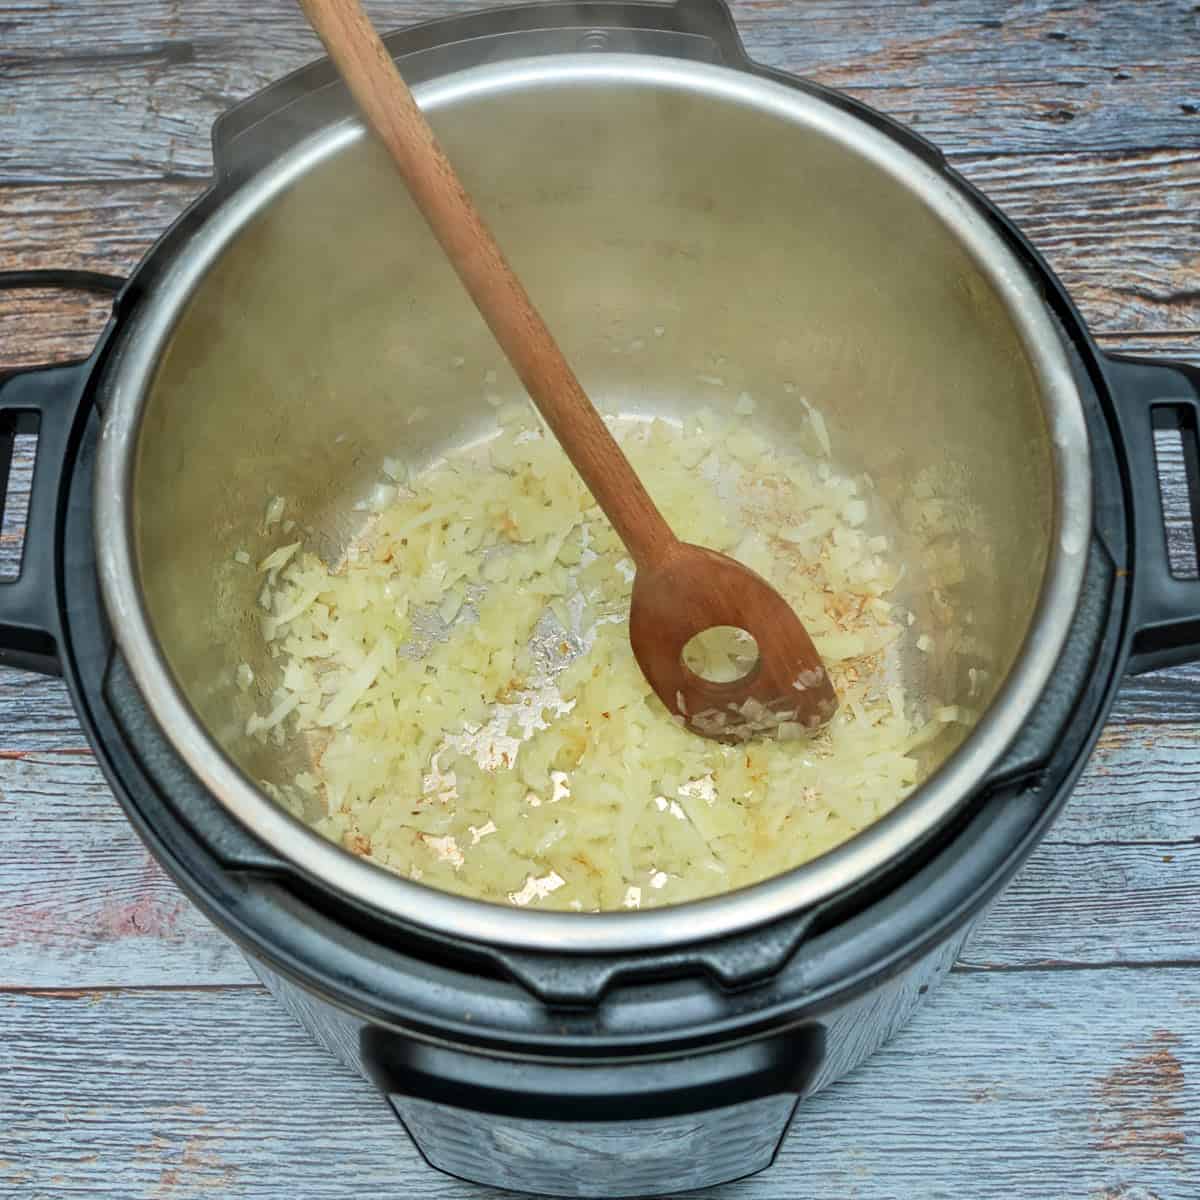
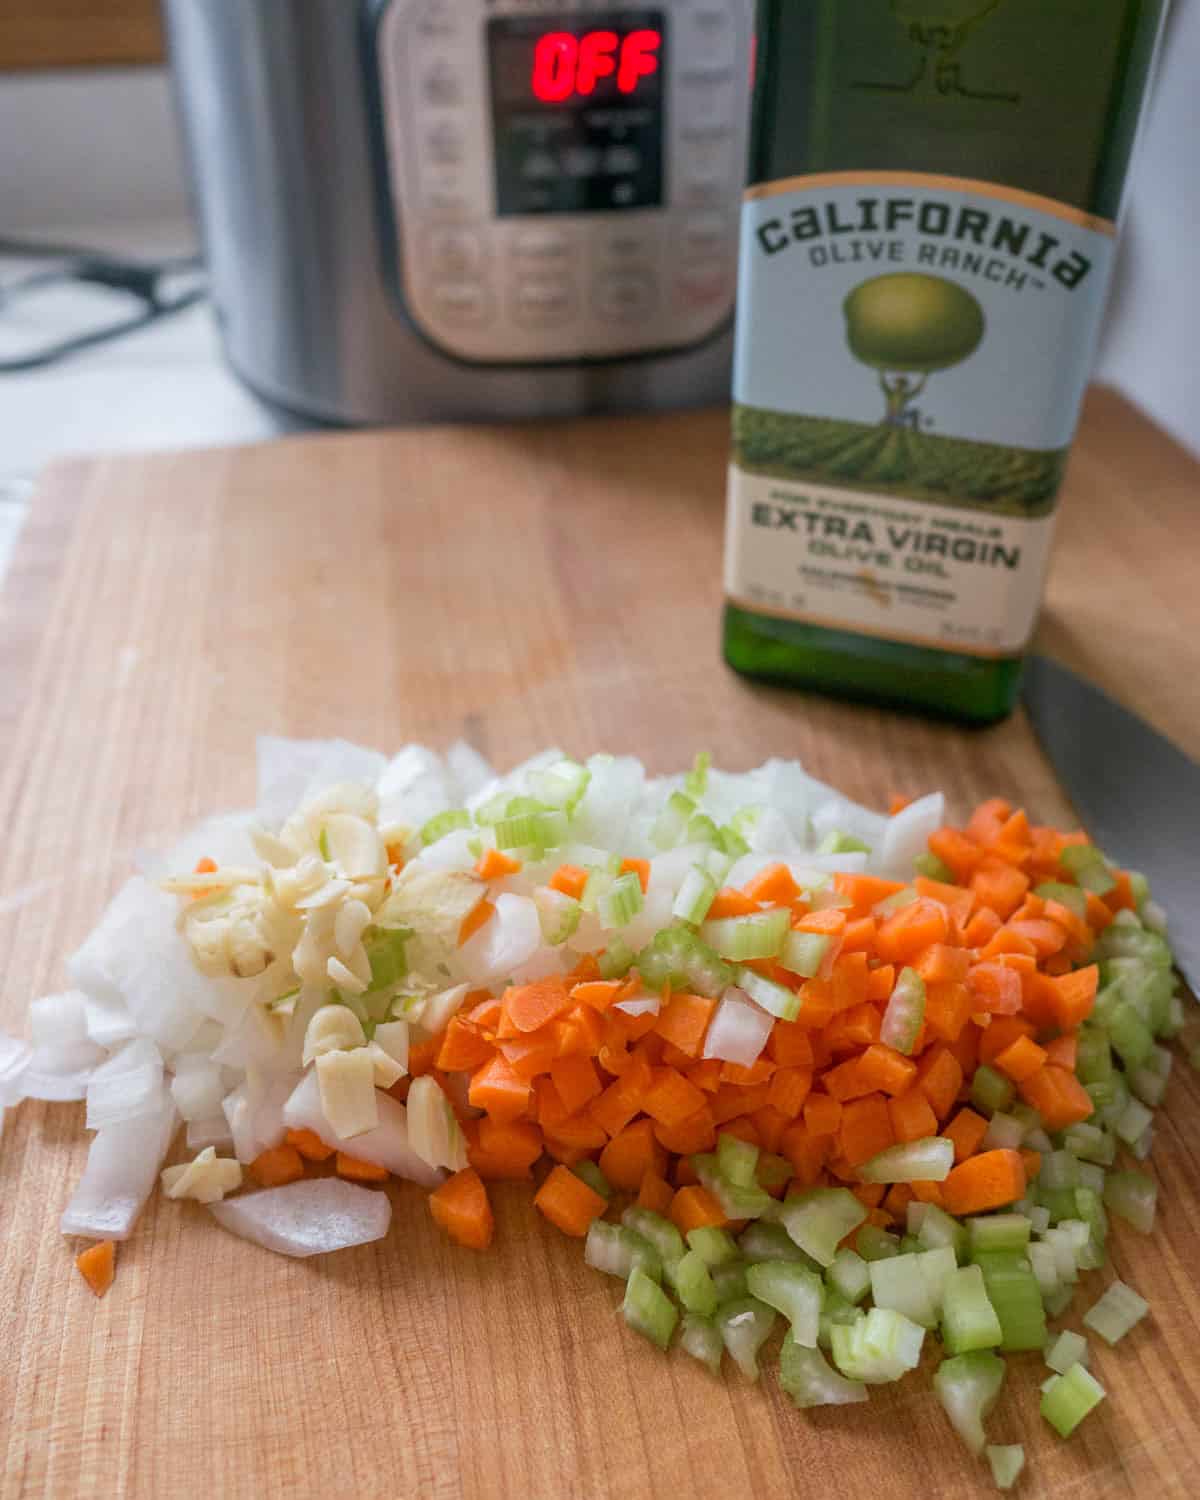
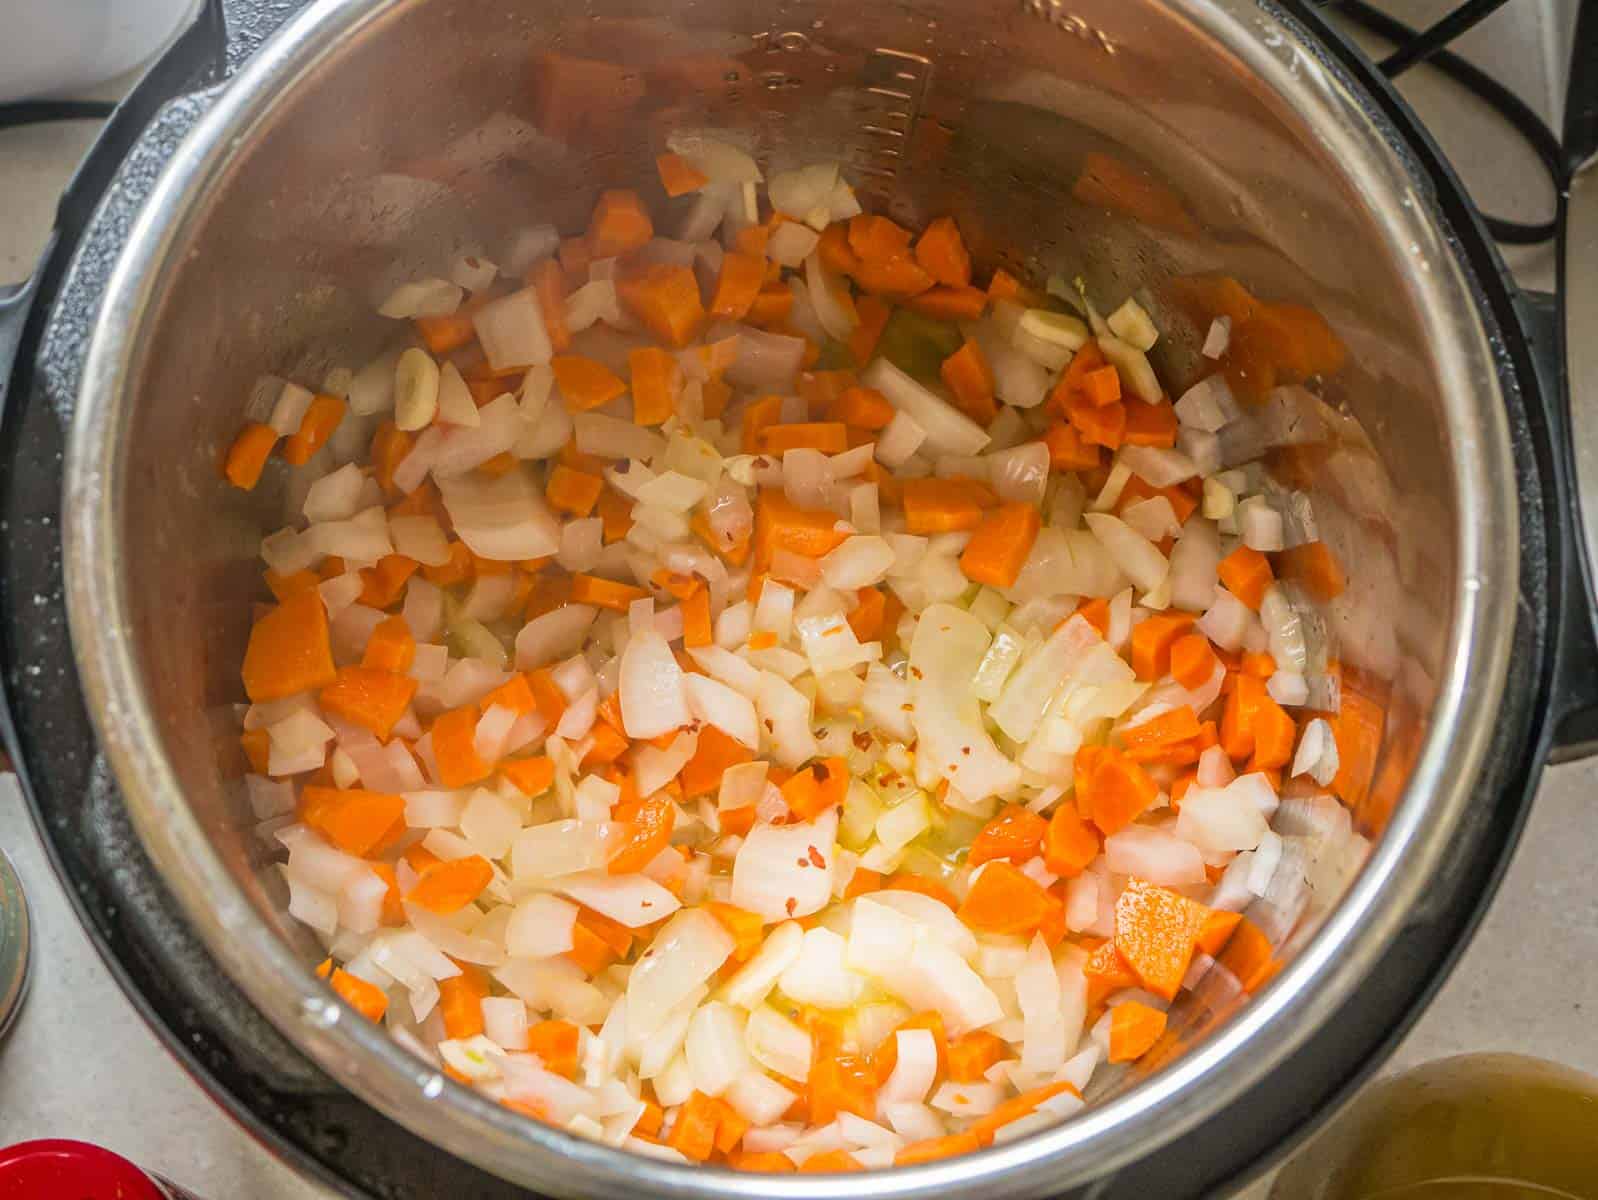
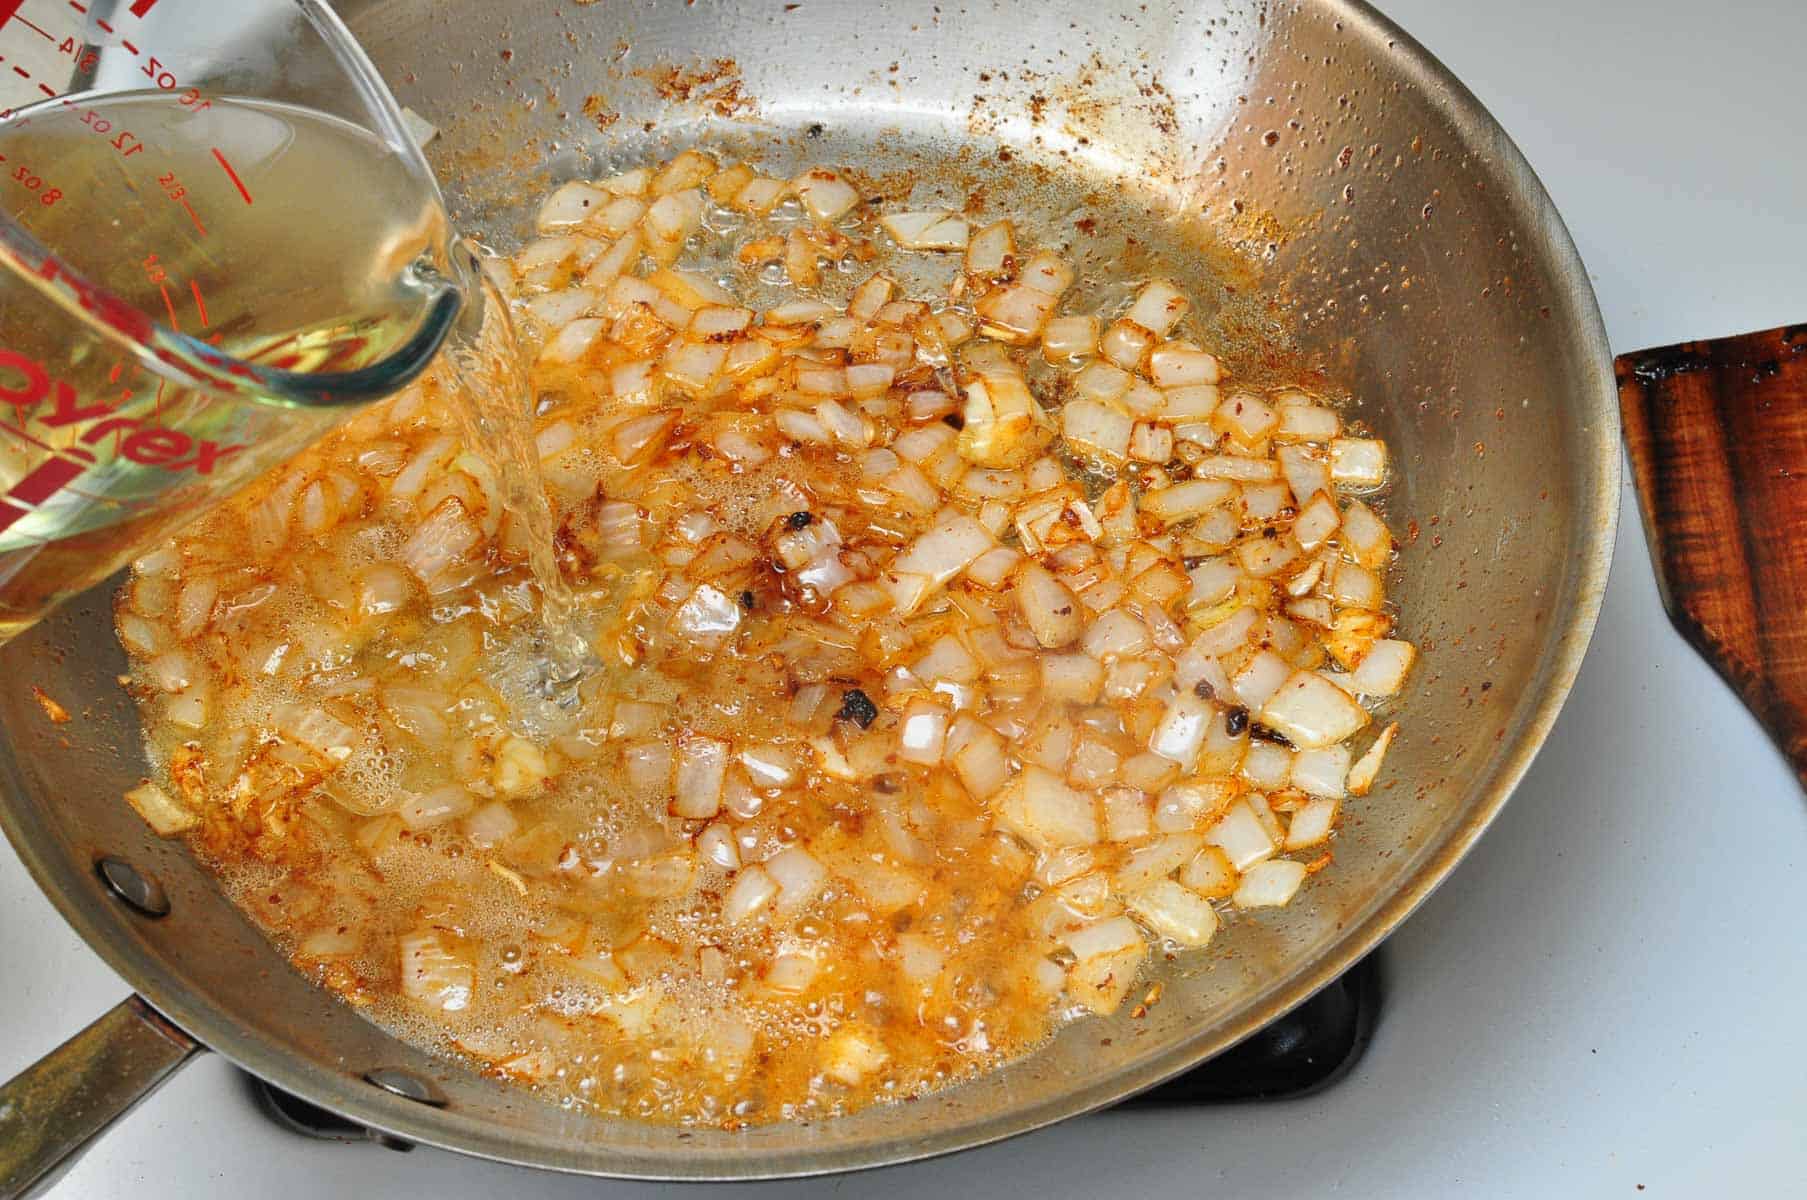
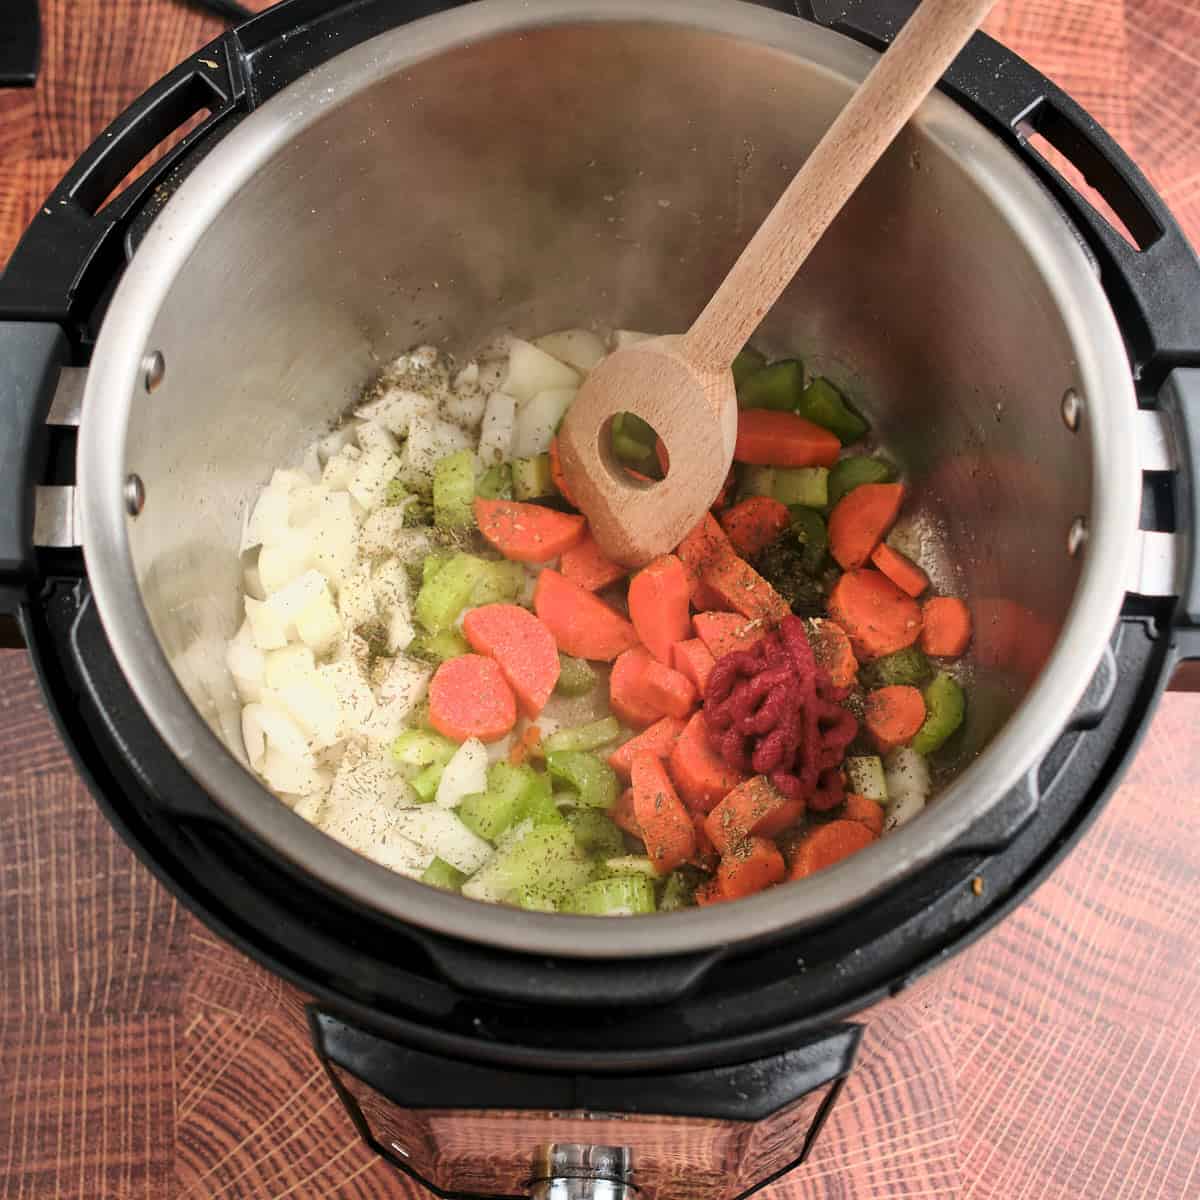
Sauté the onions and toast the spices
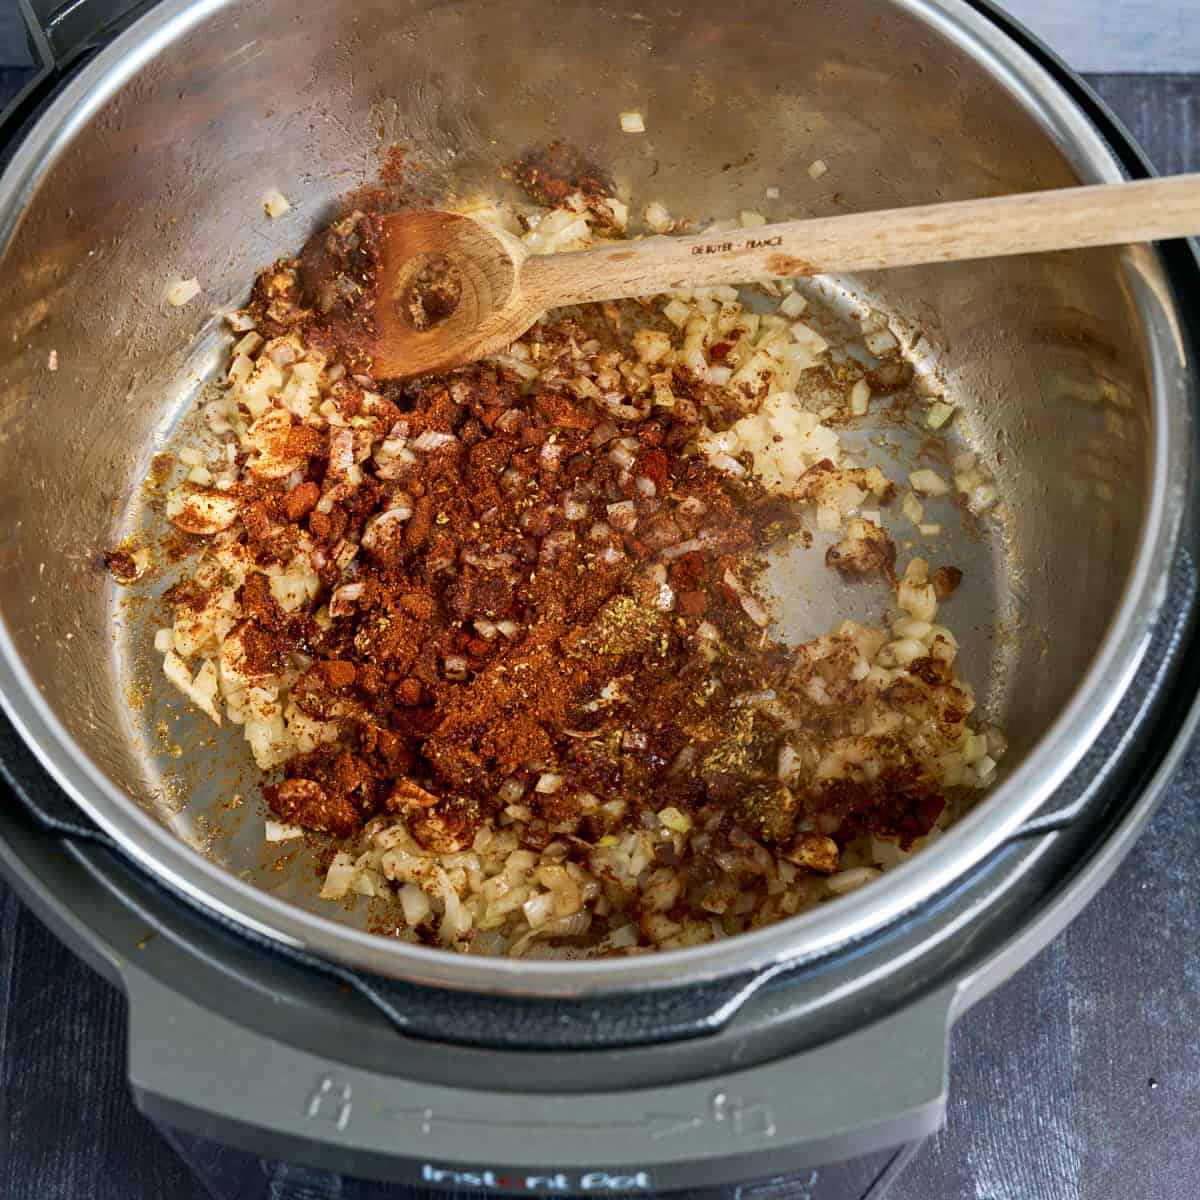
Add the onion and sauté until softened, scraping the bottom of the pot with a flat-edged wooden spoon to make sure nothing is sticking. Stir in the chipotle, garlic, and spices, and toast until you can smell garlic (30 seconds to 1 minute).
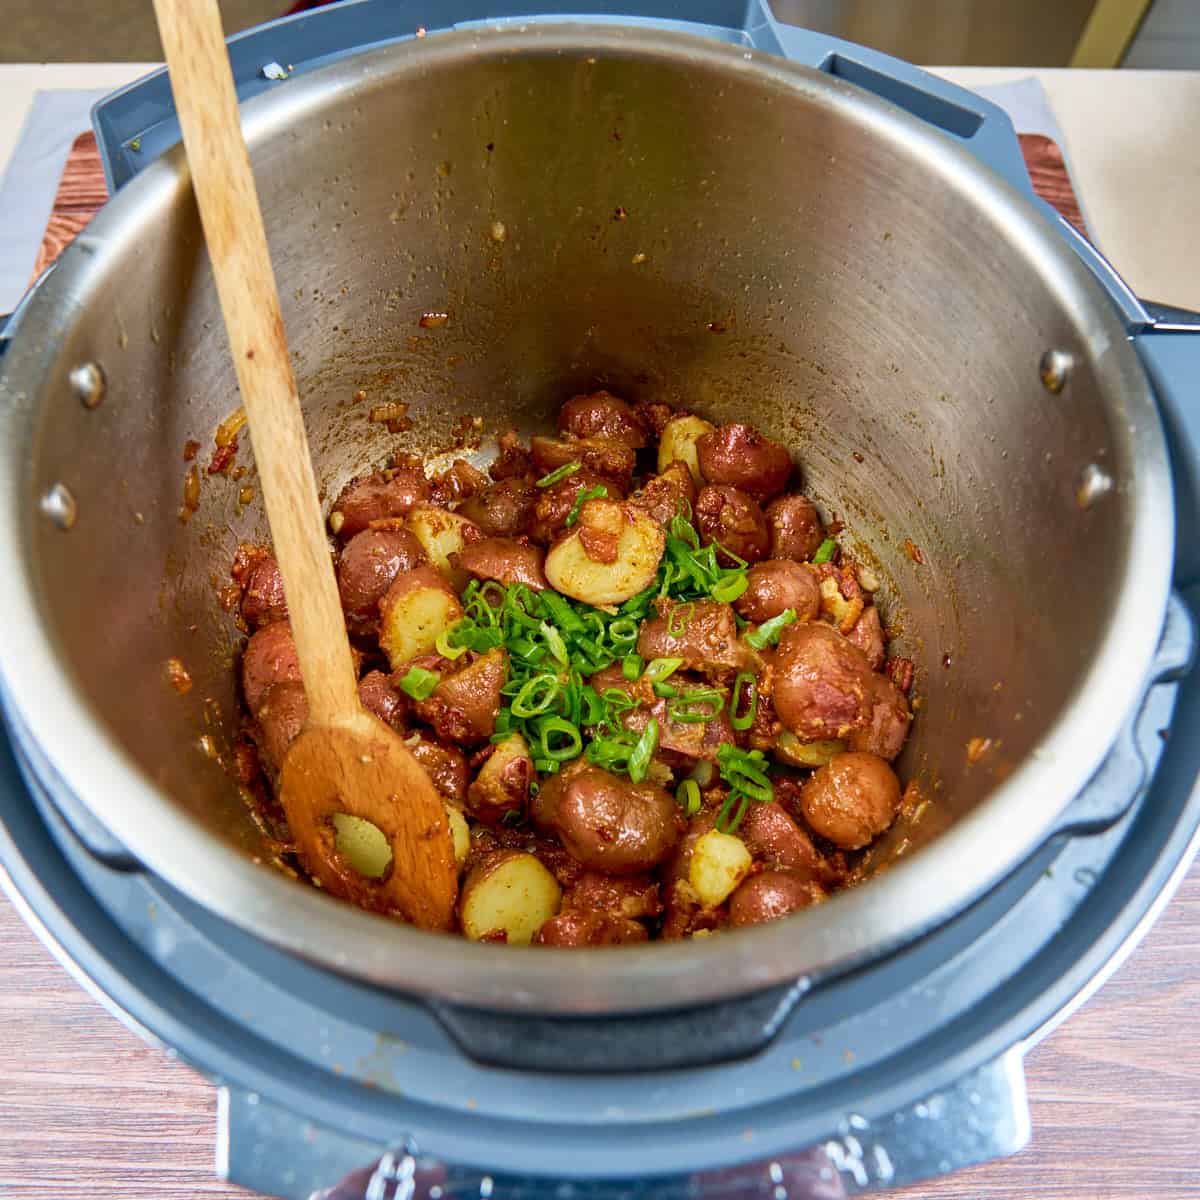
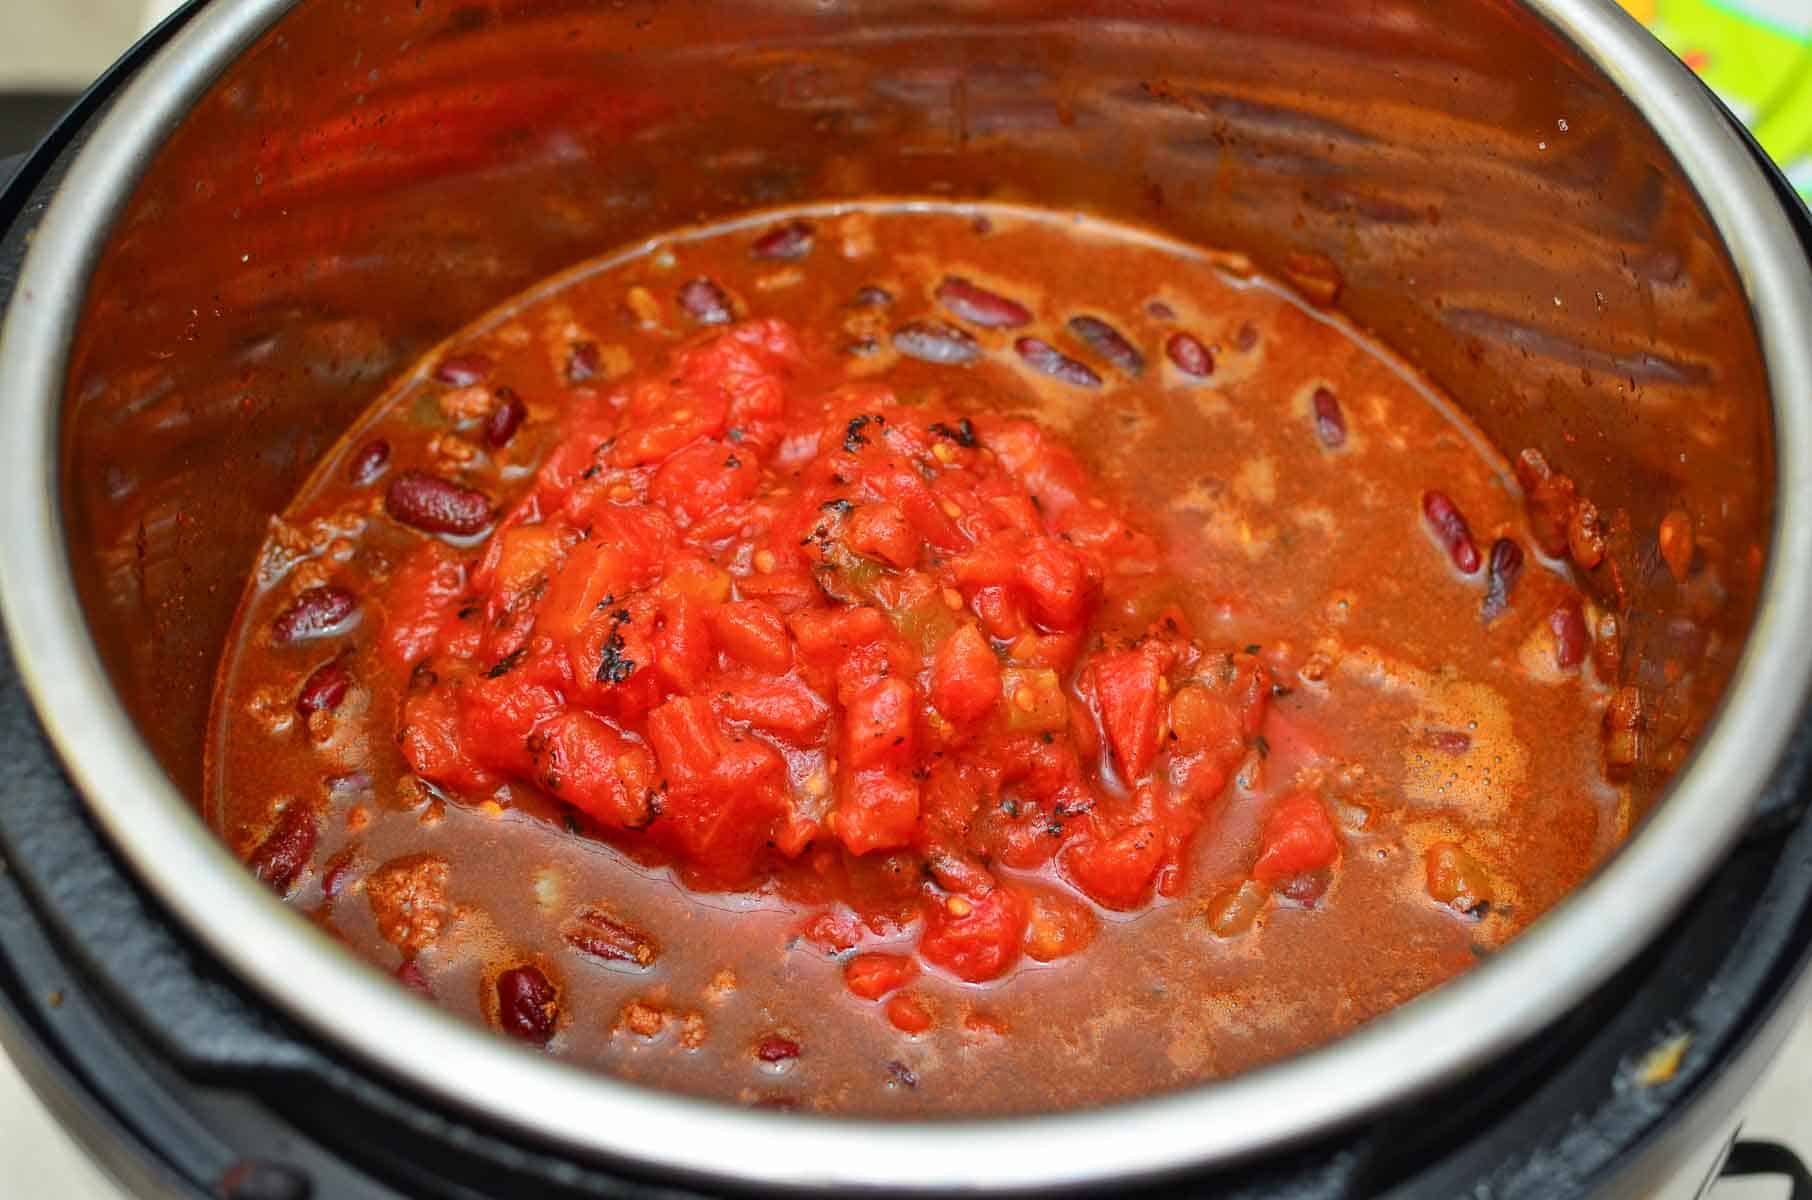
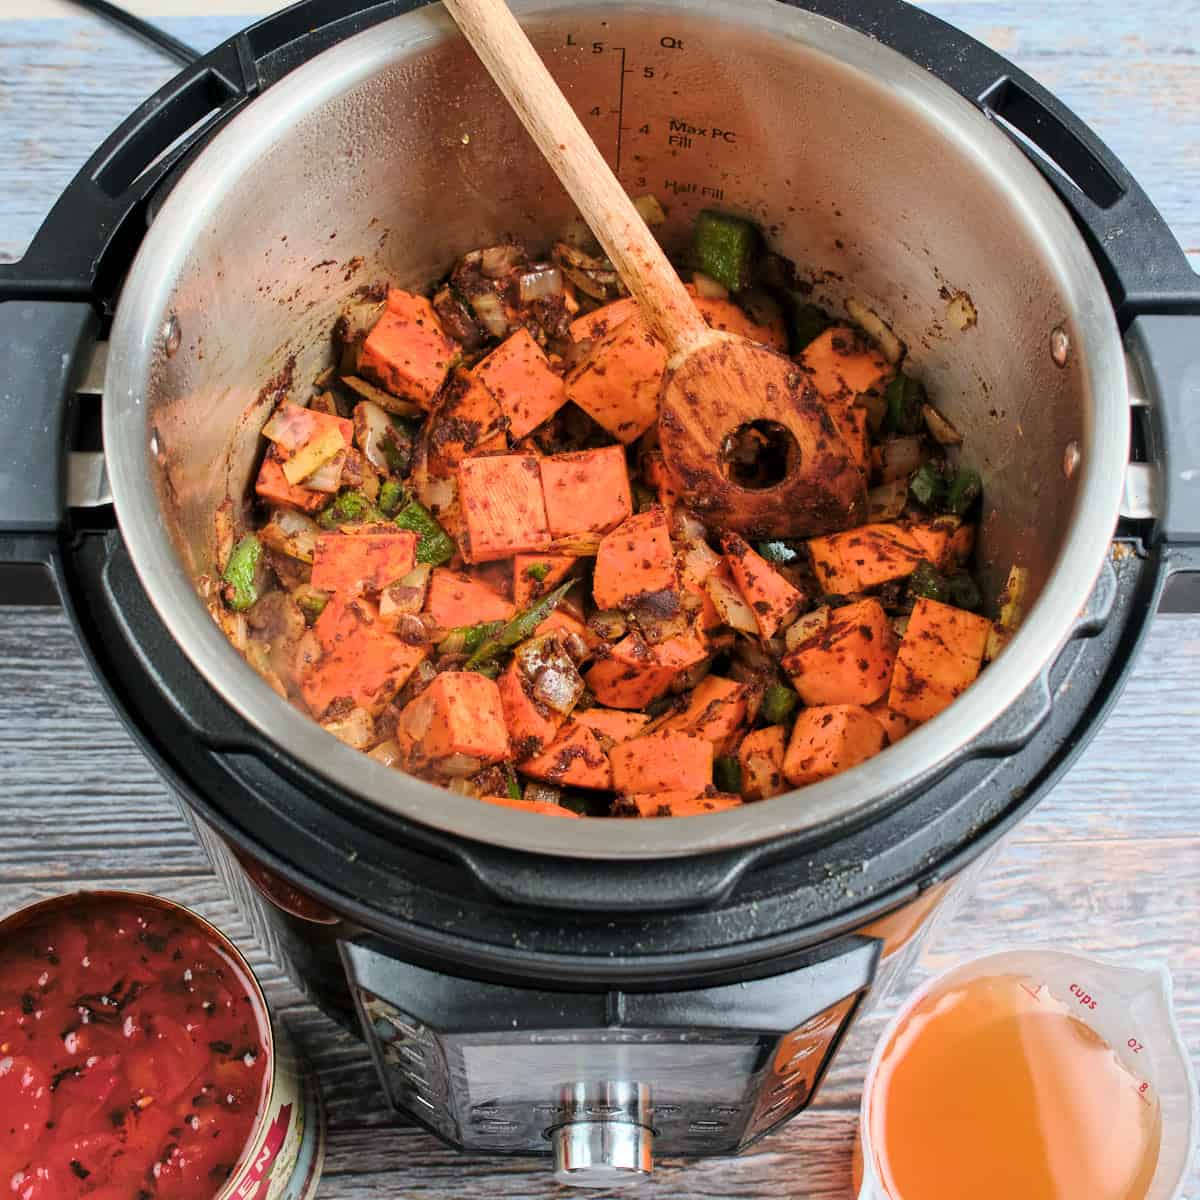
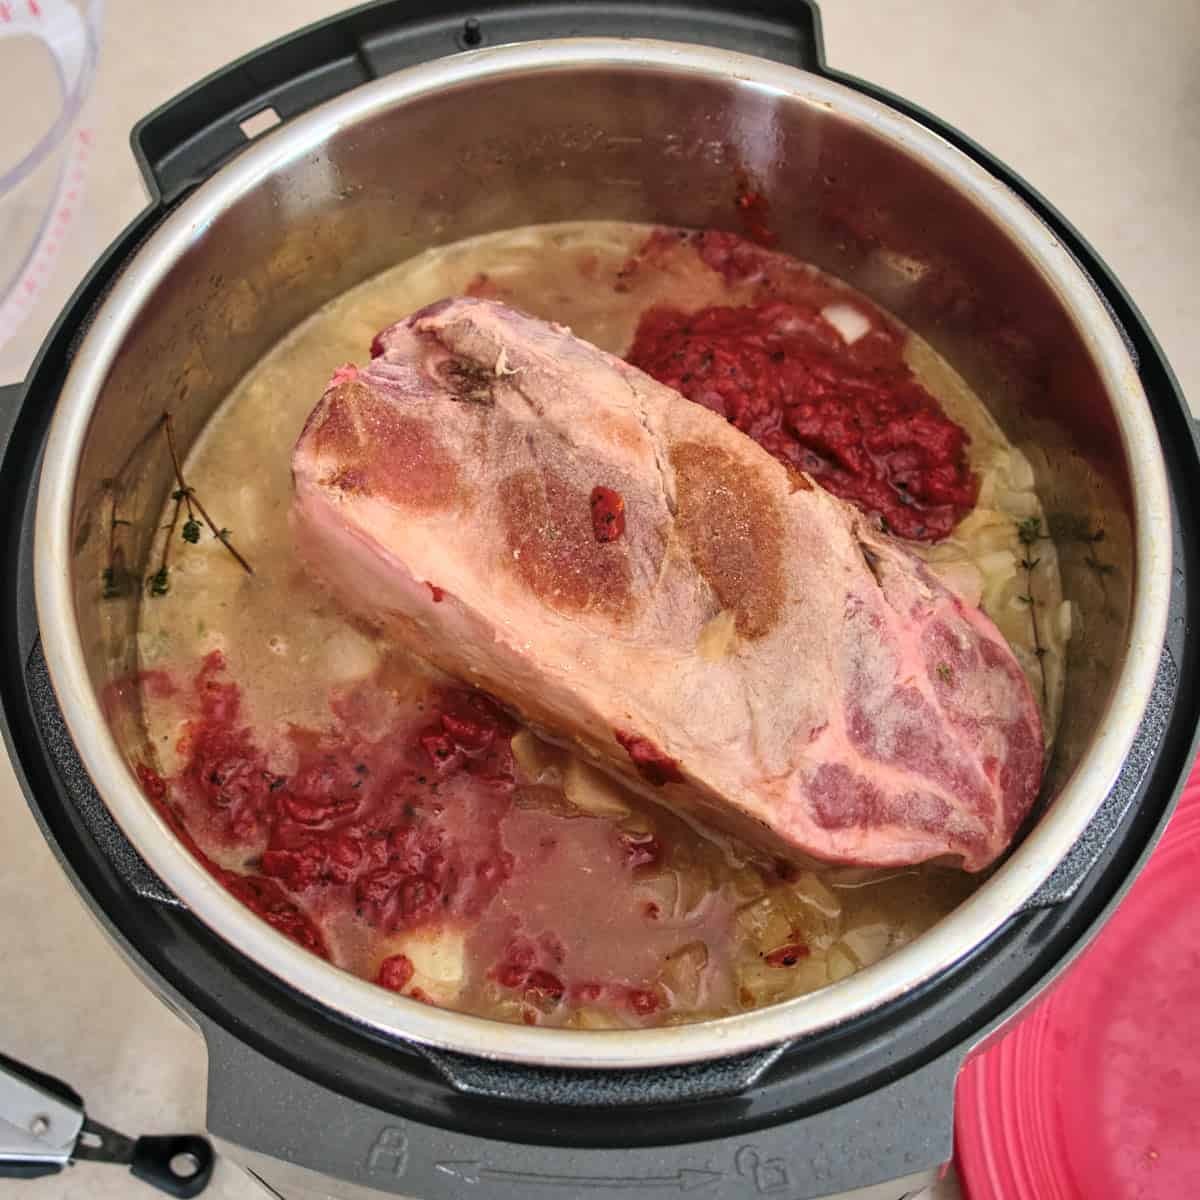
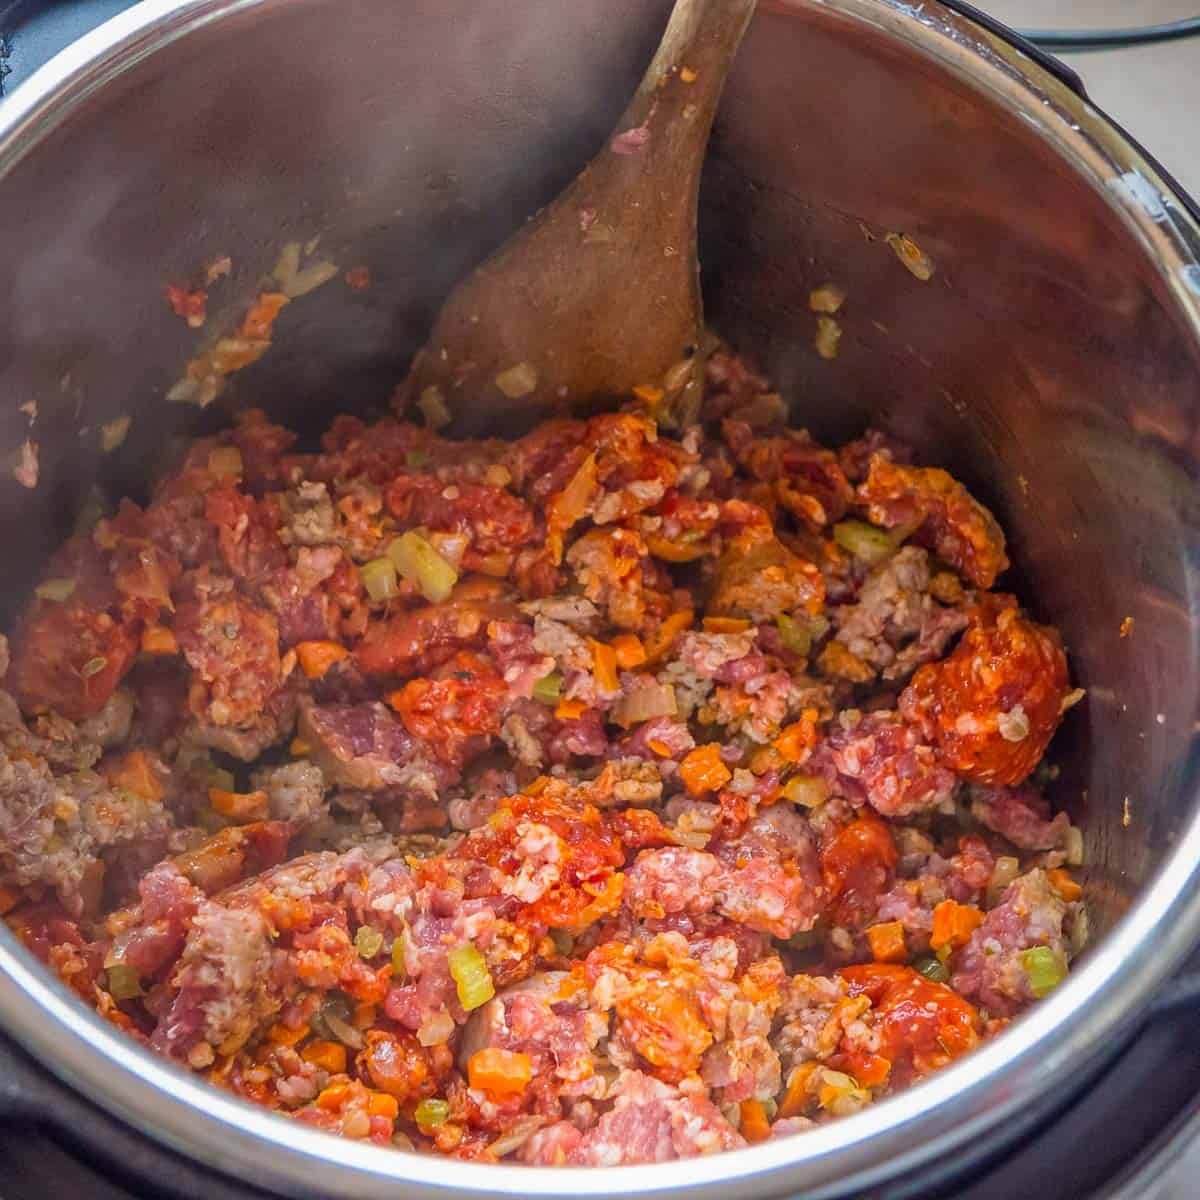
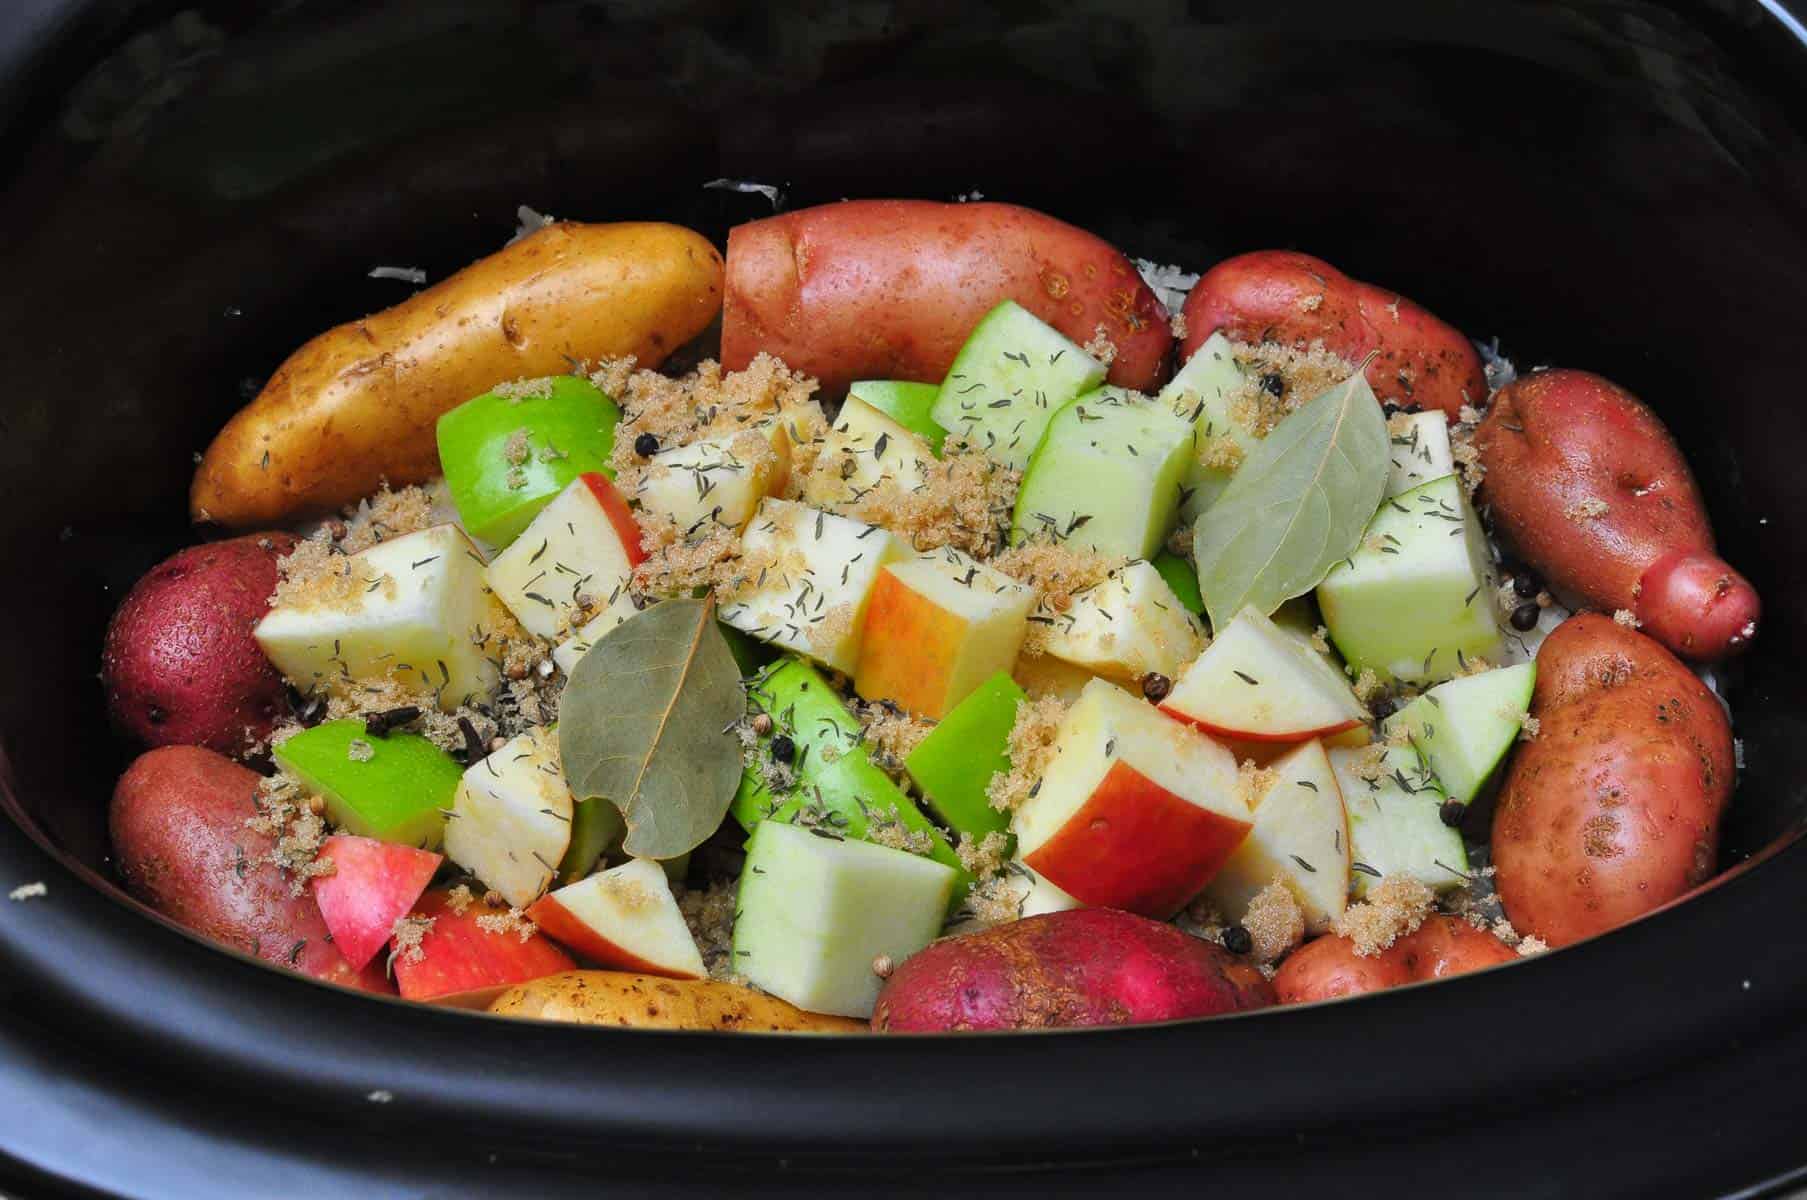
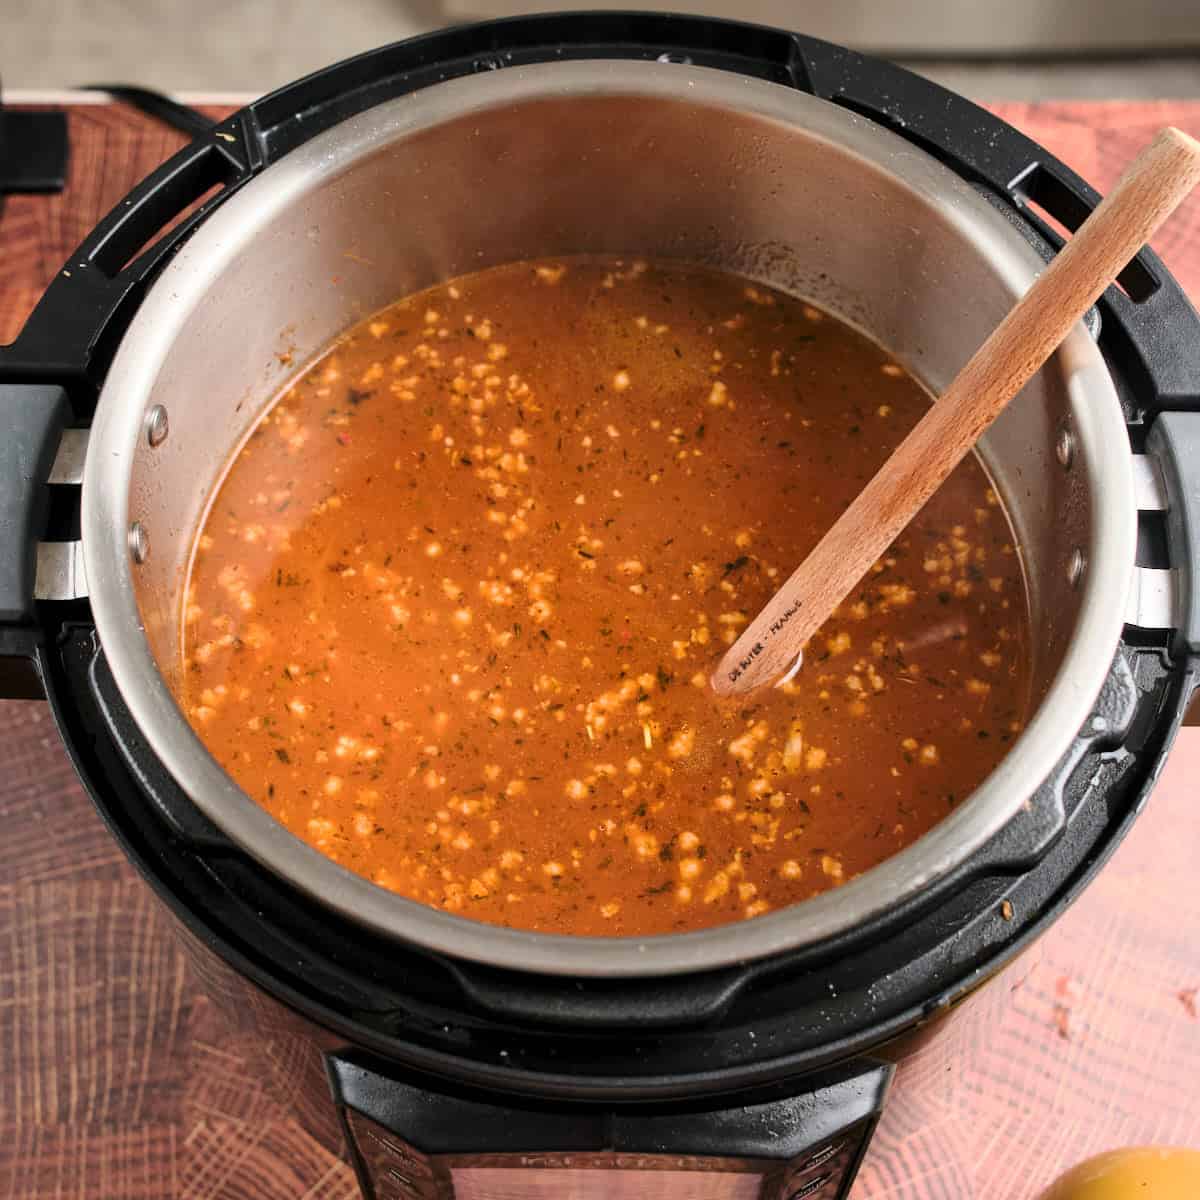
Everything in the pot

Add the pork back into the pot, add the hominy and diced tomatoes, and pour in the chicken broth or water. Scrape the bottom of the pot one last time to make sure nothing is sticking, and lock the lid on the pressure cooker.
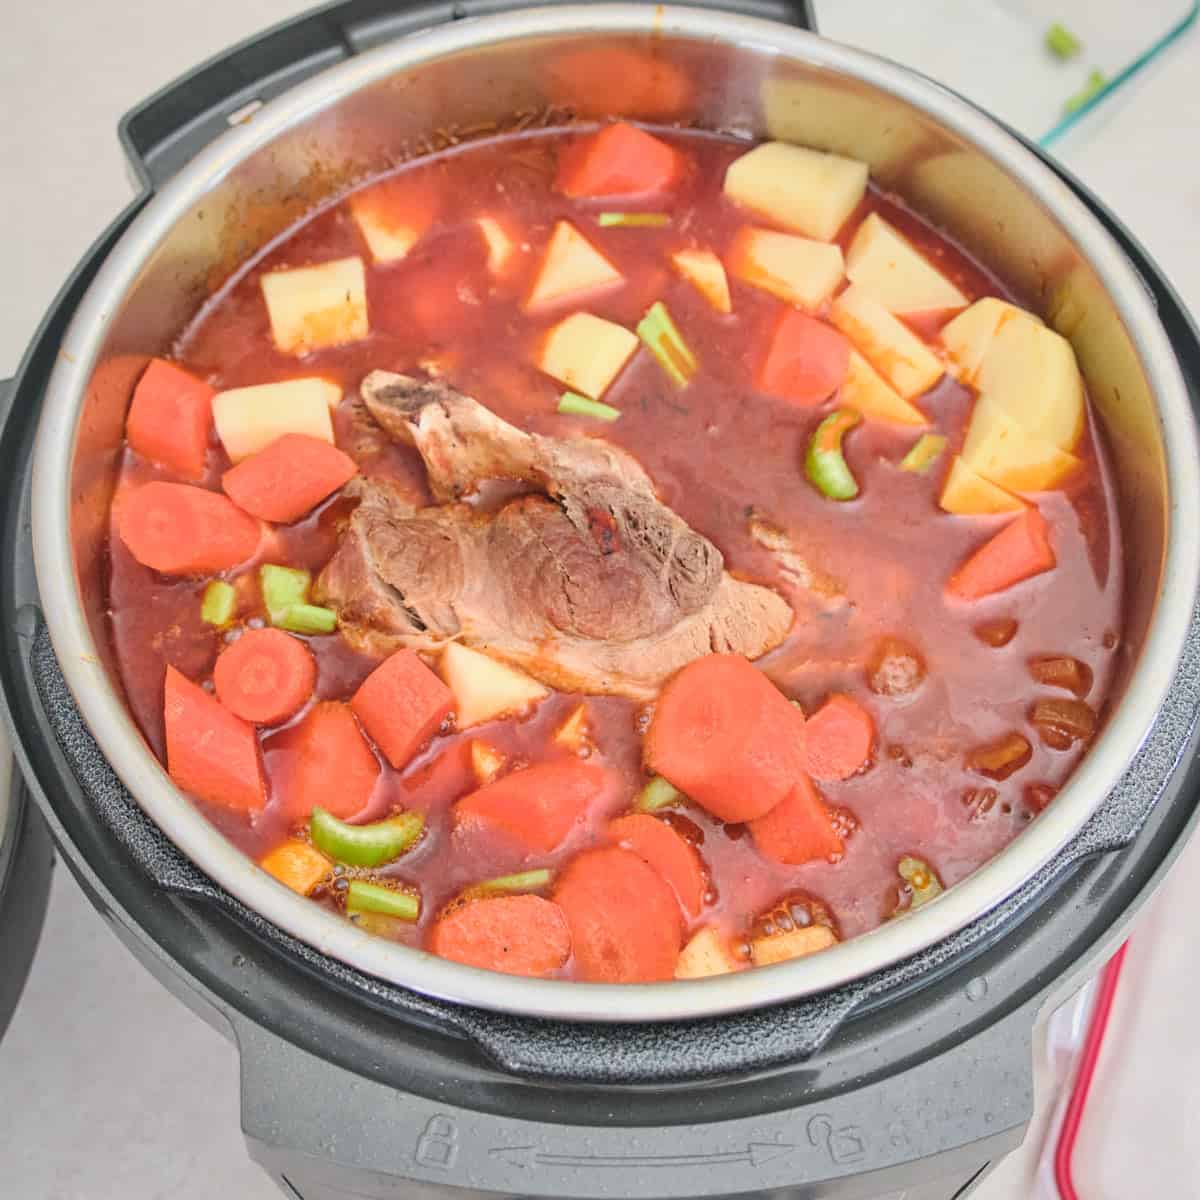
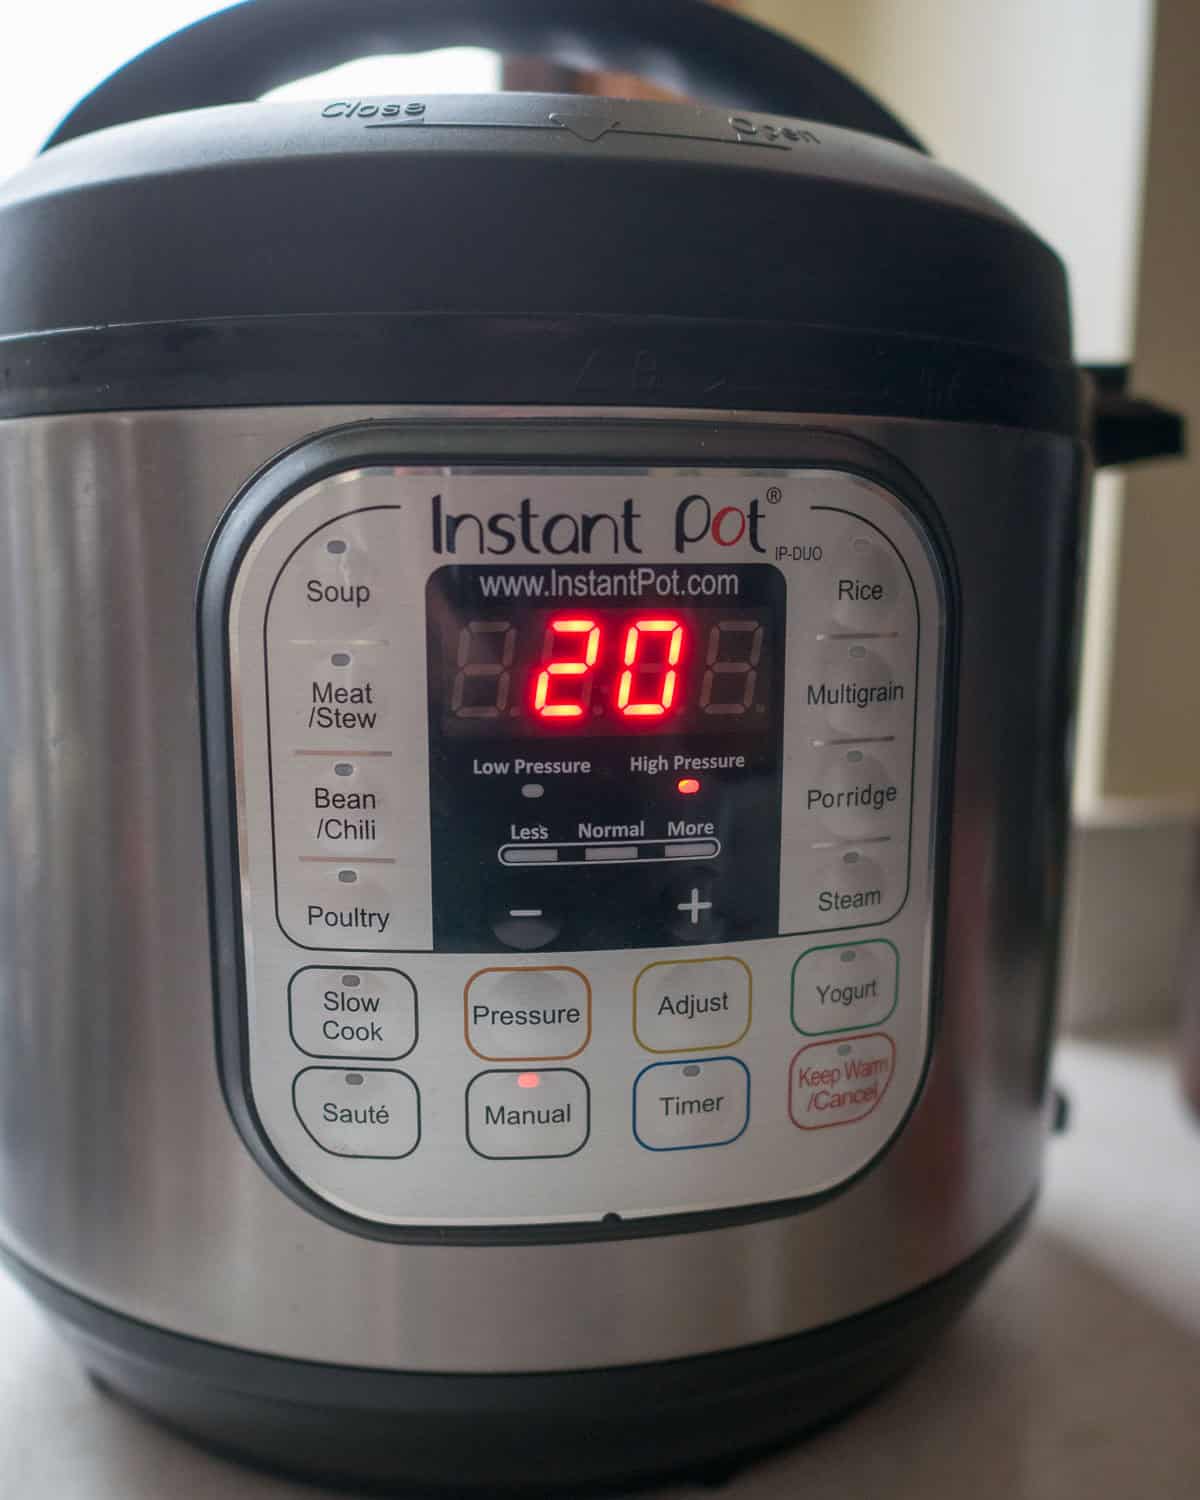
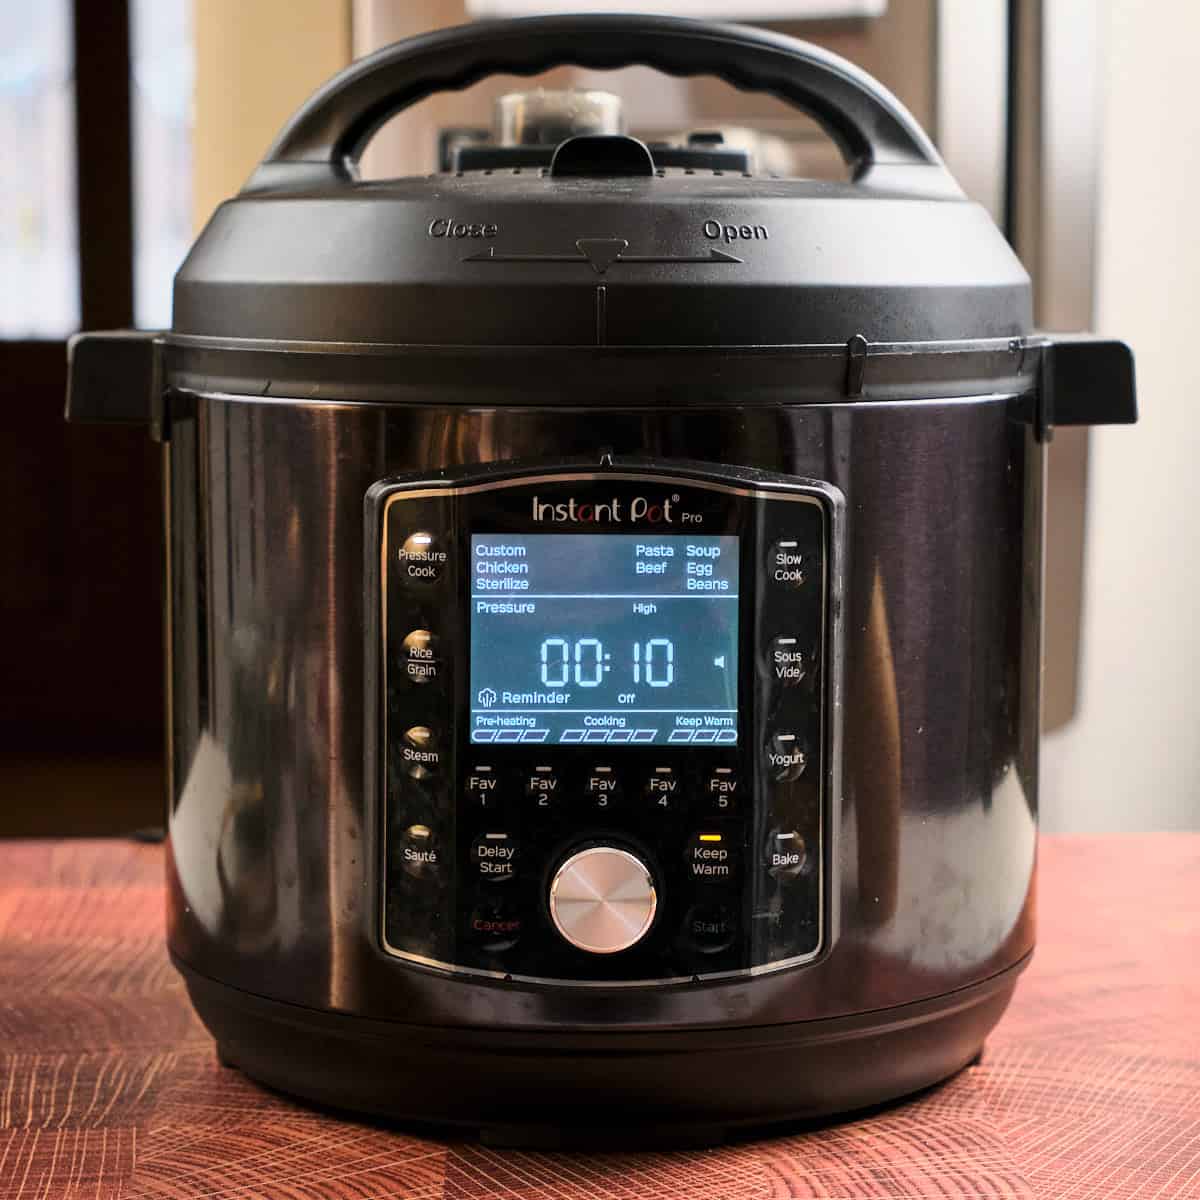
Pressure Cook for 20 minutes with a Natural Release
Pressure cook on high pressure for 20 minutes with a natural pressure release (about another 20 minutes). Unlock the lid, stir in the lime juice and brown sugar, and serve with your favorite accompaniments.
Tips and Tricks
- Don't have a pressure cooker? Cook the recipe in a large pot or Dutch oven. Follow the recipe as written, increasing the chicken broth (or water) to 6 cups. Instead of pressure cooking, bring the pot with all the ingredients to a boil, lower the heat to a simmer, and simmer for 2 hours.
- Speed up the browning with a frypan: The key to browning is not overcrowding the pot. This means I have to brown the pork in two batches, and to speed that up, I pull out my fry pan for one of the batches. Instead of browning all the pork in the pressure cooker, I brown one batch in the fry pan and the other batch in the pressure cooker. (Add a tablespoon of oil to both the fry pan and the pressure cooker). When the pork is browned, I move it from the frypan and the pressure cooker to a bowl, and continue with the "sauté the onions" step in the pressure cooker.
- Leftover Pozole is fantastic: This recipe is made for leftovers; it tastes better the next day, and freezes very well. Store it in the refrigerator for a few days, reheating before serving. Or, freeze for up to 6 months
Related Posts
For the fanciest version of this recipe, use Instant Pot Hominy (from dry) and Instant Pot Chicken Broth. If you're looking for Southwestern stews, try my Pressure Cooker Mexican Chicken Soup in Red Chile Broth (Caldo de Pollo Rojo), Instant Pot Texas Beef Stew With Sweet Potatoes, or Pressure Cooker Mexican Pork Stew With Summer Vegetables. For other Mexican dishes, try my Instant Pot Carne Guisada Tacos, Instant Pot Birria Tacos, or Grilled Mexican Short Rib Tacos with Poblanos, Onions, Pineapple, and Tomatillo Salsa.
If you're looking for something else, here is my index of Instant Pot and Pressure Cooker Recipes.
Enjoyed this post? Want to help out DadCooksDinner? Subscribe to DadCooksDinner via email and share this post with your friends. Want to contribute directly? Donate to my Tip Jar, or buy something from Amazon.com through the links on this site. Thank you.