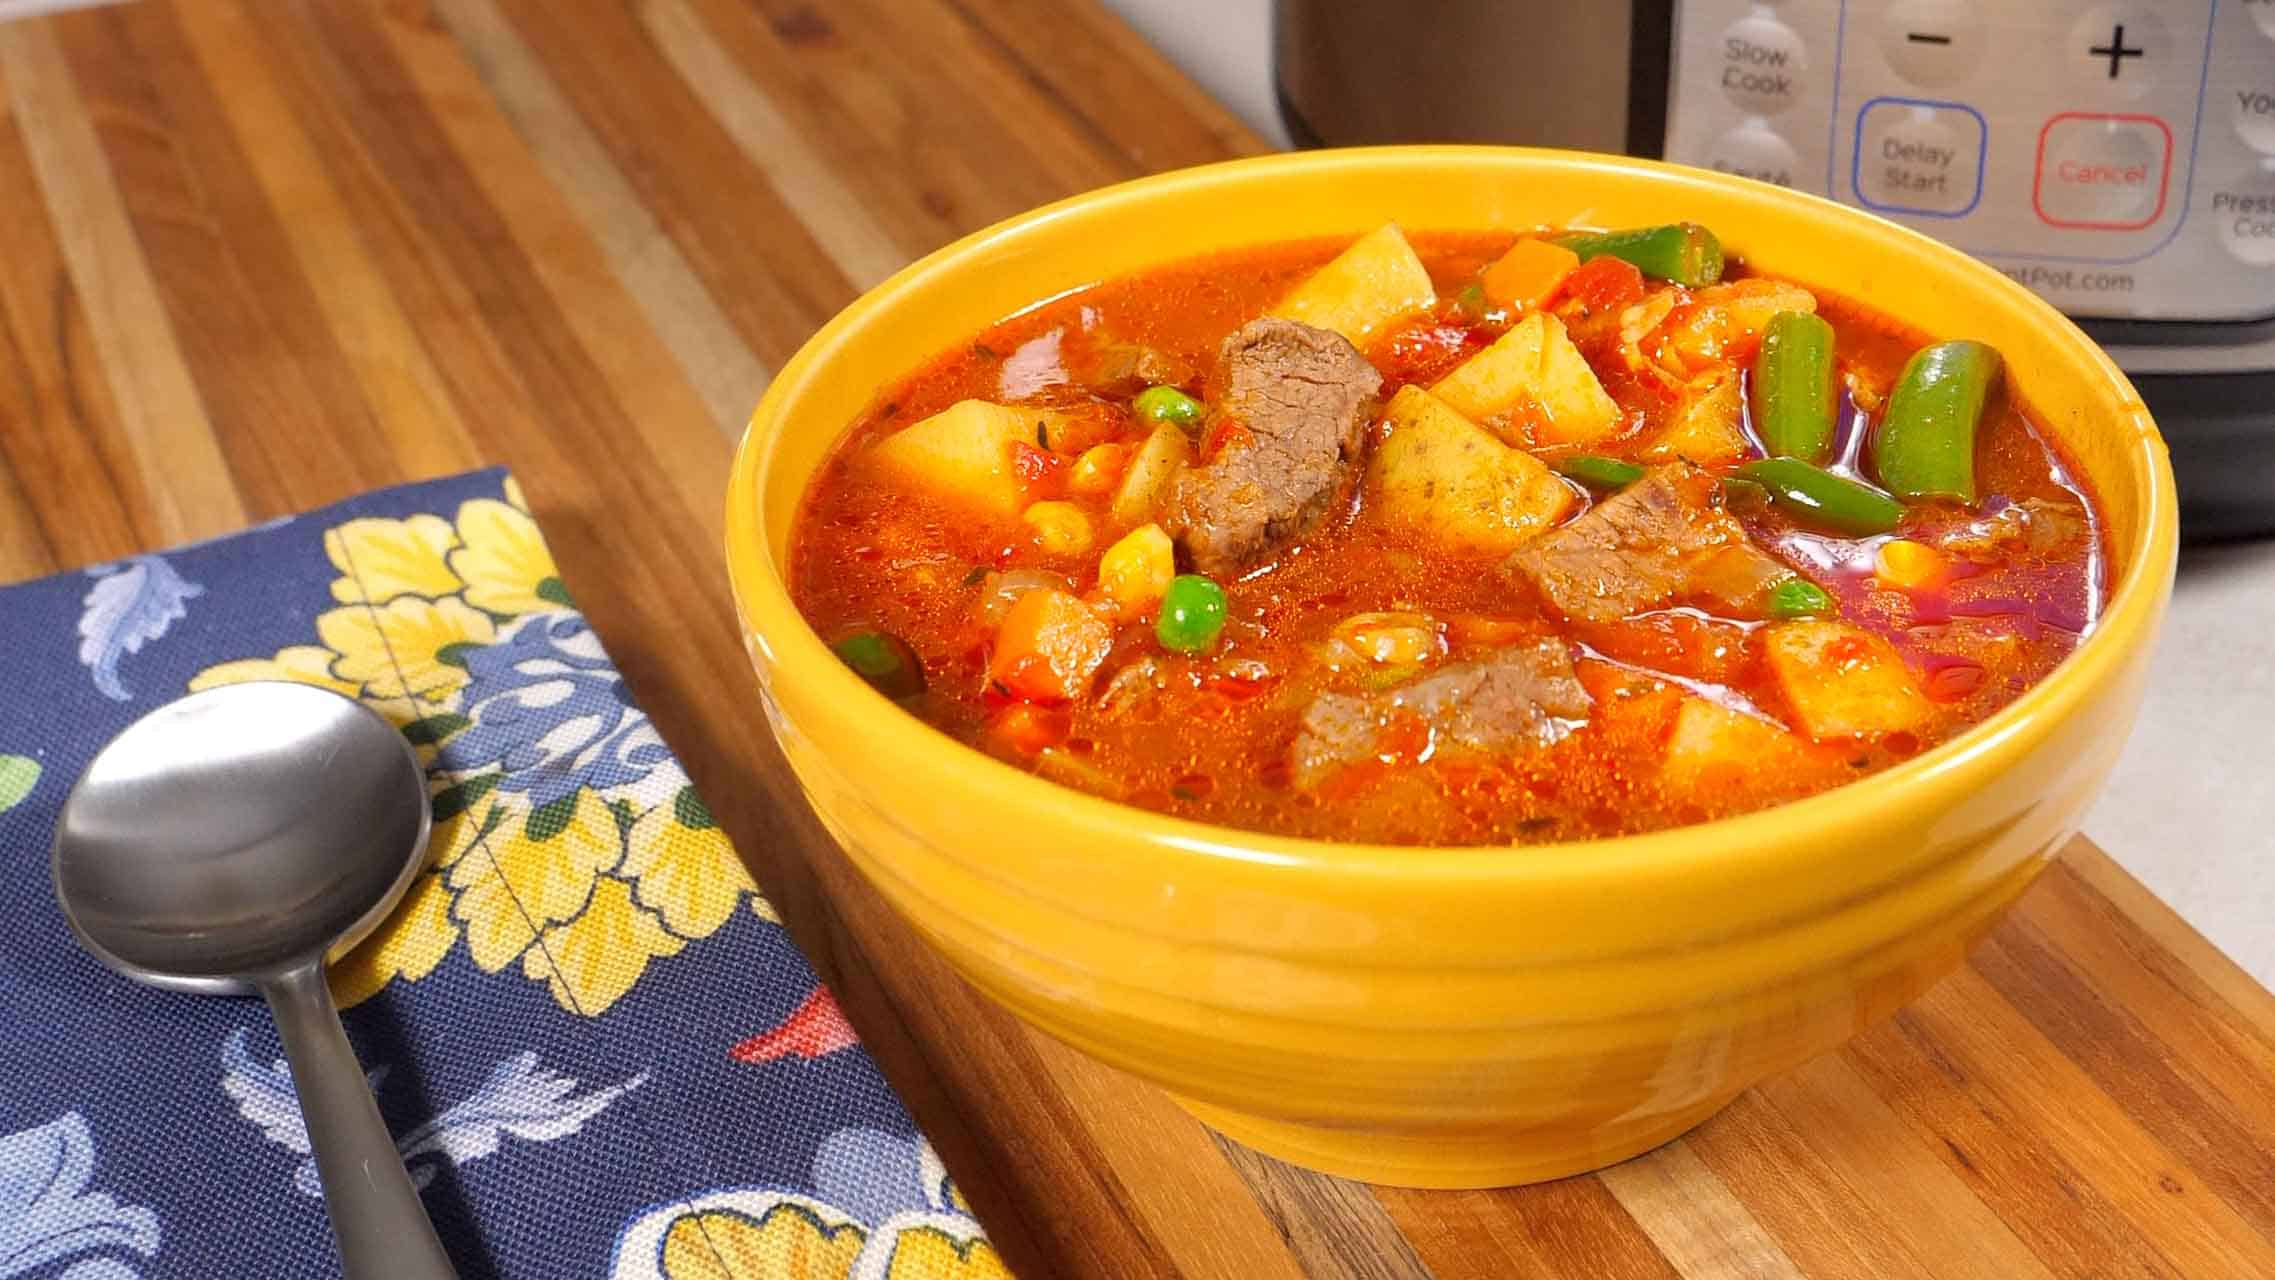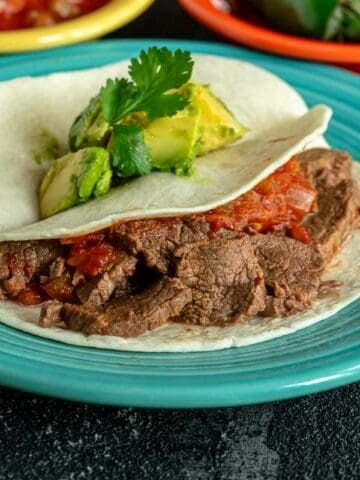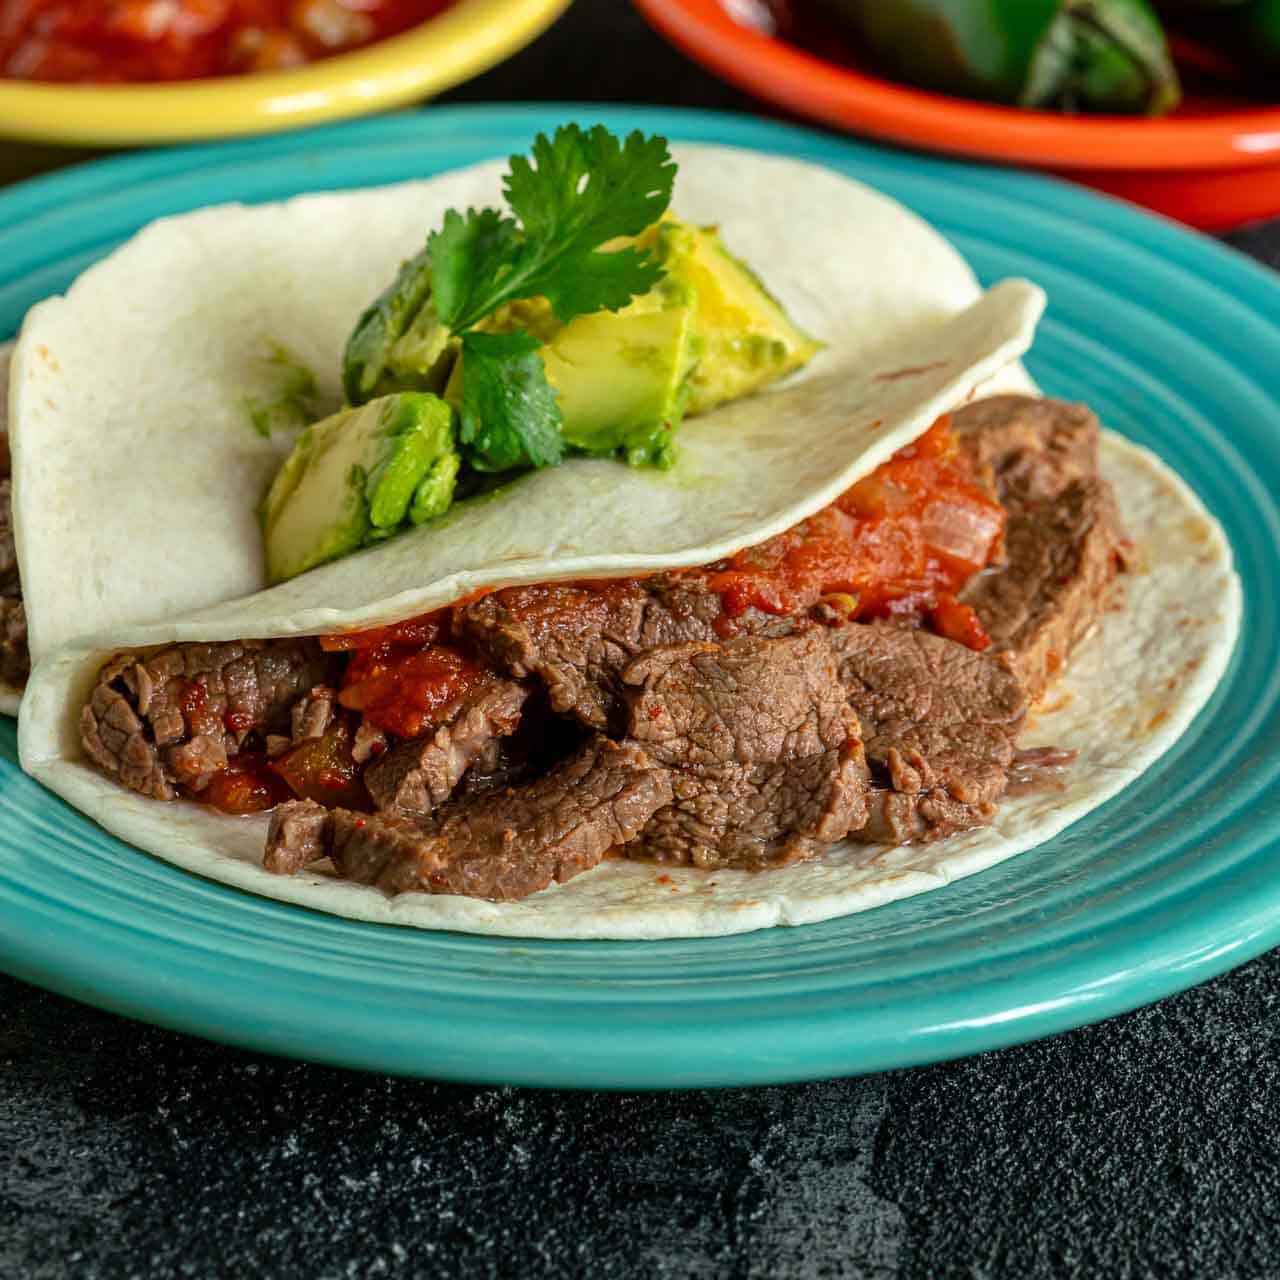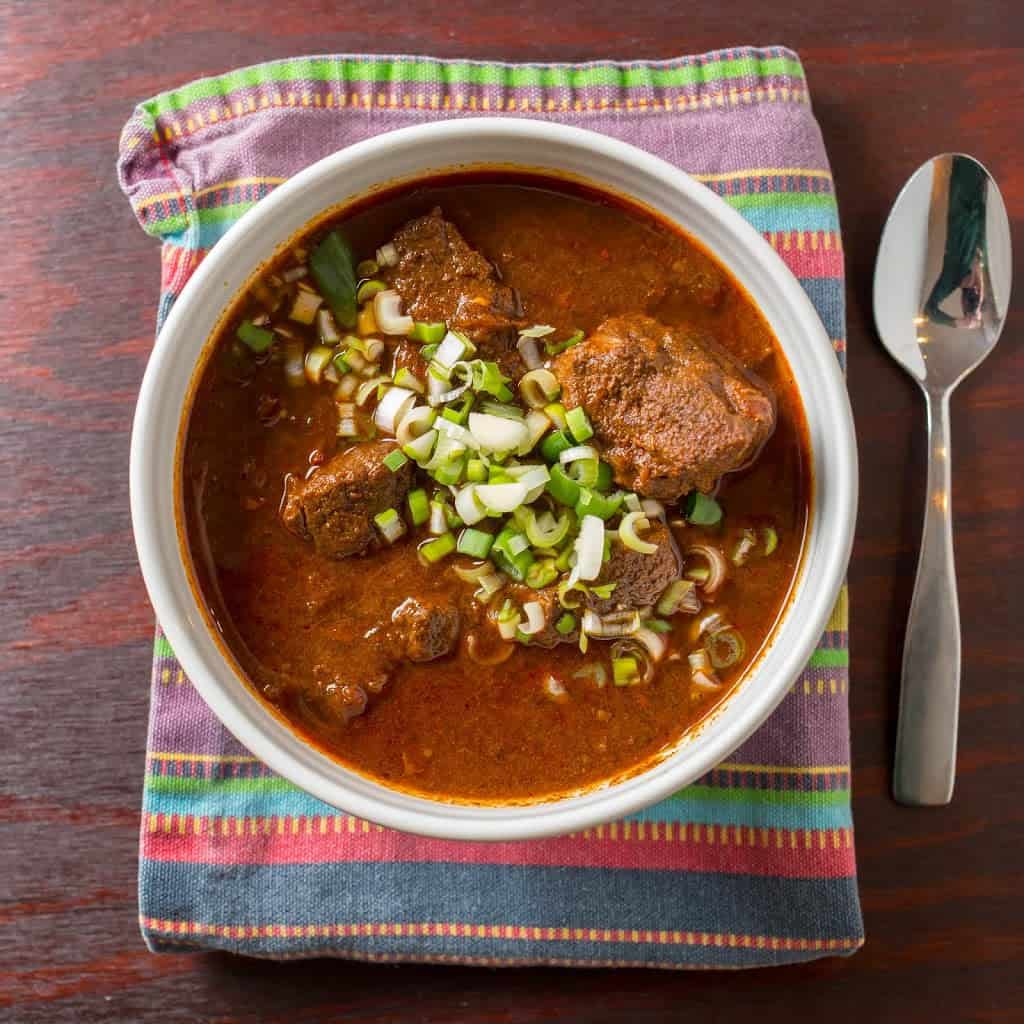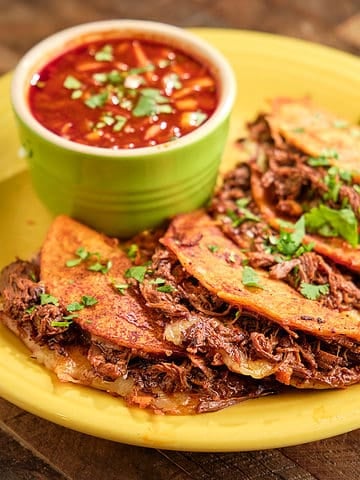
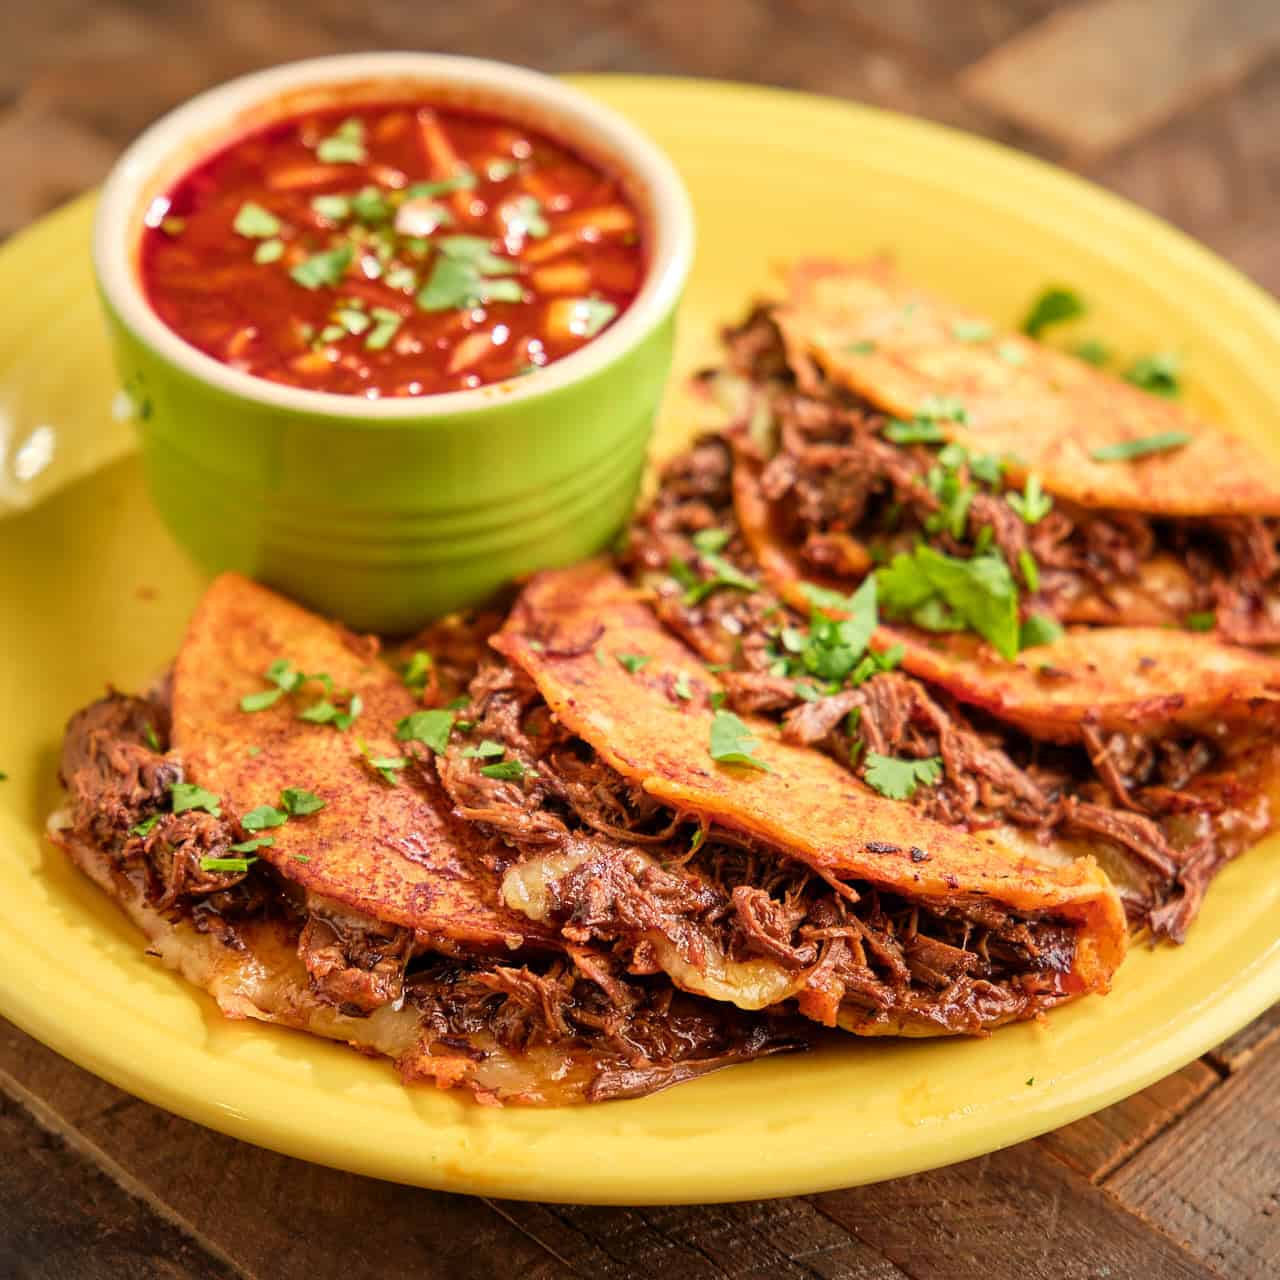
Instant Pot Birria Tacos. Cheesy tacos with juicy meat, dipped in broth. Real deal Birria quesatacos, sped up with pressure cooking.
I missed the trend, as always. Quesabirria tacos came out of Tijuana in the late 2010s to become a local favorite in Los Angeles. From there, they exploded across Instagram back in 2020. Birria tacos make for fantastic pictures, with radioactive red tortillas and oozing cheese pulls. (It helps that they taste fantastic, with crispy tortillas, saucy meat, and a fantastic dipping broth that I'd drink as a soup.)
Traditional birria de res is a classic they've been making in the state of Jalisco for years. It took enterprising young chefs, moving back and forth between Tijuana and Los Angeles, to take birria meat and transform it into the social media powerhouse that are quesabirria tacos.
I speed this birria recipe up with pressure cooking, but I cannot say this is fast. The key to birria tacos is the chili-laden broth, which cooks the meat and coats the tortillas to give them their nuclear-fusion red color. Then you have to shred the meat and griddle the tacos, crisping them up and melting the cheese. It's a bunch of steps and definitely not a taco Tuesday meal. (Unless you have everything ready ahead of time - see below.)
That said, even though it's not a fast, weeknight meal, pressure cooking helps greatly with the cook time. Instead of simmering all day, I can have my beef birria and broth ready in a few hours. Or, I can make it on a weekend afternoon, set it aside, and I'm ready to make weeknight tacos a few days later.
What are Birria tacos?
Birria is beef stewed in adobo broth and is a long-time classic from Jalisco, Mexico. What we know of as birria tacos, where they are dipped in broth and griddled with melted cheese, are technically quesabirria (birria quesadillas) or birria quesatacos.
Ingredients
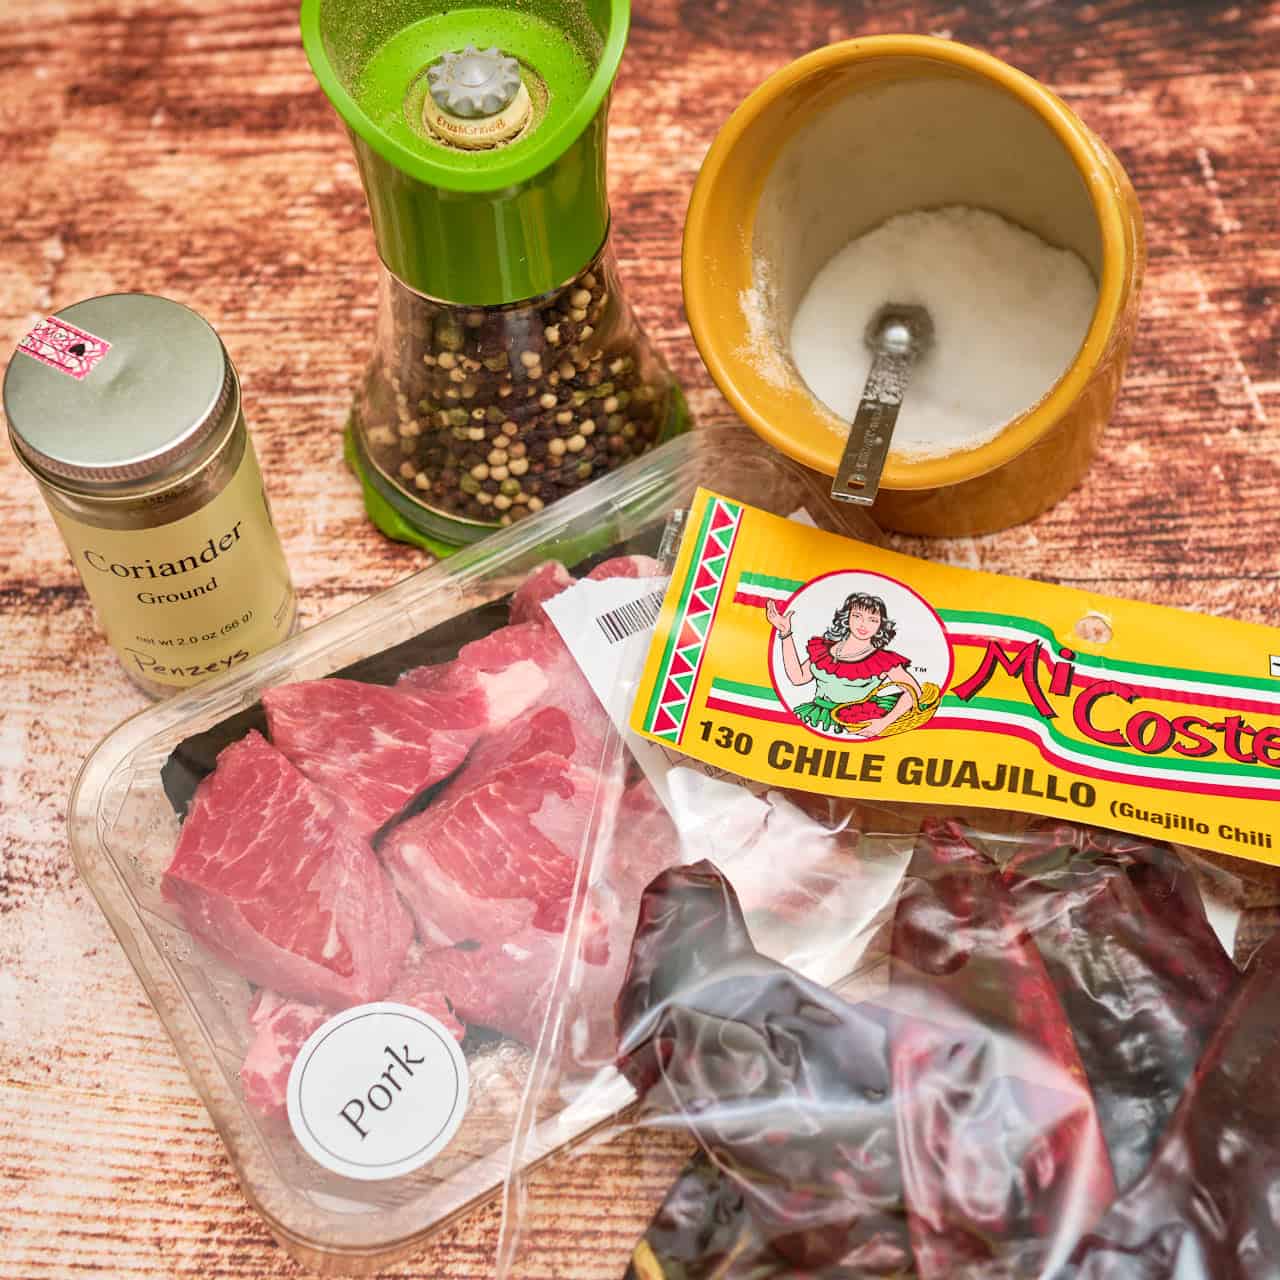
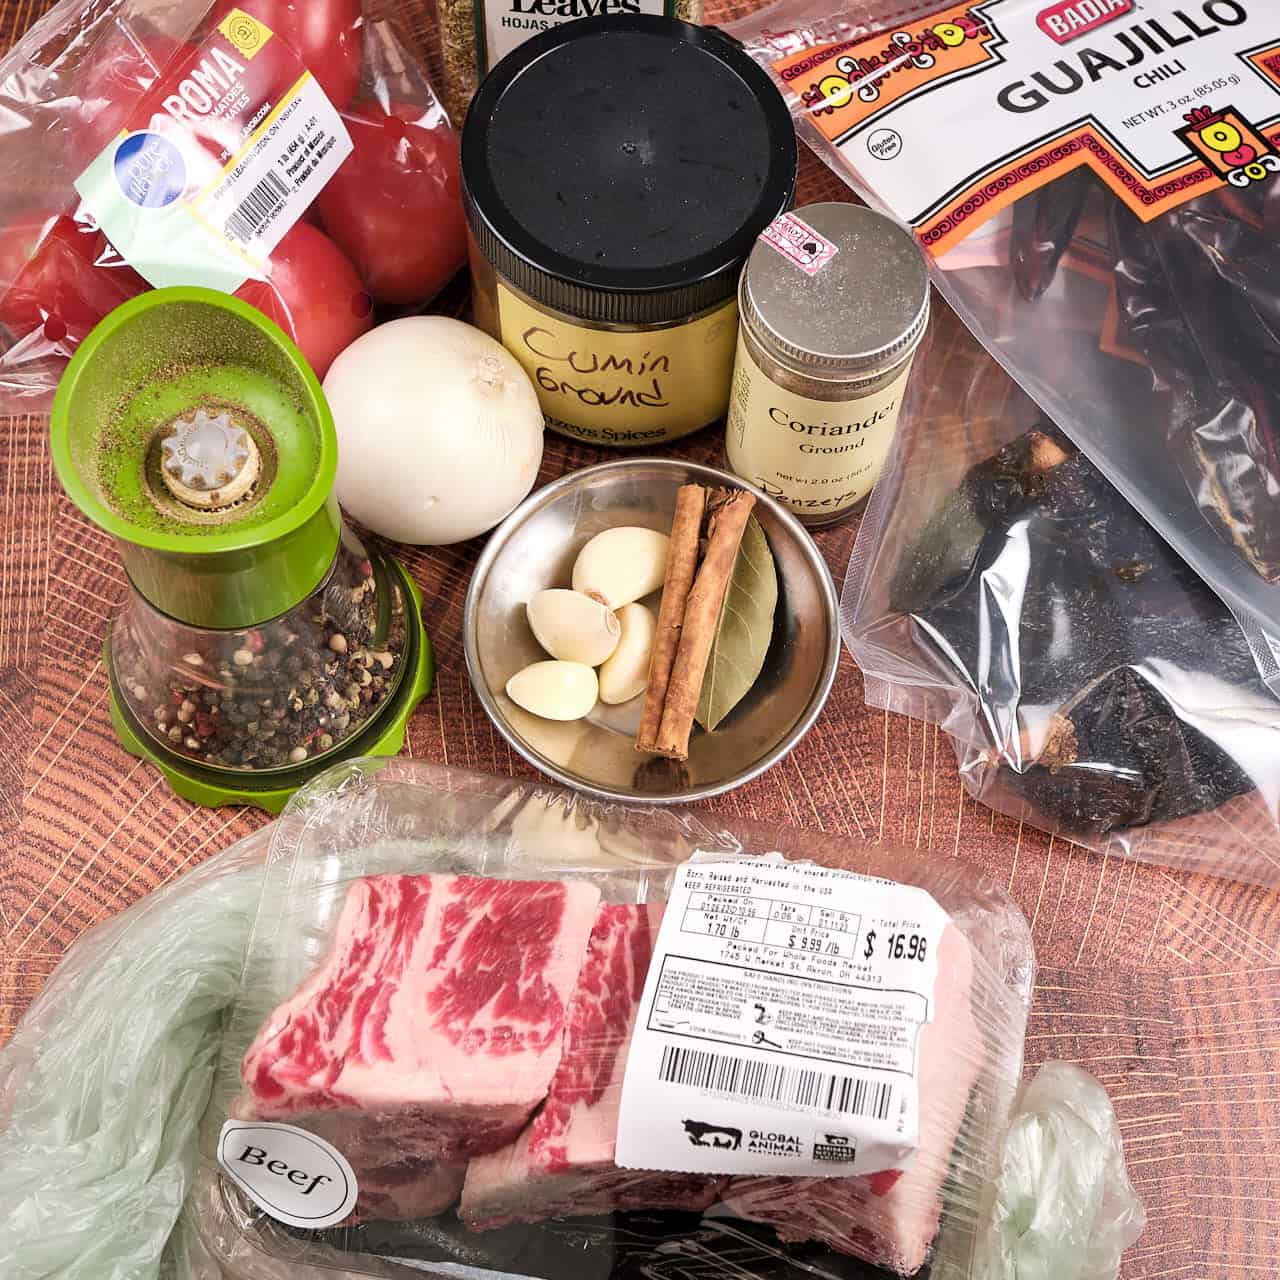
- Vegetable oil
- Dry ancho chiles
- Dry Guajillo or New Mexico chiles
- White onion
- Plum tomato
- Garlic
- Bay leaf
- Fresh ground black pepper
- Ground cumin
- Ground coriander
- Oregano (preferably Mexican oregano)
- Cinnamon
- Ground cloves
- Fine sea salt
- White vinegar
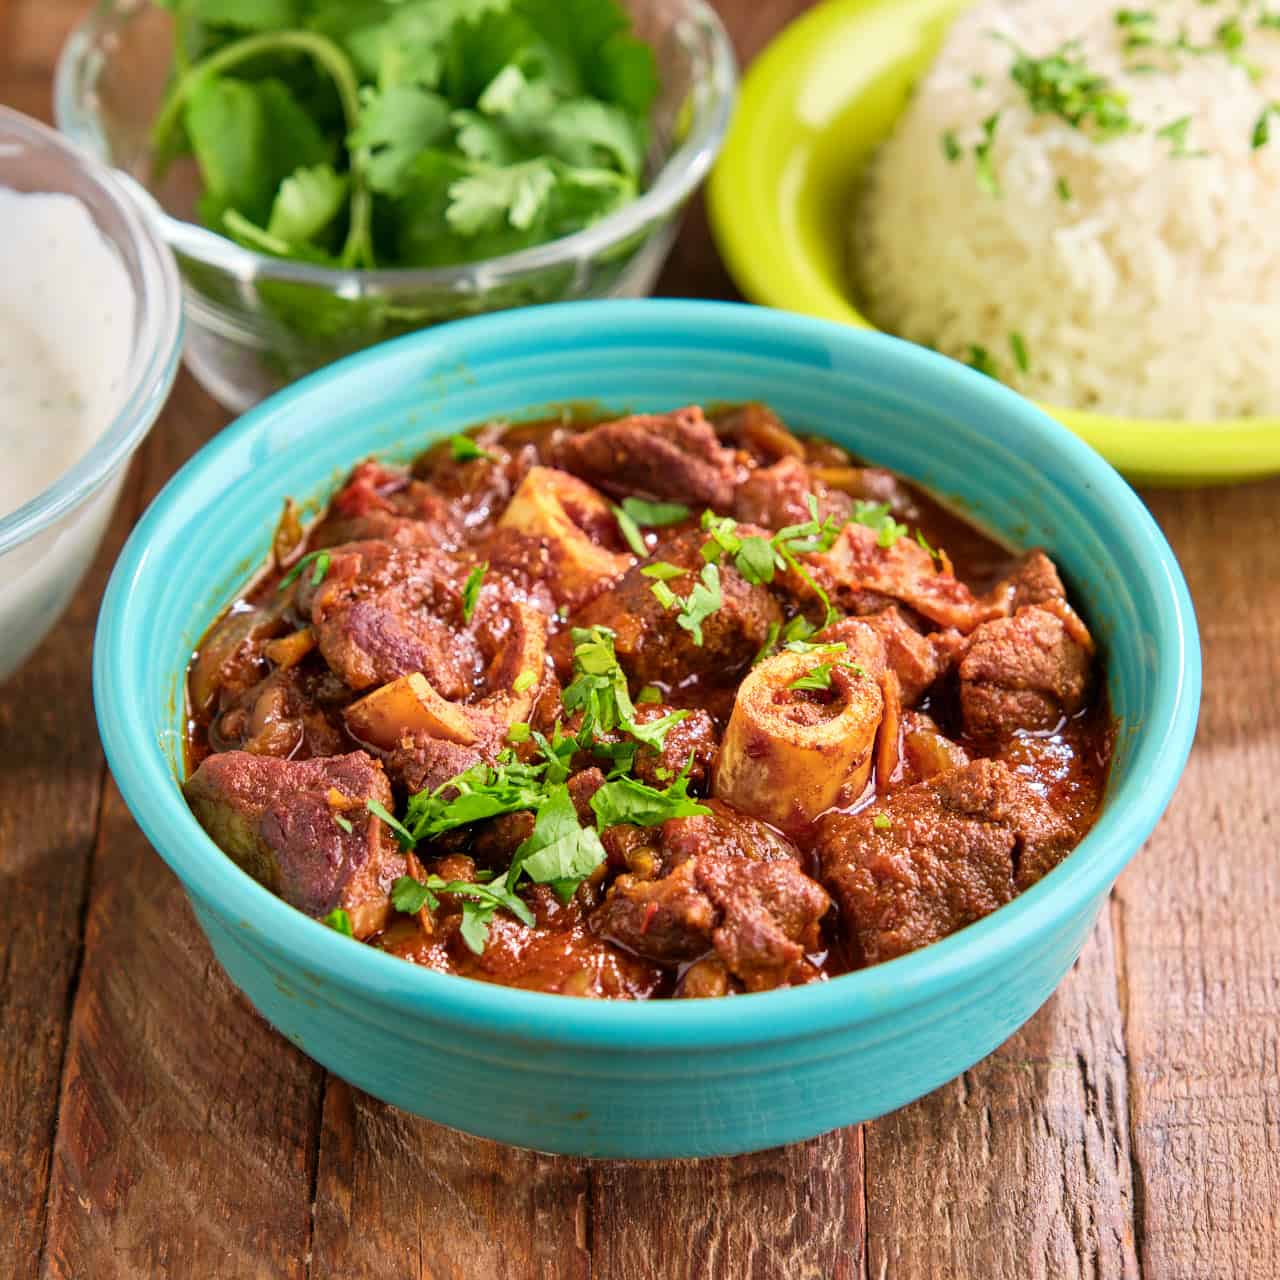
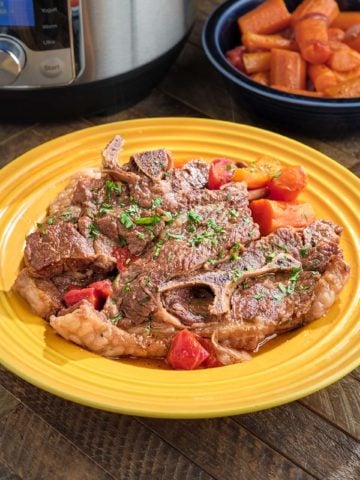
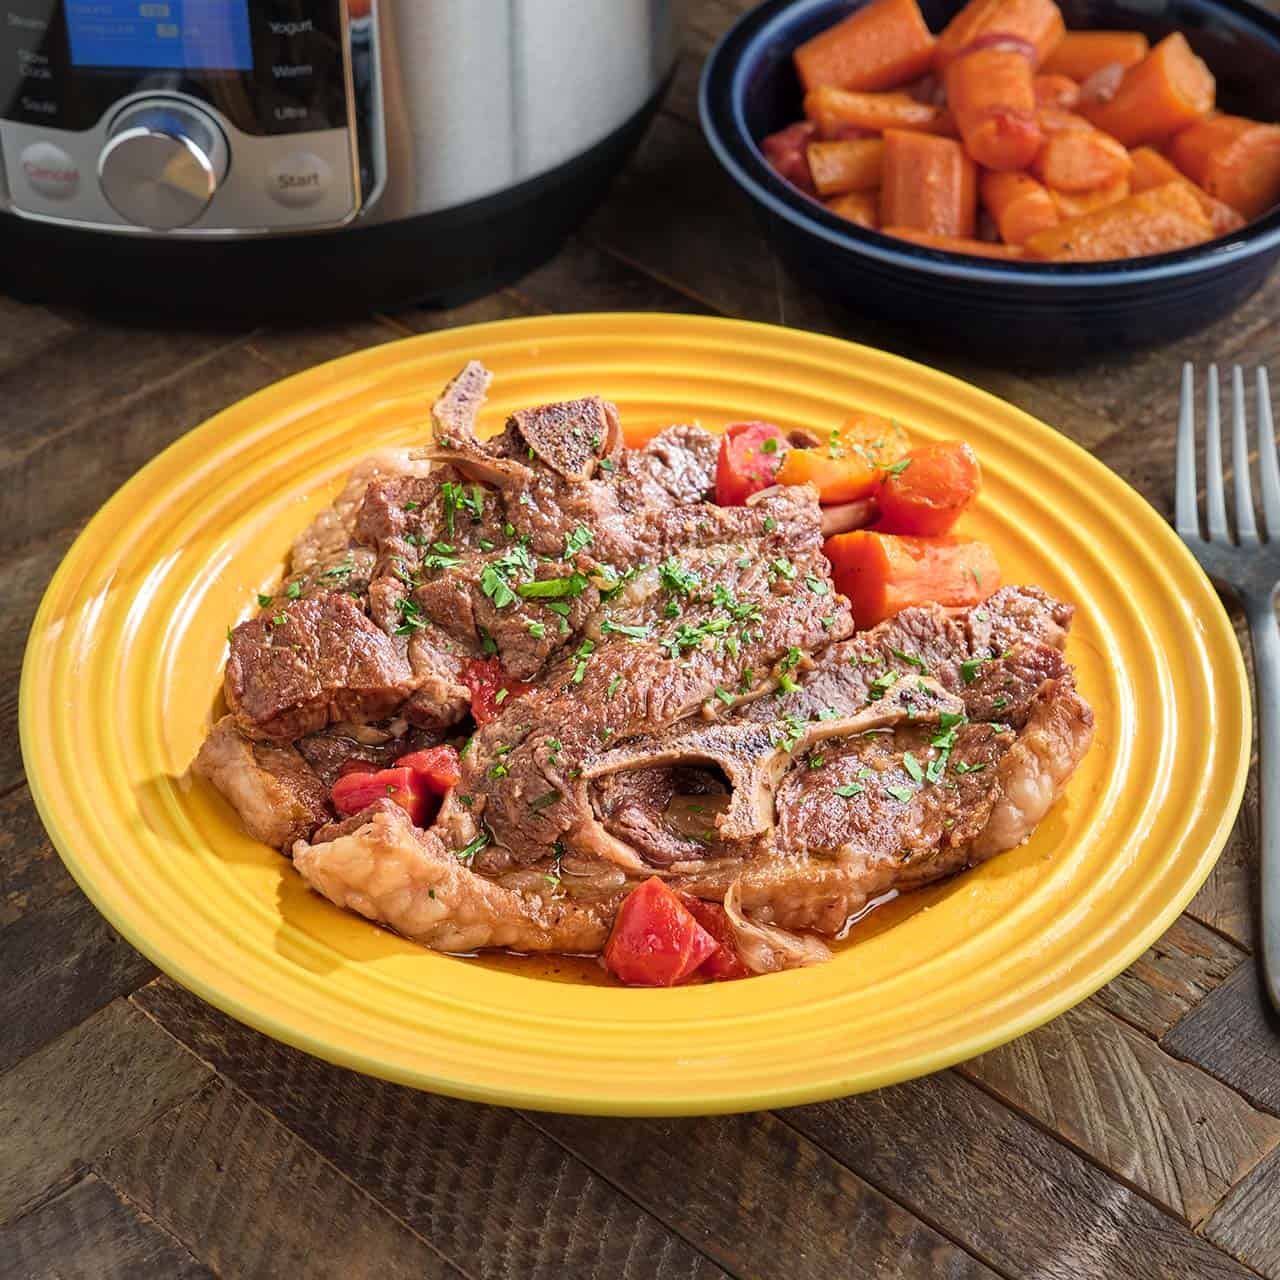
- Bone-in beef short ribs (or oxtails or shanks)
- Boneless beef chuck
- Corn tortillas
- Monterey Jack (or Queso Oaxaca)
See the recipe card for quantities.
How to Make Instant Pot Birria Tacos
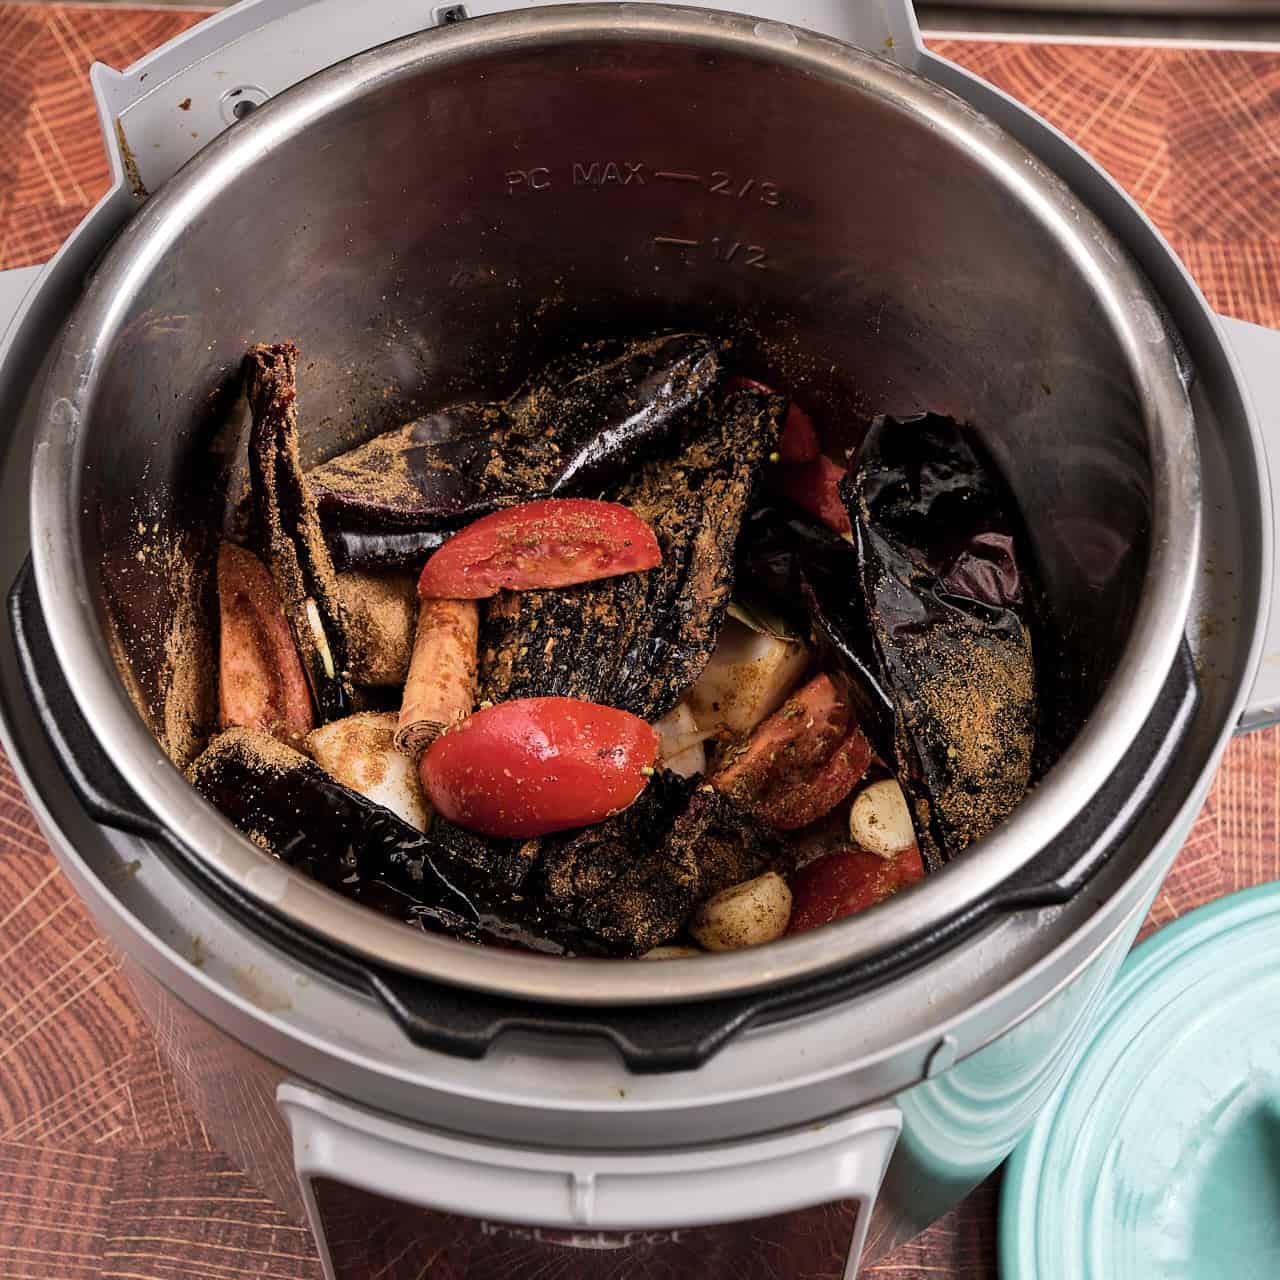
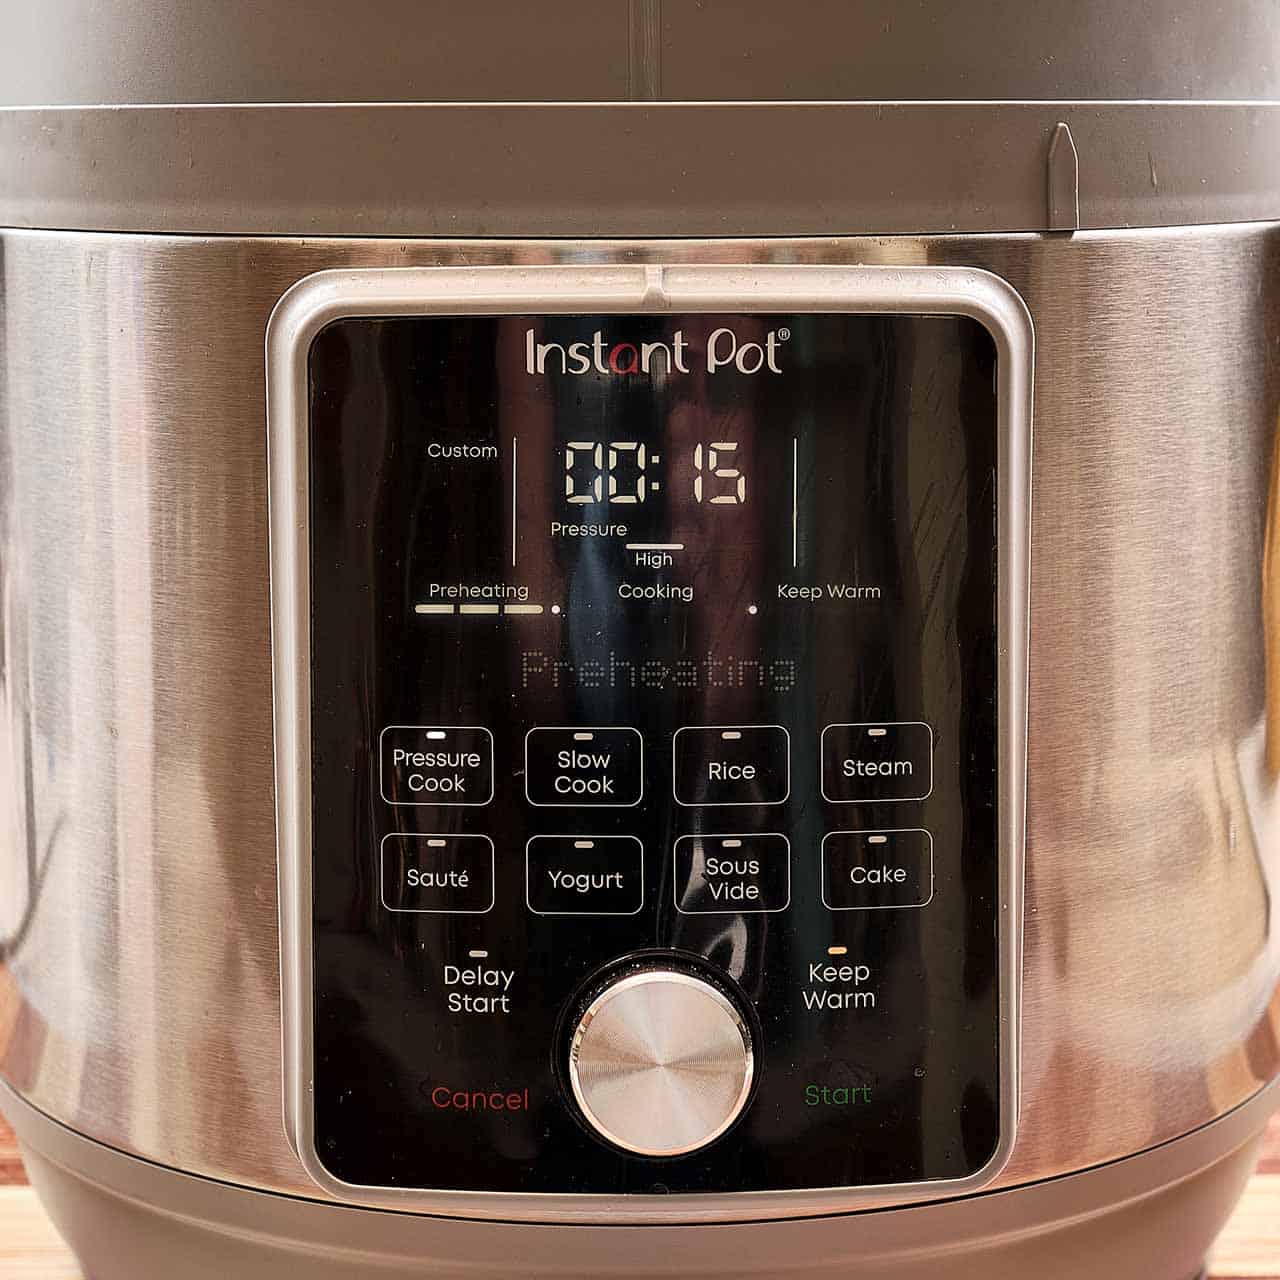
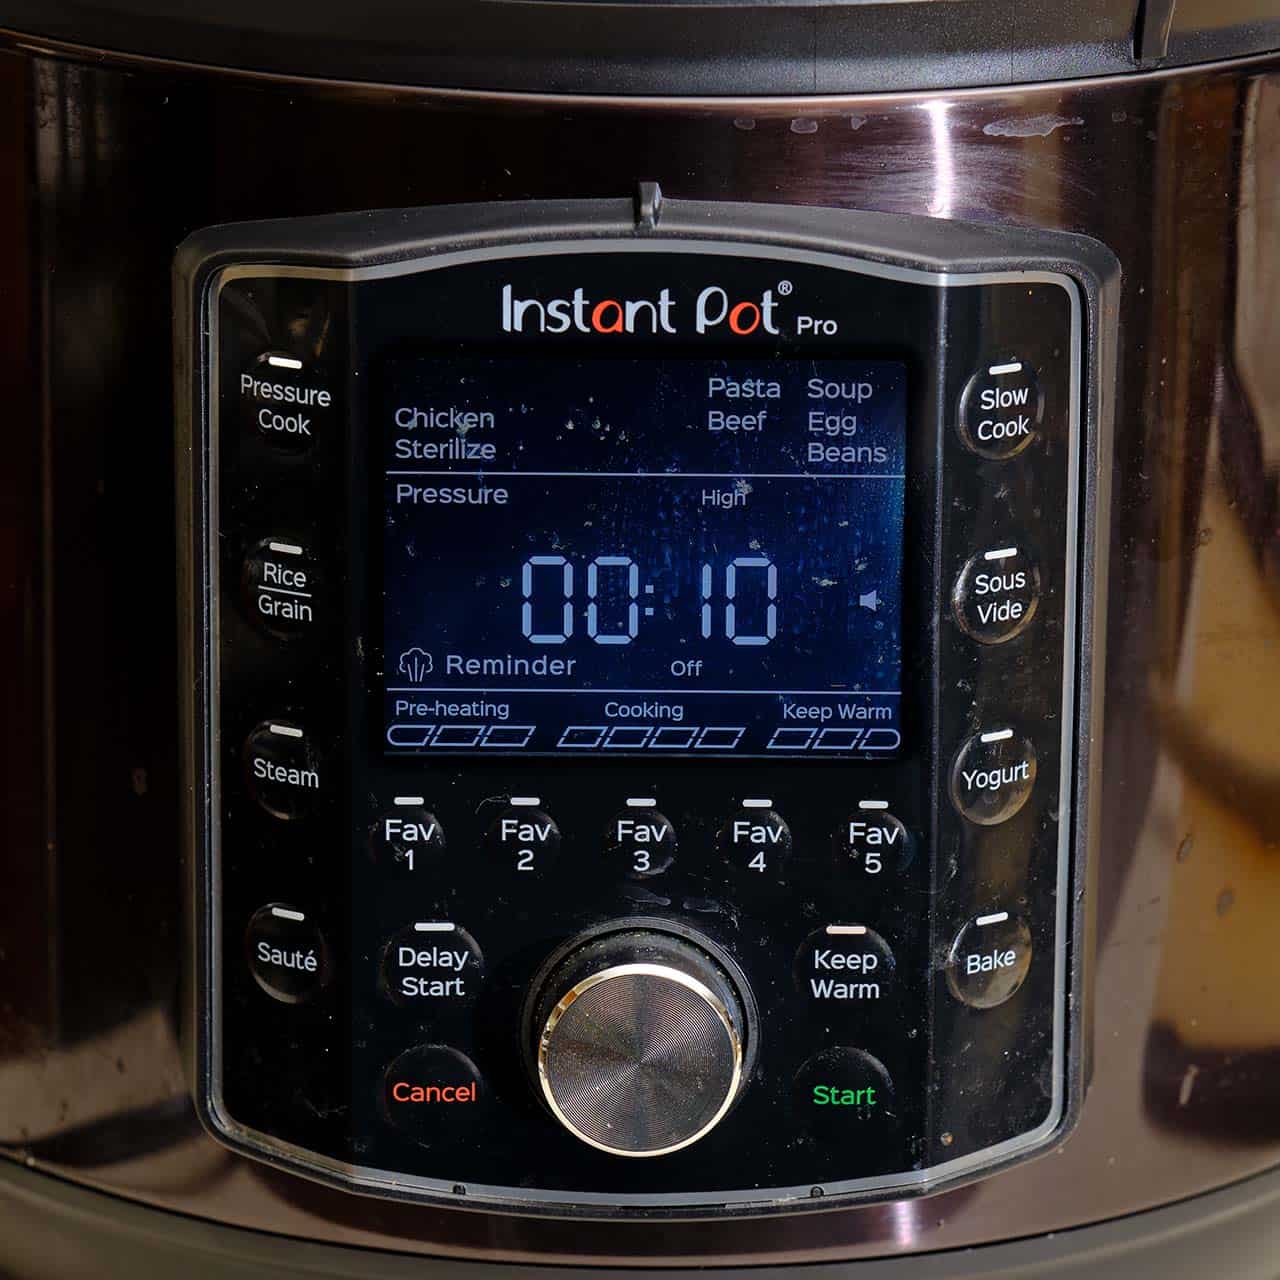
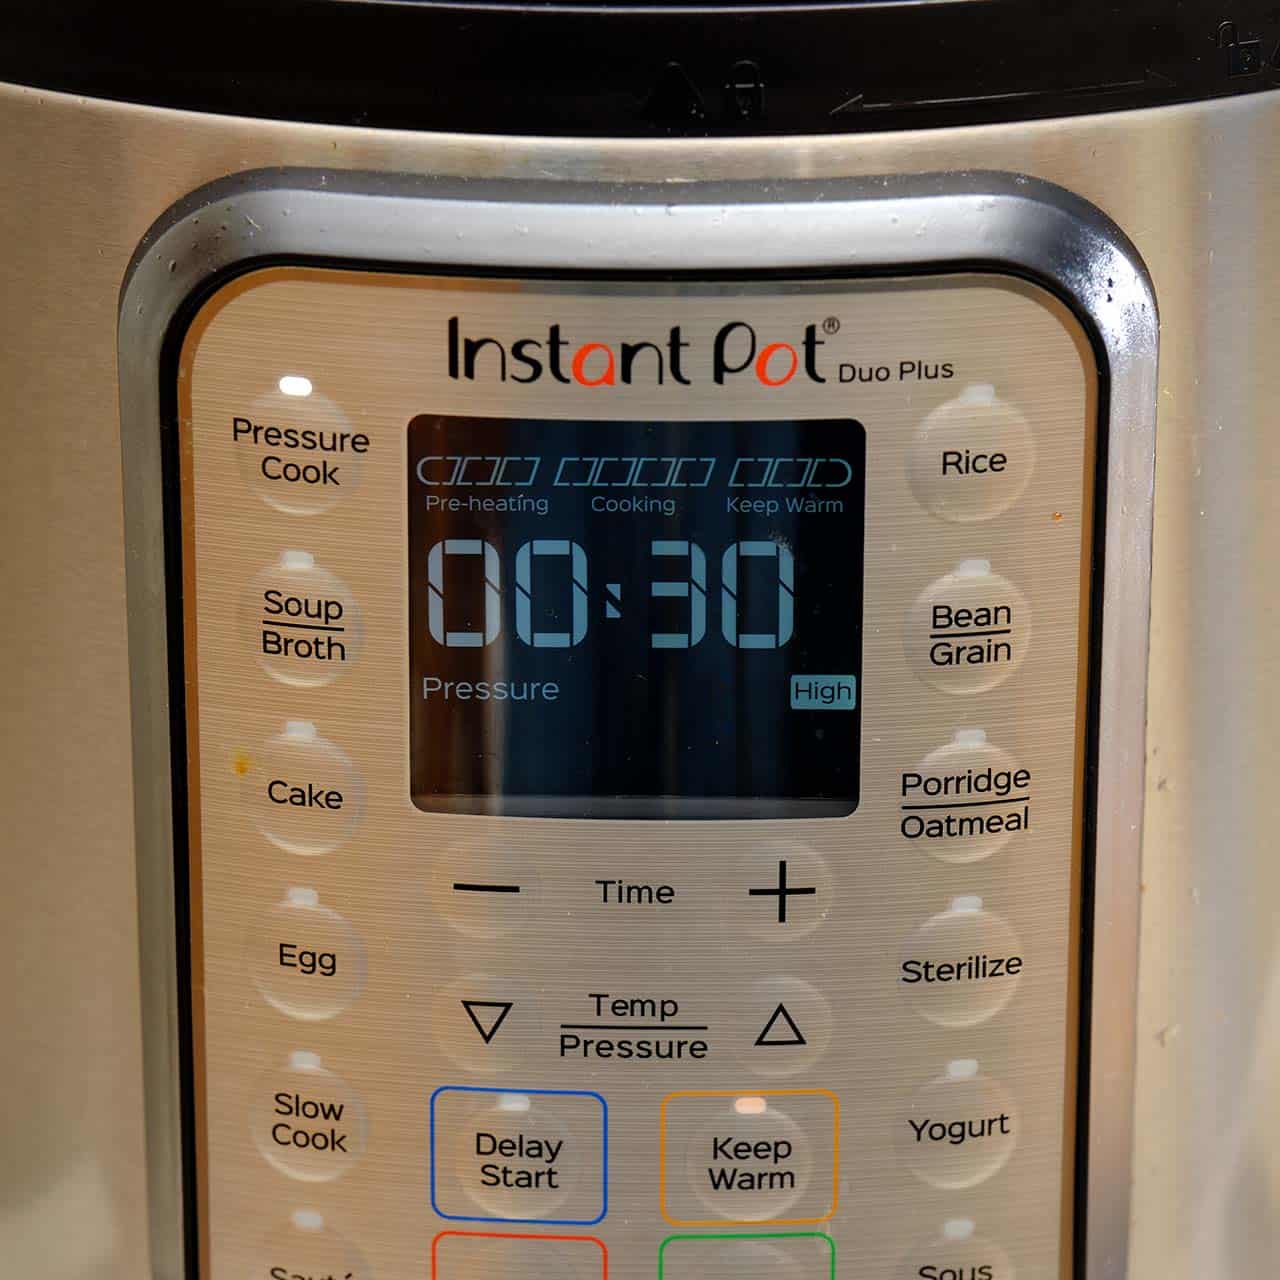
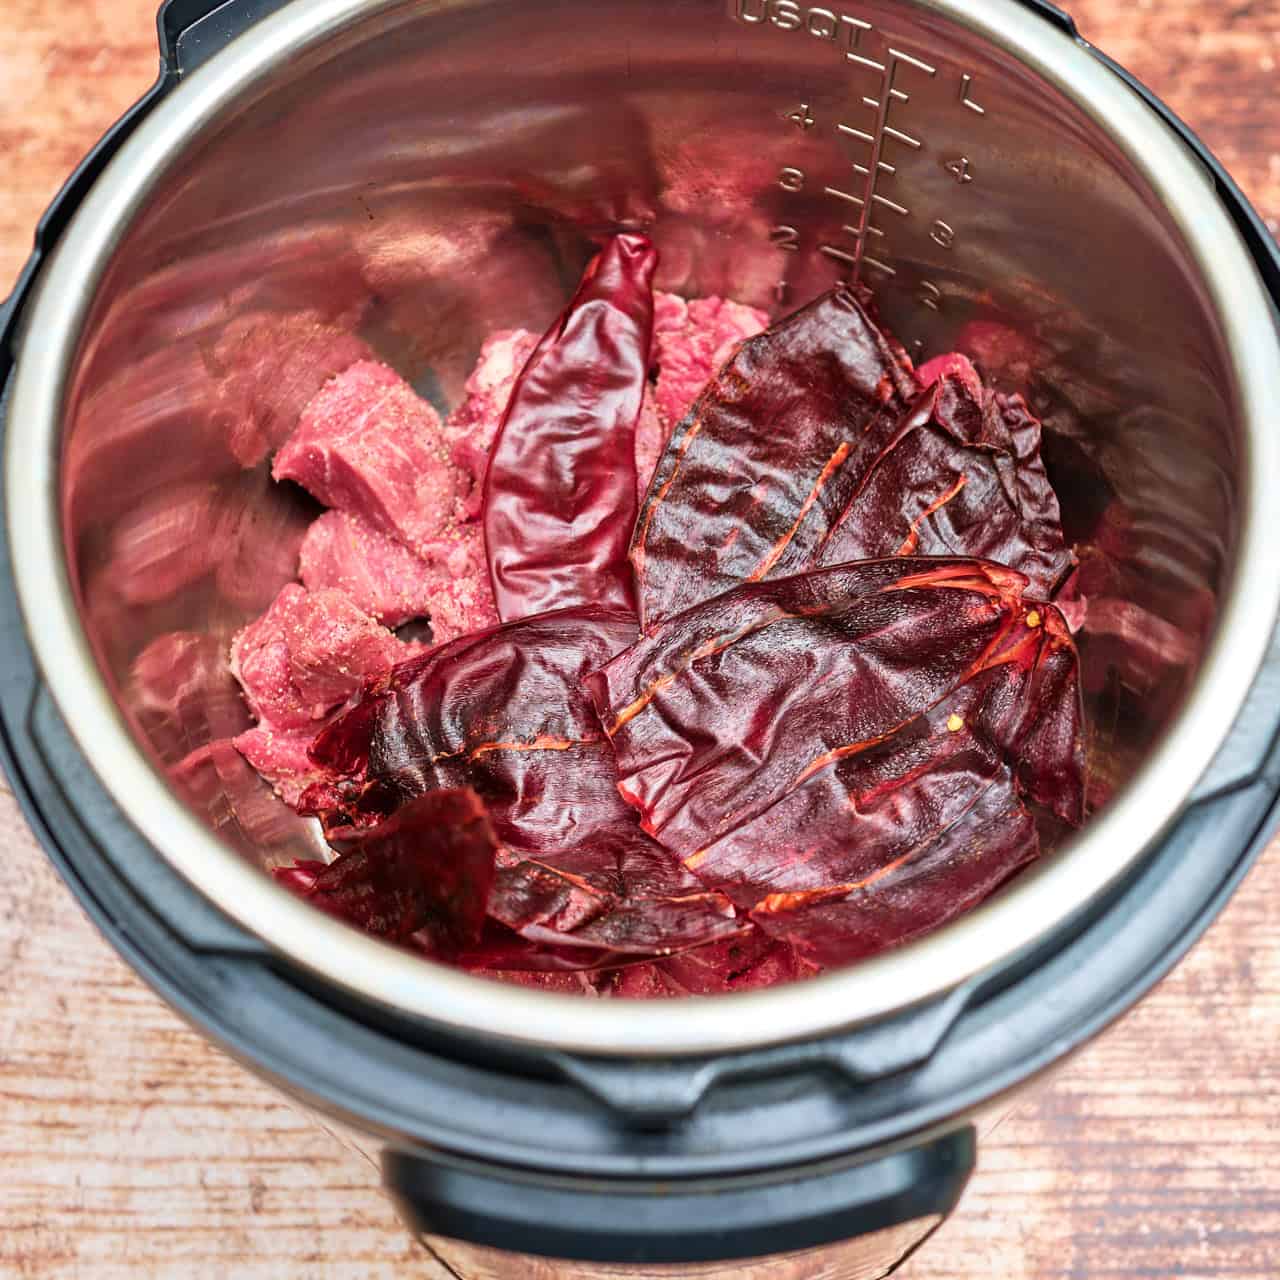
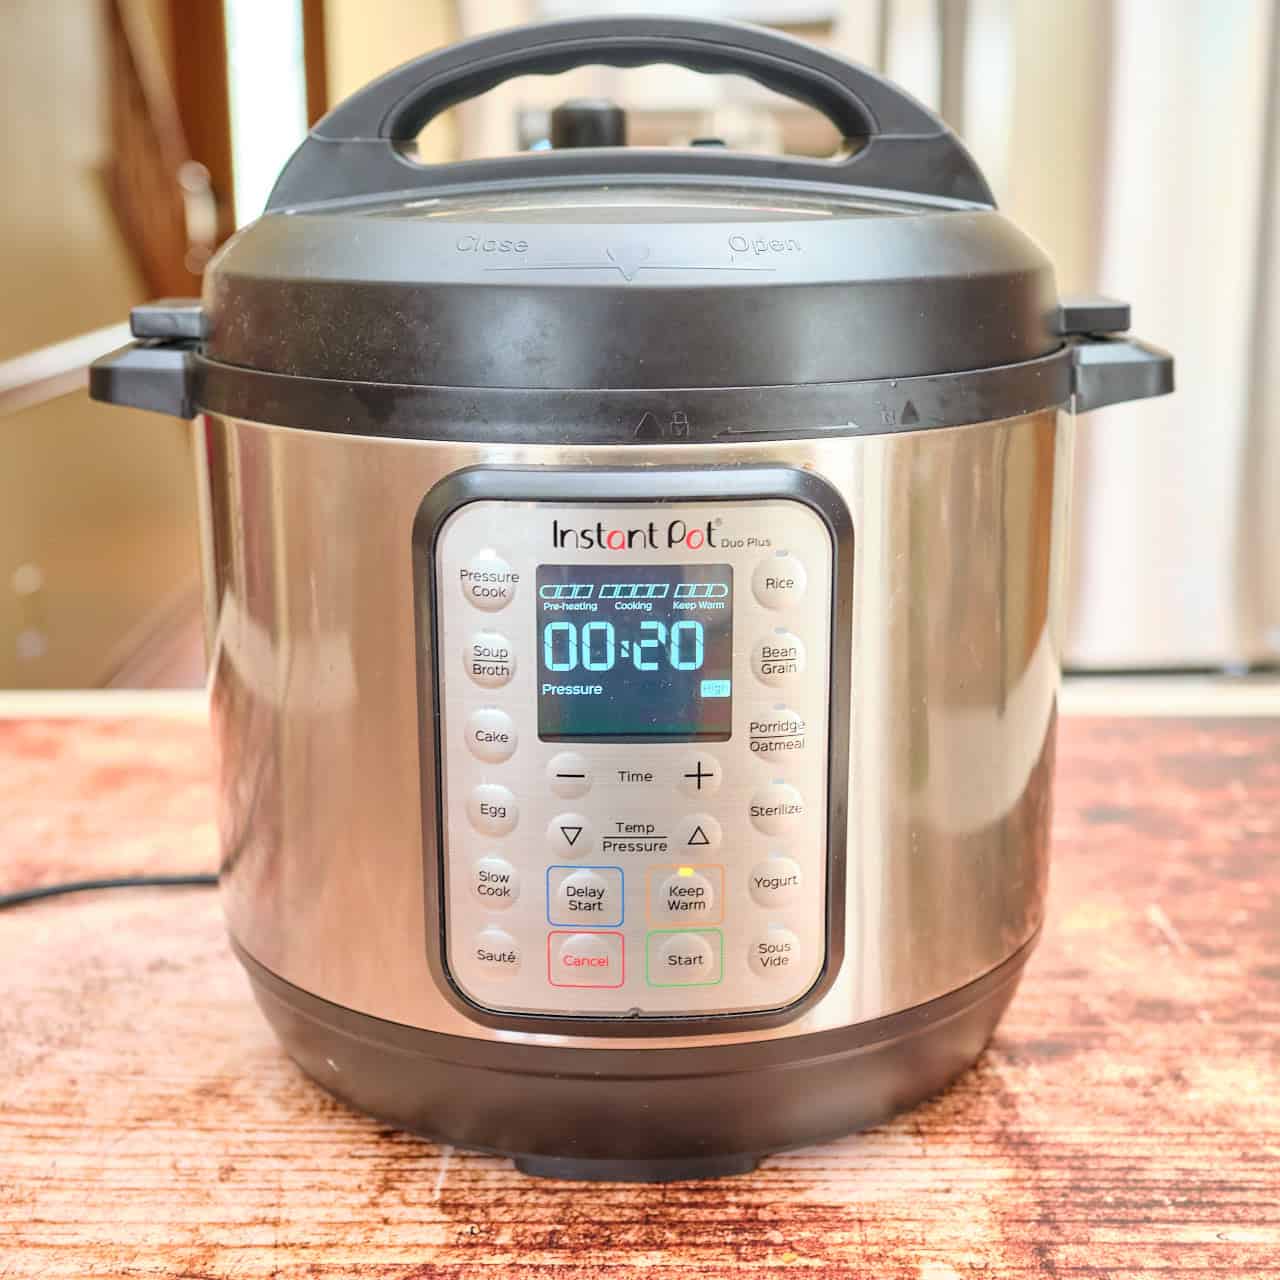
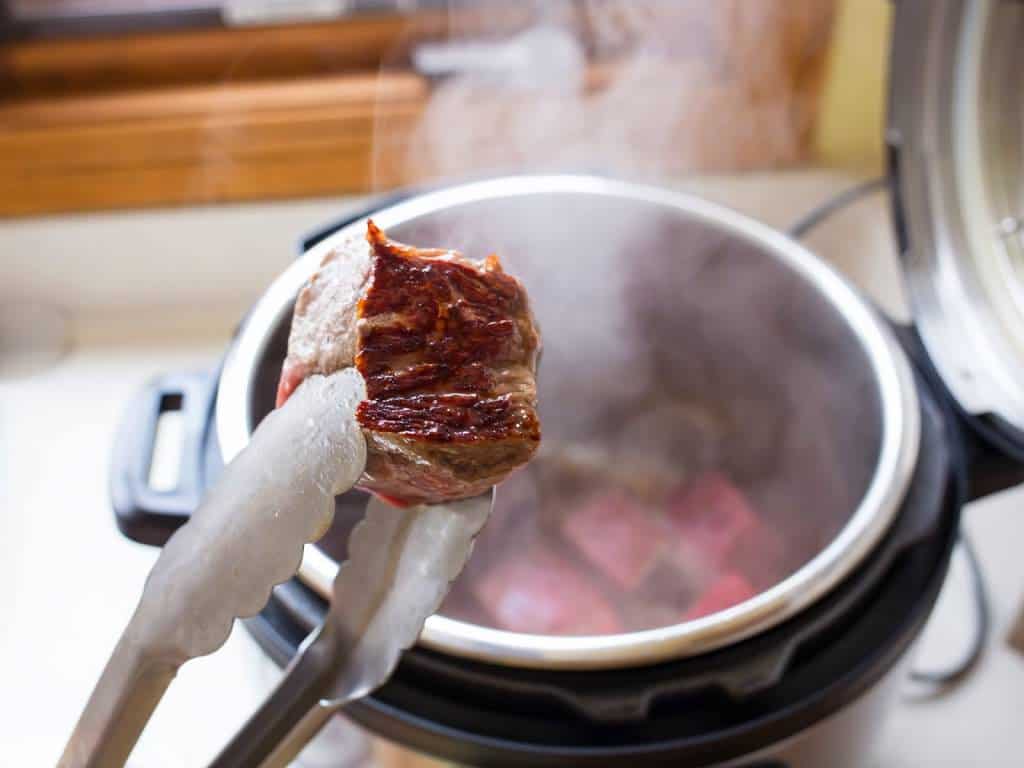
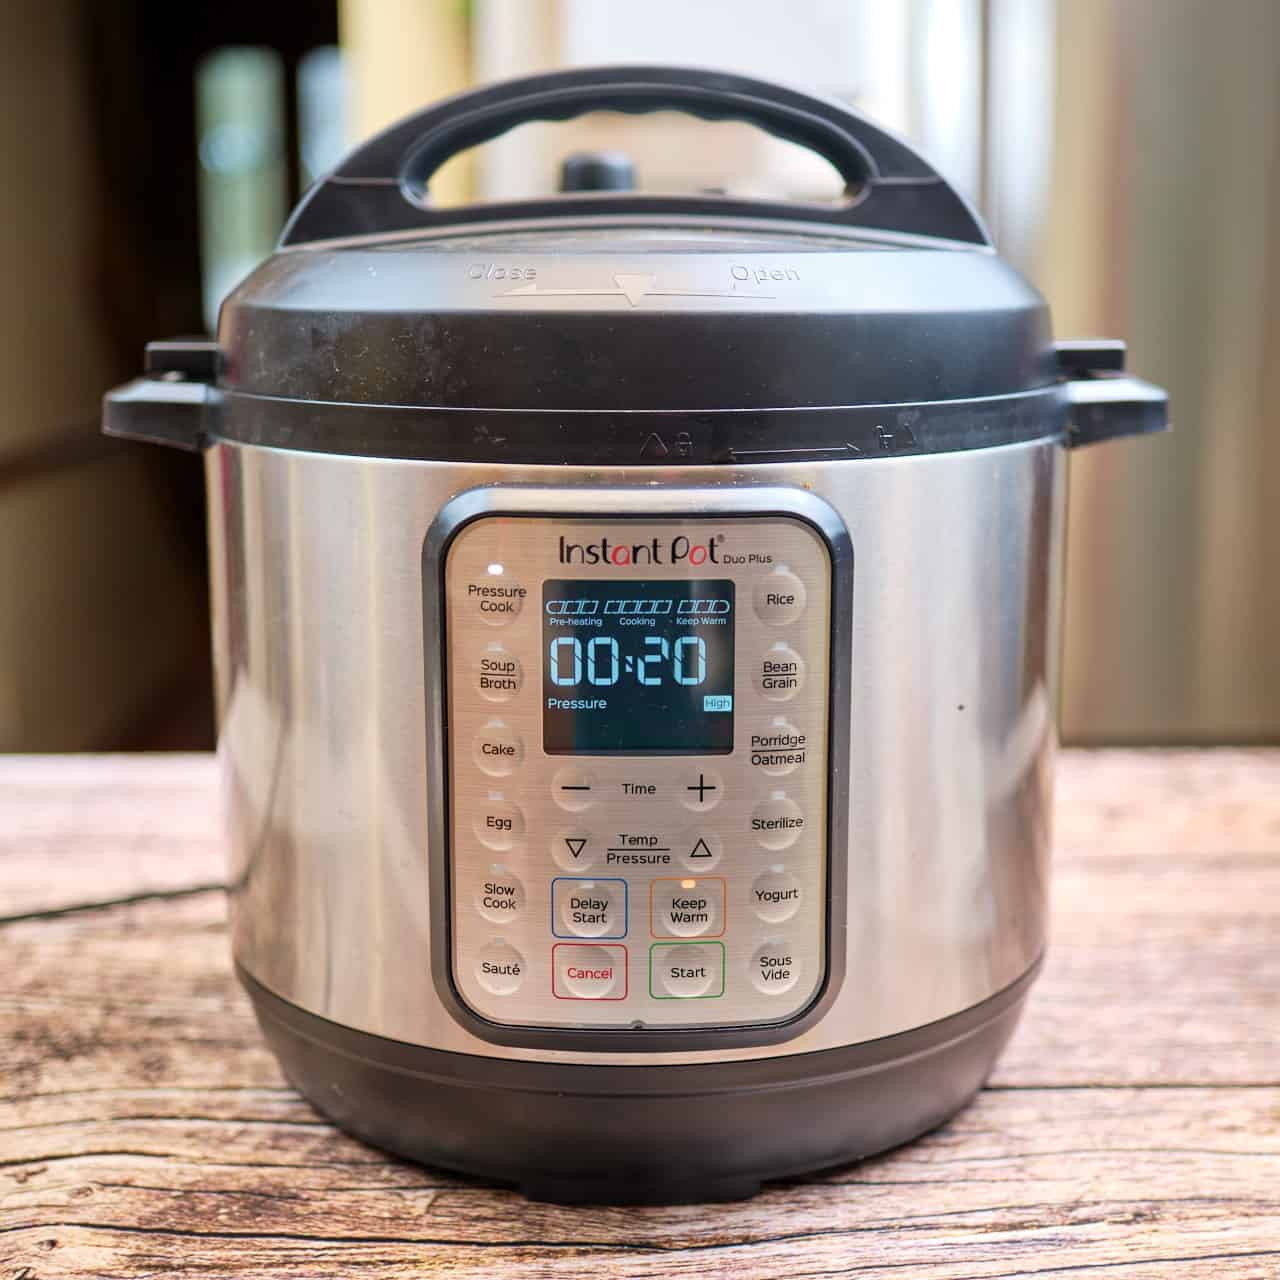
Pressure cook the adobo for 4 minutes with a quick release: Heat the oil until shimmering in an Instant Pot set to Sauté mode adjusted to high. Add the seeded and stemmed Ancho and Guajillo peppers, stir to coat with oil, and toast for 1 minute. Add the onion, tomatoes, garlic, cinnamon, bay leaf, black pepper, cumin, coriander, oregano, and cloves, and stir in the water and 1 teaspoon of fine sea salt. Lock the lid and pressure cook on high for 4 minutes (Use Manual, Pressure Cook, or Pressure Cook - Custom mode on an Instant Pot), then quick release the pressure.

Blend the adobo: Unlock the pressure cooker lid and pour everything from the pressure cooker into a blender. Add 2 cups of cold water and white vinegar. Remove the vent plug from your blender lid (if it doesn't have an auto-venting plug), and hold down the lid tight with a towel. (The hot liquid will want to push the lid off the blender when it starts.) Blend on high until completely smooth, 1-2 minutes, depending on your blender.
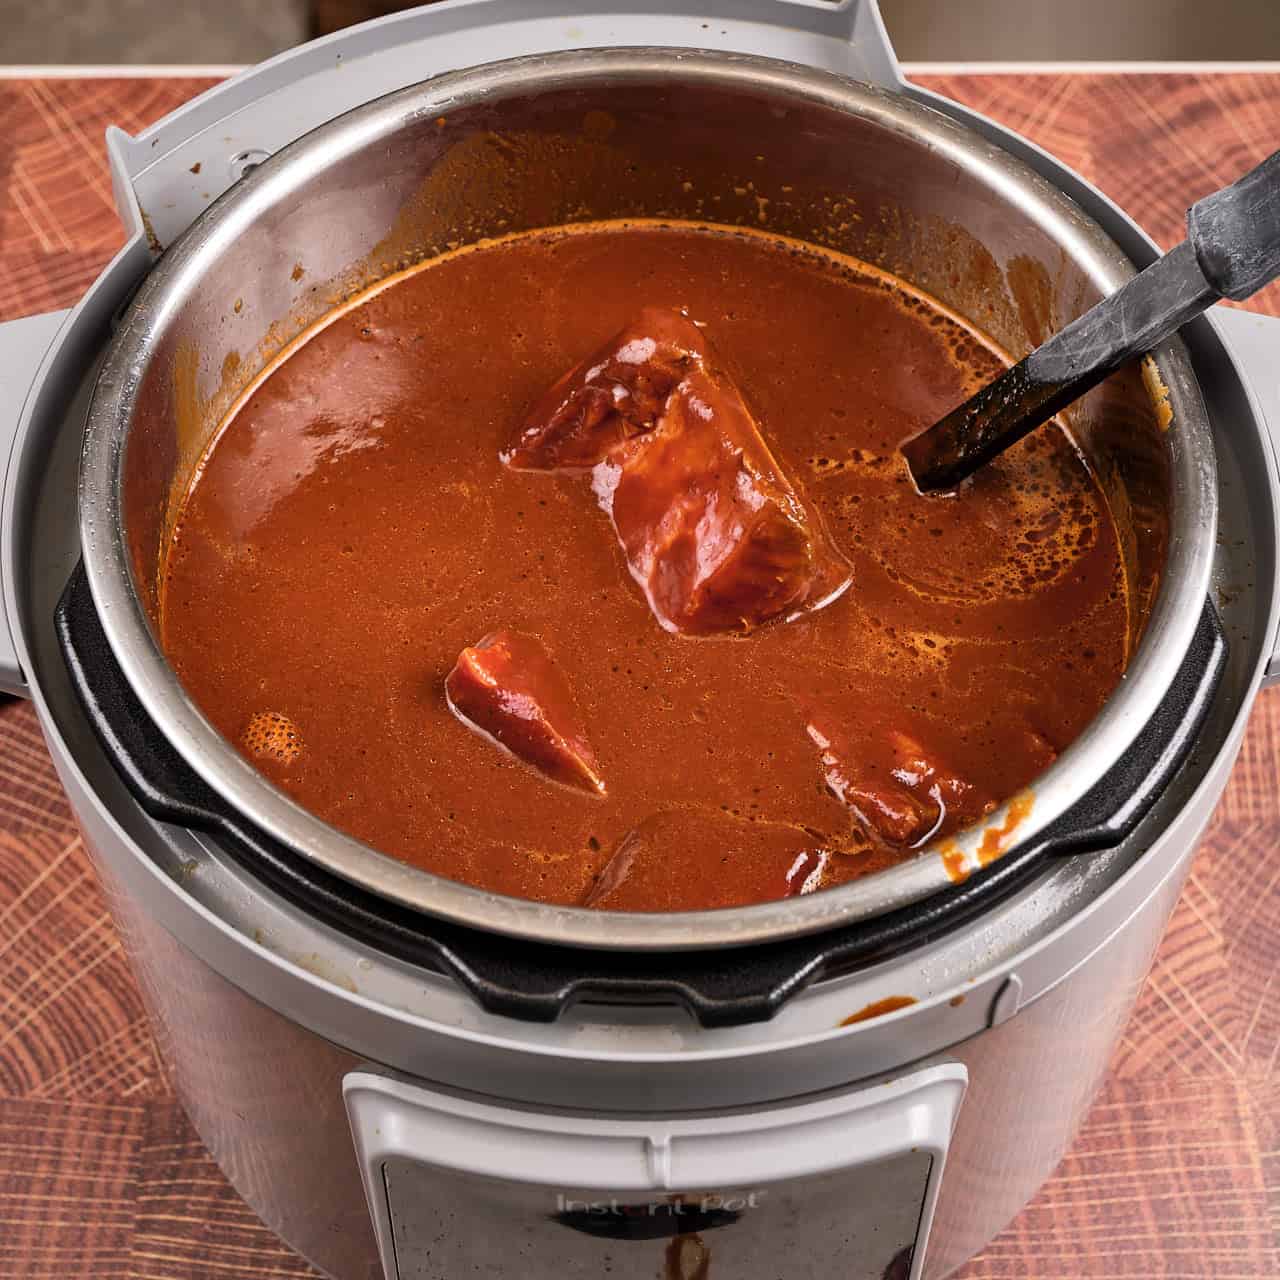
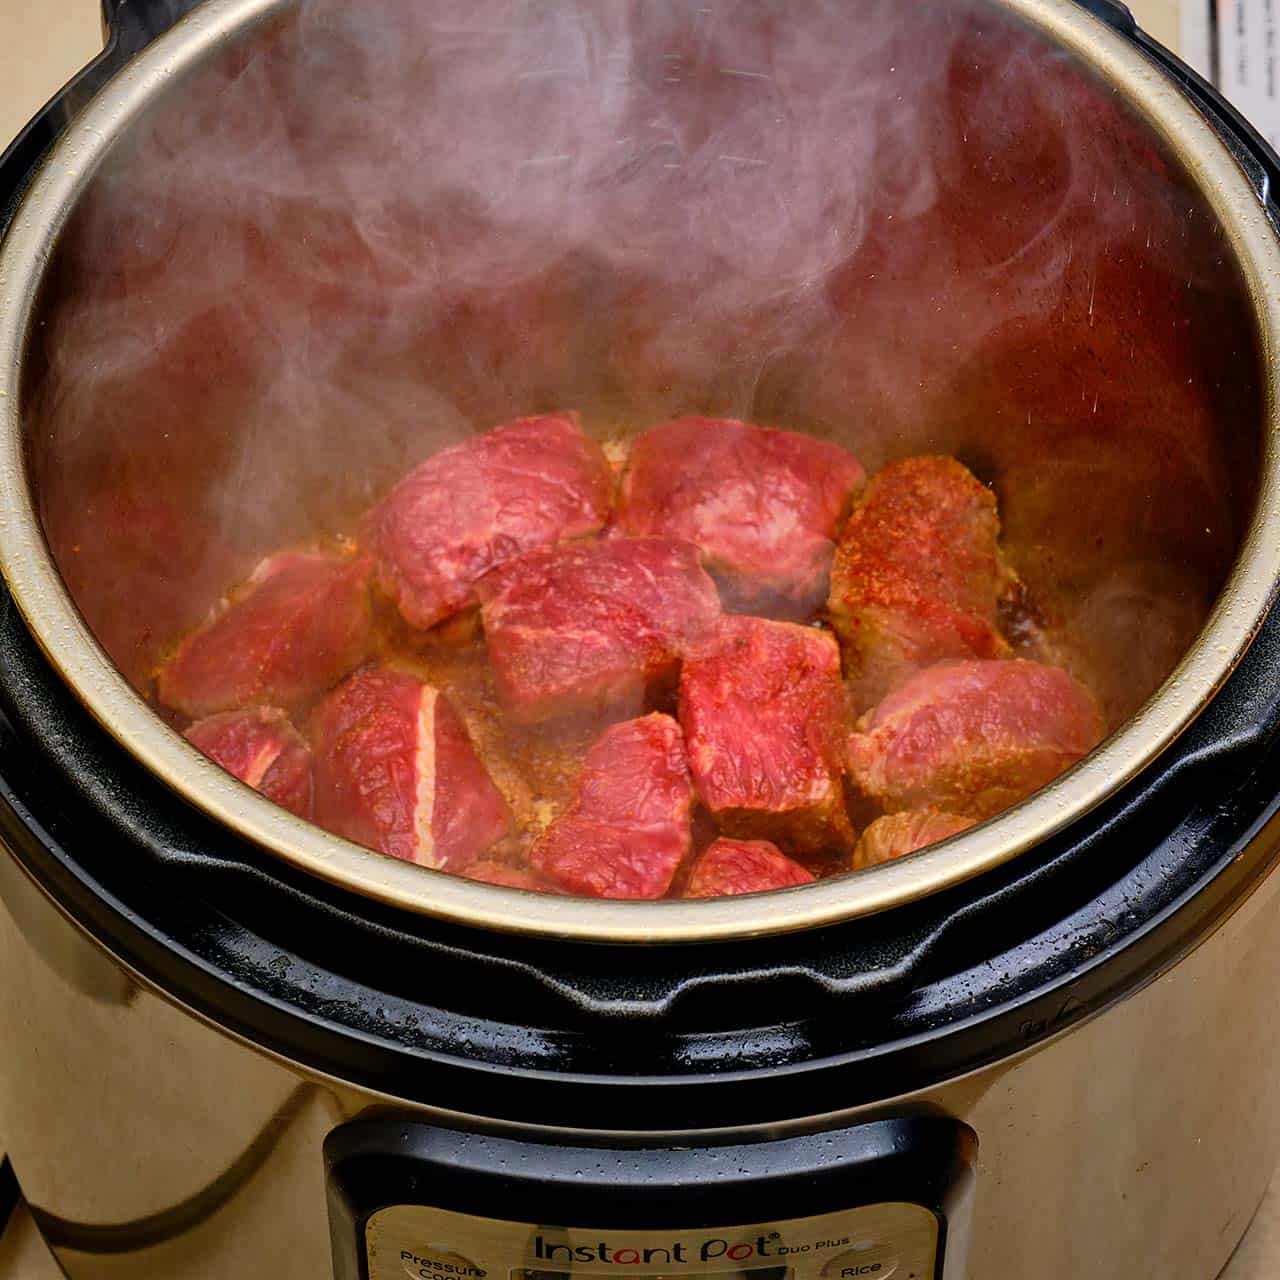
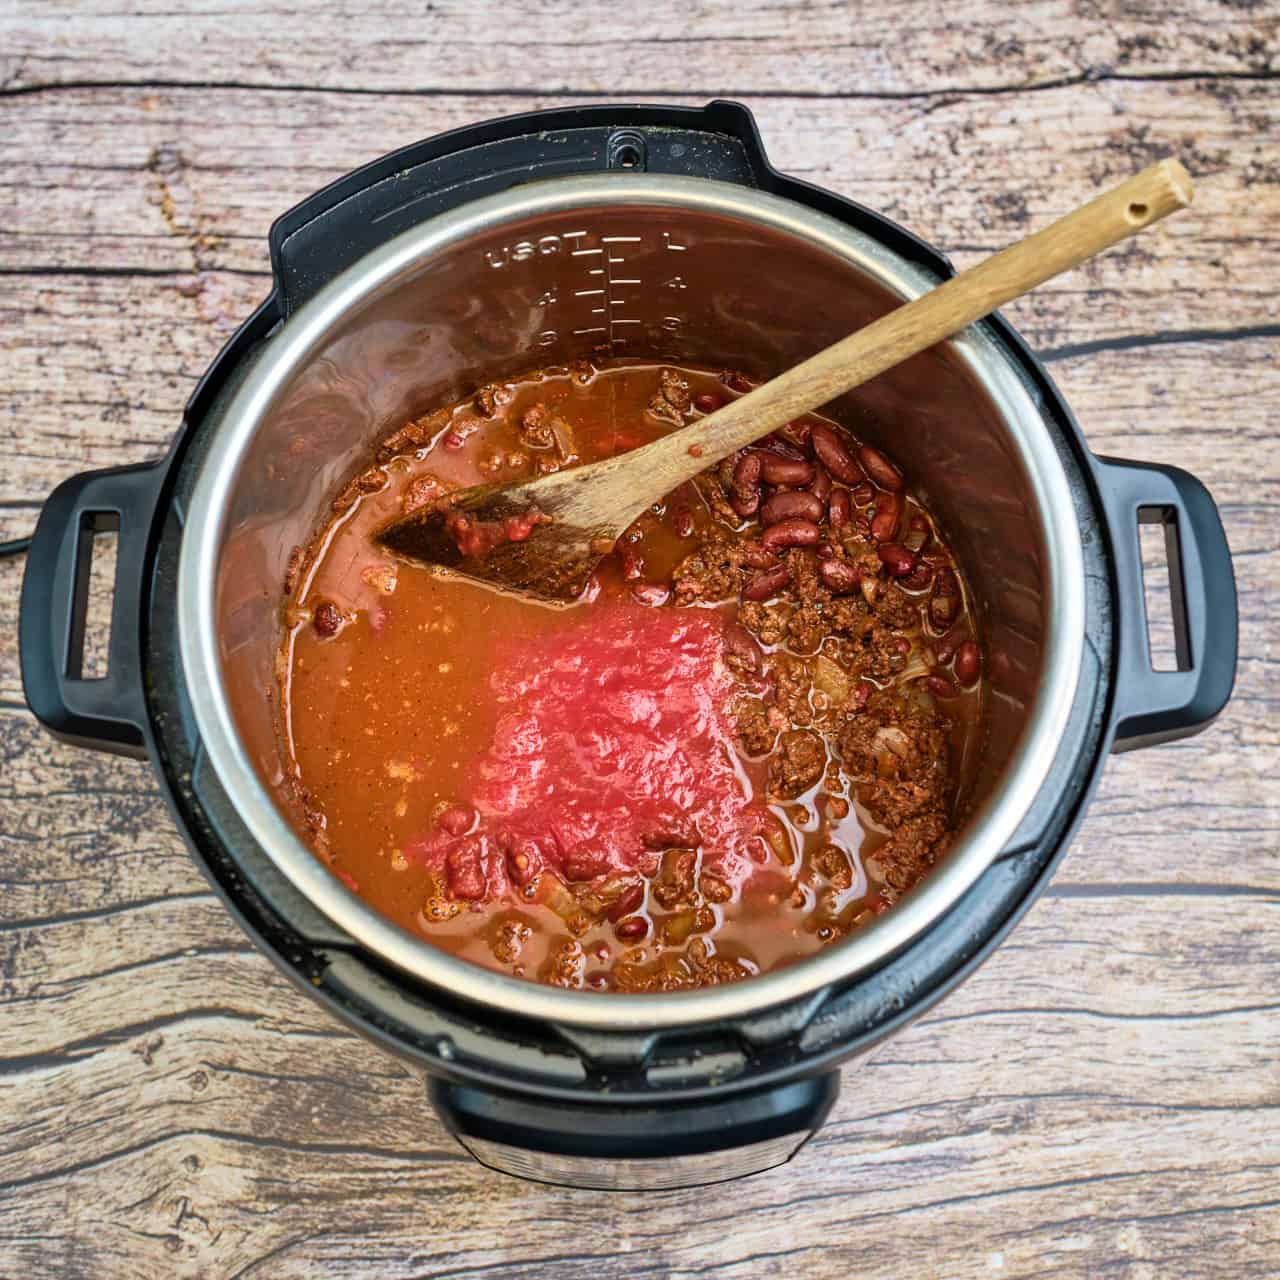
Everything in the pot: Wipe out the Instant Pot. Sprinkle the beef short ribs and chuck with 1½ teaspoons of salt, then put them in the pot. Pour in the adobo from the blender, and stir to coat the beef. Pour in 6 cups of water and 1 tablespoon of fine sea salt, and stir again.
Pressure cook for 45 minutes with a Natural Release: Lock the lid and cook at high pressure for 45 minutes (use Manual, Pressure Cook, or Pressure Cook - Custom mode in an Instant Pot). Let the pressure come down naturally, for about 30 minutes. (If you're in a hurry, you can quick release any remaining pressure after 15 minutes).
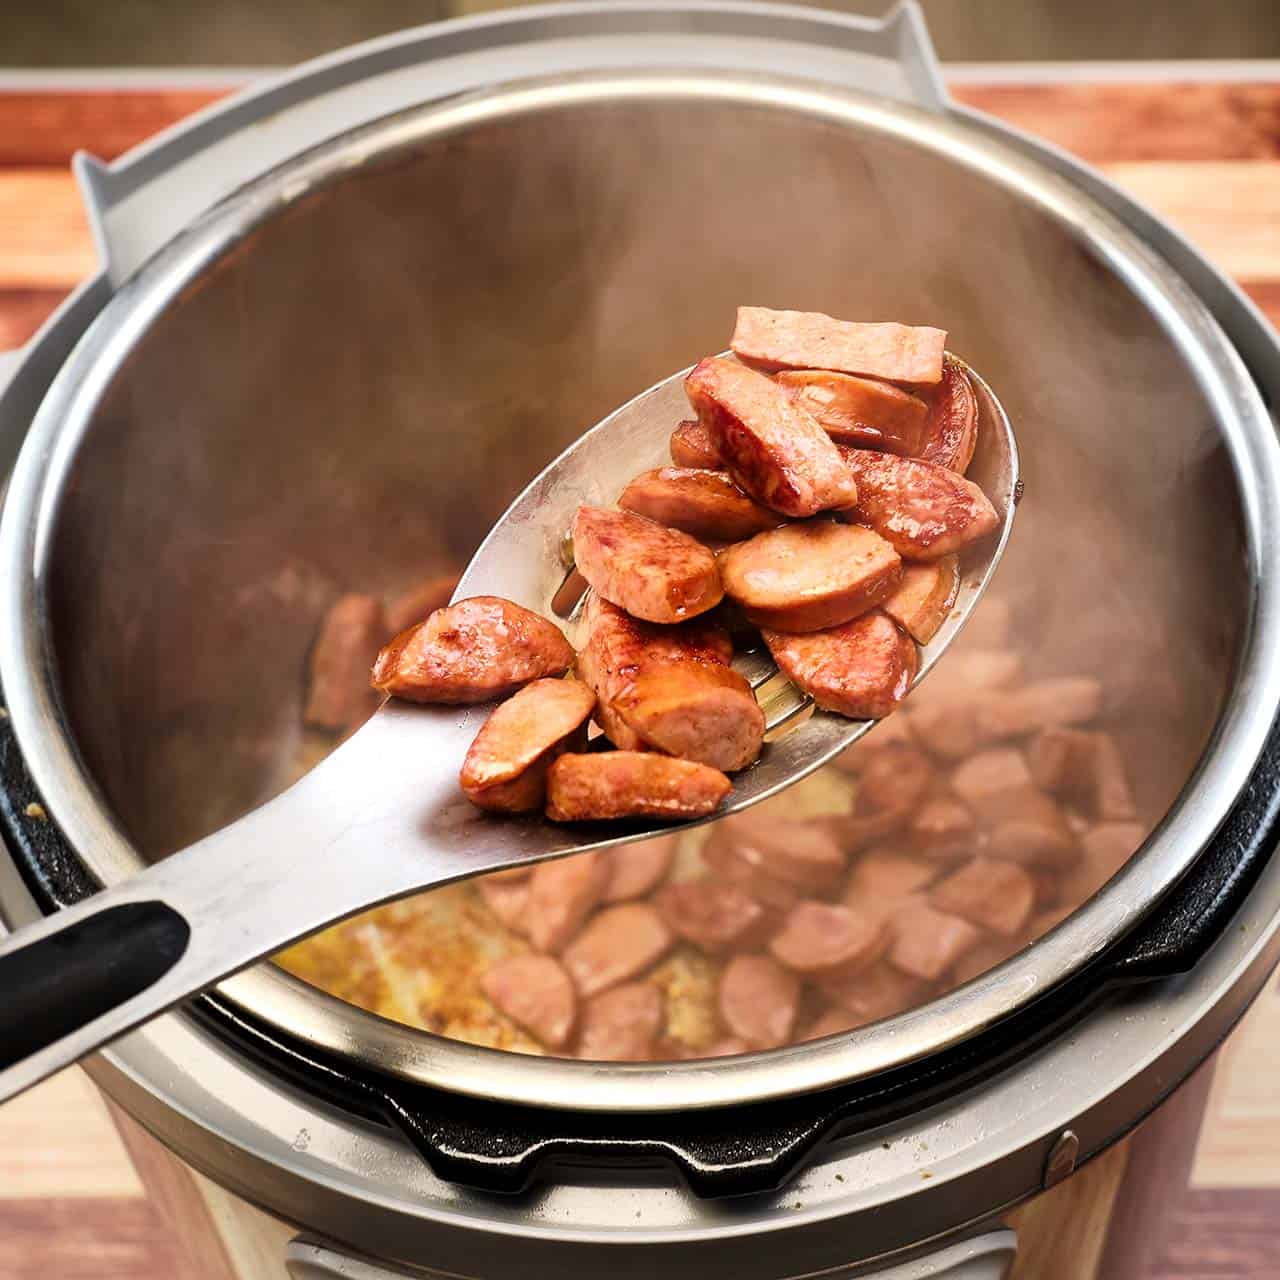
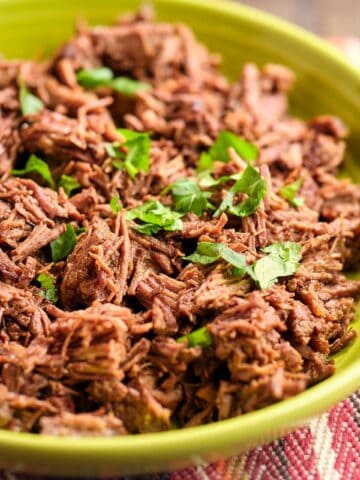
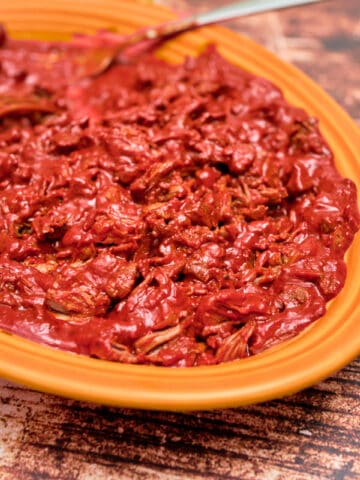
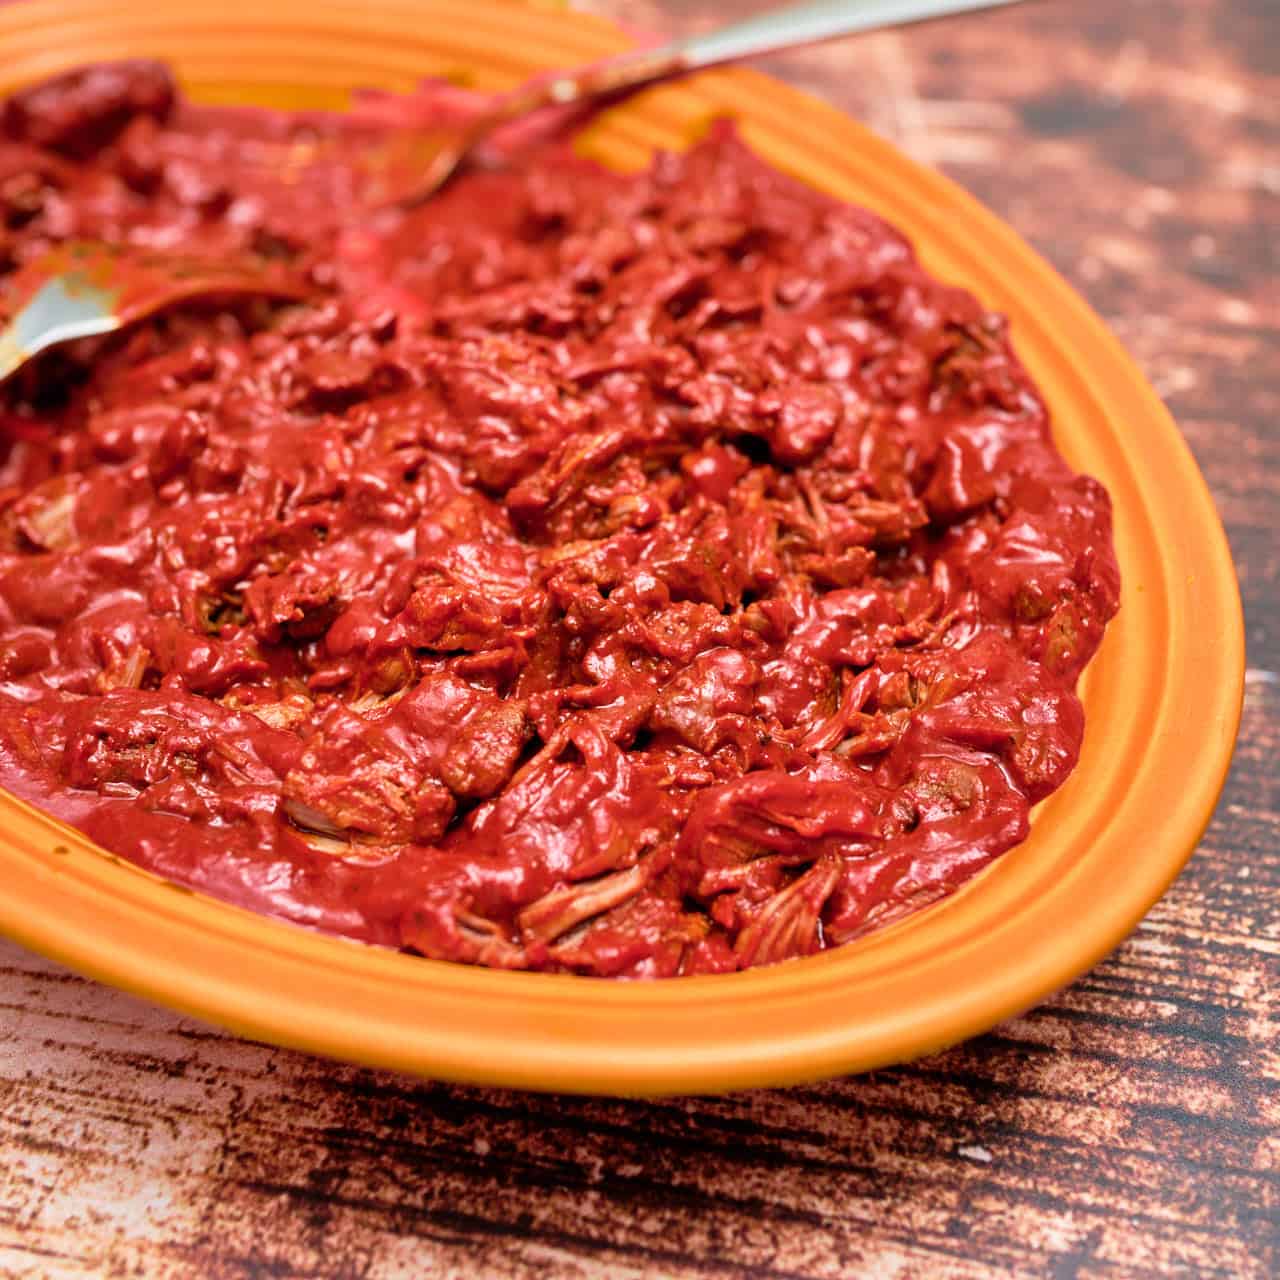
Shred the beef: Unlock the lid on the cooker. Scoop the beef out of the broth with a slotted spoon, and transfer it to a platter. Shred the beef with a pair of forks.
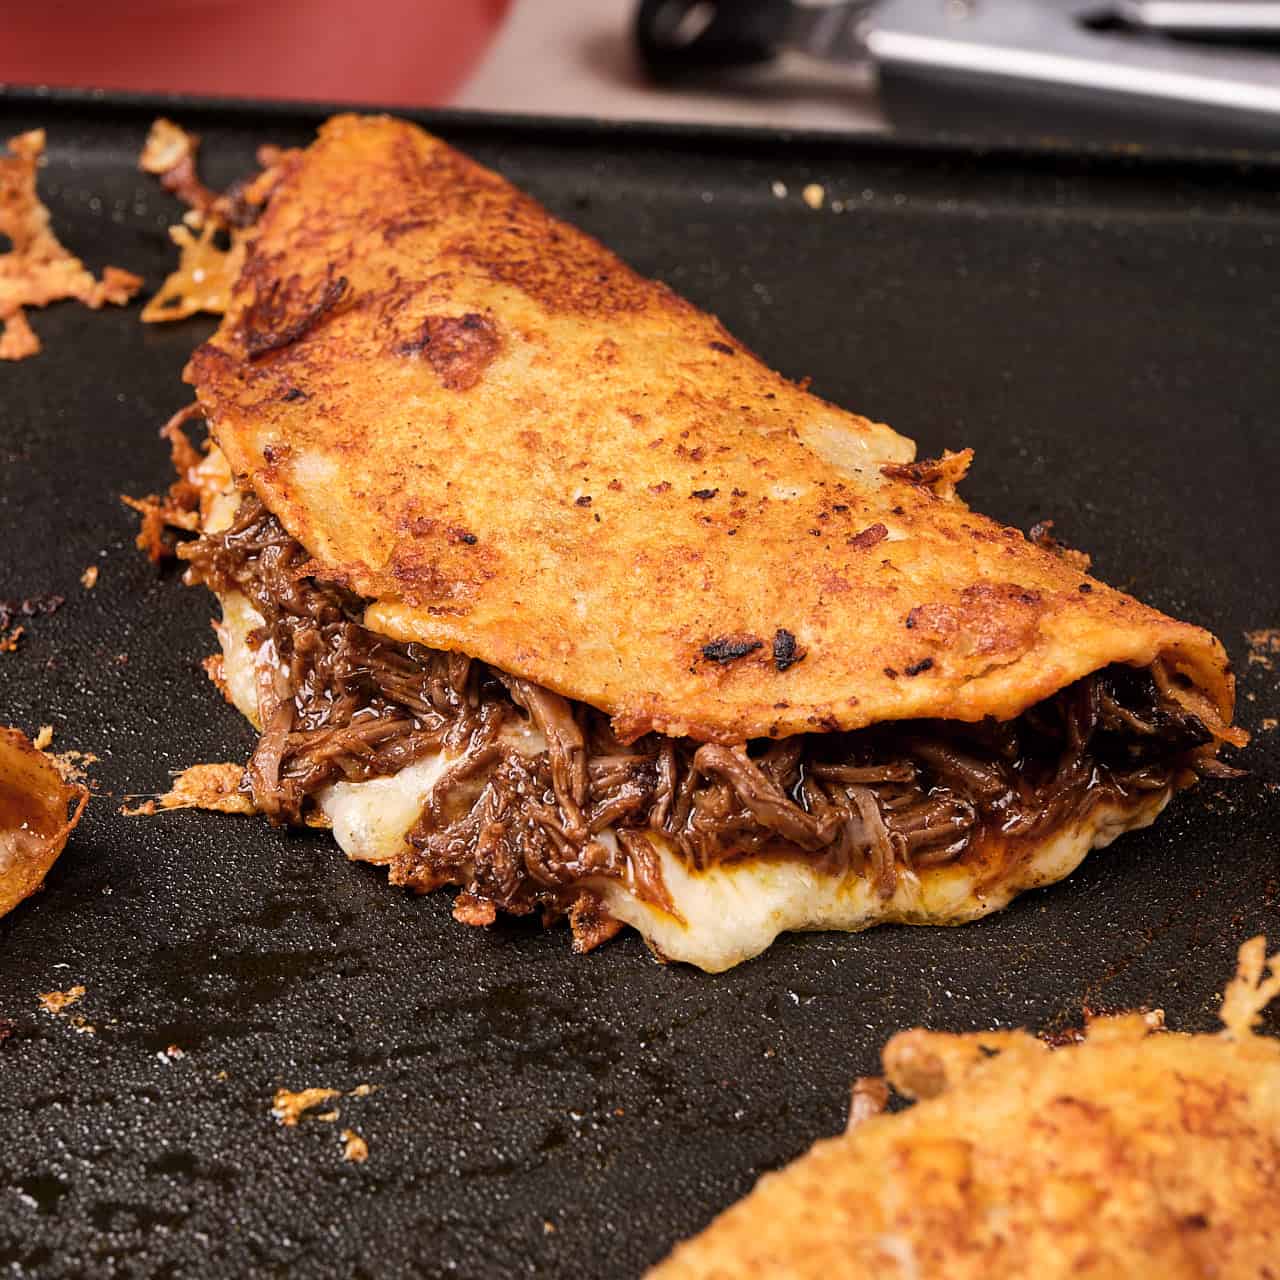
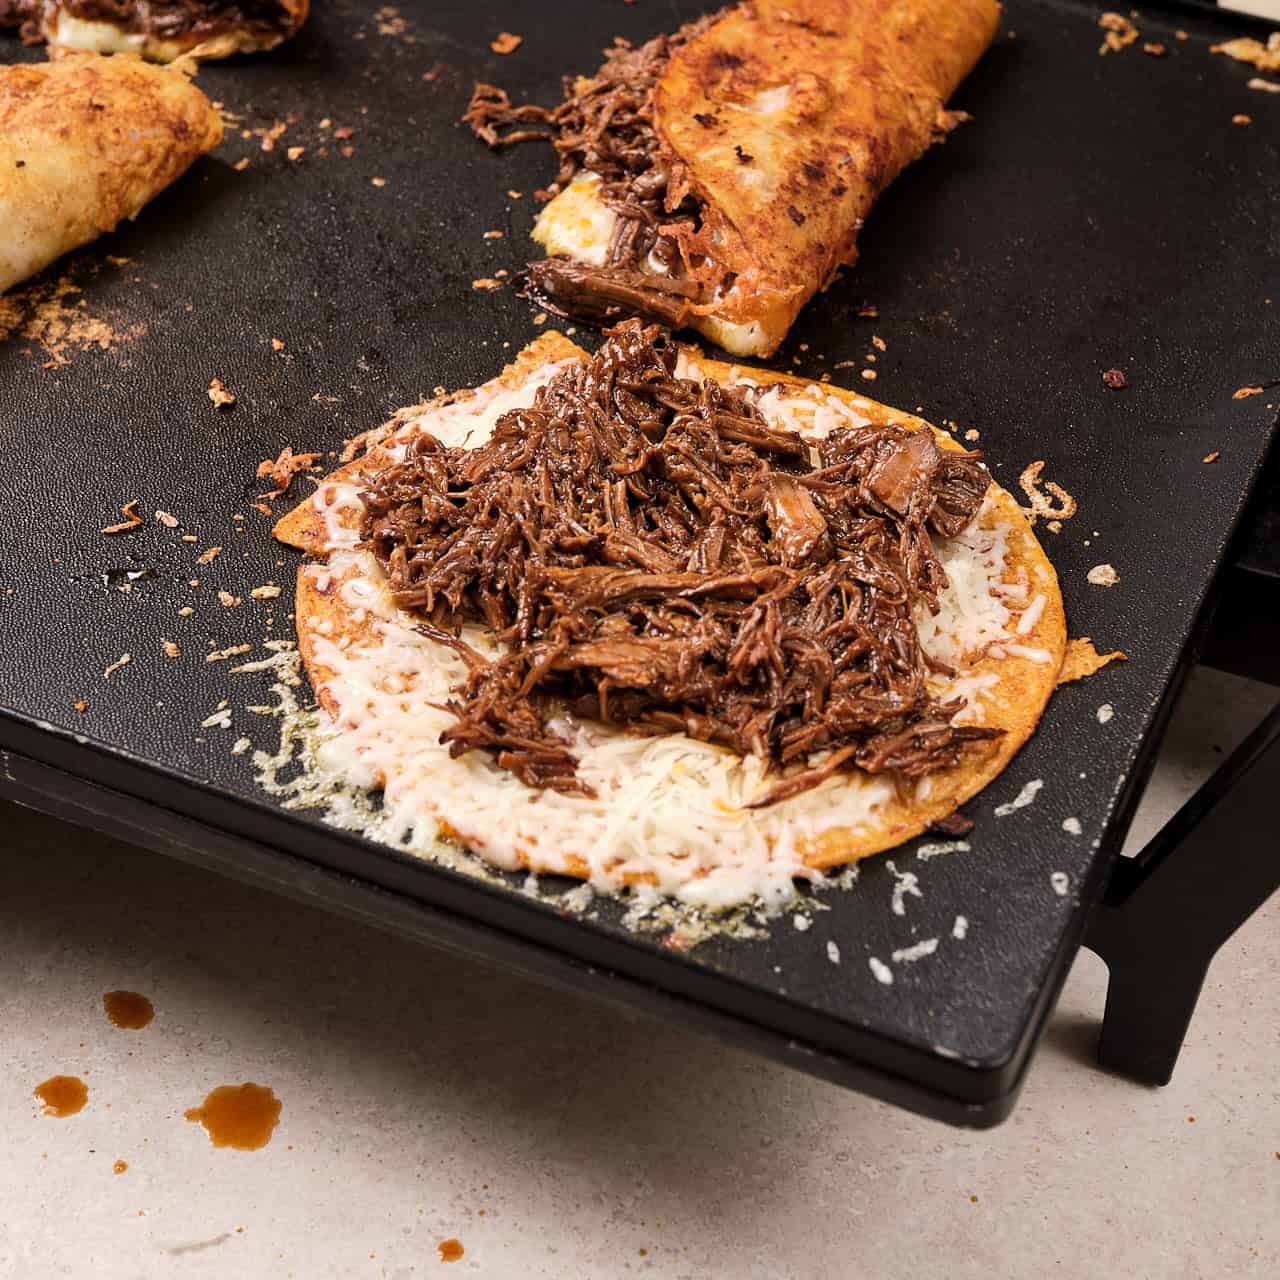
Make the birria tacos on the griddle: Heat a large frypan or griddle over medium-high heat. Warm a tortilla on the griddle until softened, about 1 minute. Dip the tortilla in the broth, then put it back on the griddle. Top the tortilla with a lot of shredded Monterey Jack in an even layer, slightly overflowing the edges. Add a smaller pile of shredded beef to the middle of the tortilla, then fold the tortilla in half to enclose the beef. Cook until browned on the bottom, then flip and brown the other side. Transfer to a platter, then repeat for all the rest of the tortillas. Ladle out a mug of broth for each diner, and sprinkle diced onion and cilantro into each mug. Serve, and tell everyone to dip the birria tacos in the cup of broth. Enjoy!
What kind of beef should I use with Birria tacos?
I use two cuts of beef: short ribs and chuck. Both are good cuts for pressure cooking, full of fat and connective tissue that will break down into tender, shreddable meat. I use the short ribs because I want some bones in my broth - the bones give up their gelatin to the broth, giving it better flavor and mouth feel. (Other tough bone-in beef cuts are a good substitute if you can get them cheaper than short ribs - I've made it with beef shank, and oxtail also works well.) But I want to use a boneless chuck roast for most of the meat. It's my favorite beef cut for pressure cooking, and large chunks of boneless chuck are easy to shred for the tacos. If you can't find chuck, bottom round or top round are good alternatives.
Whole dried chiles vs chili powders
Dried chiles are best for this recipe; they have a richer flavor than ground chiles. (Kind of like using fresh ground black pepper instead of pre-ground pepper, though not quite as dramatic of a difference.)
That said, if all you have is chile powder, you can use it. Substitute ¼ cup of ground Ancho chile powder and ¼ cup of ground guajillo chile powder for the dried chiles. Worst case, if all you have is a chili powder blend, use ½ cup instead of all the dried chiles.
Best Cheese for Birria
You need cheese that melts for this recipe. I use Monterey Jack because it's easy to find at my grocery store; if you're at a Mexican grocer, look for Oaxaca cheese (Queso Oaxaca), which melts even better and gives you a fantastic "cheese pull" - the famous shot of birria tacos where you pull them open, and the cheese stretches and stretches. (Yes, I'm a food blogger, I know all about a good cheese pull for the photo.) Also, mozzarella cheese is an acceptable substitute if you can't find Monterey jack. Either way, the gooey cheese with crispy brown bits around the edge is important for these tacos.
Equipment
A 6-quart pressure cooker
A blender. (An immersion blender doesn't work for this recipe. It can't blend the adobo fine enough - don't ask me how I know. If you have to use an immersion blender, blend in small batches, and strain the adobo sauce through a fine-mesh strainer.
Scaling
Scaling up runs into space issues; you need an 8-quart pressure cooker to have enough space to double this recipe. You can scale it down: cut everything in half if you need it to fit in a 3-quart pressure cooker. I'd recommend making the whole recipe if you can because it's a lot of work, and the leftovers freeze well. Why not make two meals at once?
Tips and Tricks
Separate the fat from the broth for extra-red tacos
If you want extra red tacos, skim the fat from the top of the broth after cooking the meat, and put it in a bowl. Then, instead of dipping the tortillas in the broth before putting them on the griddle, melt some of this ultra-red fat on the griddle, flip the tortillas on it to coat them with the fat, and then cook them right there.
Make Ahead
This recipe is ideal for making ahead. It has two good stopping points.
The first is after making the adobo sauce. Make the adobo, then refrigerate it for a few days or freeze it for a few months.
The second stopping point is after cooking the meat in the broth. Shred the meat, then refrigerate or freeze the shredded meat and broth separately. Reheat both, and you're ready to assemble and griddle the tacos.
What to serve with Instant Pot Birria Tacos
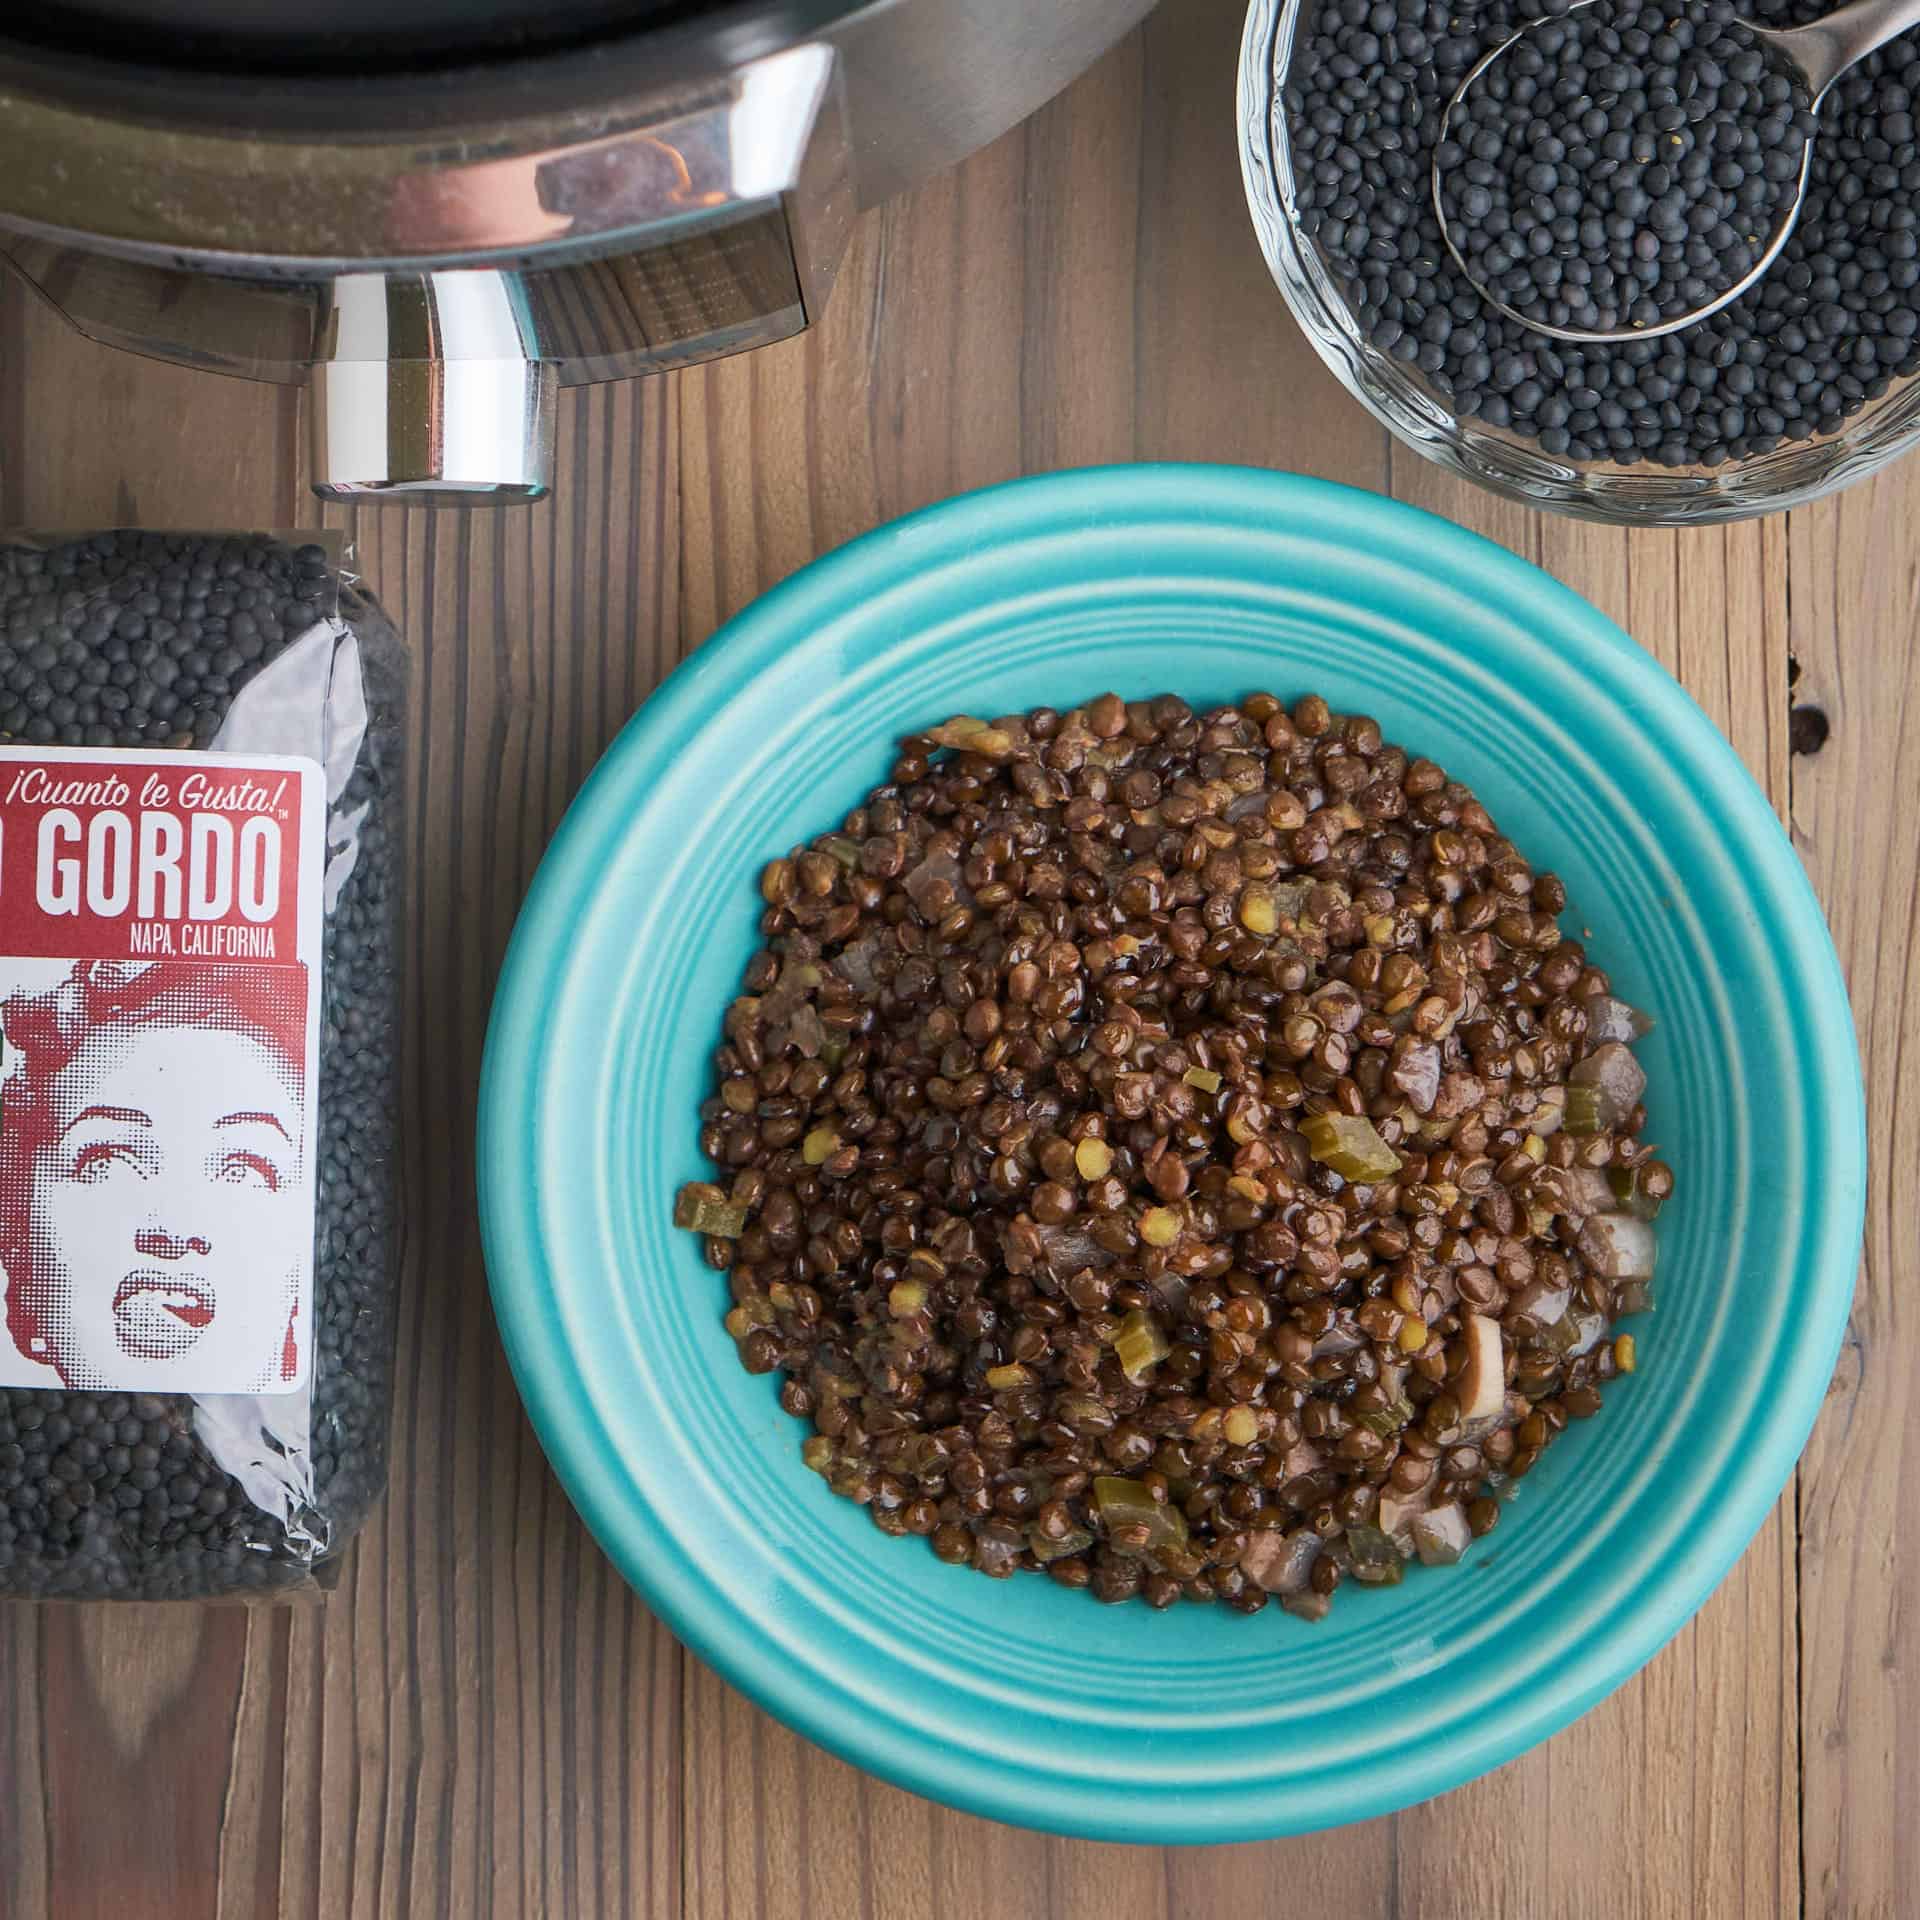
The key side dish for this instant pot birria taco recipe is the broth. That broth is full of flavor from cooking the meat, and should be served with some diced onion and cilantro sprinkled in. It acts as a dipping sauce for the tacos and then as soup after eating them. I serve extra diced onion and cilantro at the table and hot salsa or hot sauce, so my diners can add them to their tacos. (You must peel the taco open to get the hot sauce in there - watch that melty cheese pull!) A side of Mexican Black Beans is also a good idea.
Inspired by: Birria Culiacan and Best of El Paso (My favorite Birria taco so far - but I'm always trying new contenders. 😉)
Related Posts
- Instant Pot Carne Guisada Tacos
- Instant Pot Shredded Beef
- Instant Pot Beef Short Rib Tacos with Dried Chile Pepper Sauce
- Pressure Cooker Chicken Tacos (Tinga de Pollo)
My other Instant Pot and Pressure Cooker Recipes
Enjoyed this post? Want to help out DadCooksDinner? Subscribe to DadCooksDinner via email and share this post with your friends. Want to contribute directly? Donate to my Tip Jar, or buy something from Amazon.com through the links on this site. Thank you.