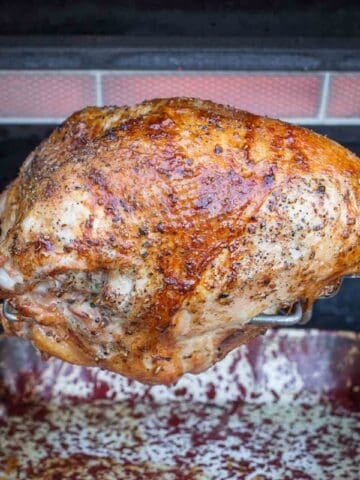
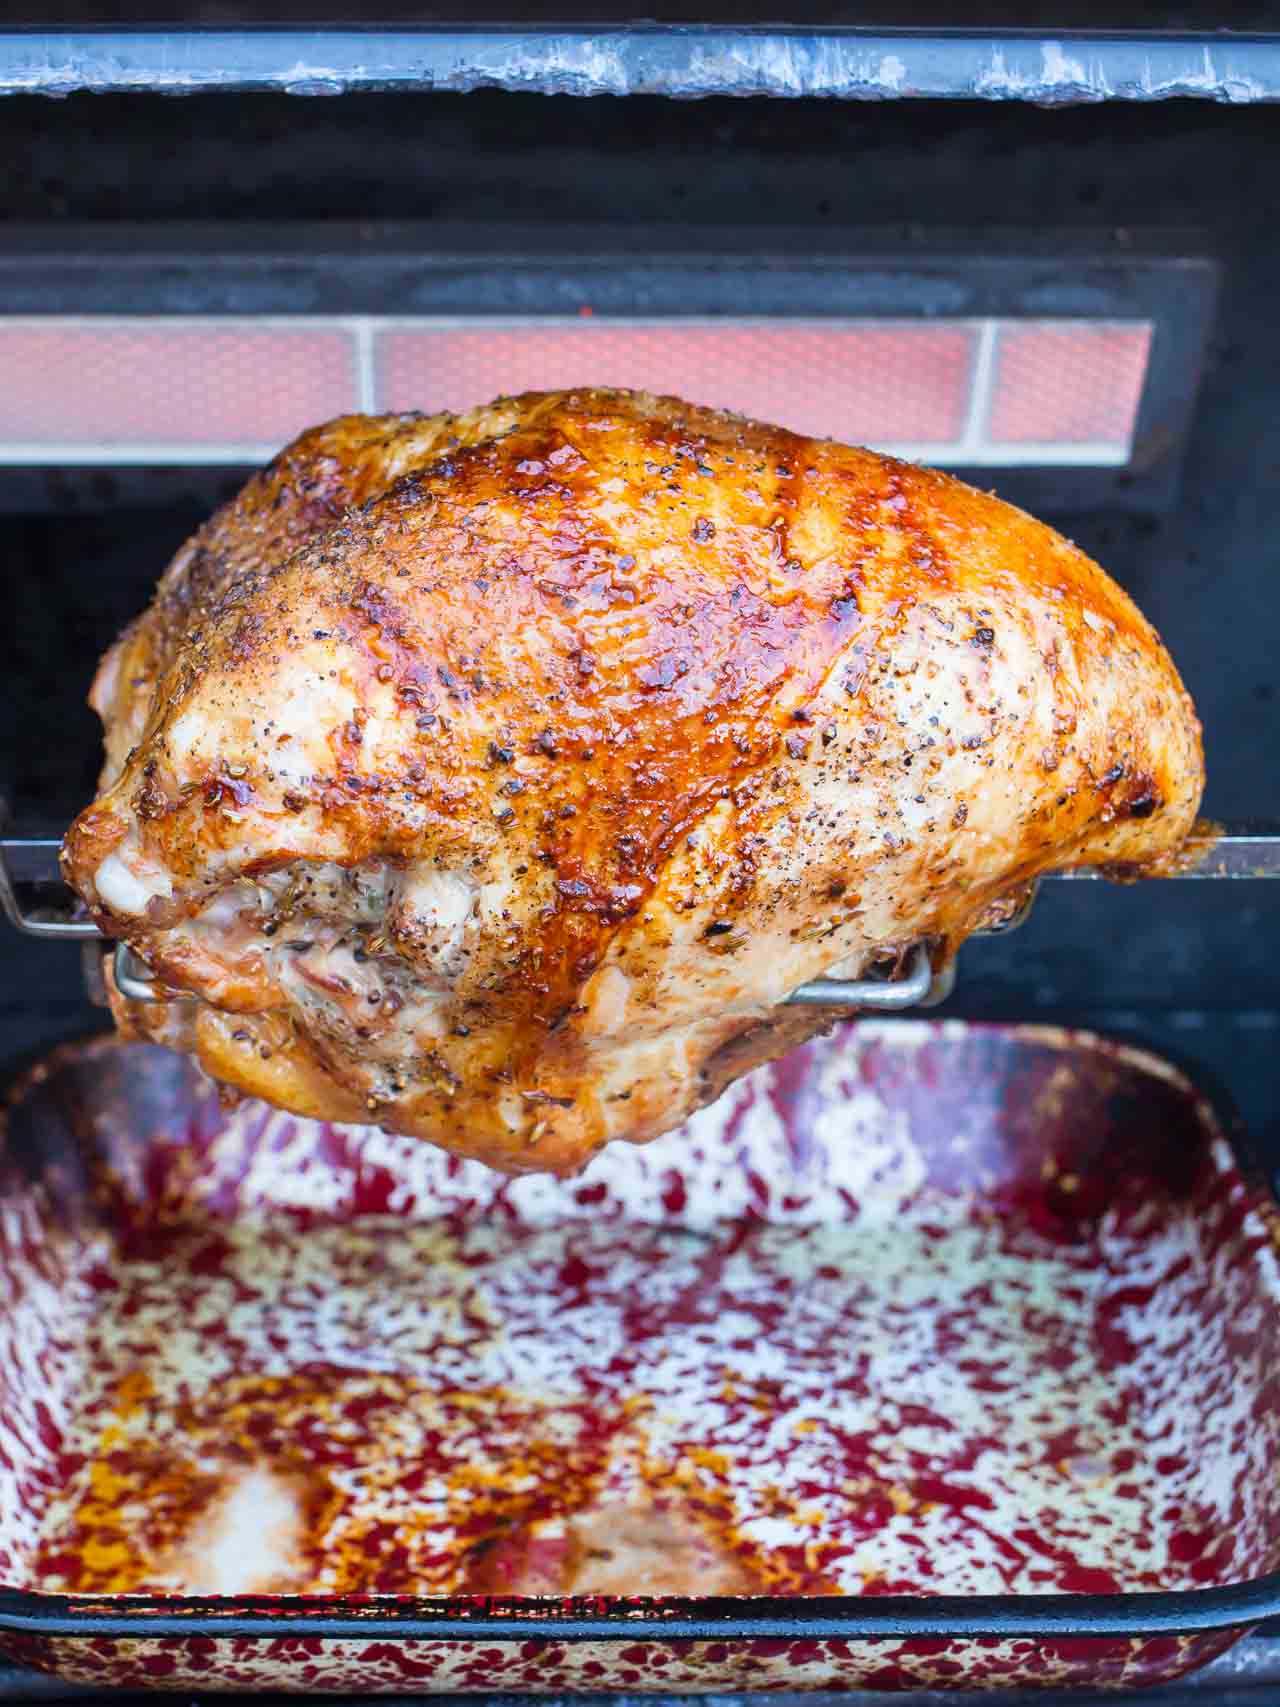
Rotisserie Turkey Breast, dry brined with Italian spices. This is a great way to grill a turkey breast on your rotisserie. The dry brine penetrates deep into the meat, seasoning it all the way through, and the Italian spices are a great spice rub for outside of the turkey. If you're looking for a browned, crisp, and spicy turkey breast, and your grill has a rotisserie, give this recipe a try!
A Turkey breast is perfect for a smaller Thanksgiving, or as a backup bird if you need some extra white meat.
(My mom always cooks an extra turkey breast on Thanksgiving. Actually, my mom cooks multiple whole turkeys AND an extra turkey breast. If my whole family shows up, we can get 30+ people to the table, depending on who brings friends. Mom never wants someone to go away hungry, or without leftovers, so she always errs on the side of more turkey.)
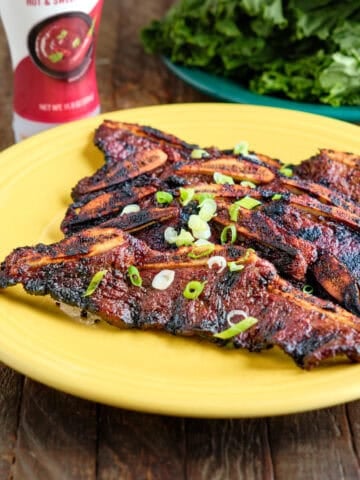
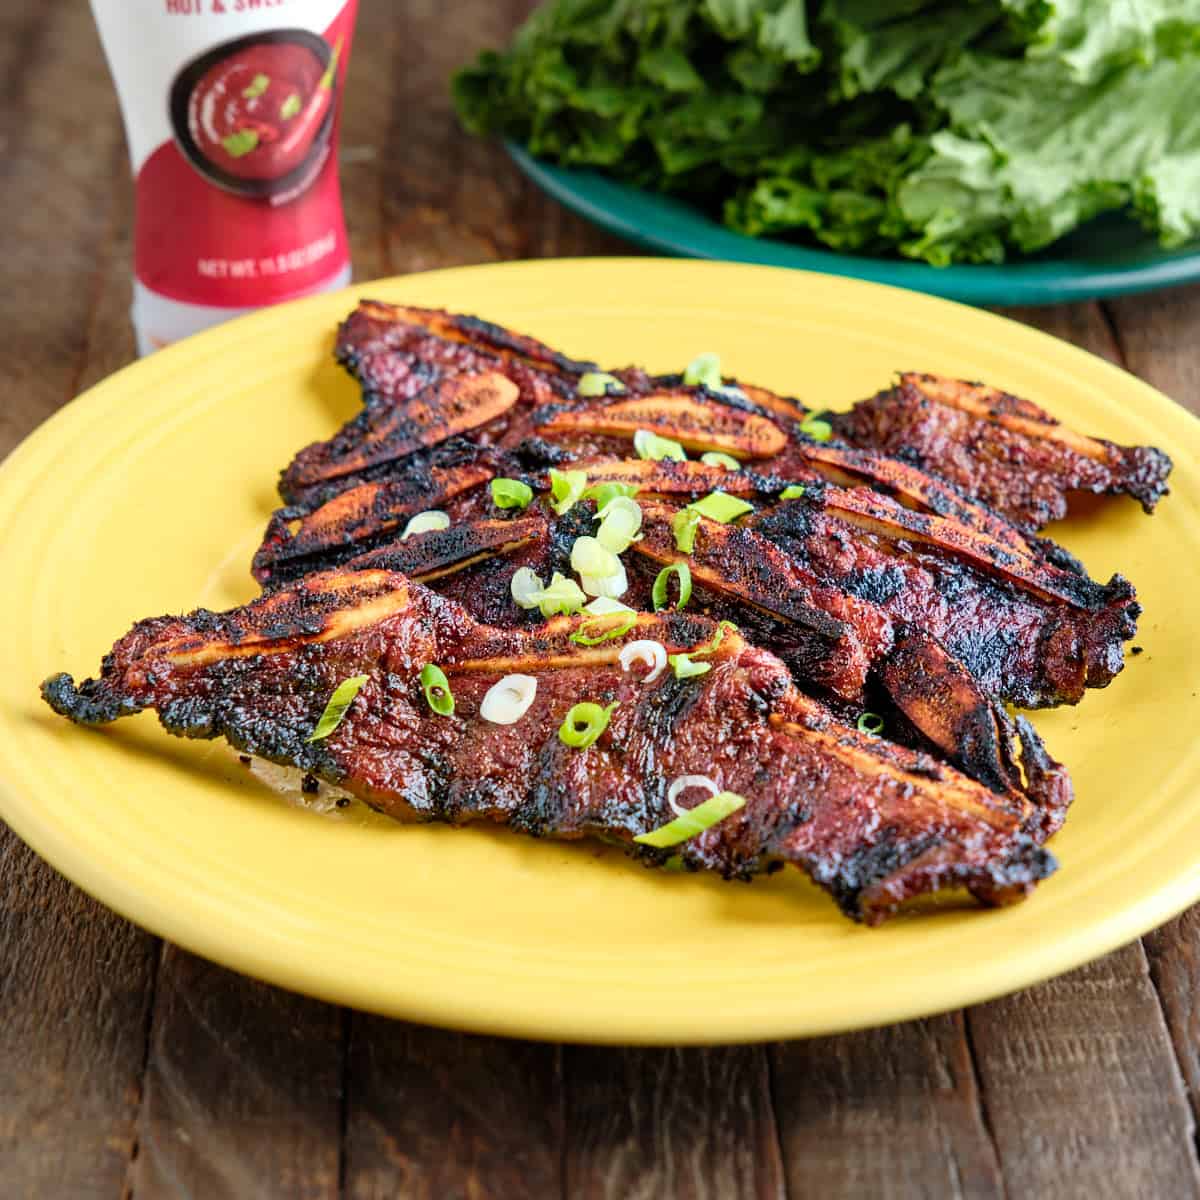
Turkey breast is a very neutral flavored protein. (That's a polite way of saying it tastes boring. Can you tell I'm a dark meat fan?) To perk up the flavor, I rub it with an Italian inspired blend of coarsely ground spices. That blend includes a big dose of red pepper flakes and black pepper, adding a spicy kick to contrast with the neutral meat.
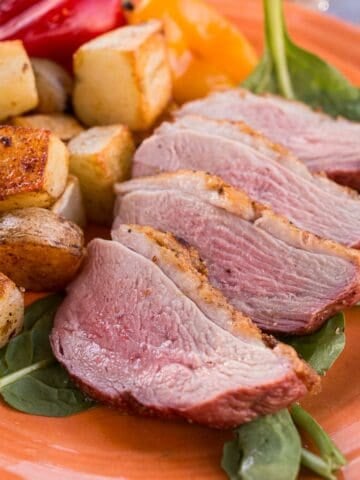
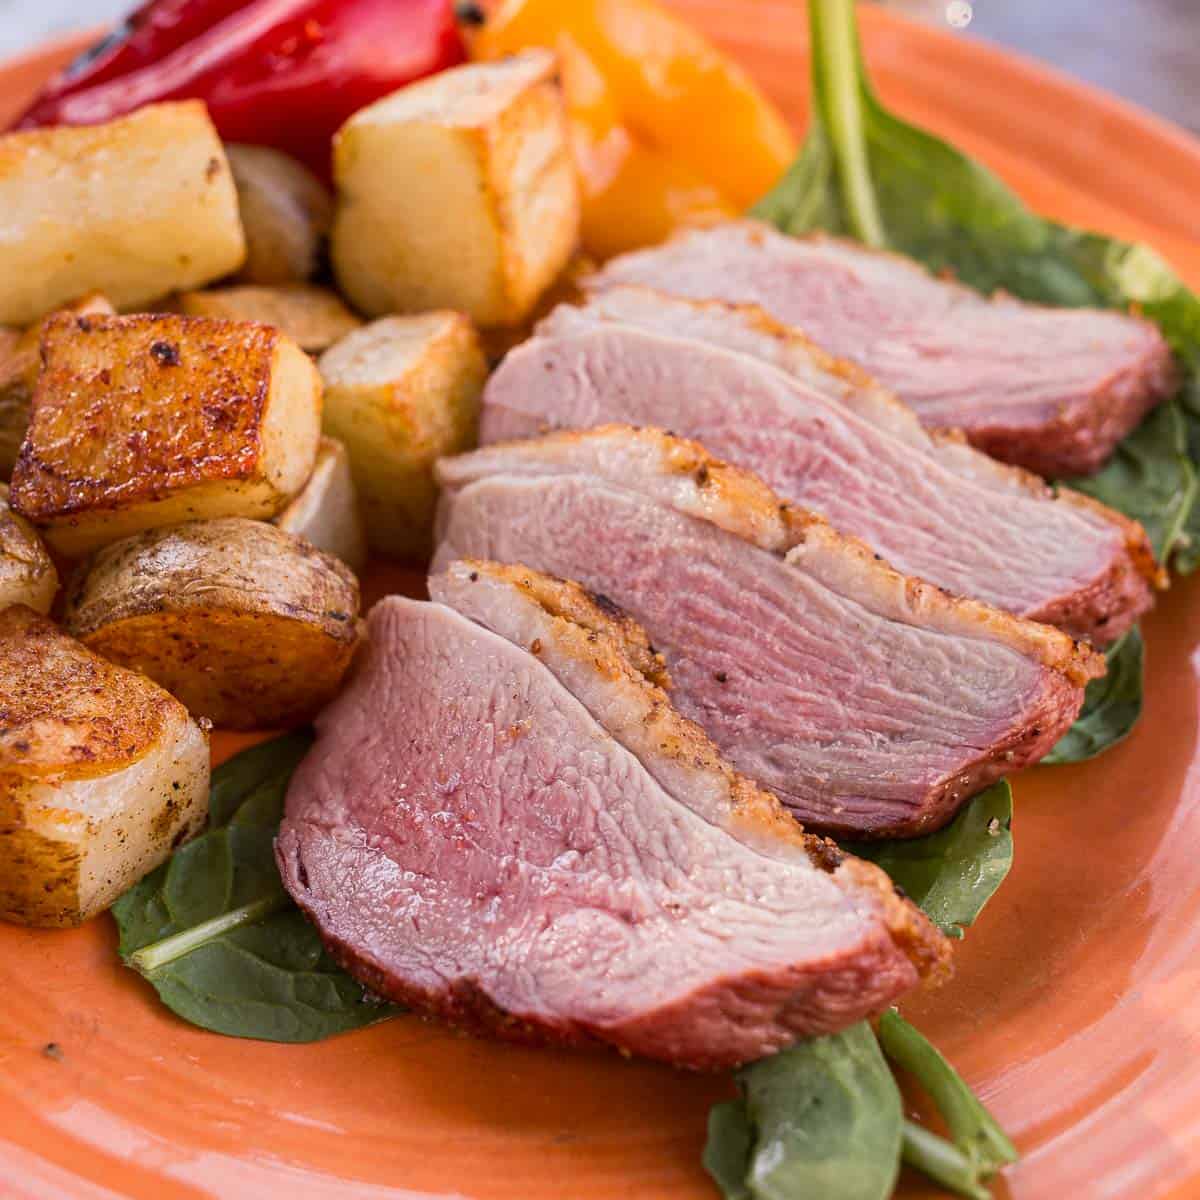
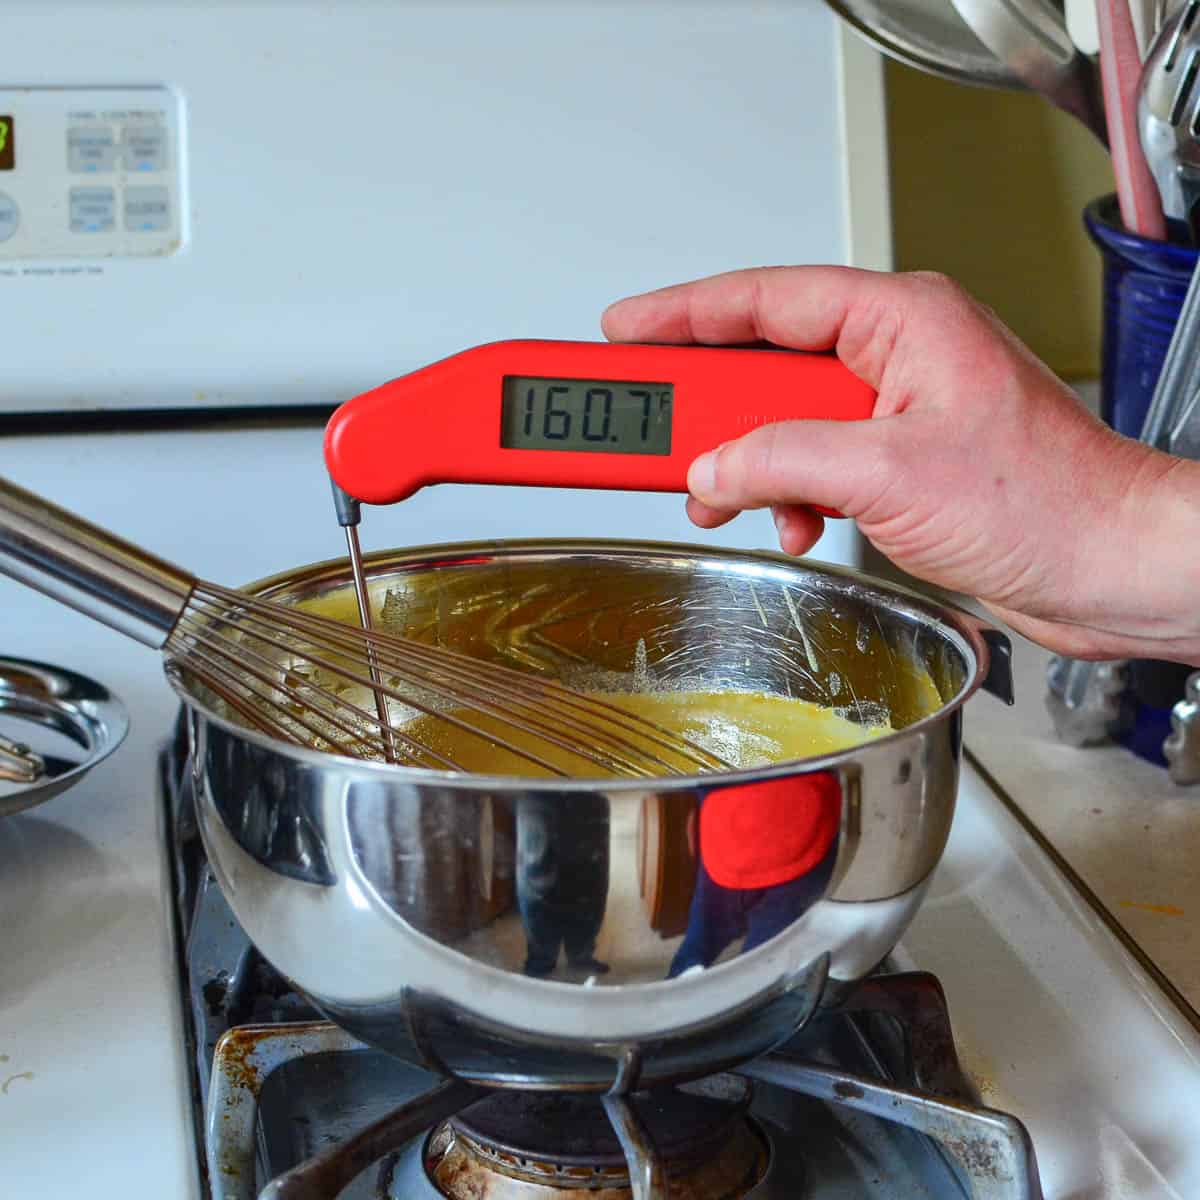
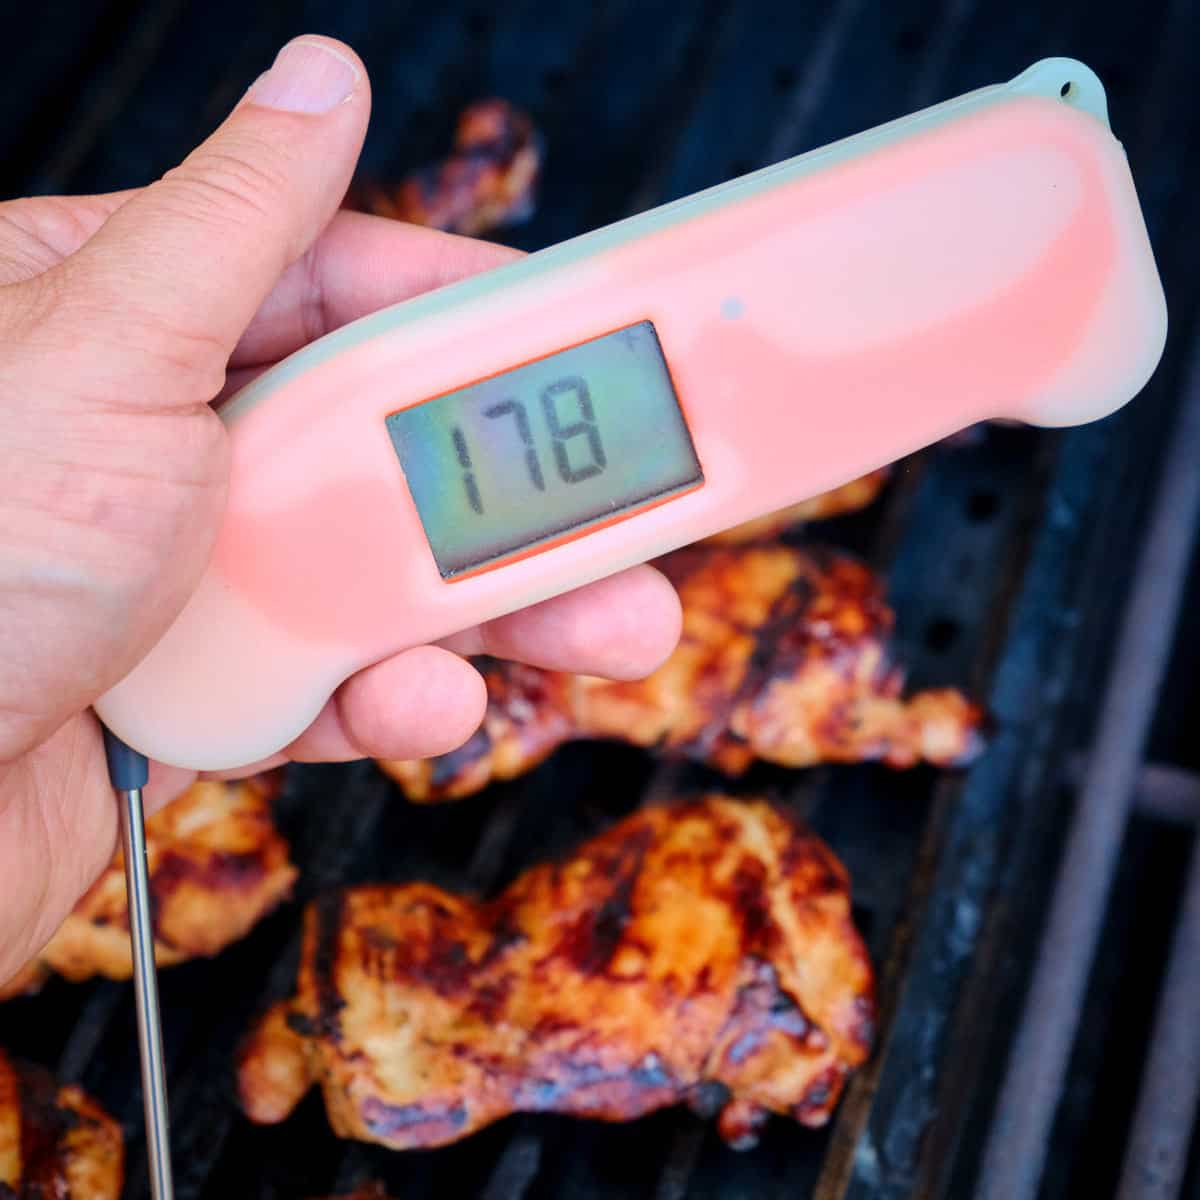
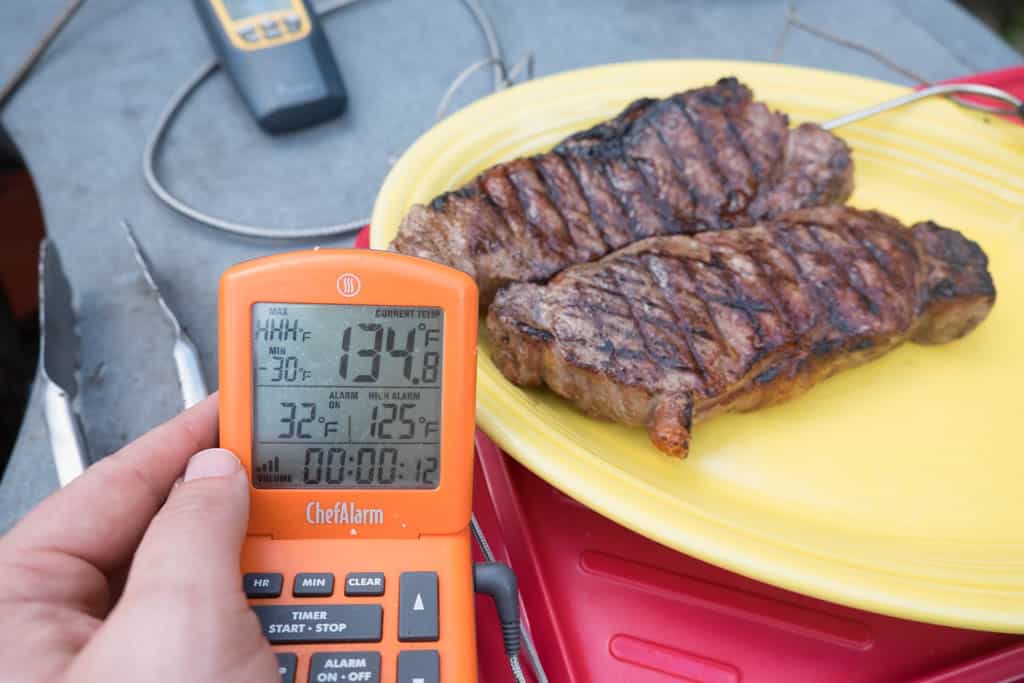
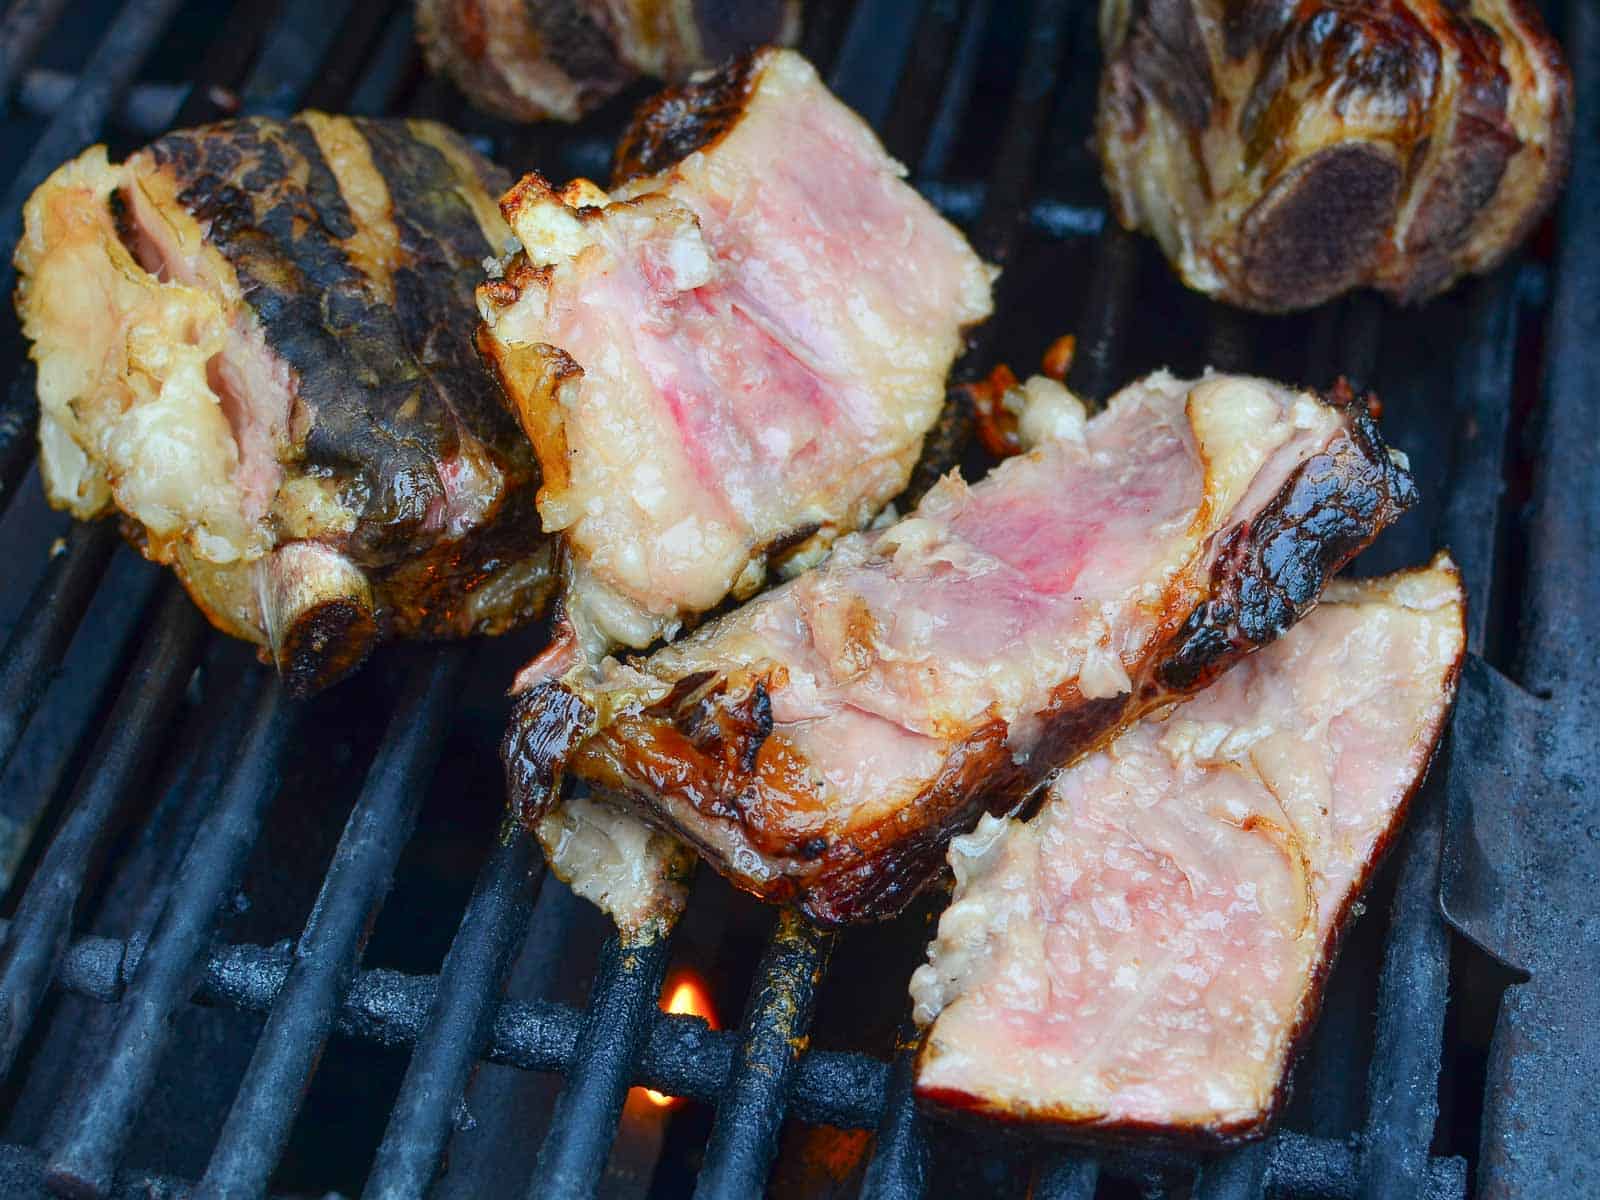
Turkey breast is a very lean protein, almost pure muscle, with no interior fat or connective tissue. (Which means it will be as dry as cardboard if it is overcooked.) I cook the breast to 150°F, plus four minutes, to keep it as juicy as possible while still cooking it enough for it to be safe to eat.
For more details on 150°F turkey breast, see my post: Turkey Temperature, or the 150 question.
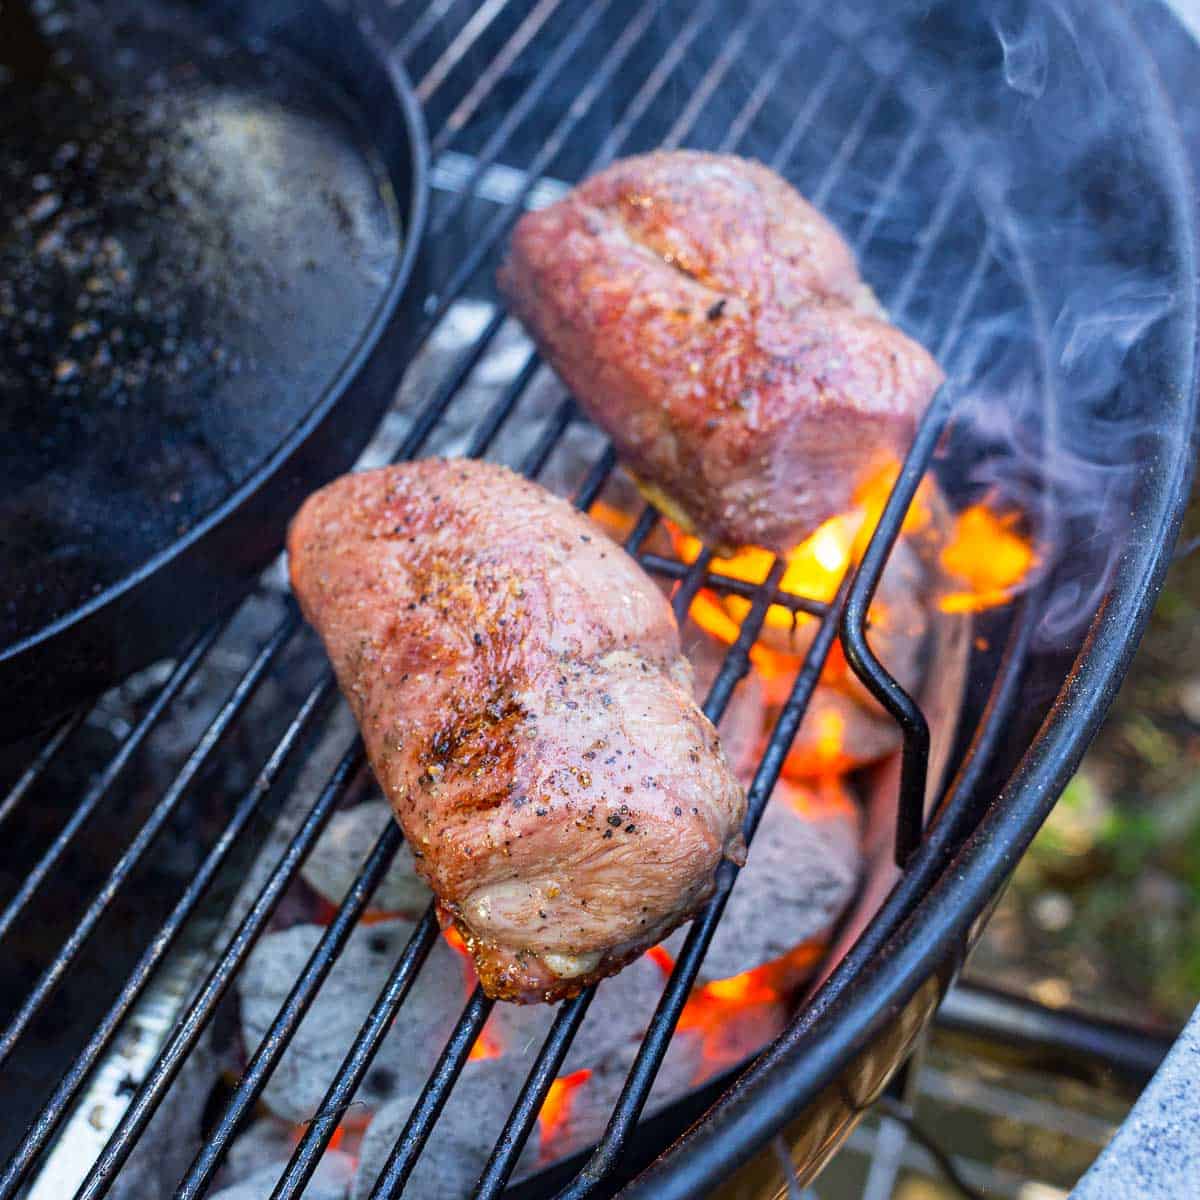
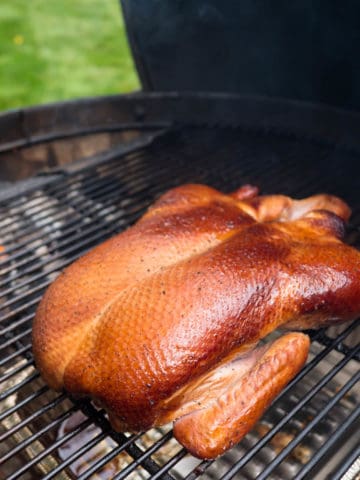
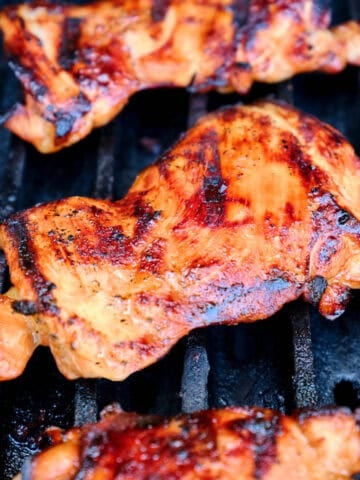
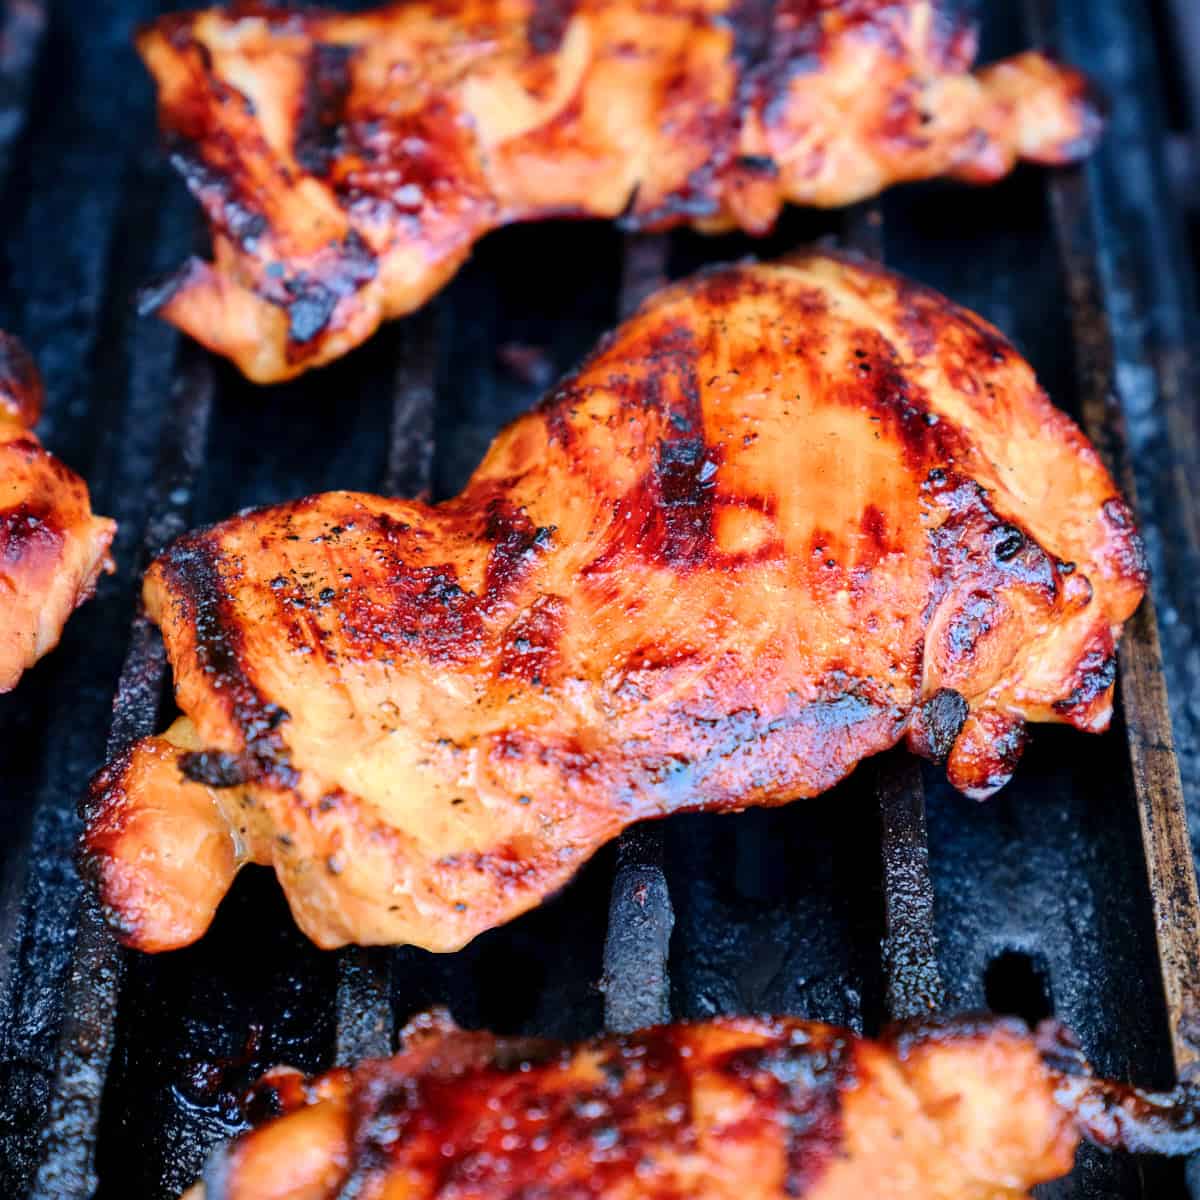
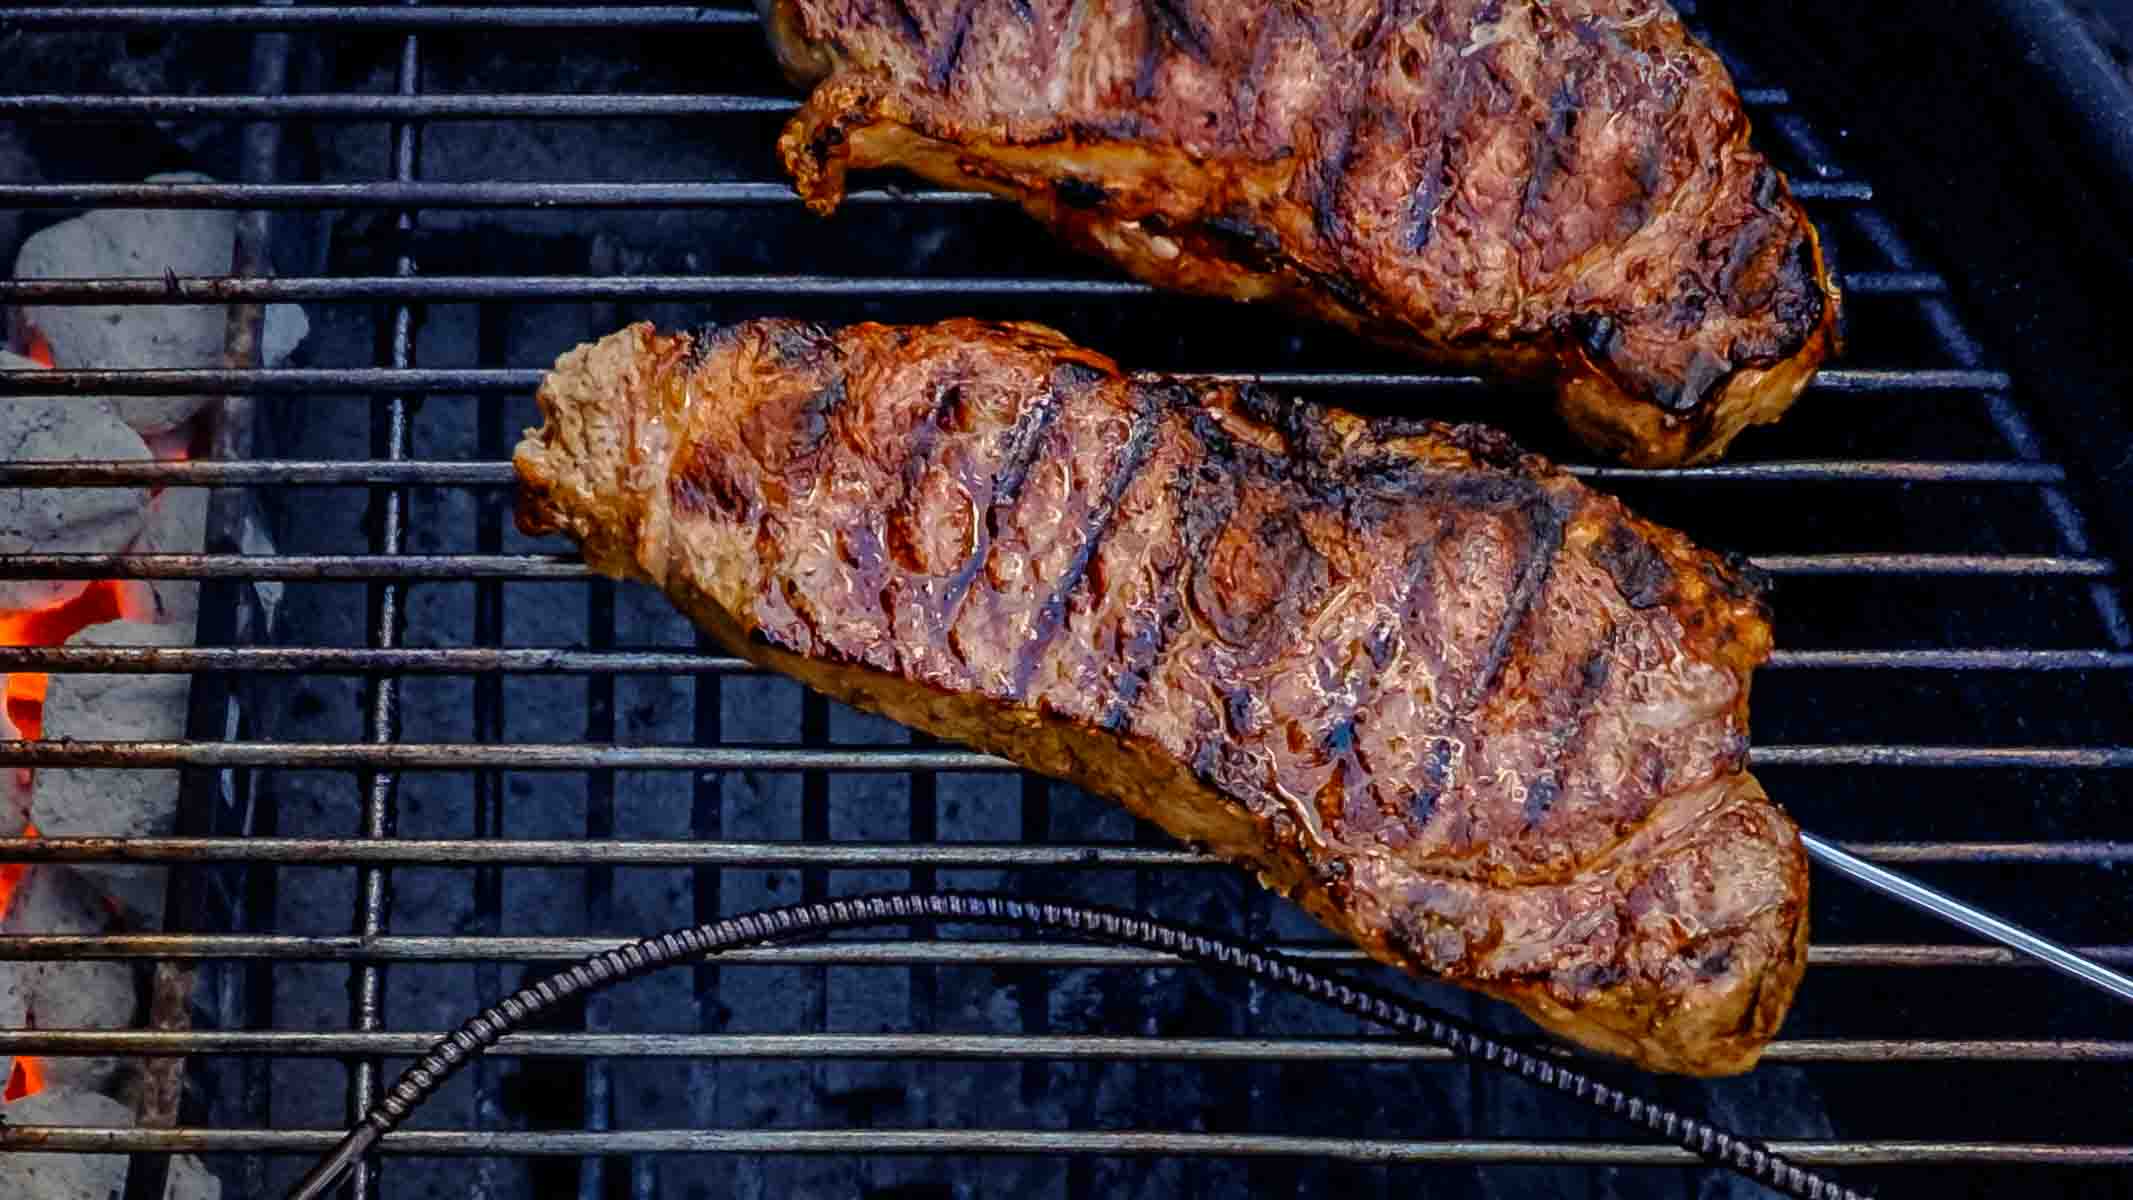
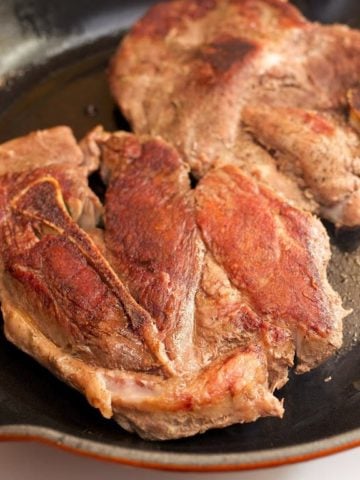
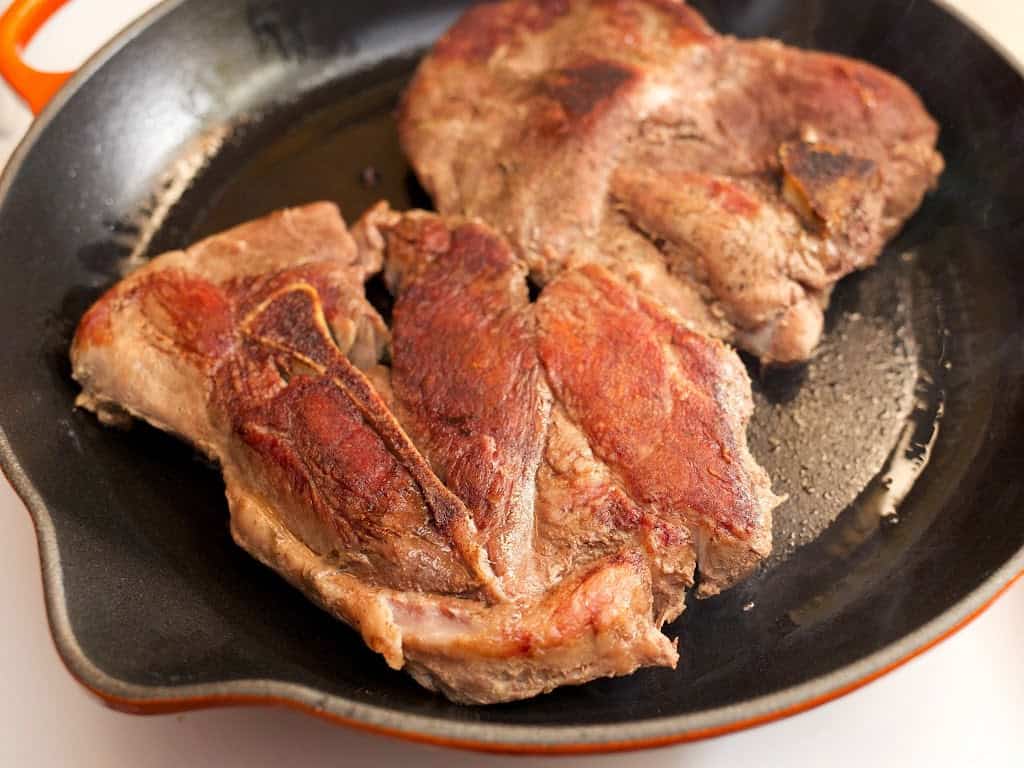
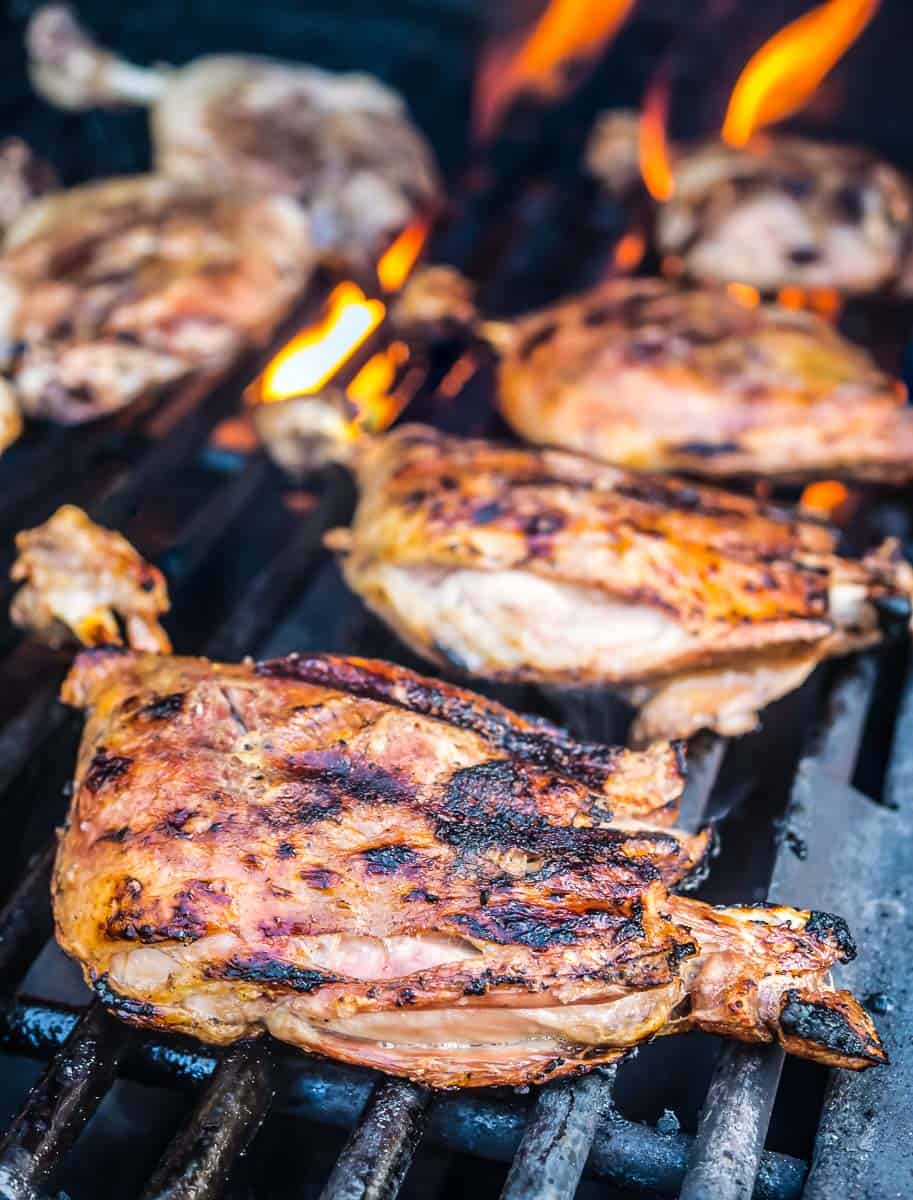
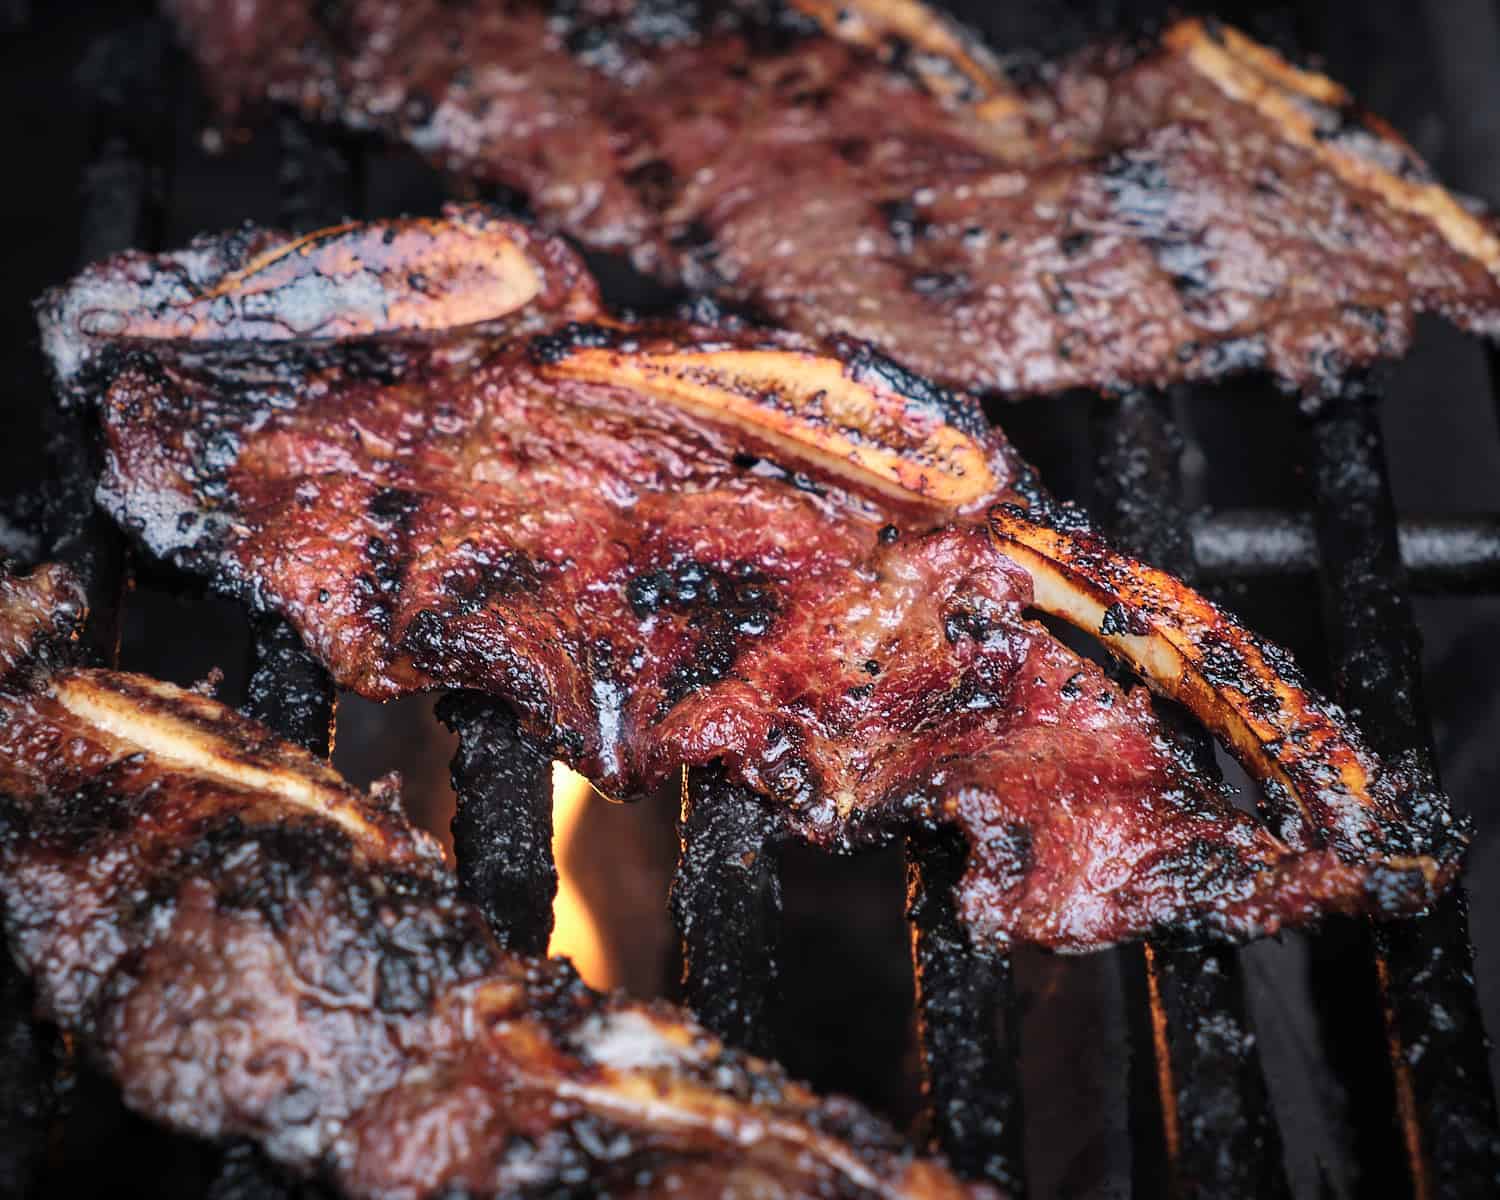
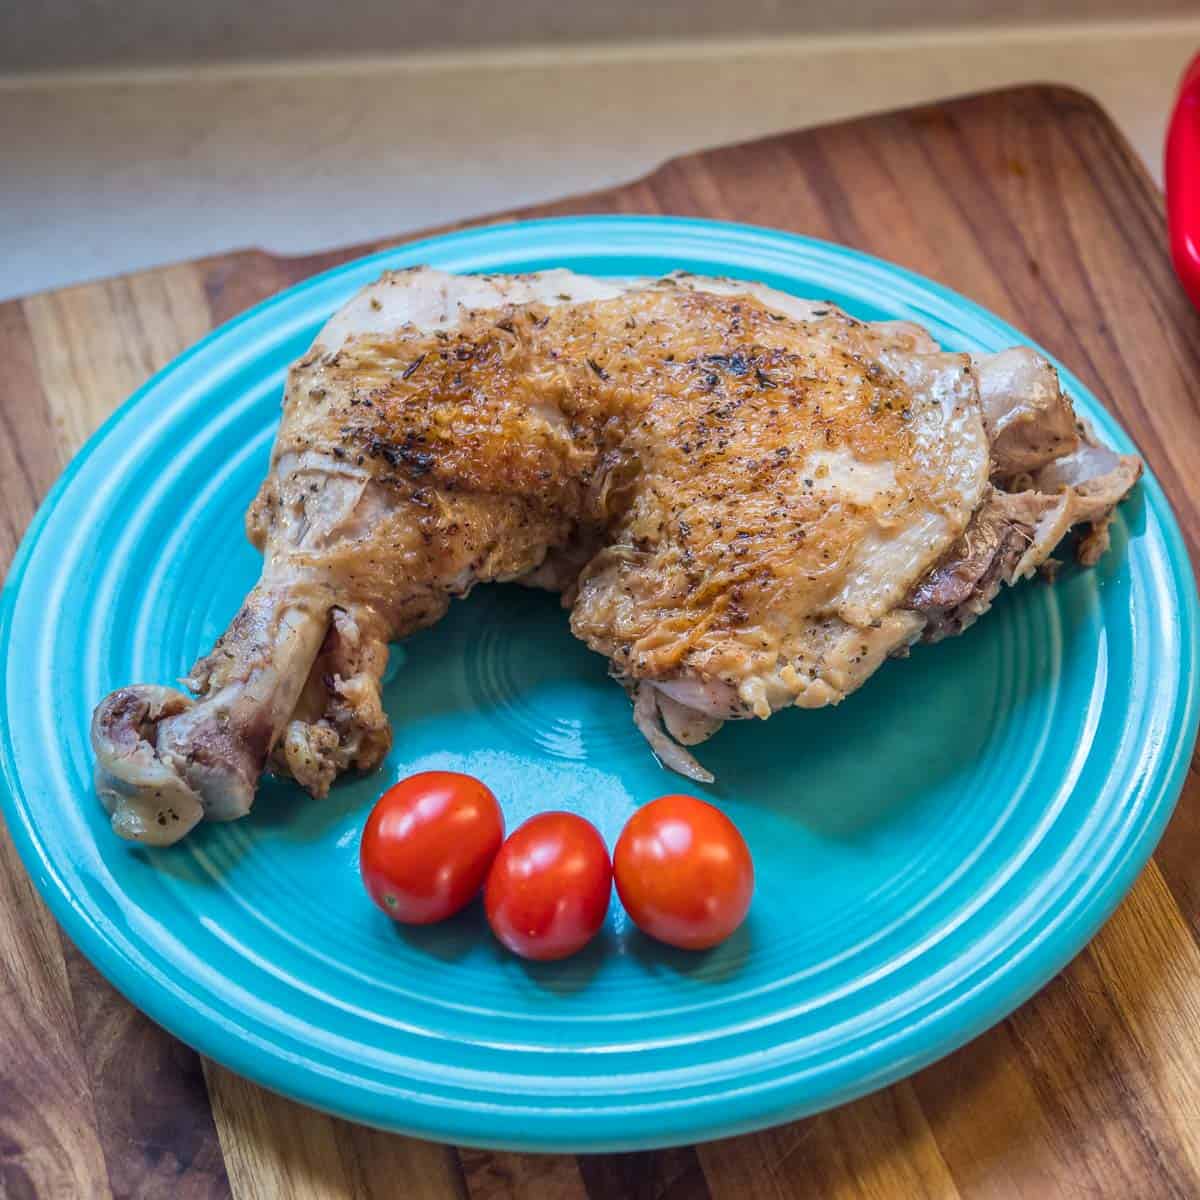
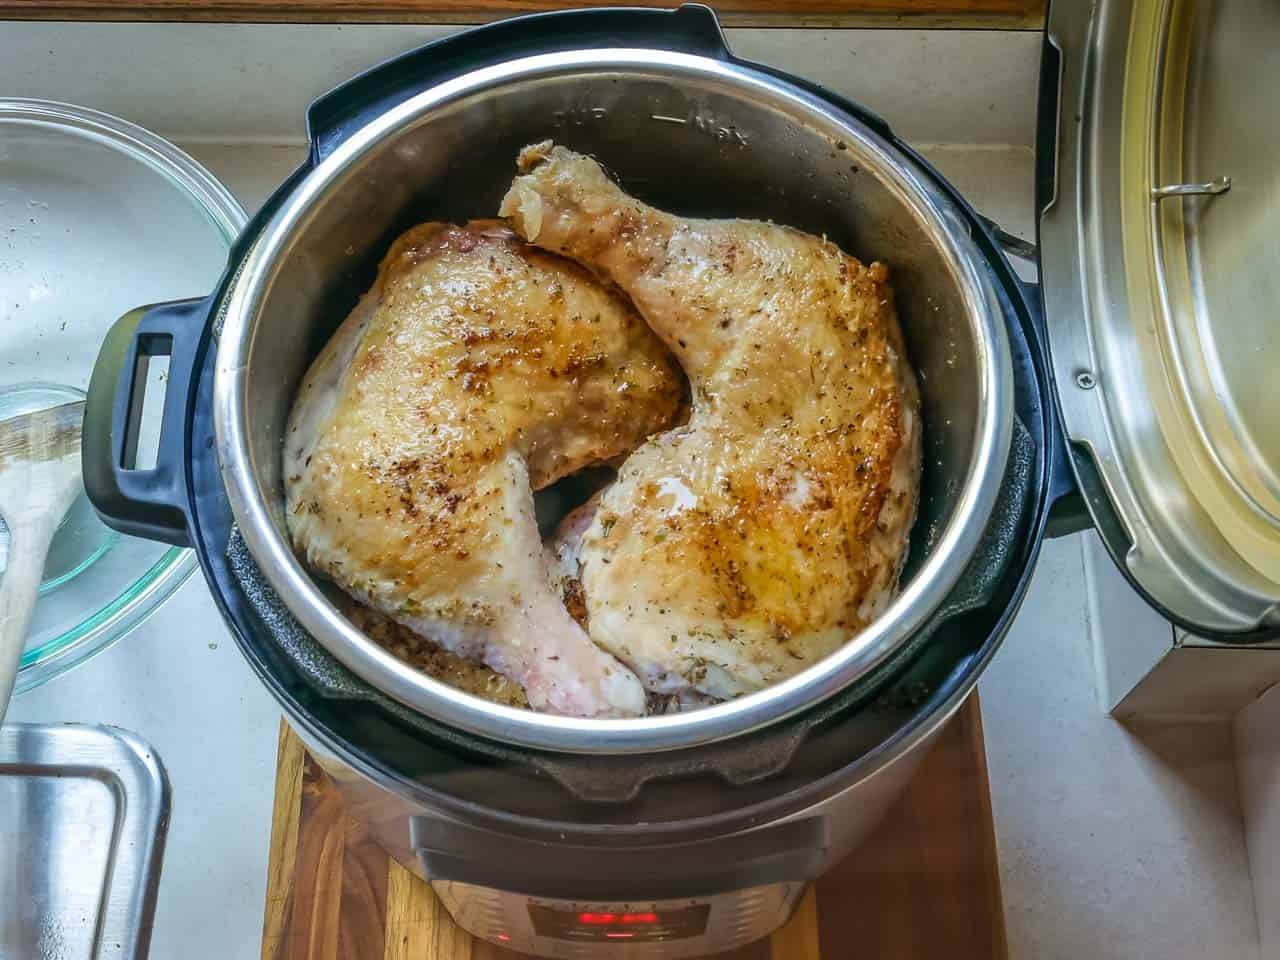
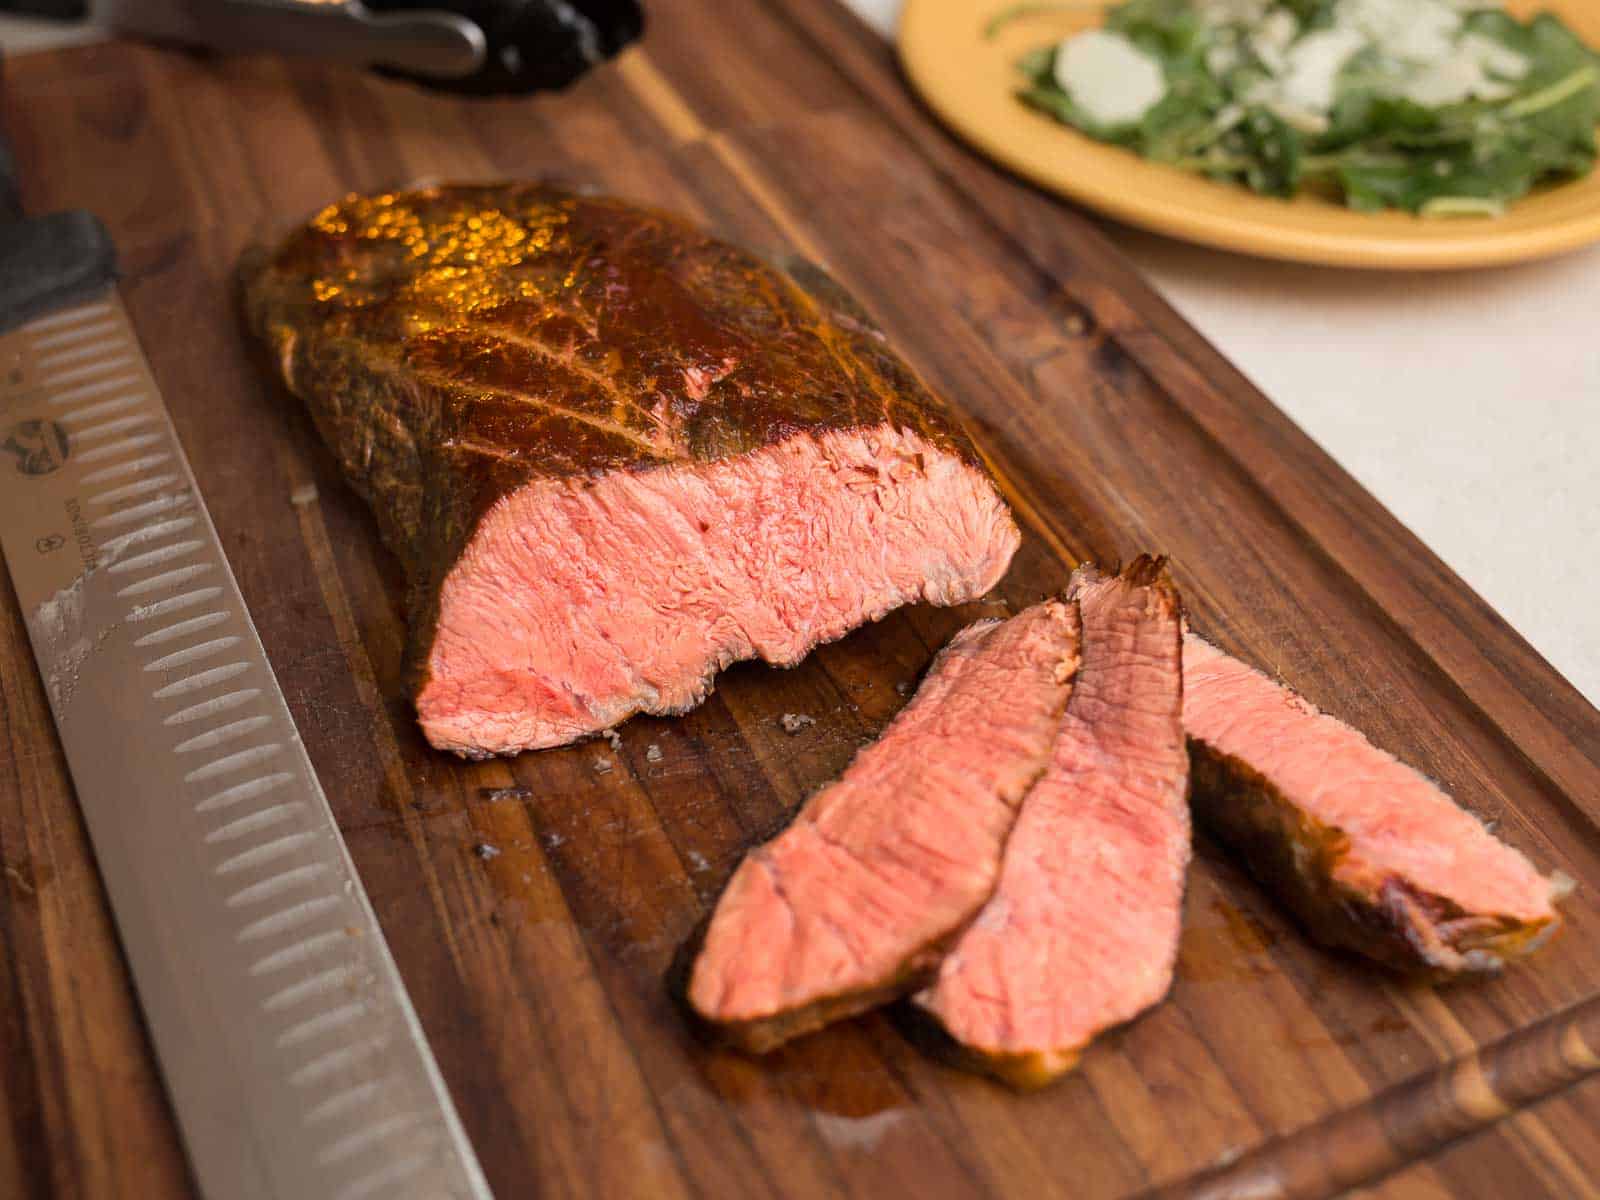
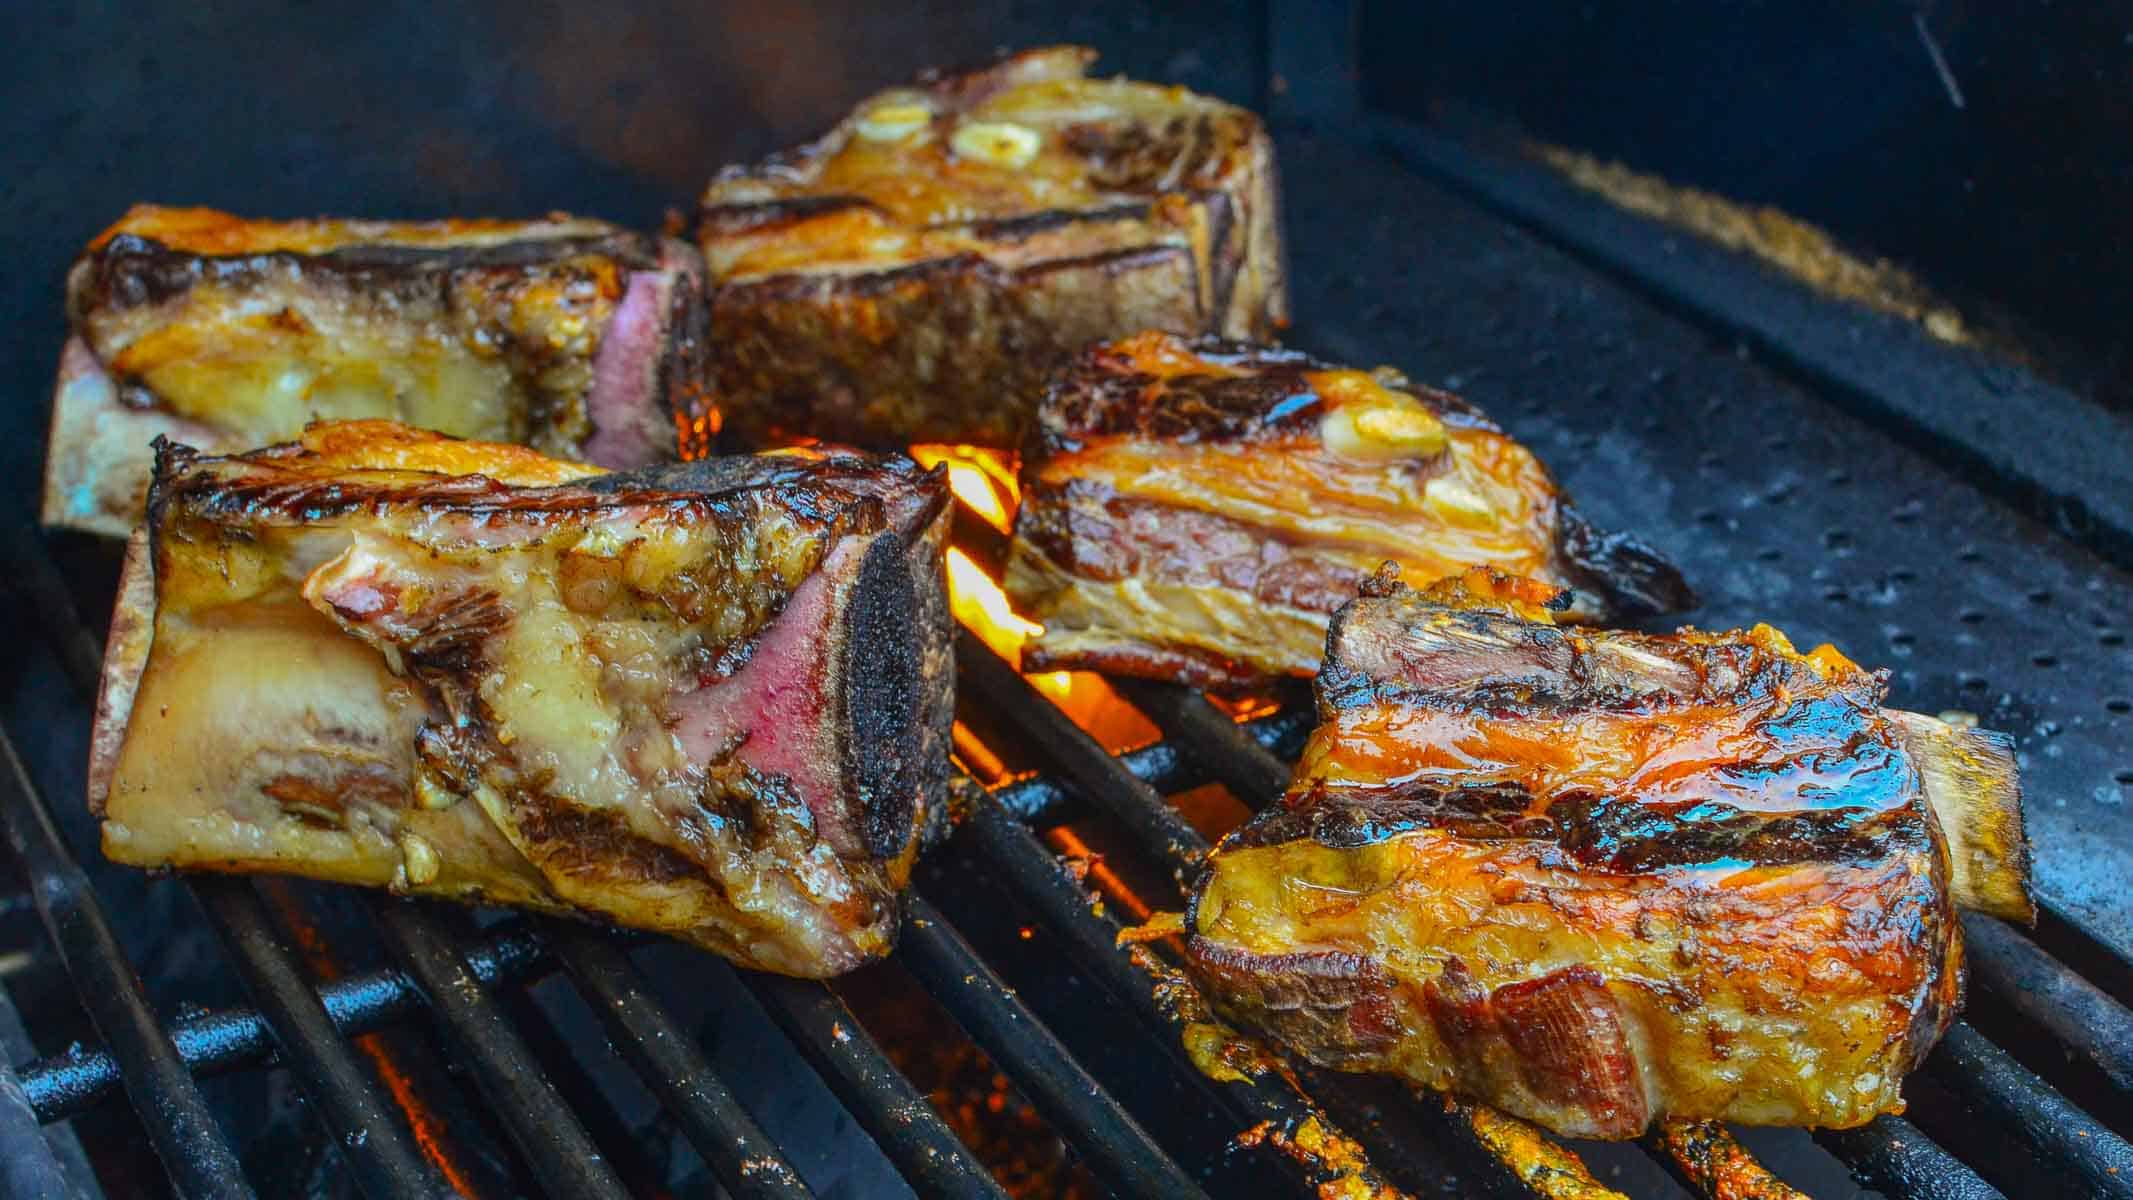
Of course, I cook it on the rotisserie. The even heat of the rotisserie crisps up the skin - the best part of the breast, in my opinion - and bastes the bird in its own juices while it cooks. And look - no trussing!
Ingredients
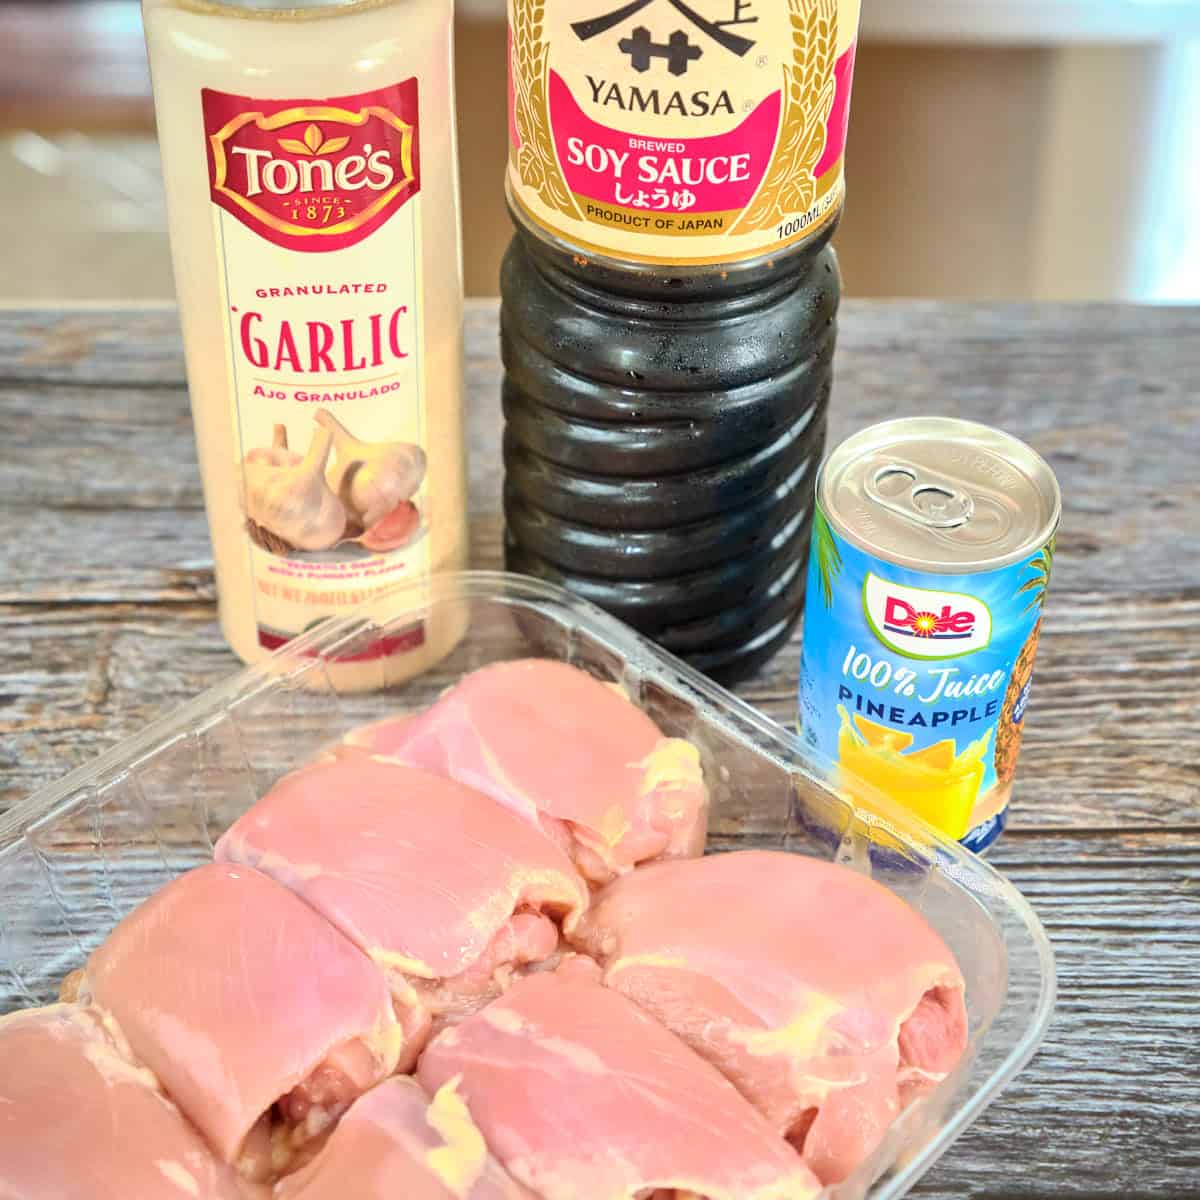
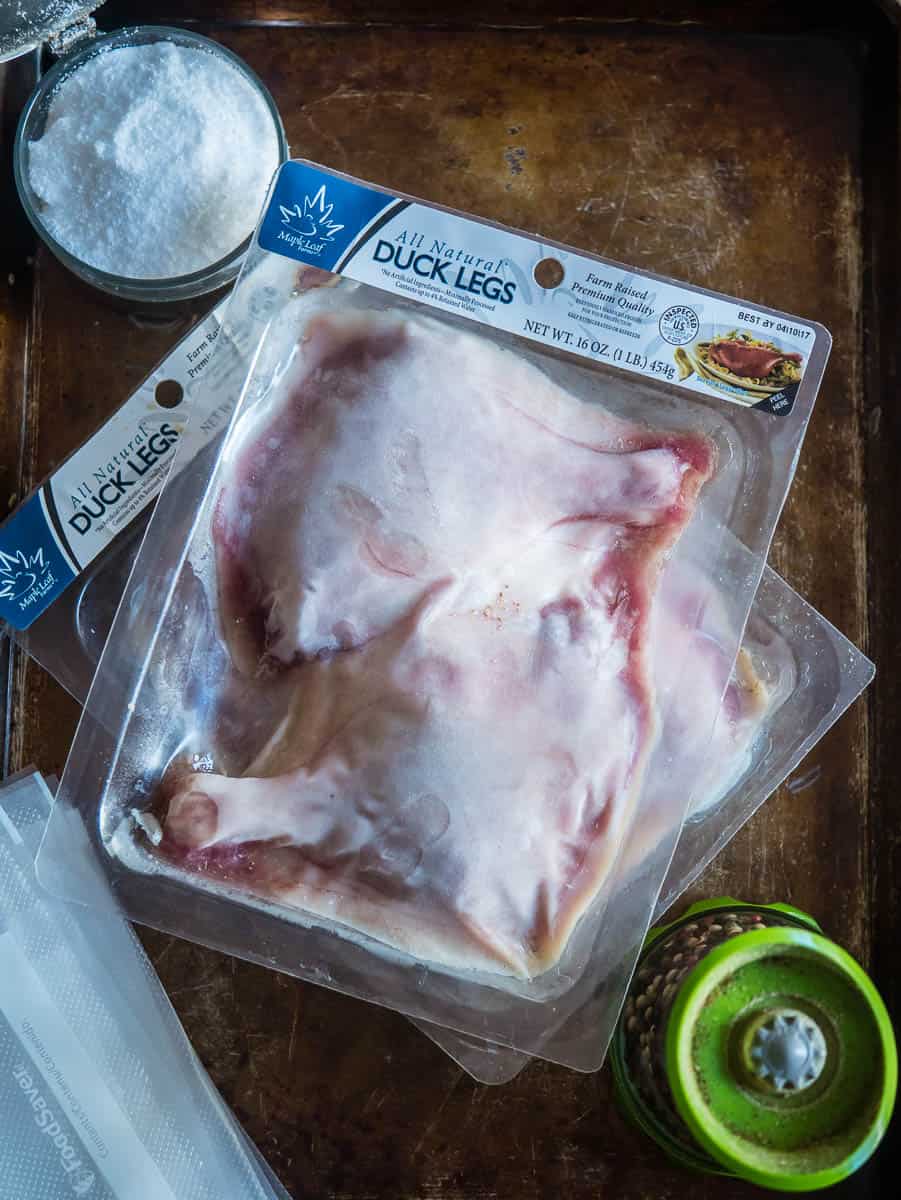
- 1 (8 pound) turkey breast
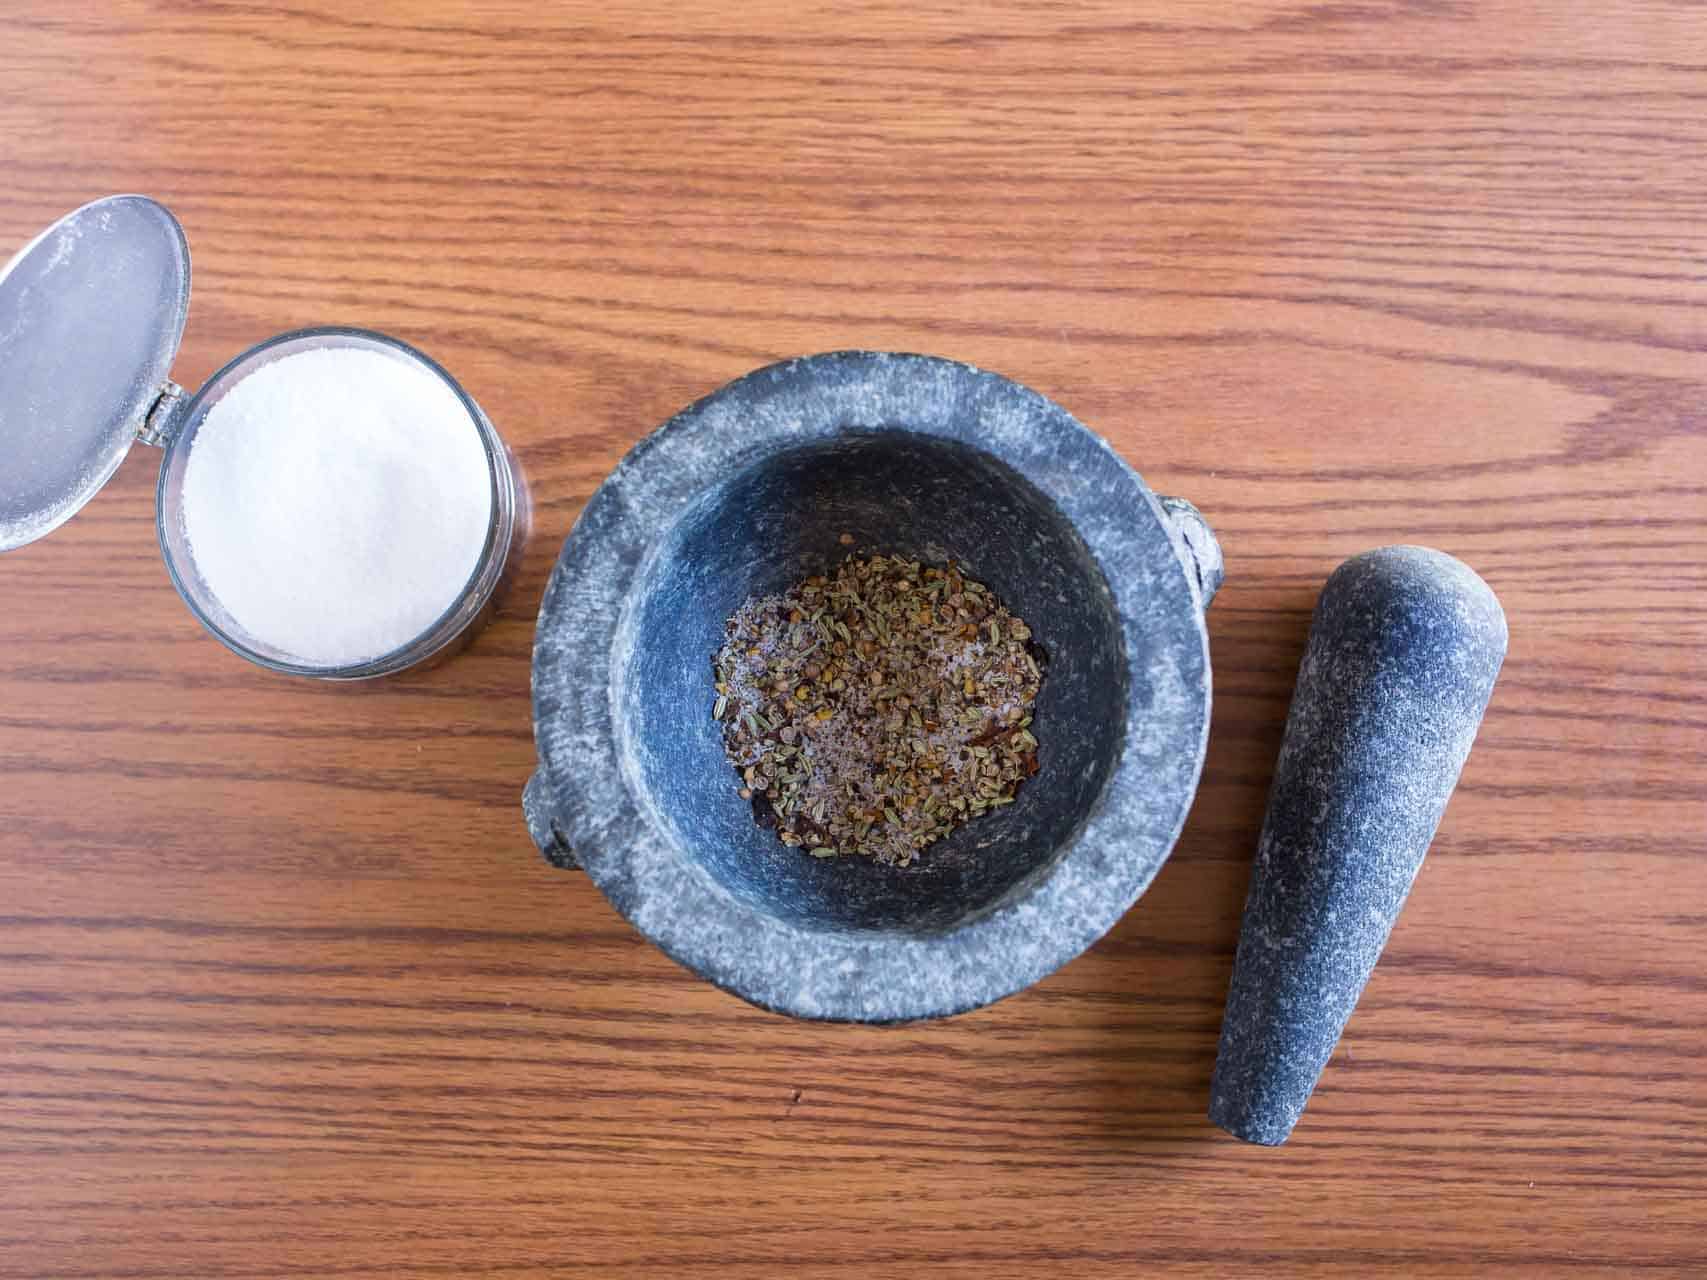
- 1 teaspoon black peppercorns
- 1 teaspoon dried fennel seed
- 1 teaspoon coriander seed
- ½ teaspoon red pepper flakes
- 2 teaspoons kosher salt
How to Rotisserie a Turkey Breast with an Italian Spice Dry Brine
1. Dry brine the turkey breast
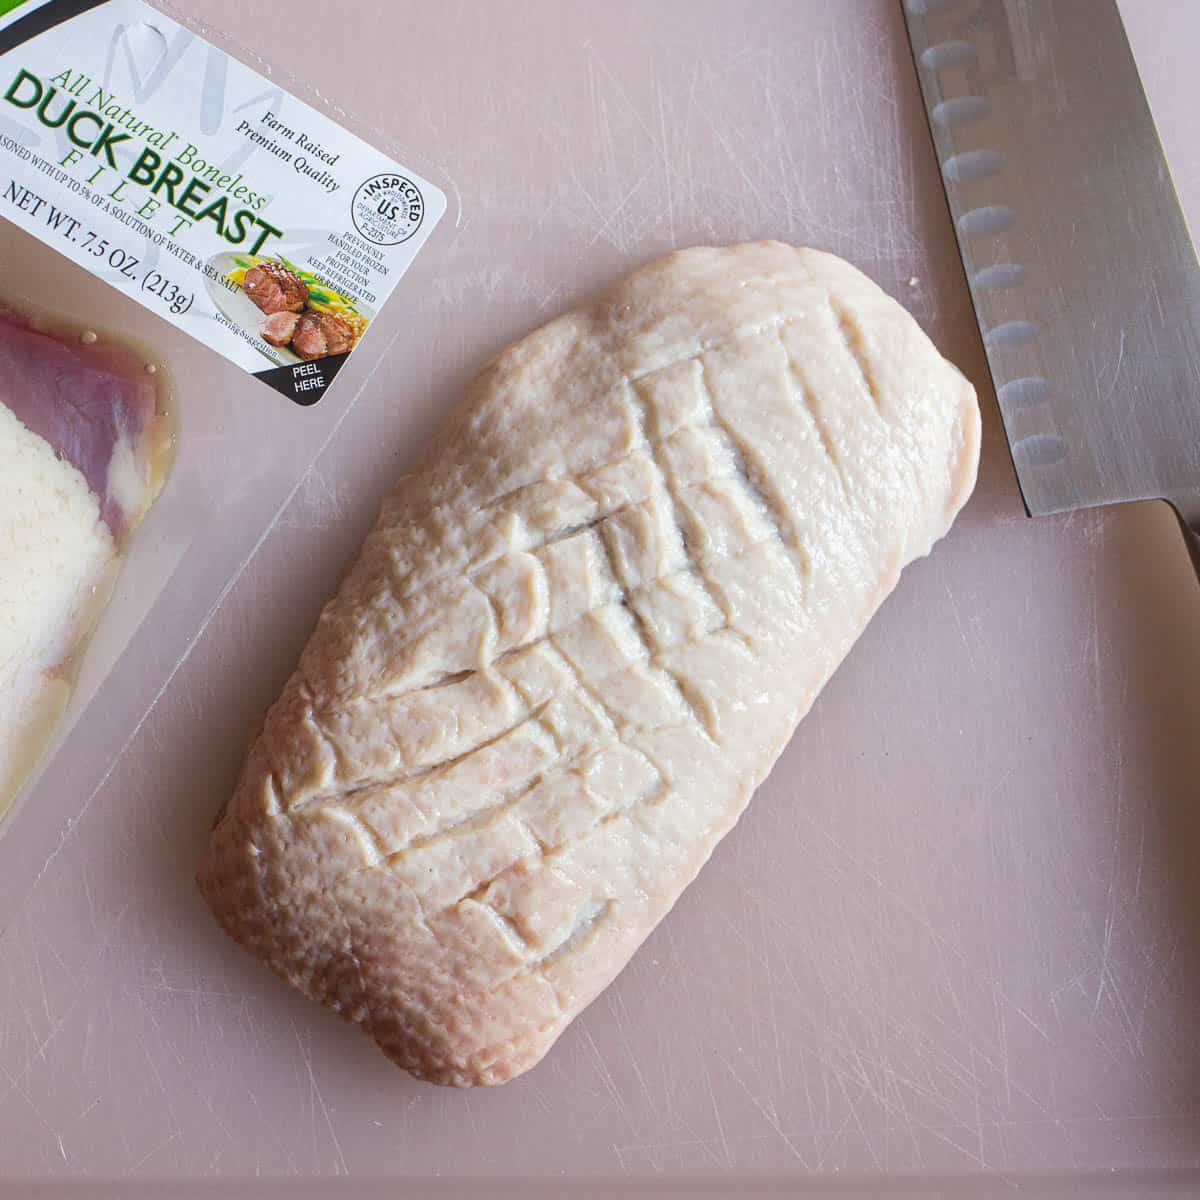
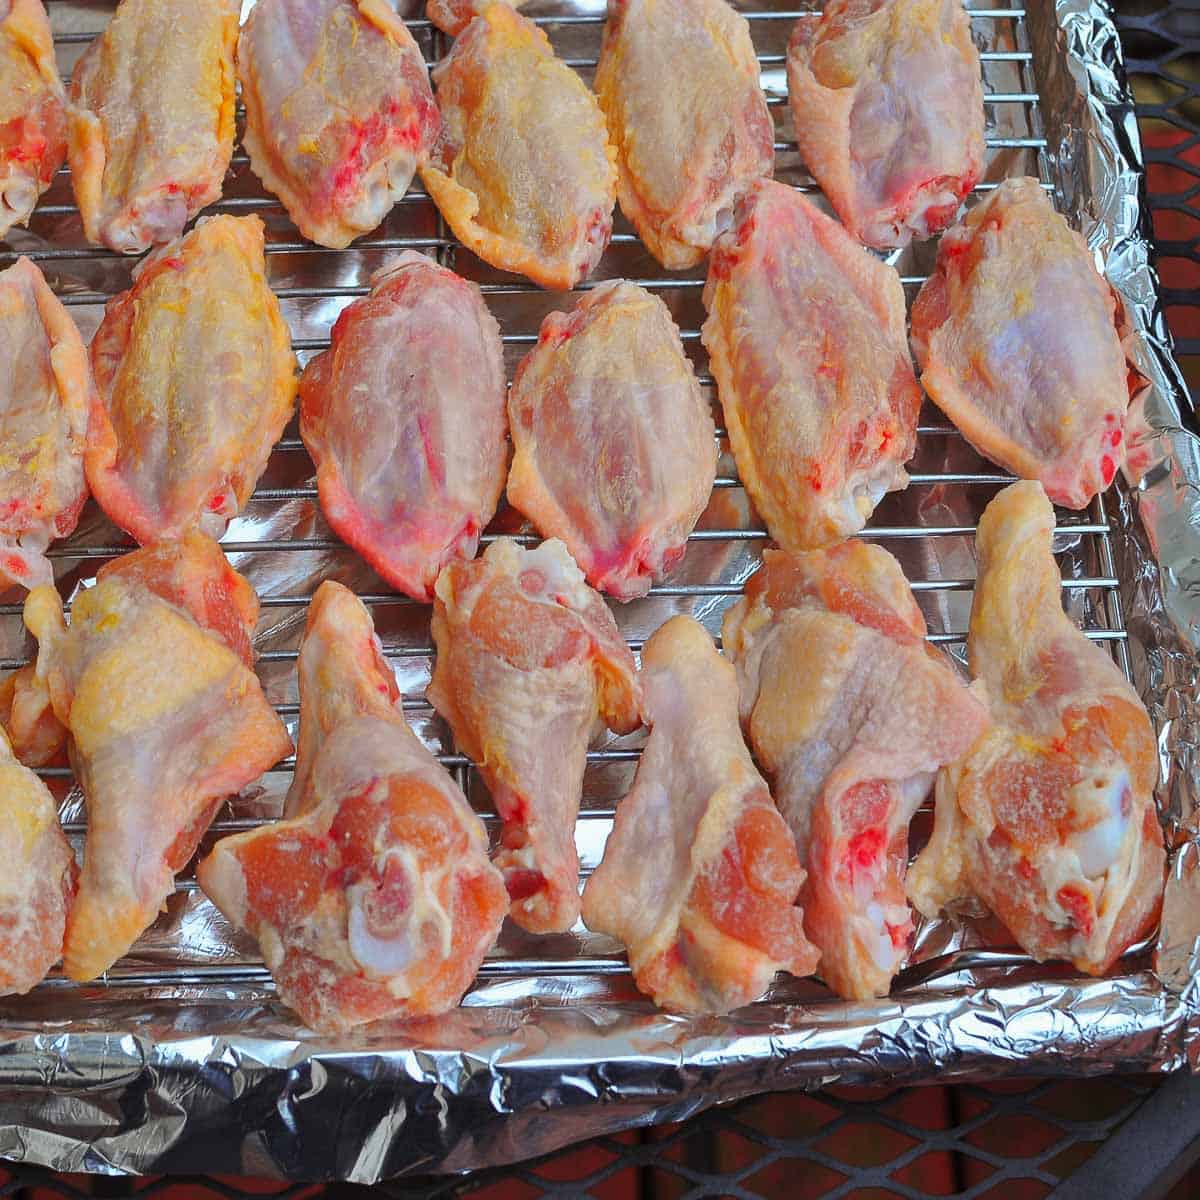
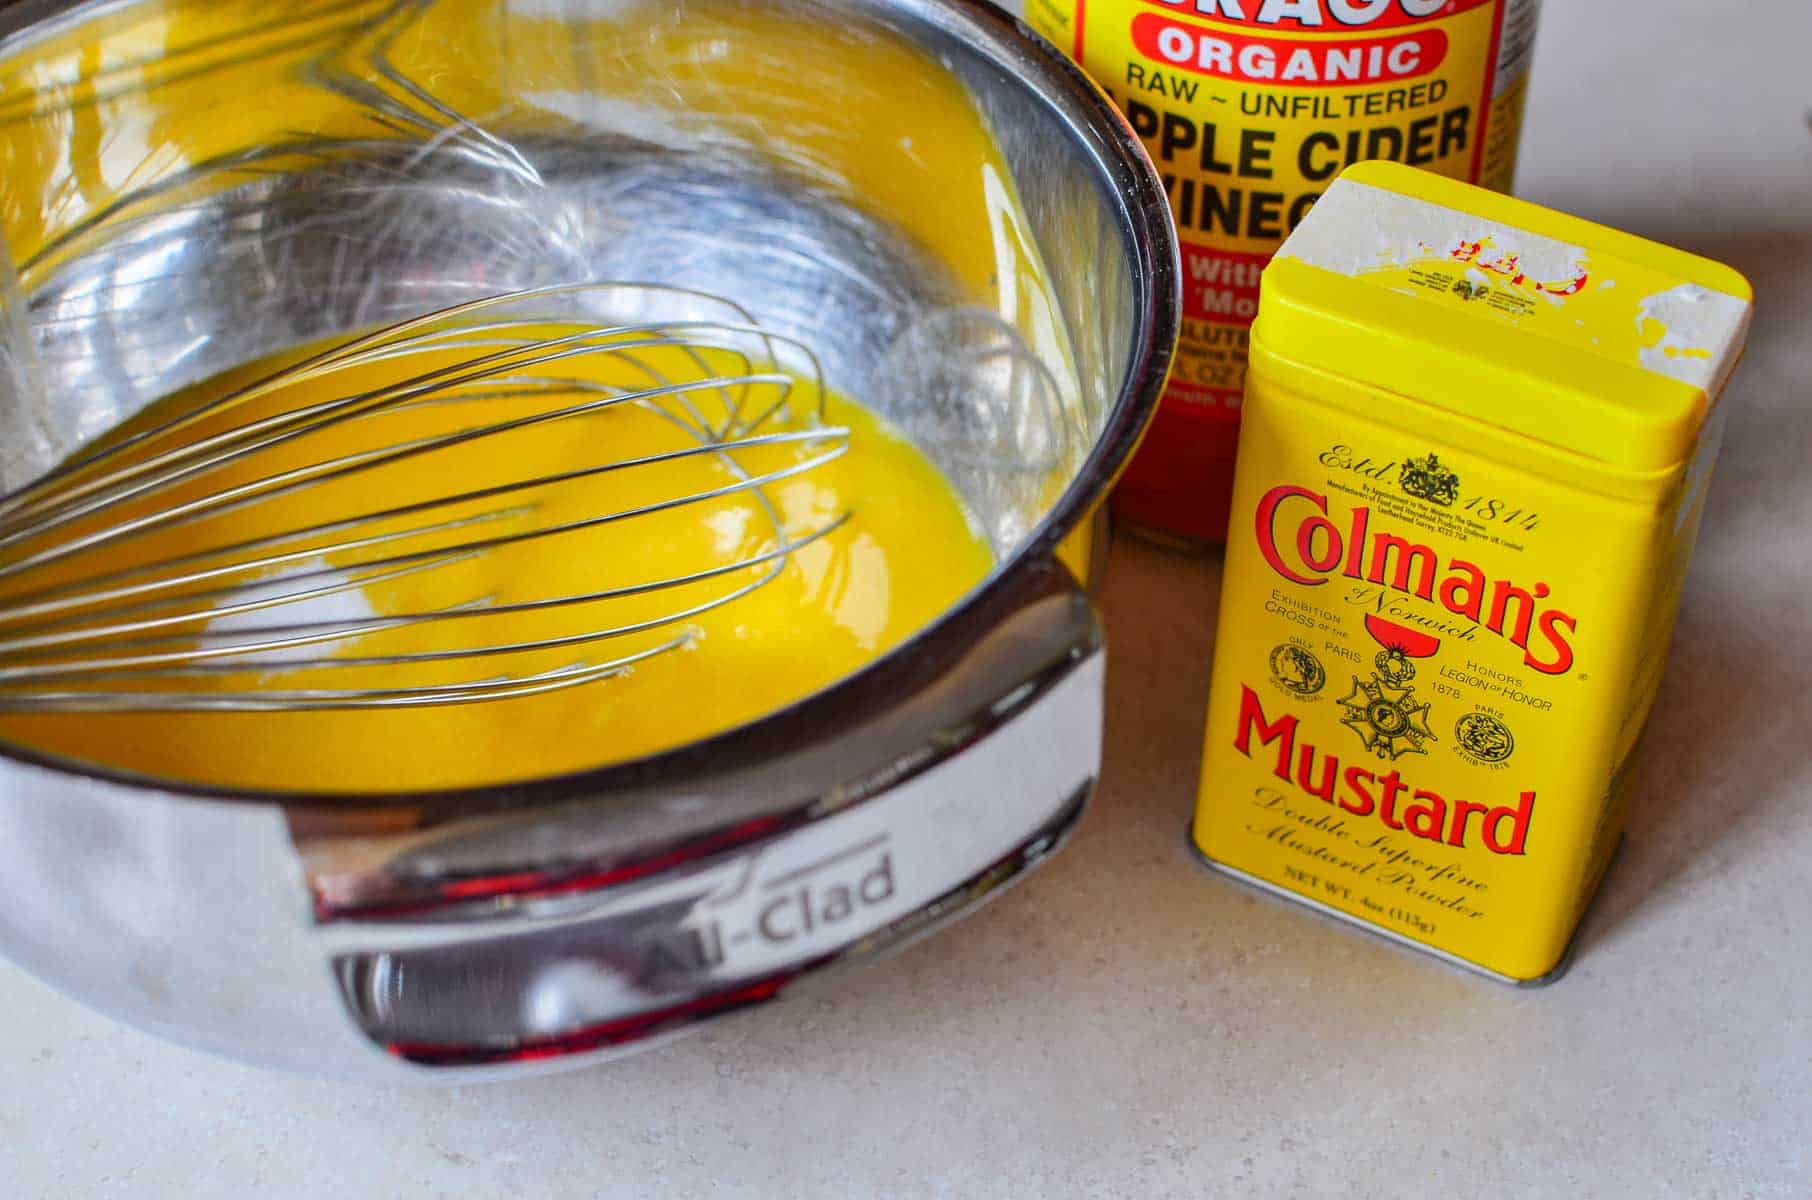
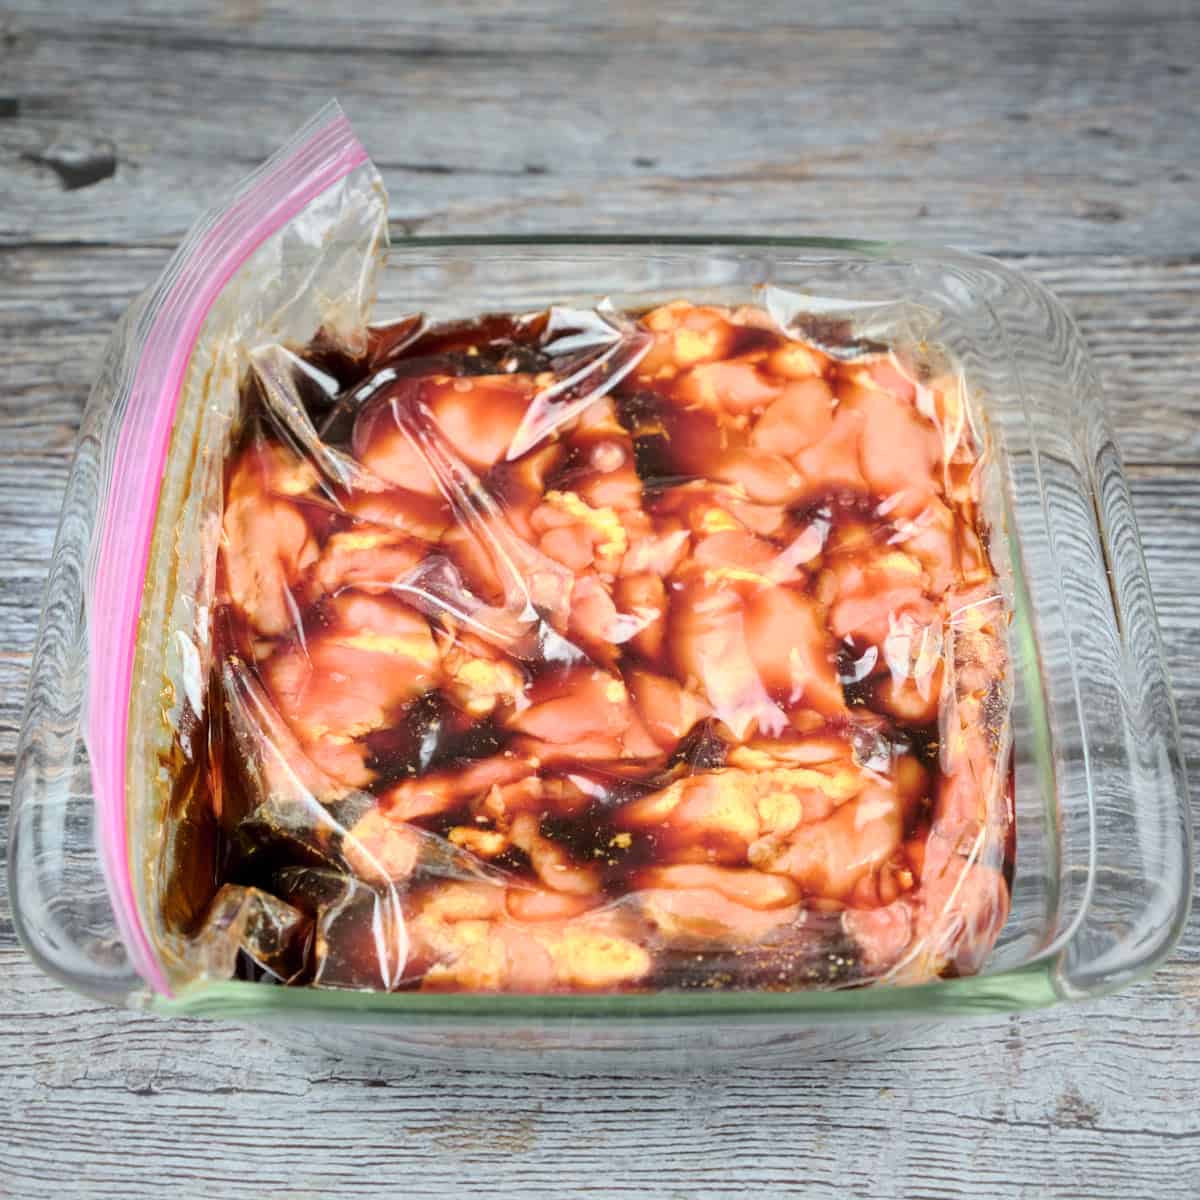
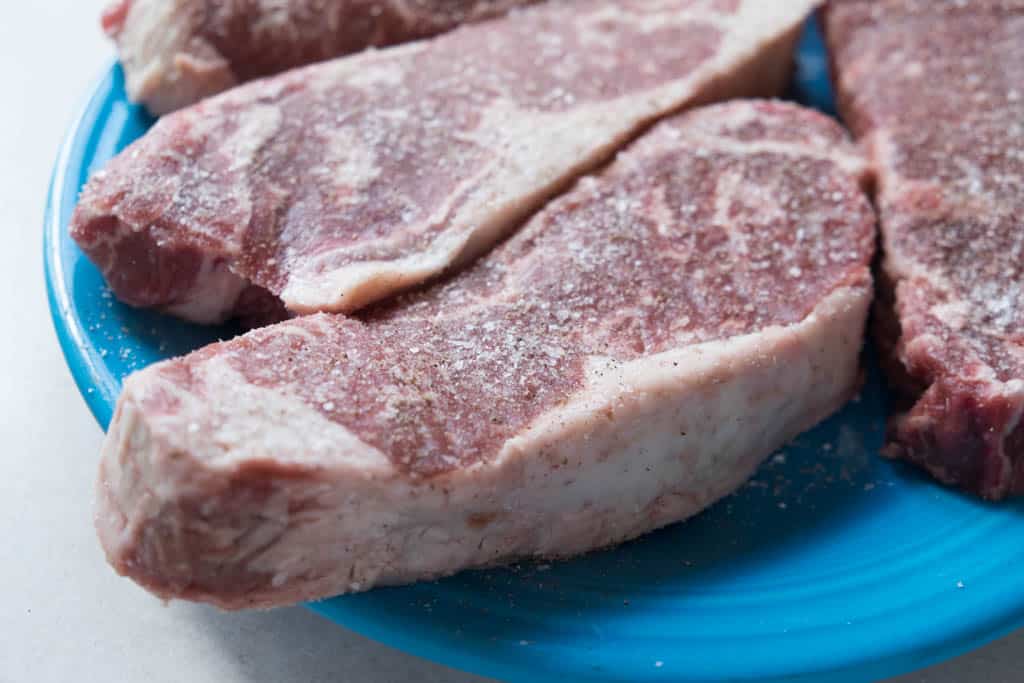
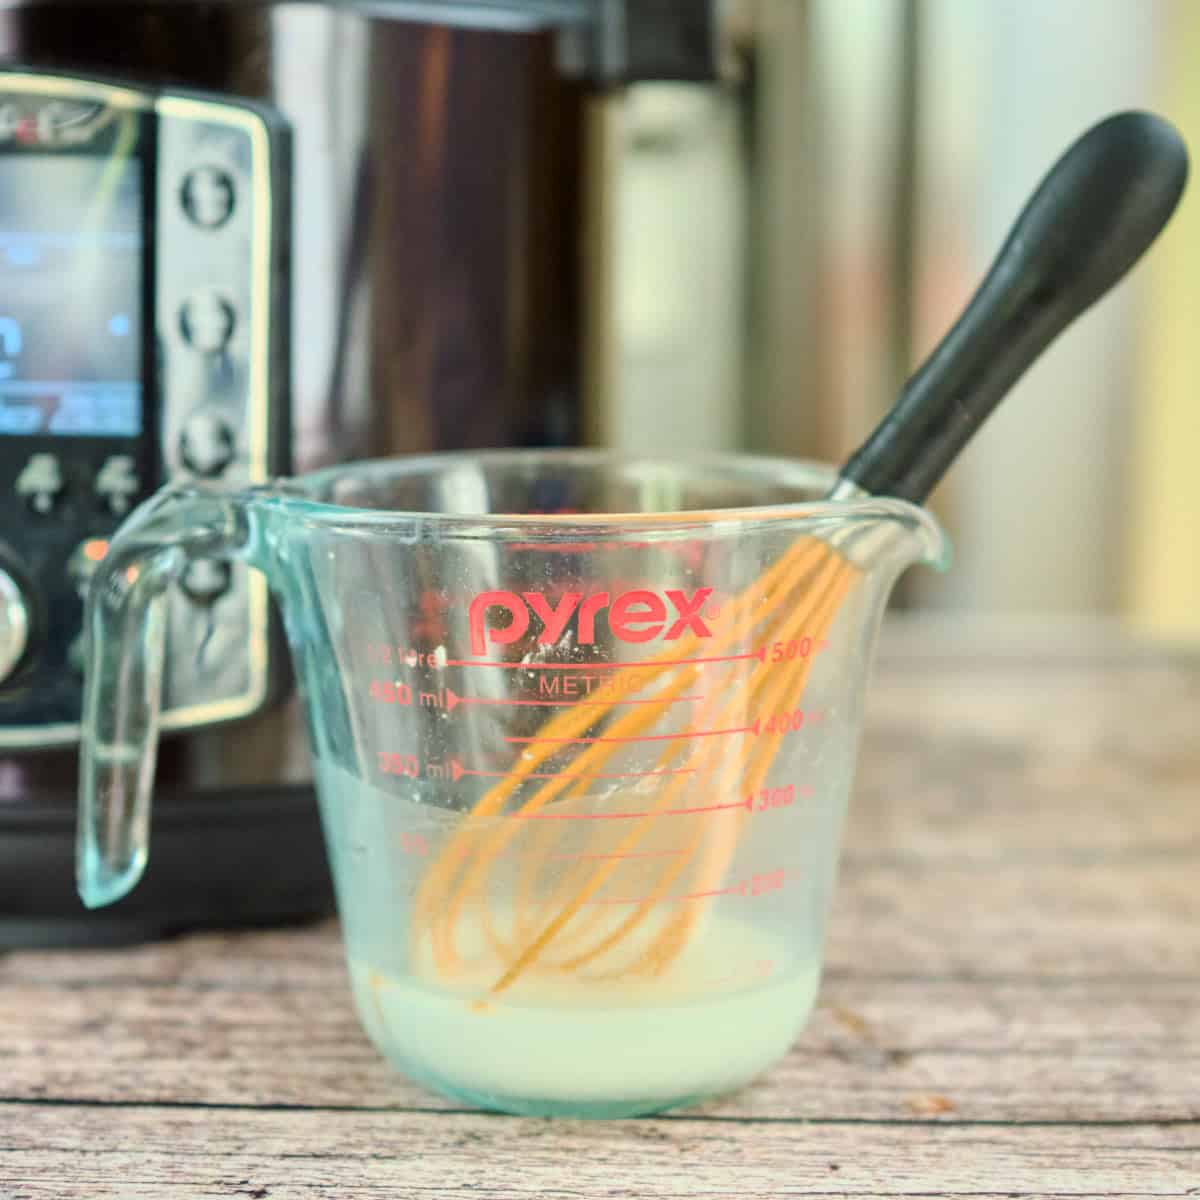
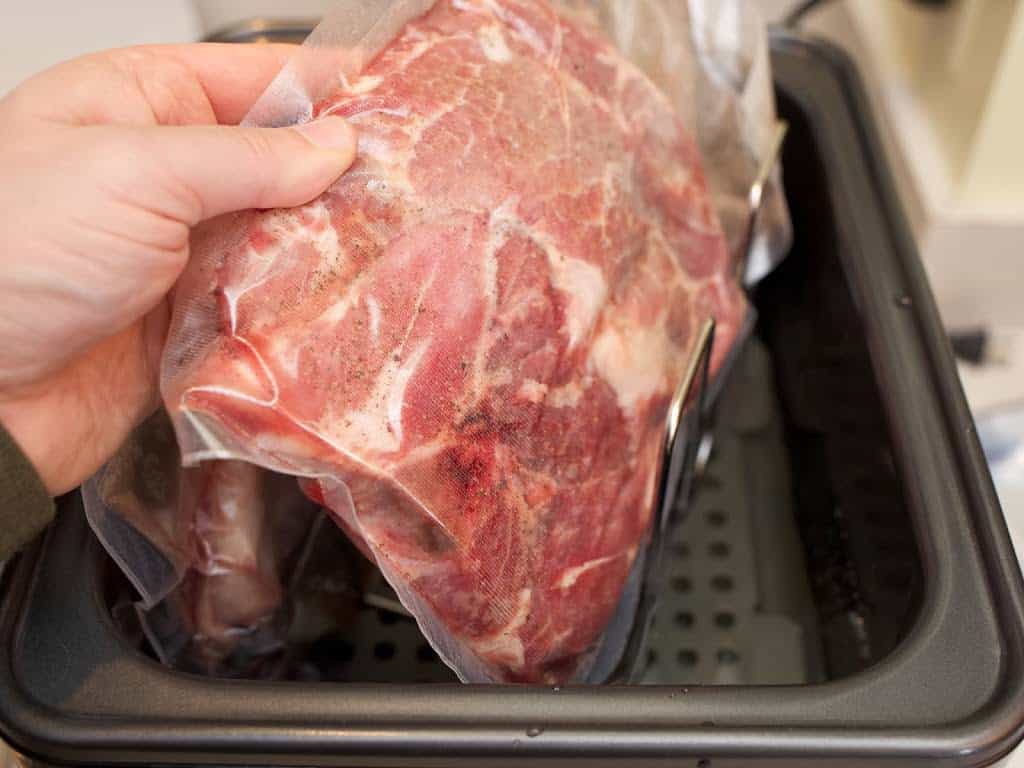
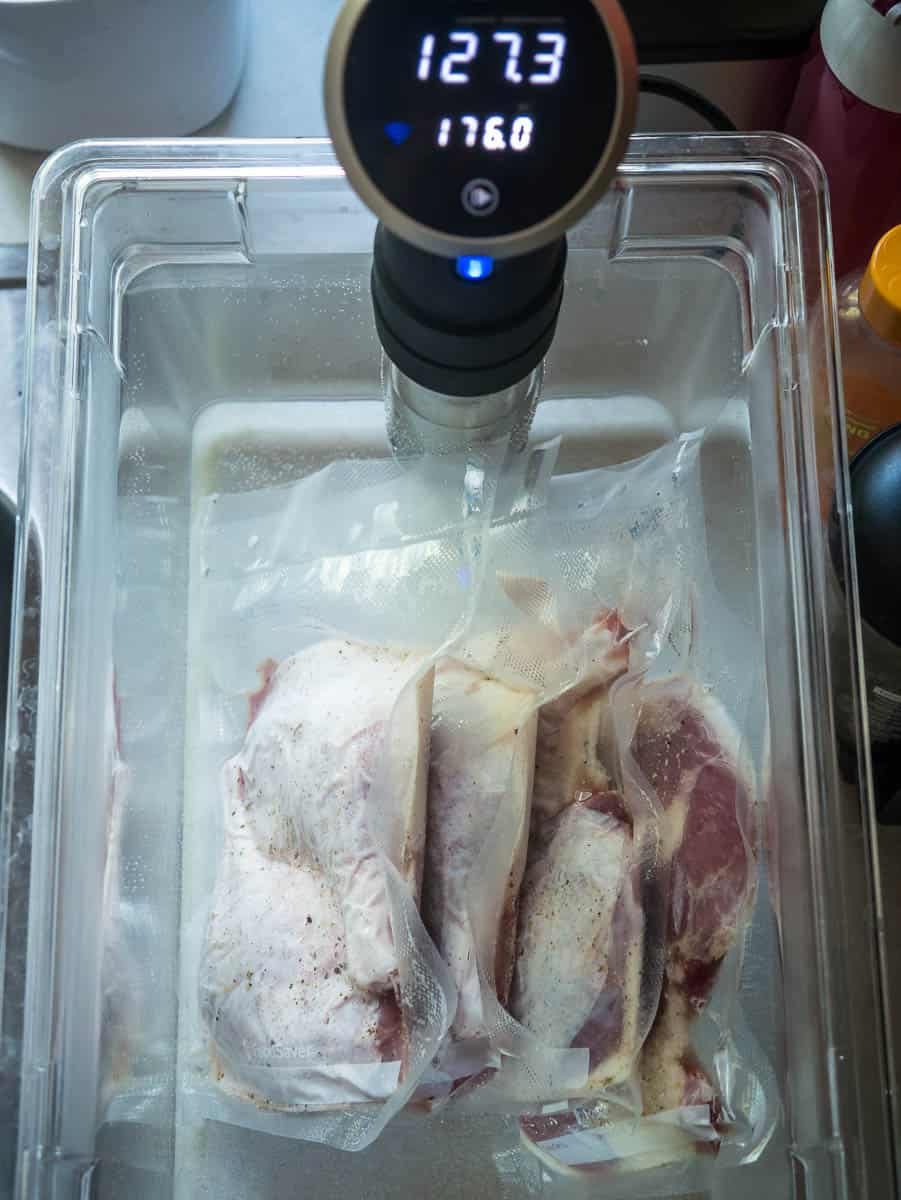
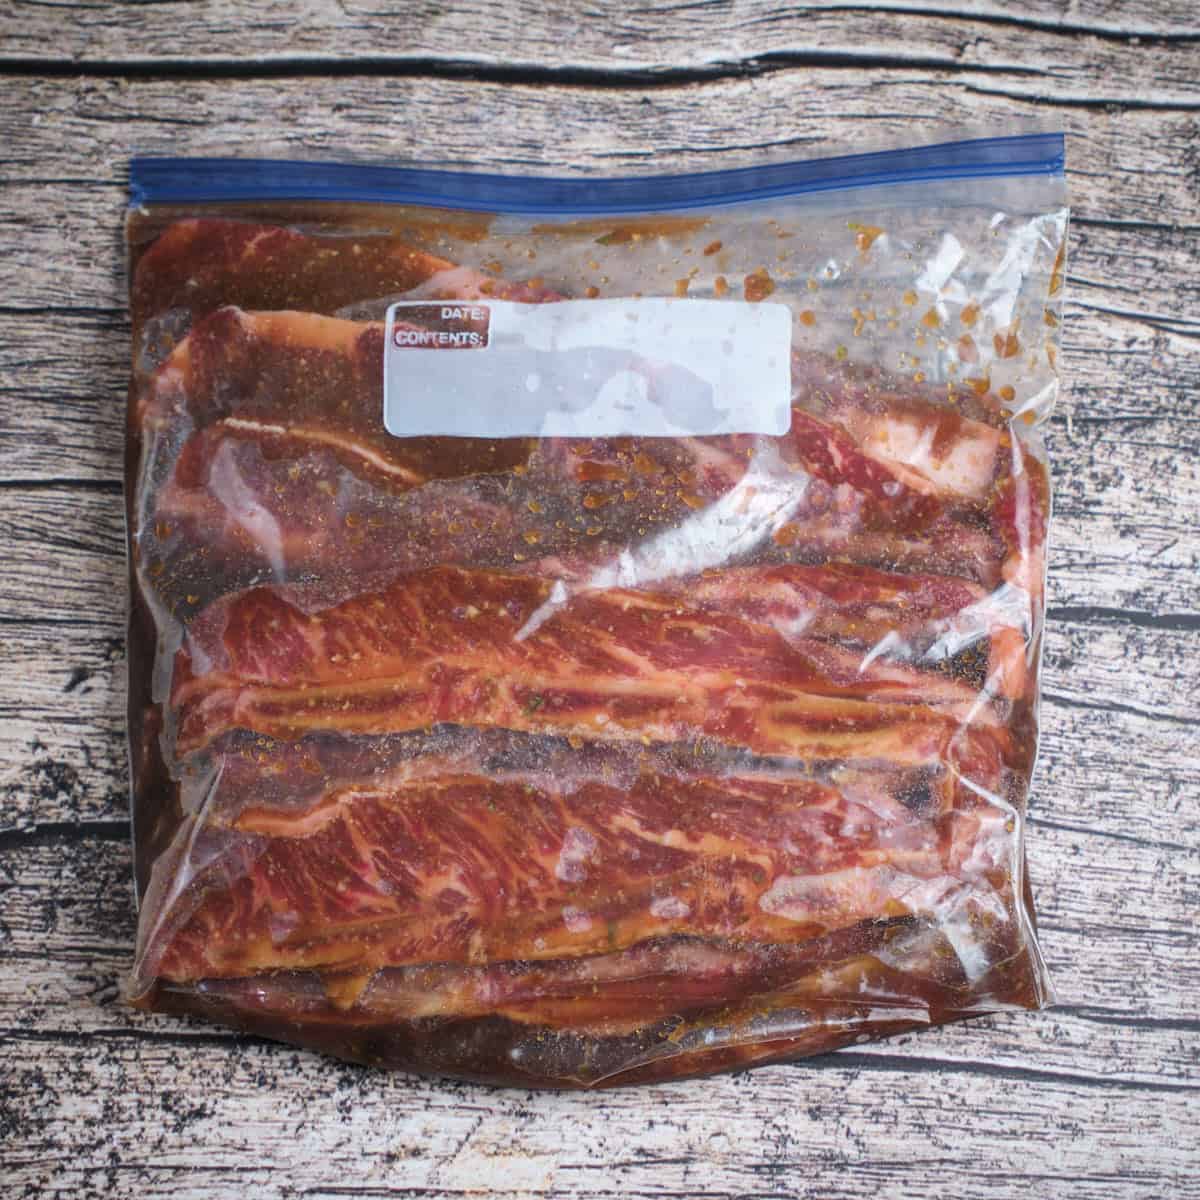
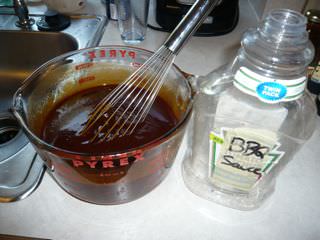
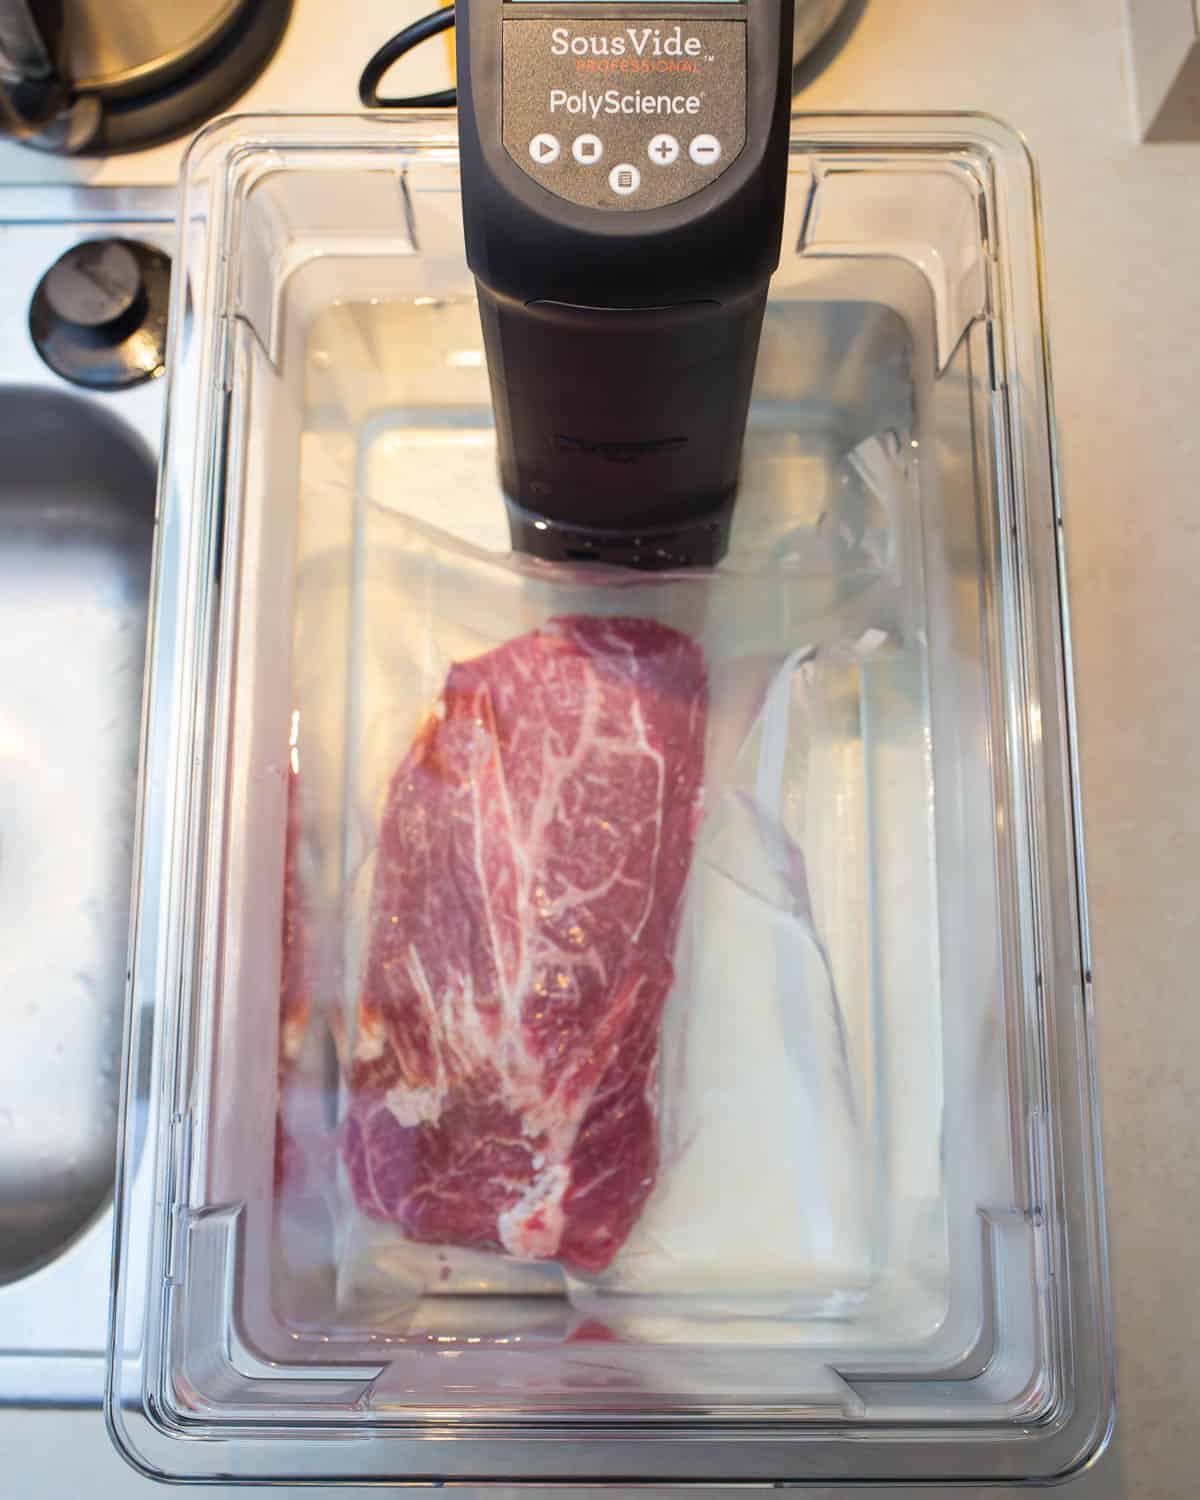
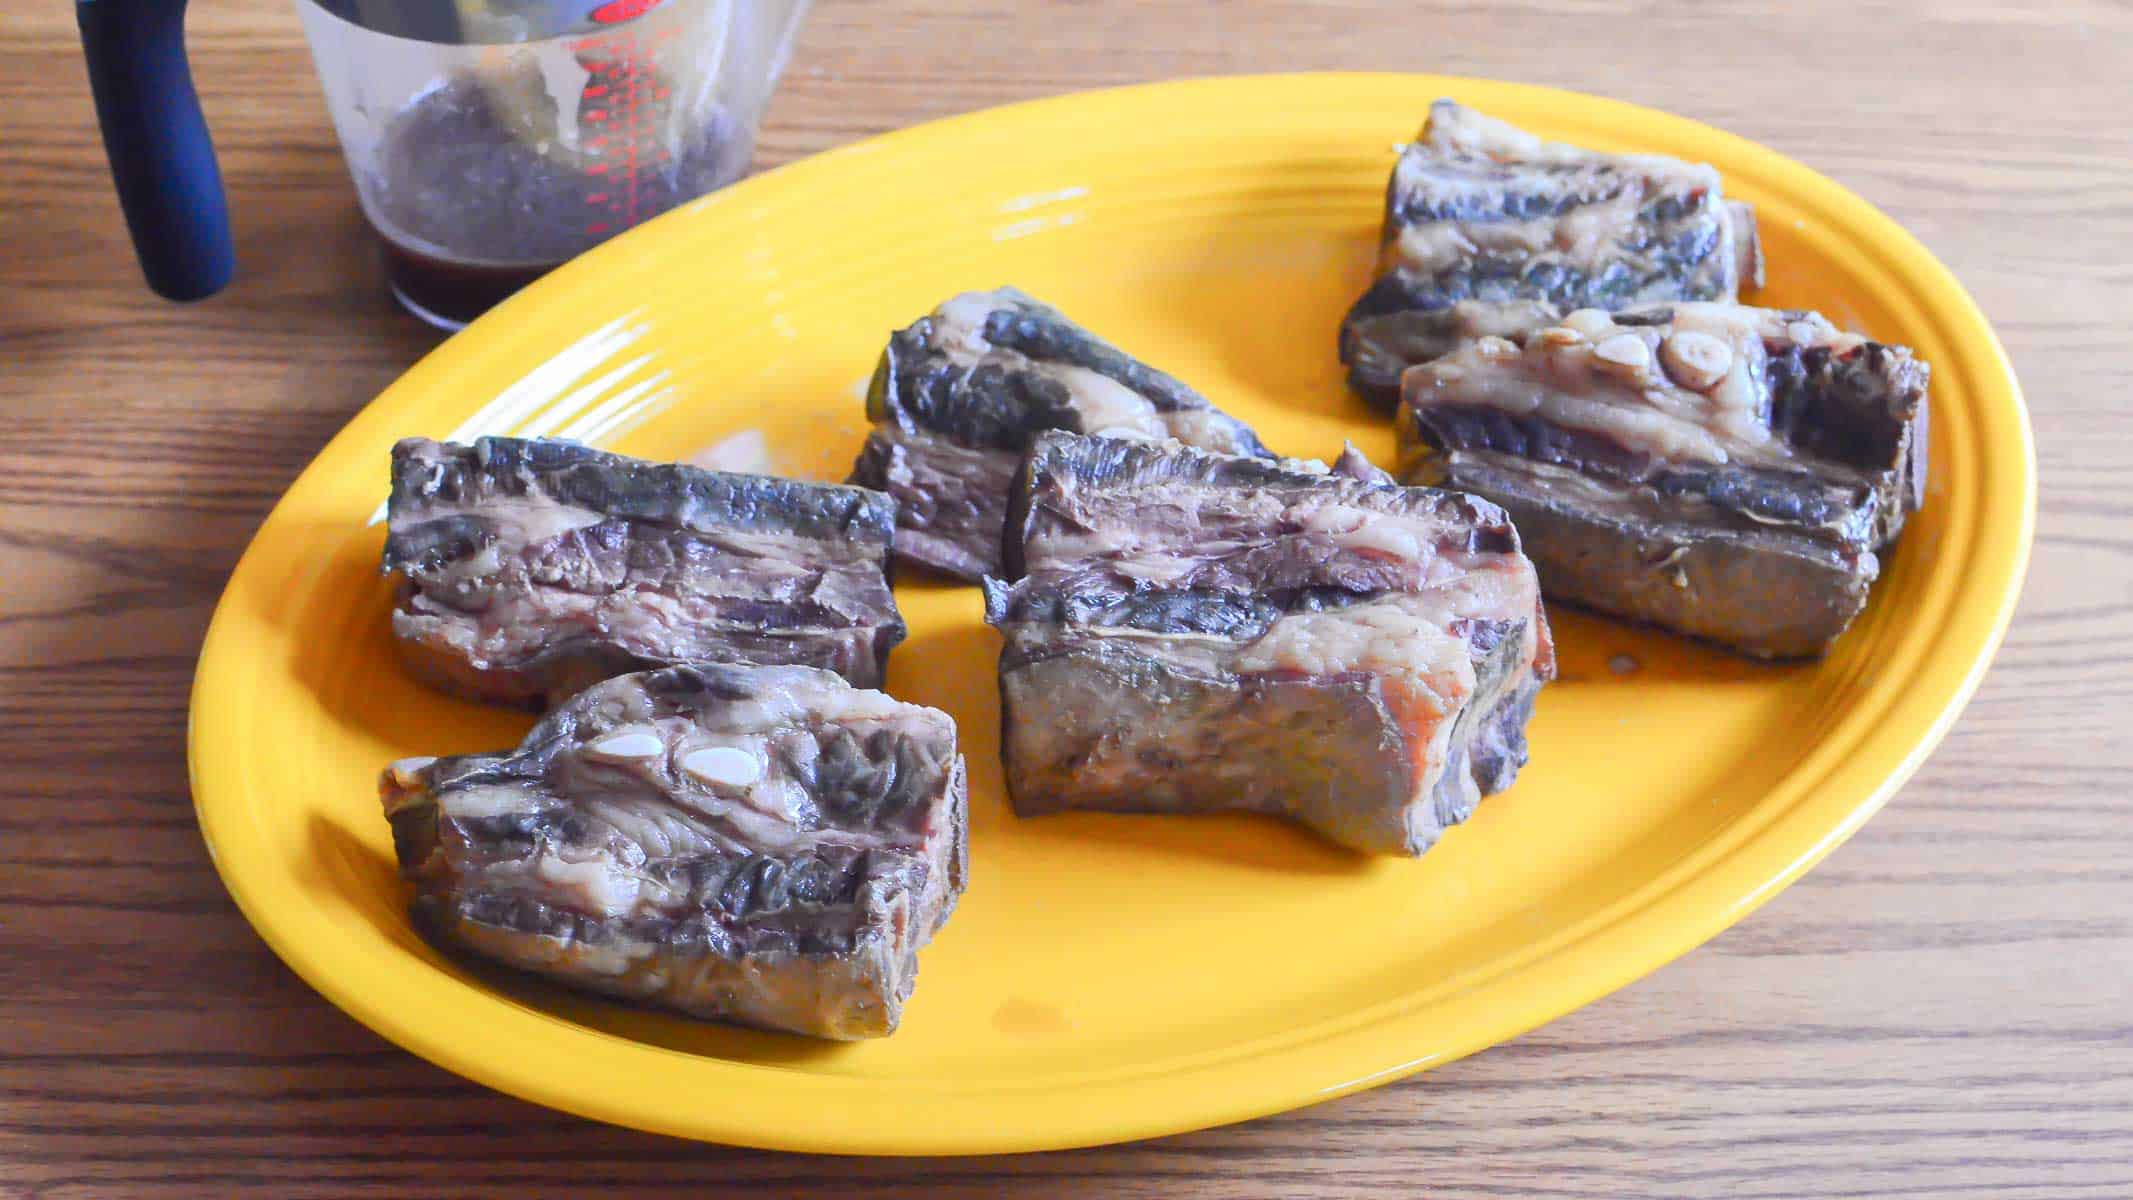
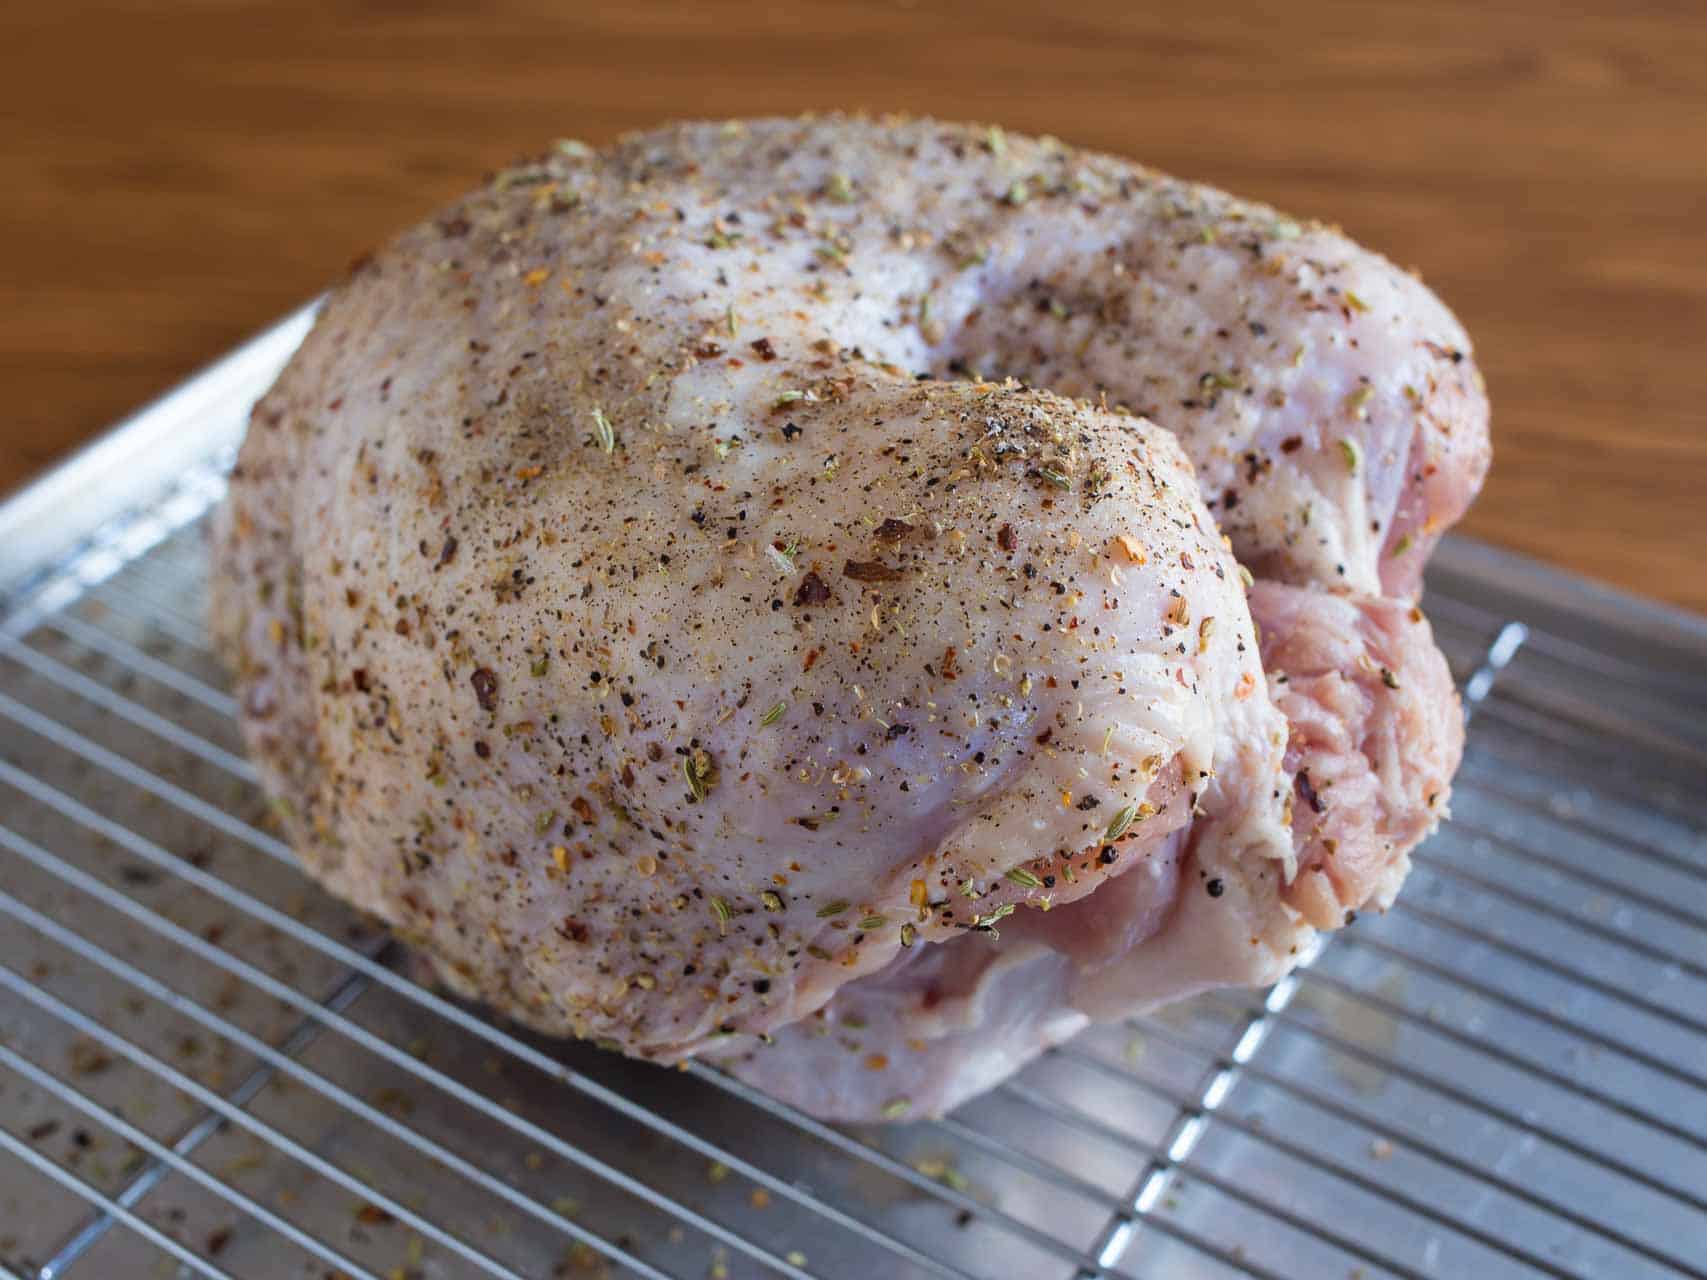
Coarsely grind the peppercorns, fennel, coriander and red pepper flakes. (I do this in a mortar and pestle, or an electric coffee mill that I dedicate to spice grinding.) Stir in the kosher salt. Gently work the skin loose from the turkey breast, then rub 1 teaspoon of the spices directly on the meat. Arrange the skin so it covers the breast, then sprinkle the rest of the spices all over the turkey breast, inside and out. Put the turkey breast in a baking dish and let it rest in the refrigerator overnight (up to 24 hours).
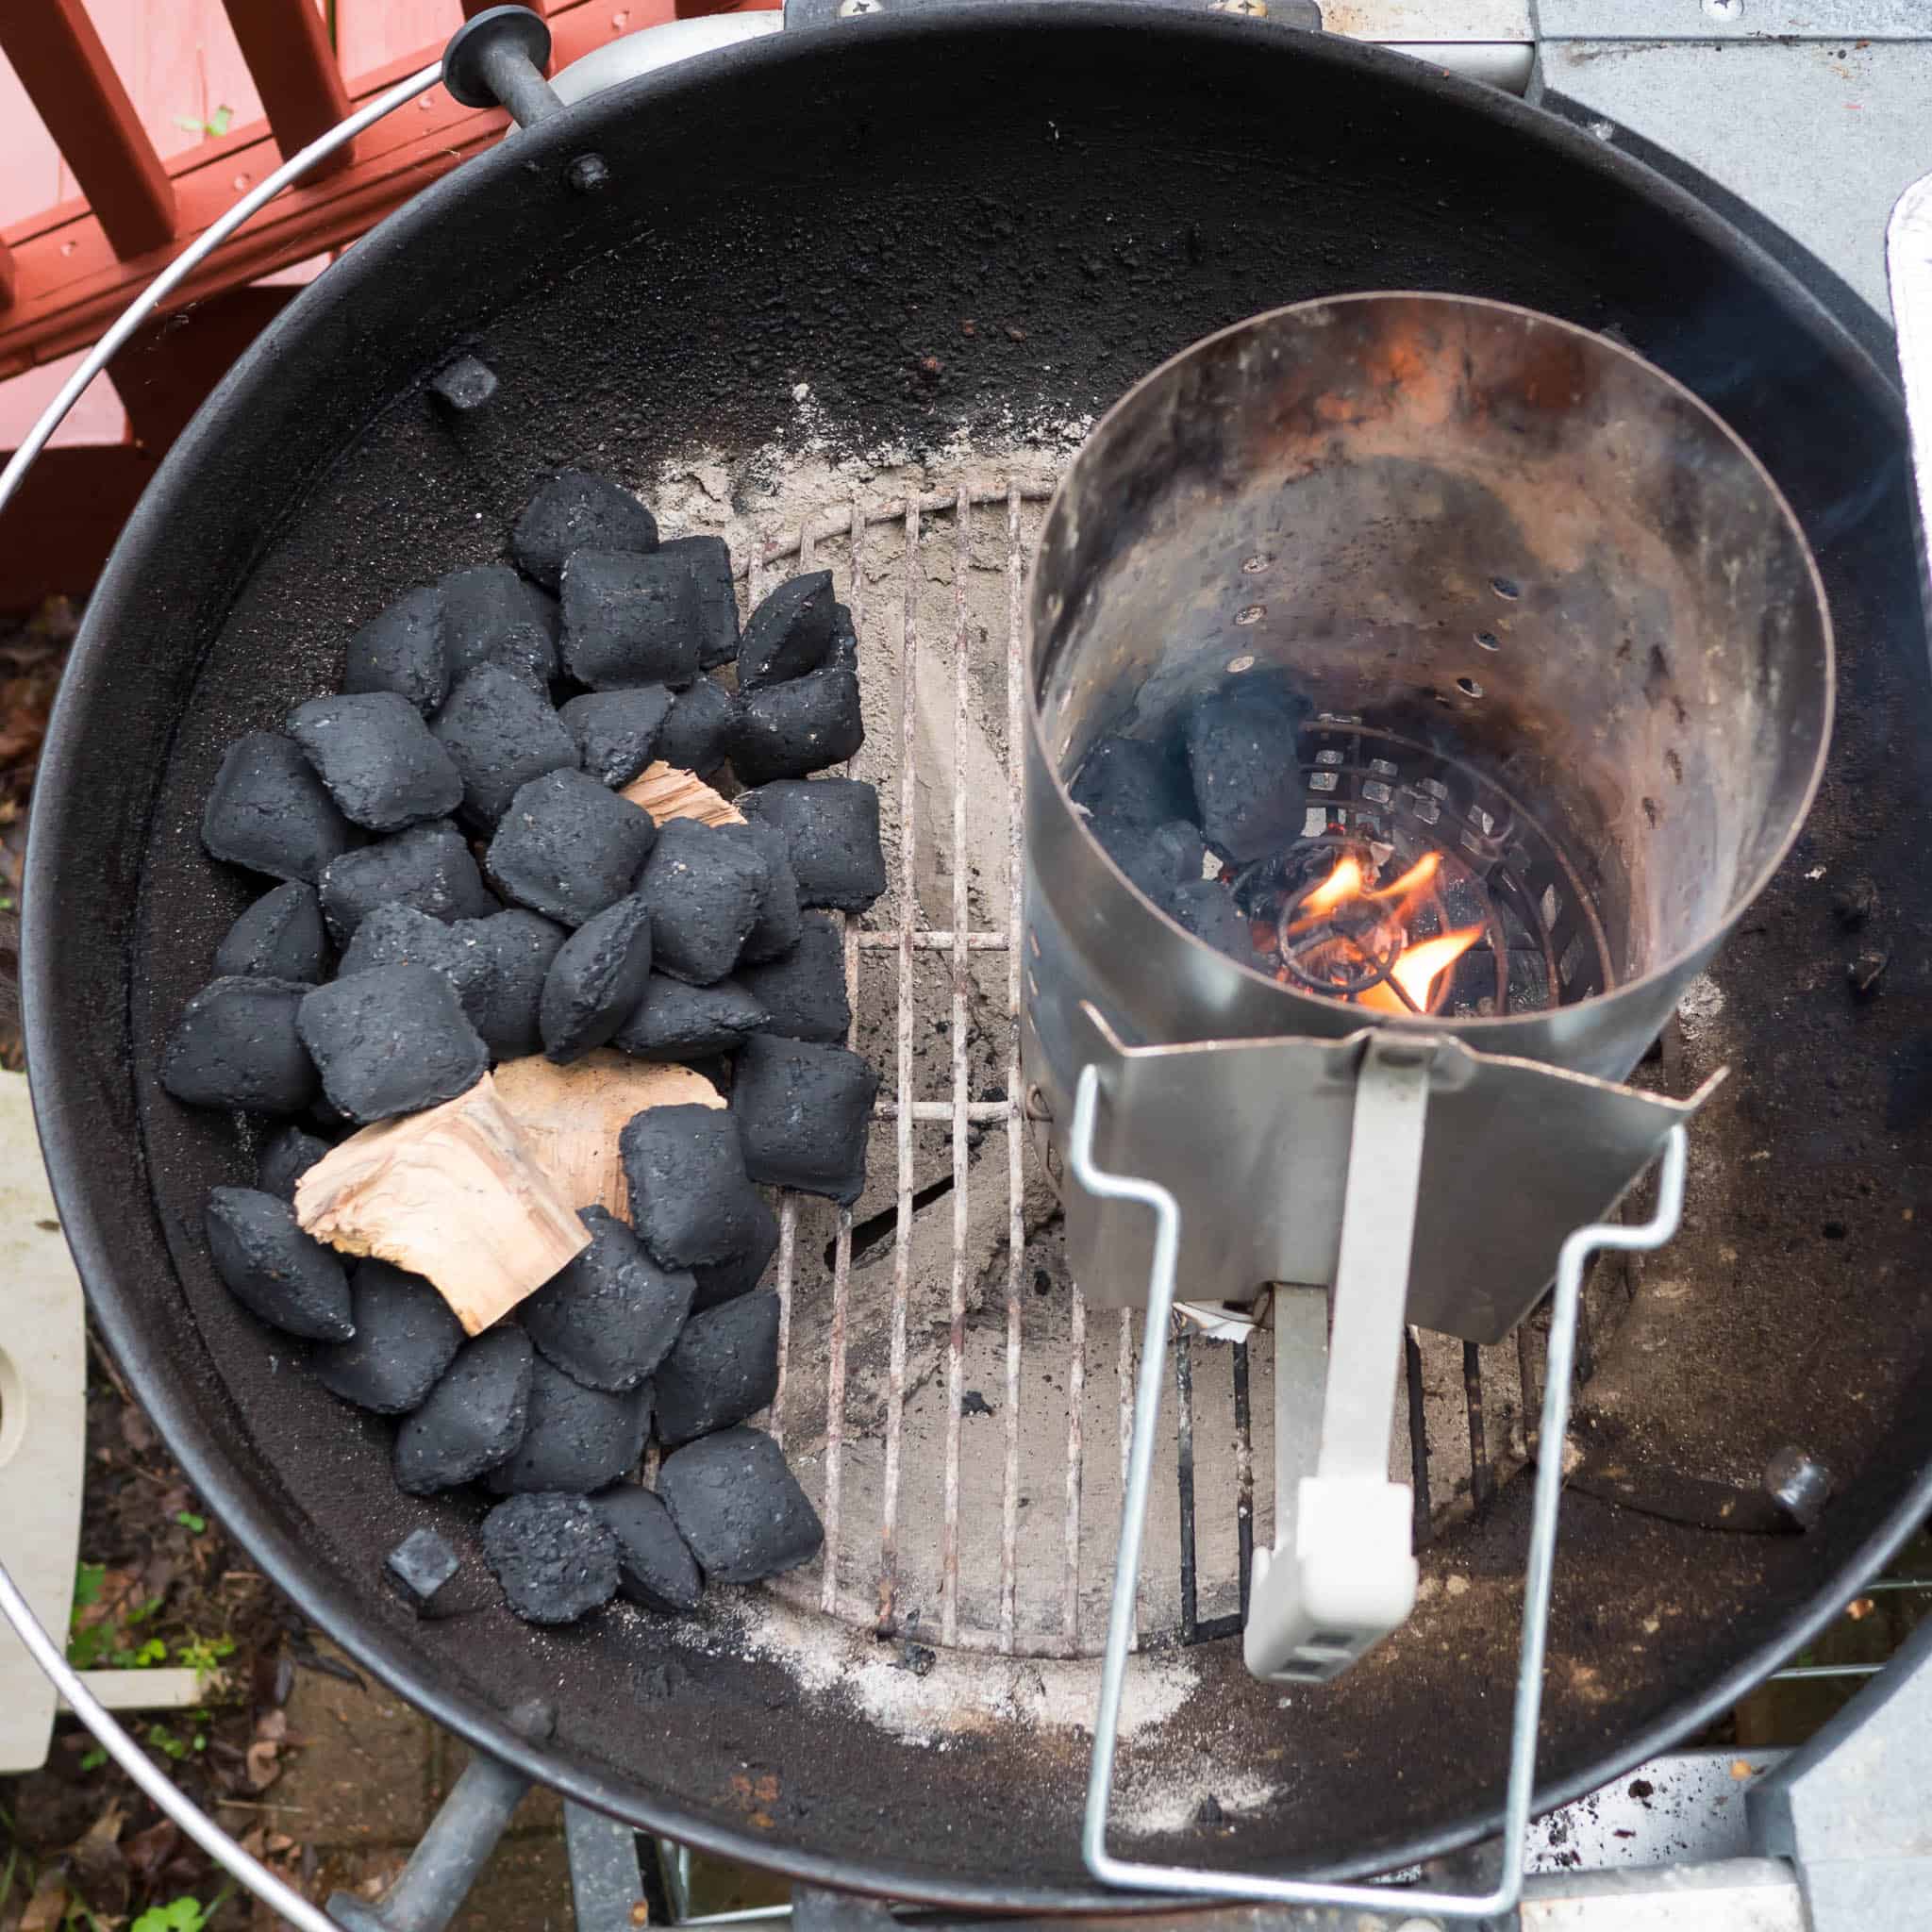
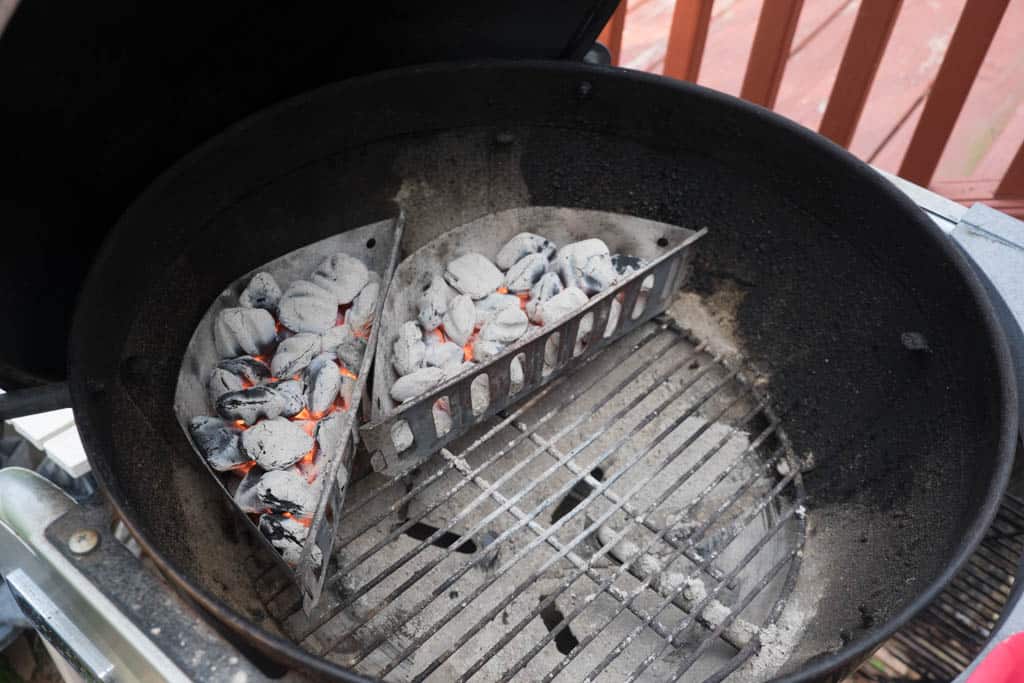
2. Set the grill up for indirect medium heat
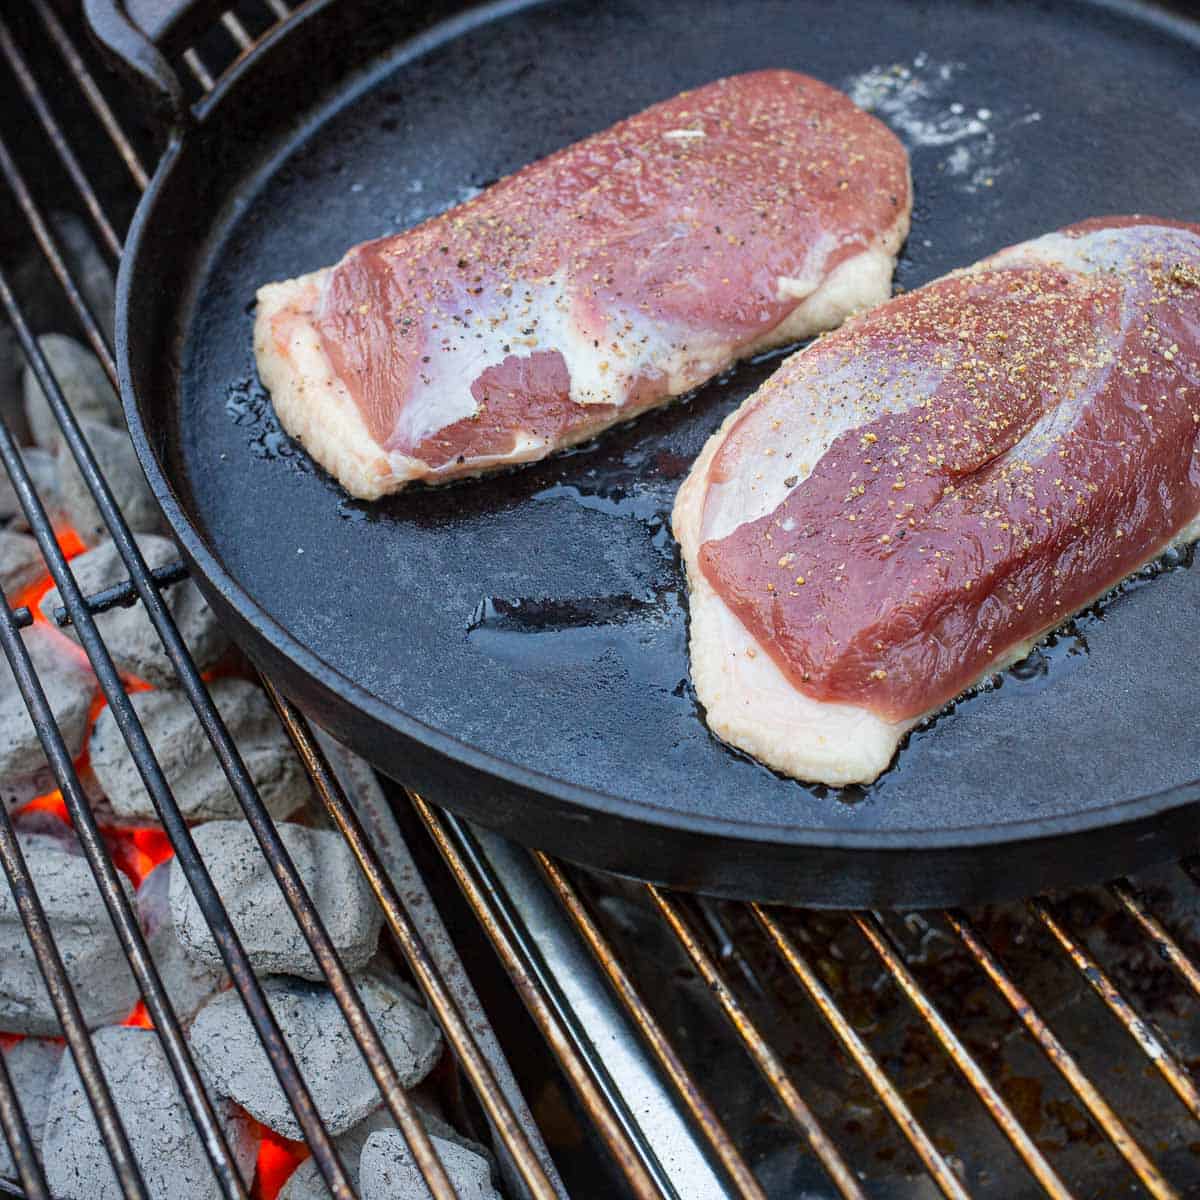
Set your grill up for rotisserie cooking at medium heat, roughly 400°F. For my Weber Summit, I remove the cooking grates to get more clearance. Then I set the outer burners to medium (burners 1 and 6), and turn on the infrared burner and set it to medium. Finally, I put my drip pan in the middle of the grill, over the unlit burners. (See My Rotisserie Basic Technique Post for more rotisserie setup details.)
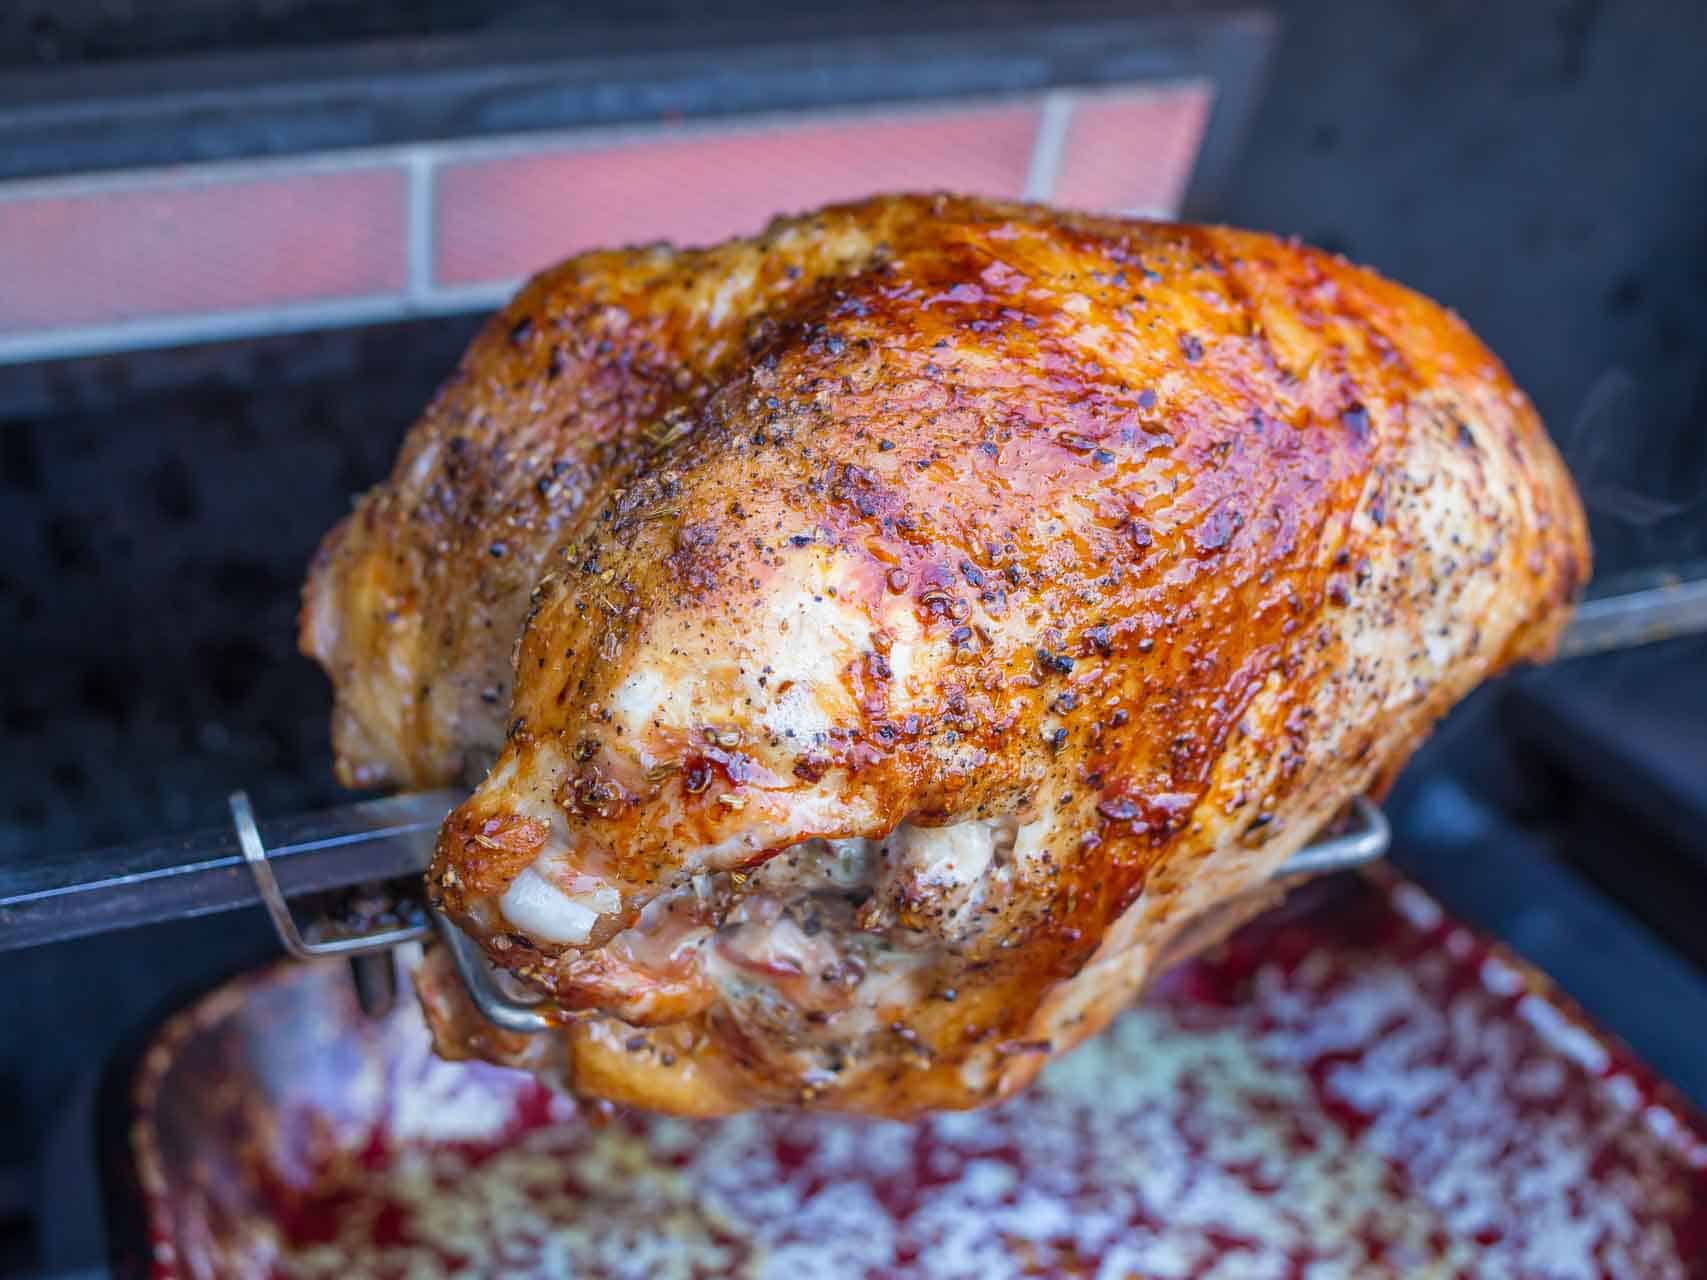
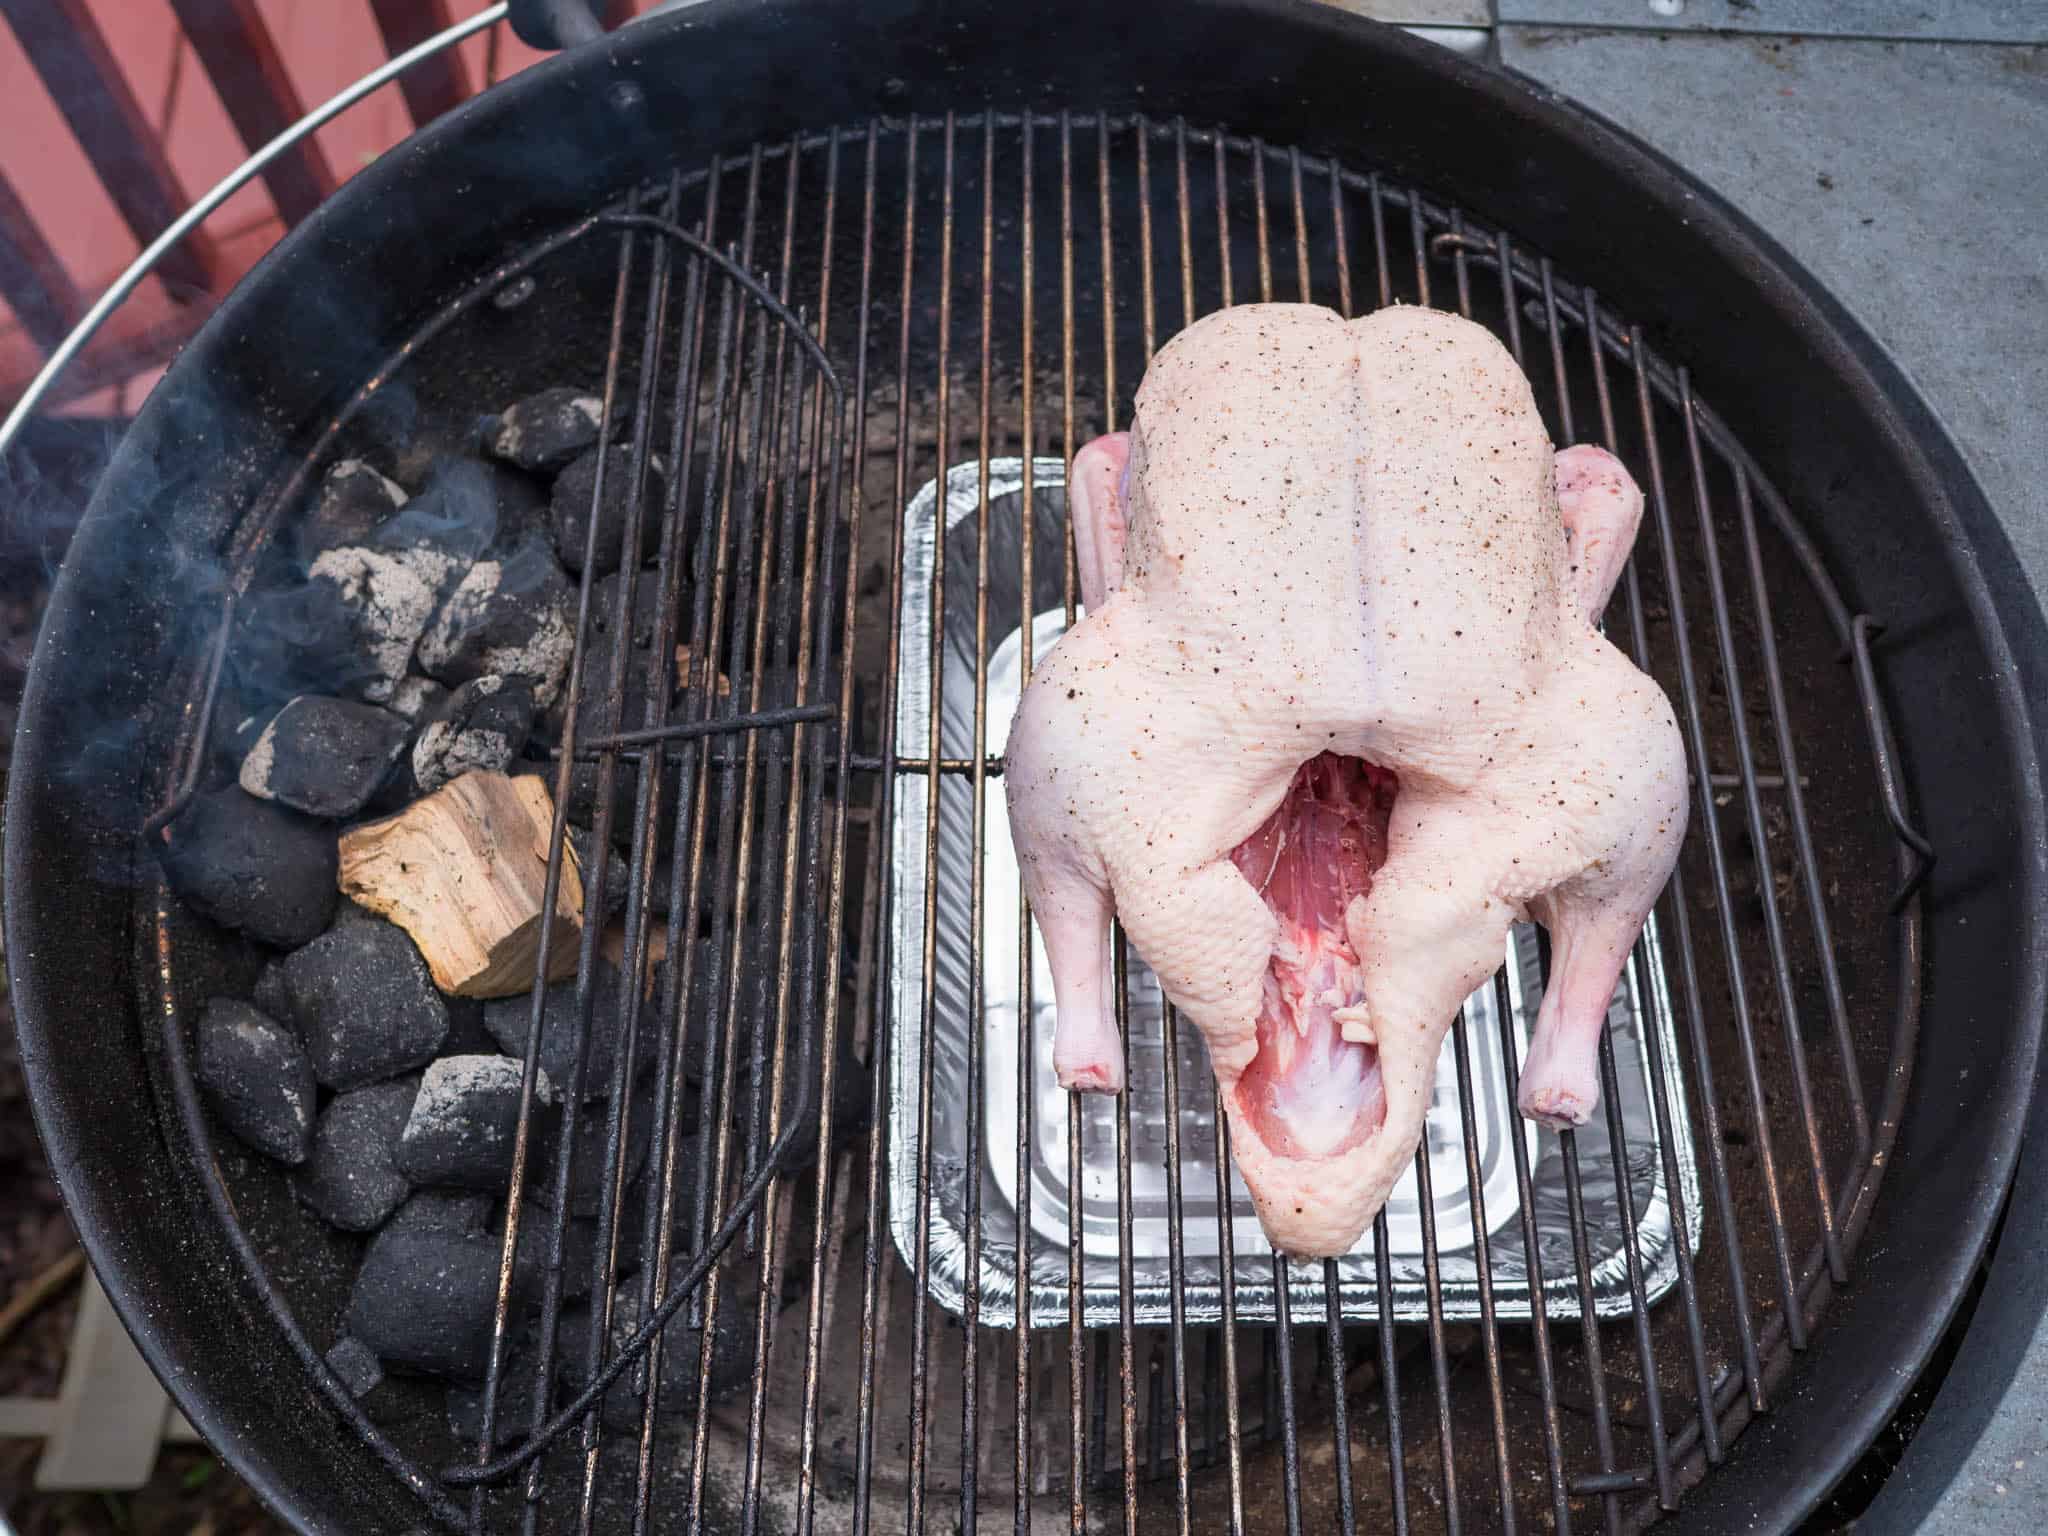
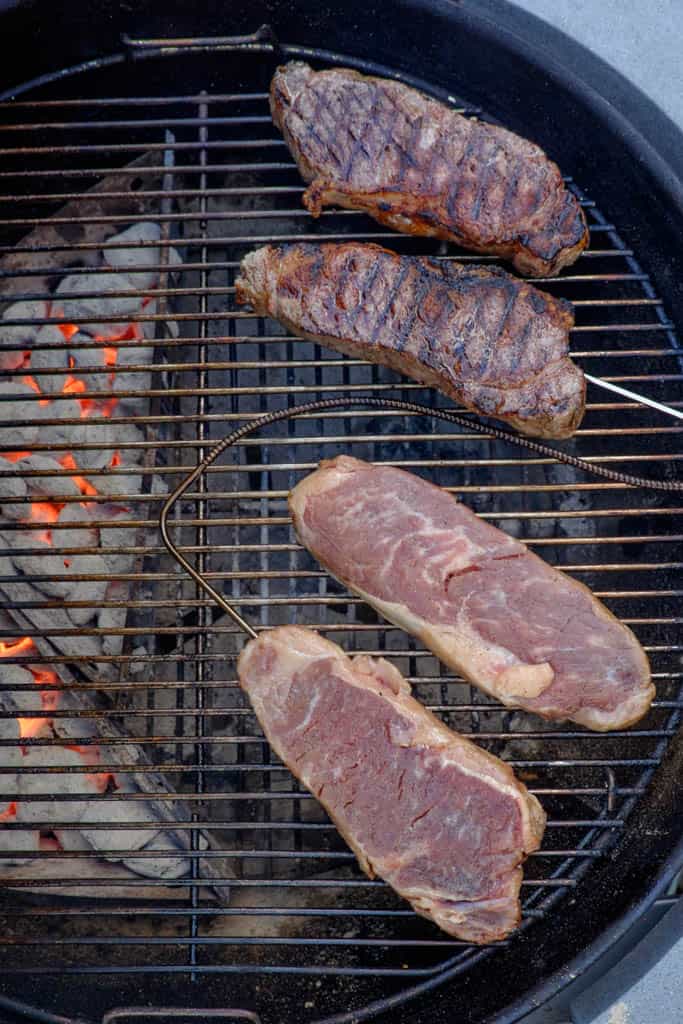
3. Spit the turkey, and maybe truss it.
If there is loose skin on the turkey (around the wings and the neck), truss it once, around the wing sockets, and tuck any loose skin under the butcher's twine. Skewer the turkey on your spit, through the cavity of the breast, pushing the prongs into the middle of the meat to hold it steady.
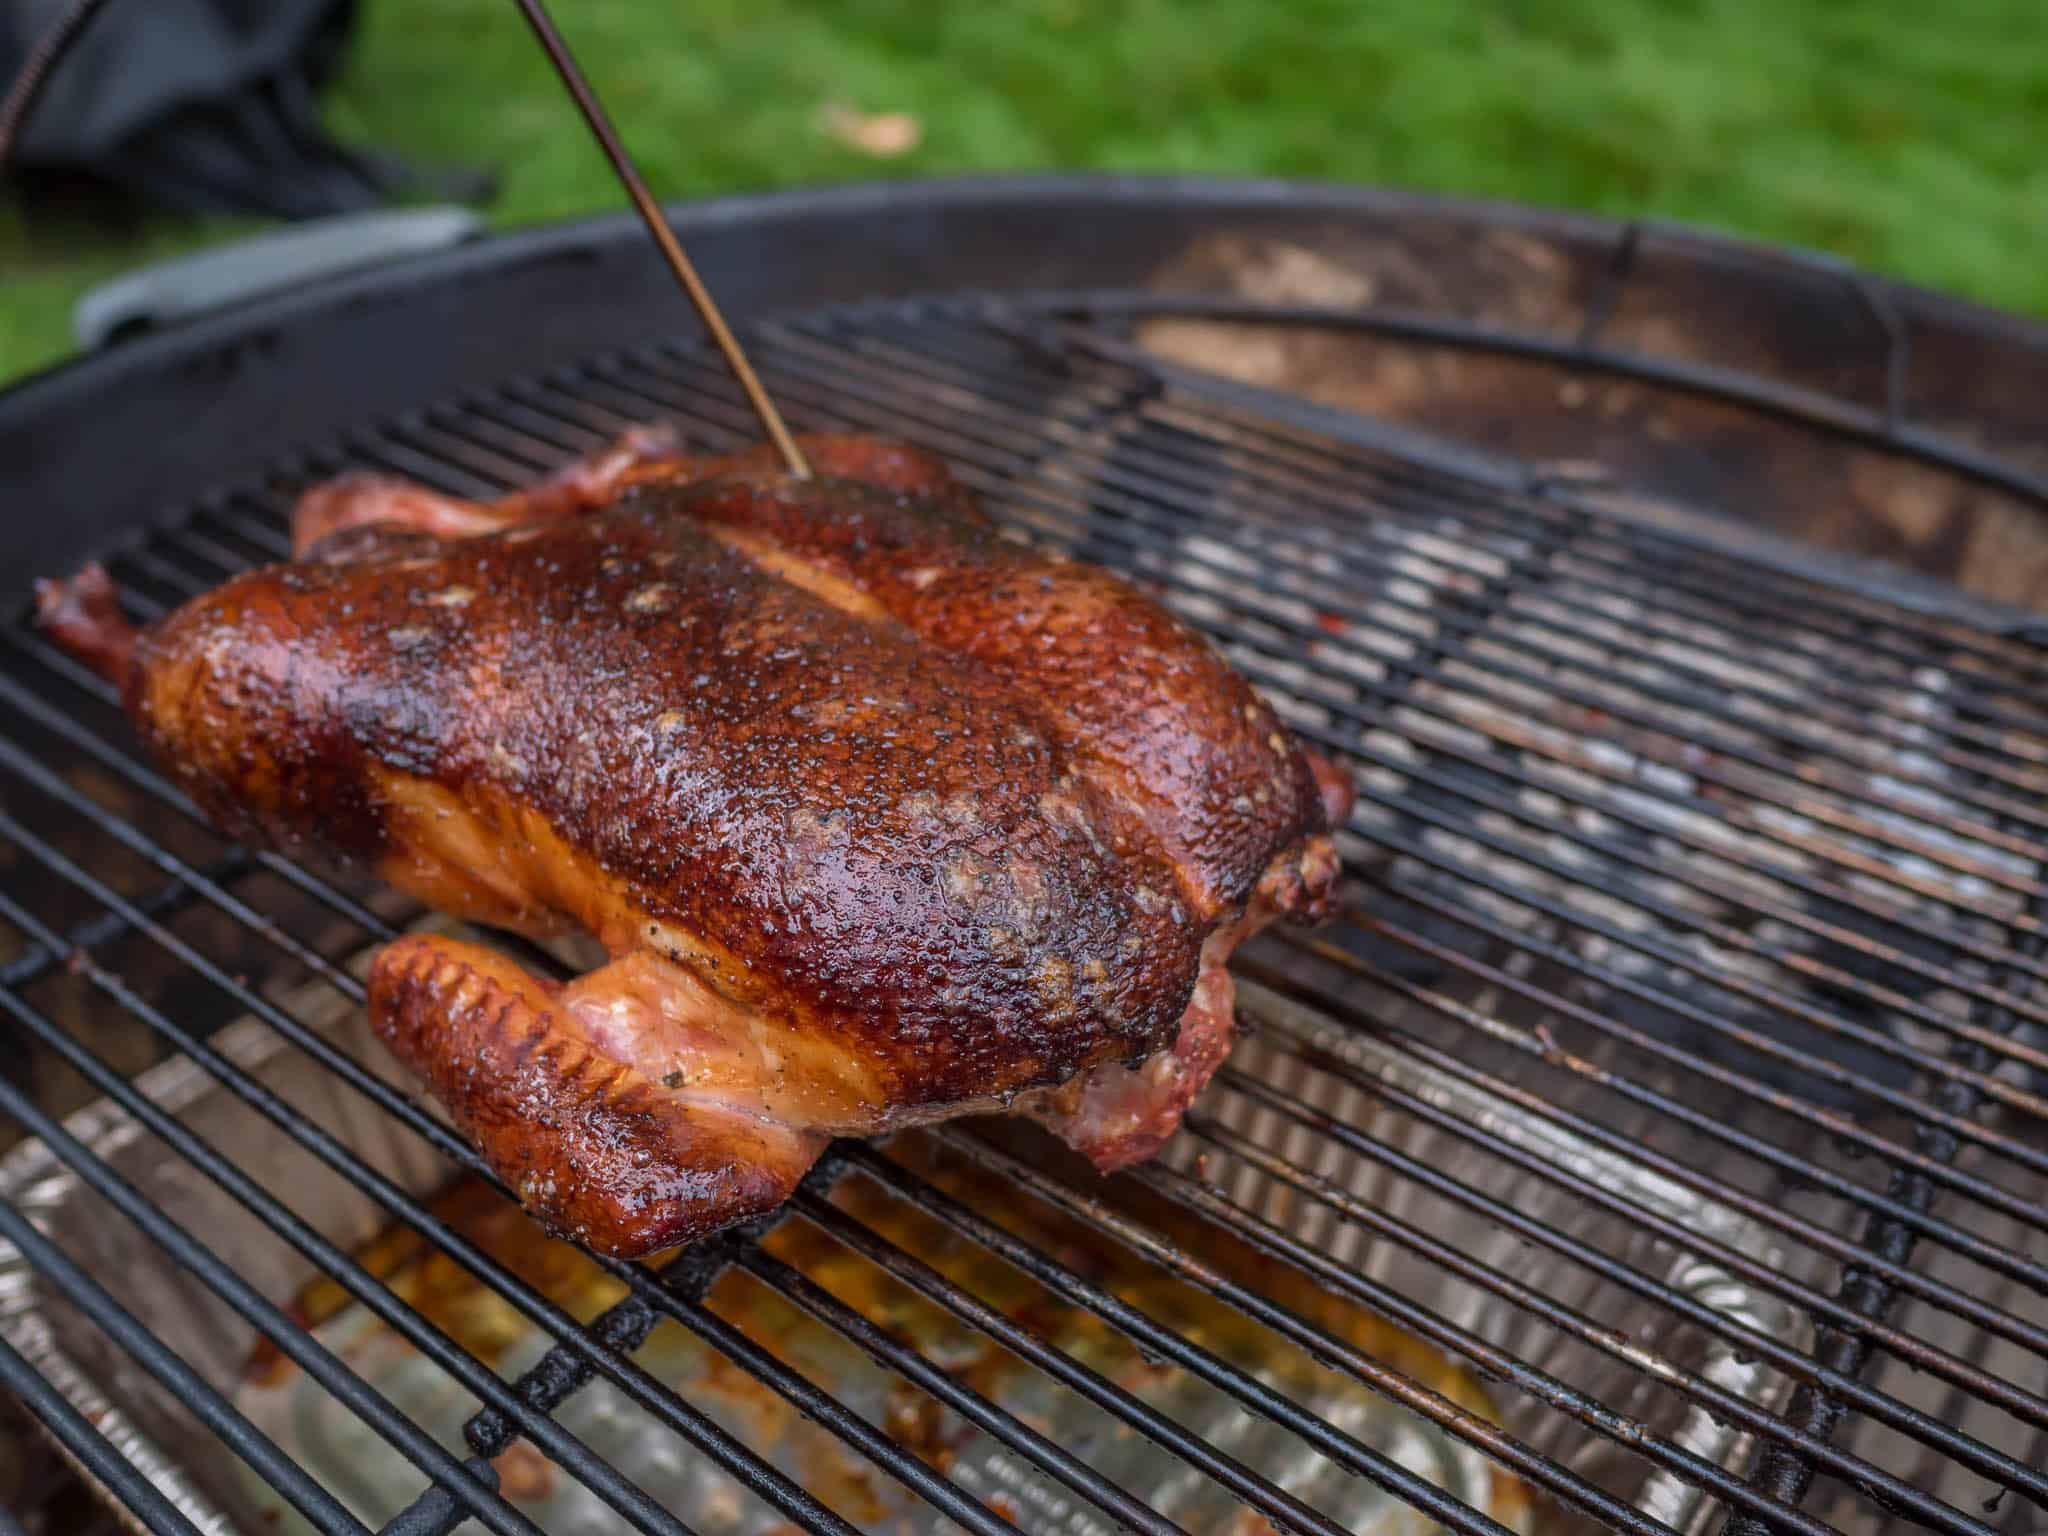
4. Rotisserie grill the turkey
Put the spit on the grill, start the rotisserie motor spinning, and cook with the lid closed. Cook until the turkey reaches a temperature of 150°F in the thickest part of the breast, and then add four minutes of cooking time. This should take about 1 hour and 45 minutes for an 8 pound breast. (Go by internal temperature, though, and start checking the temp after an hour of cooking.)
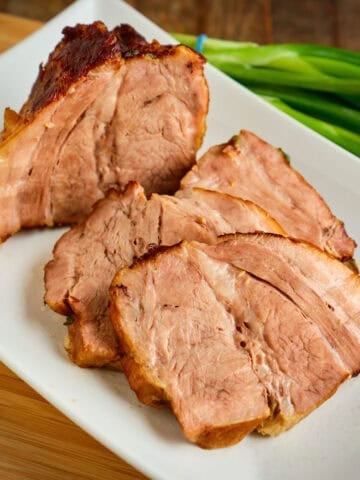
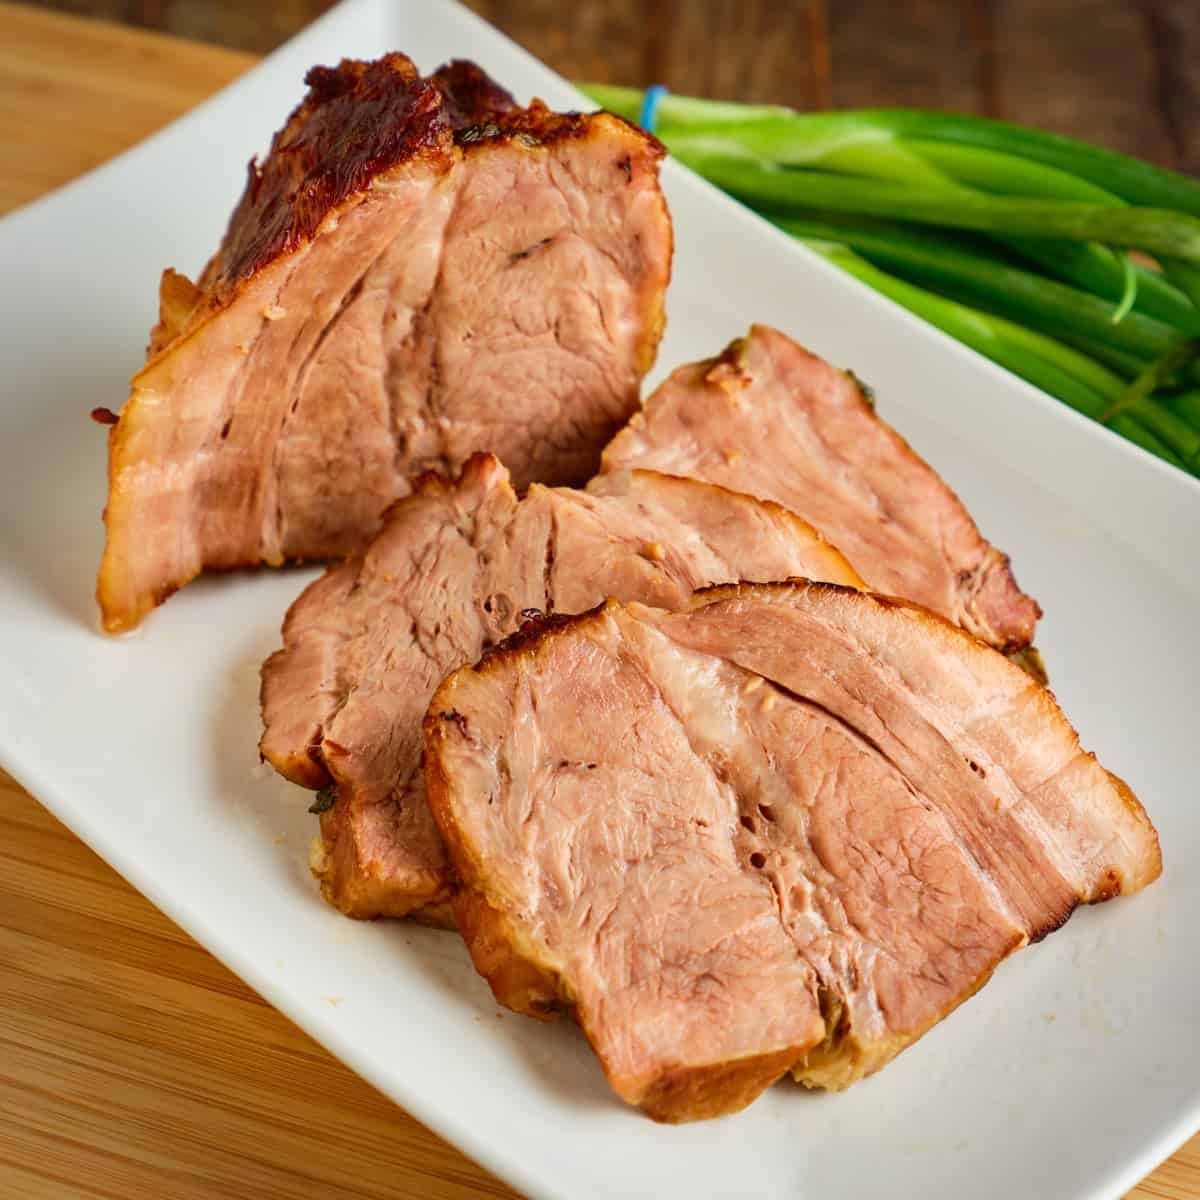
5. Serve
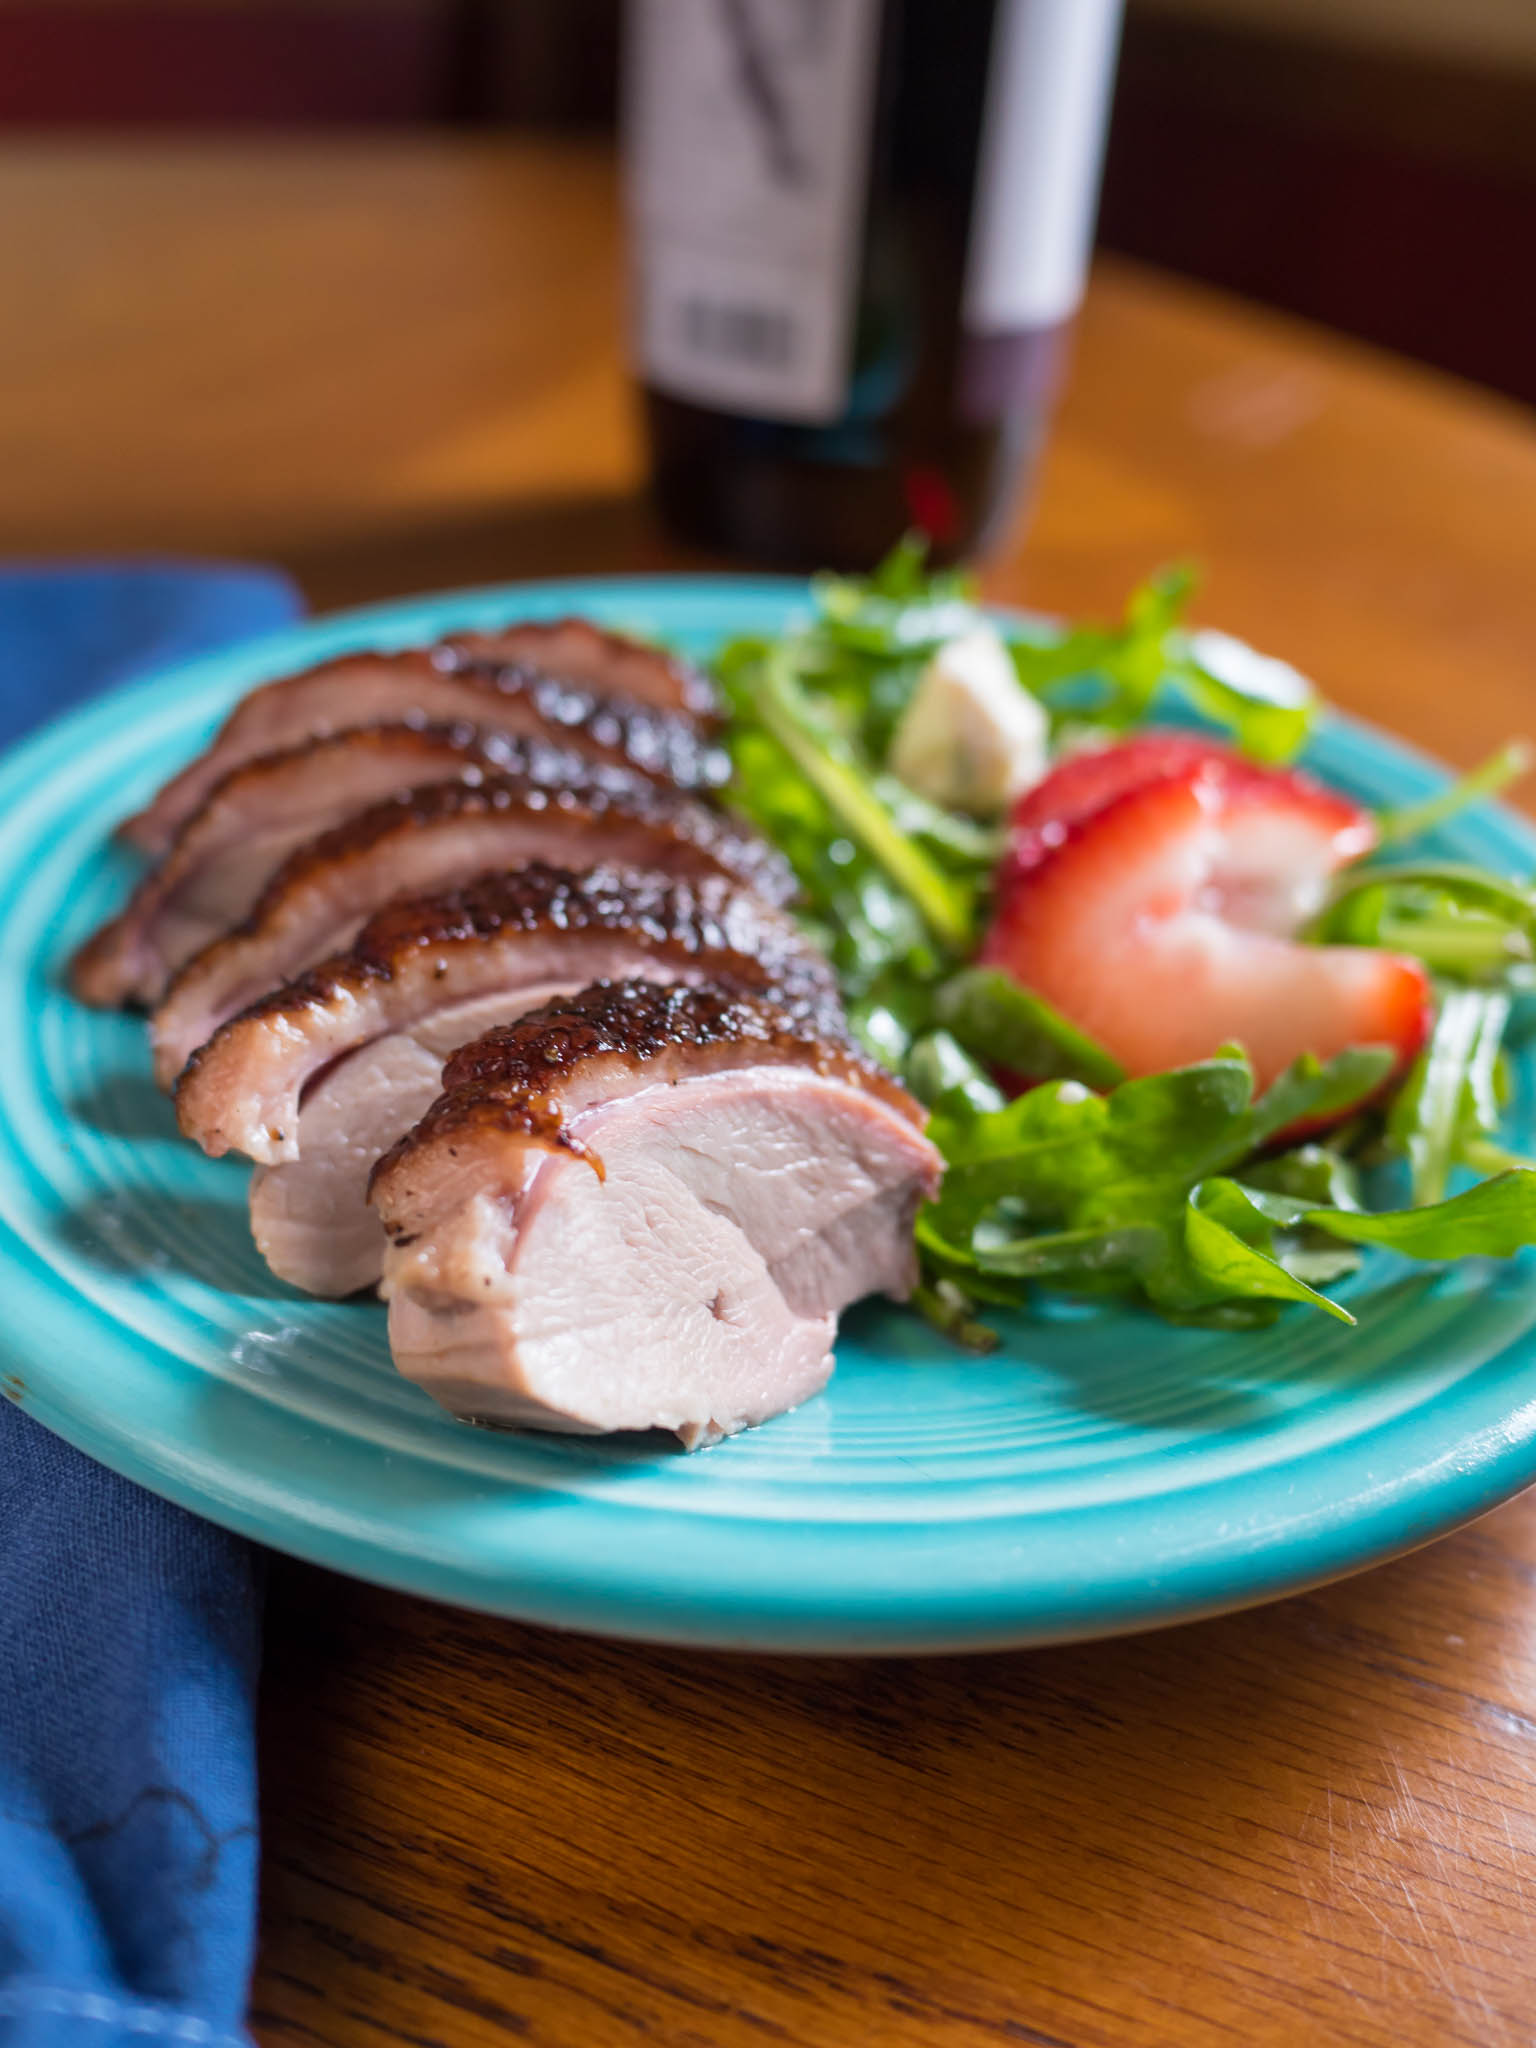
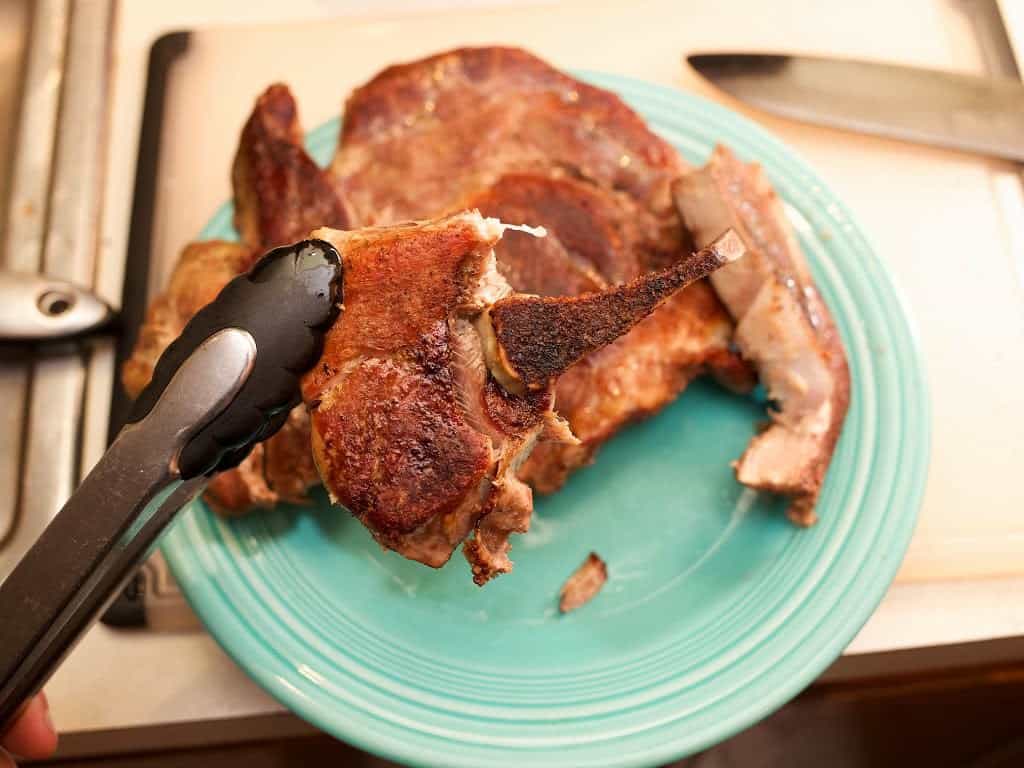
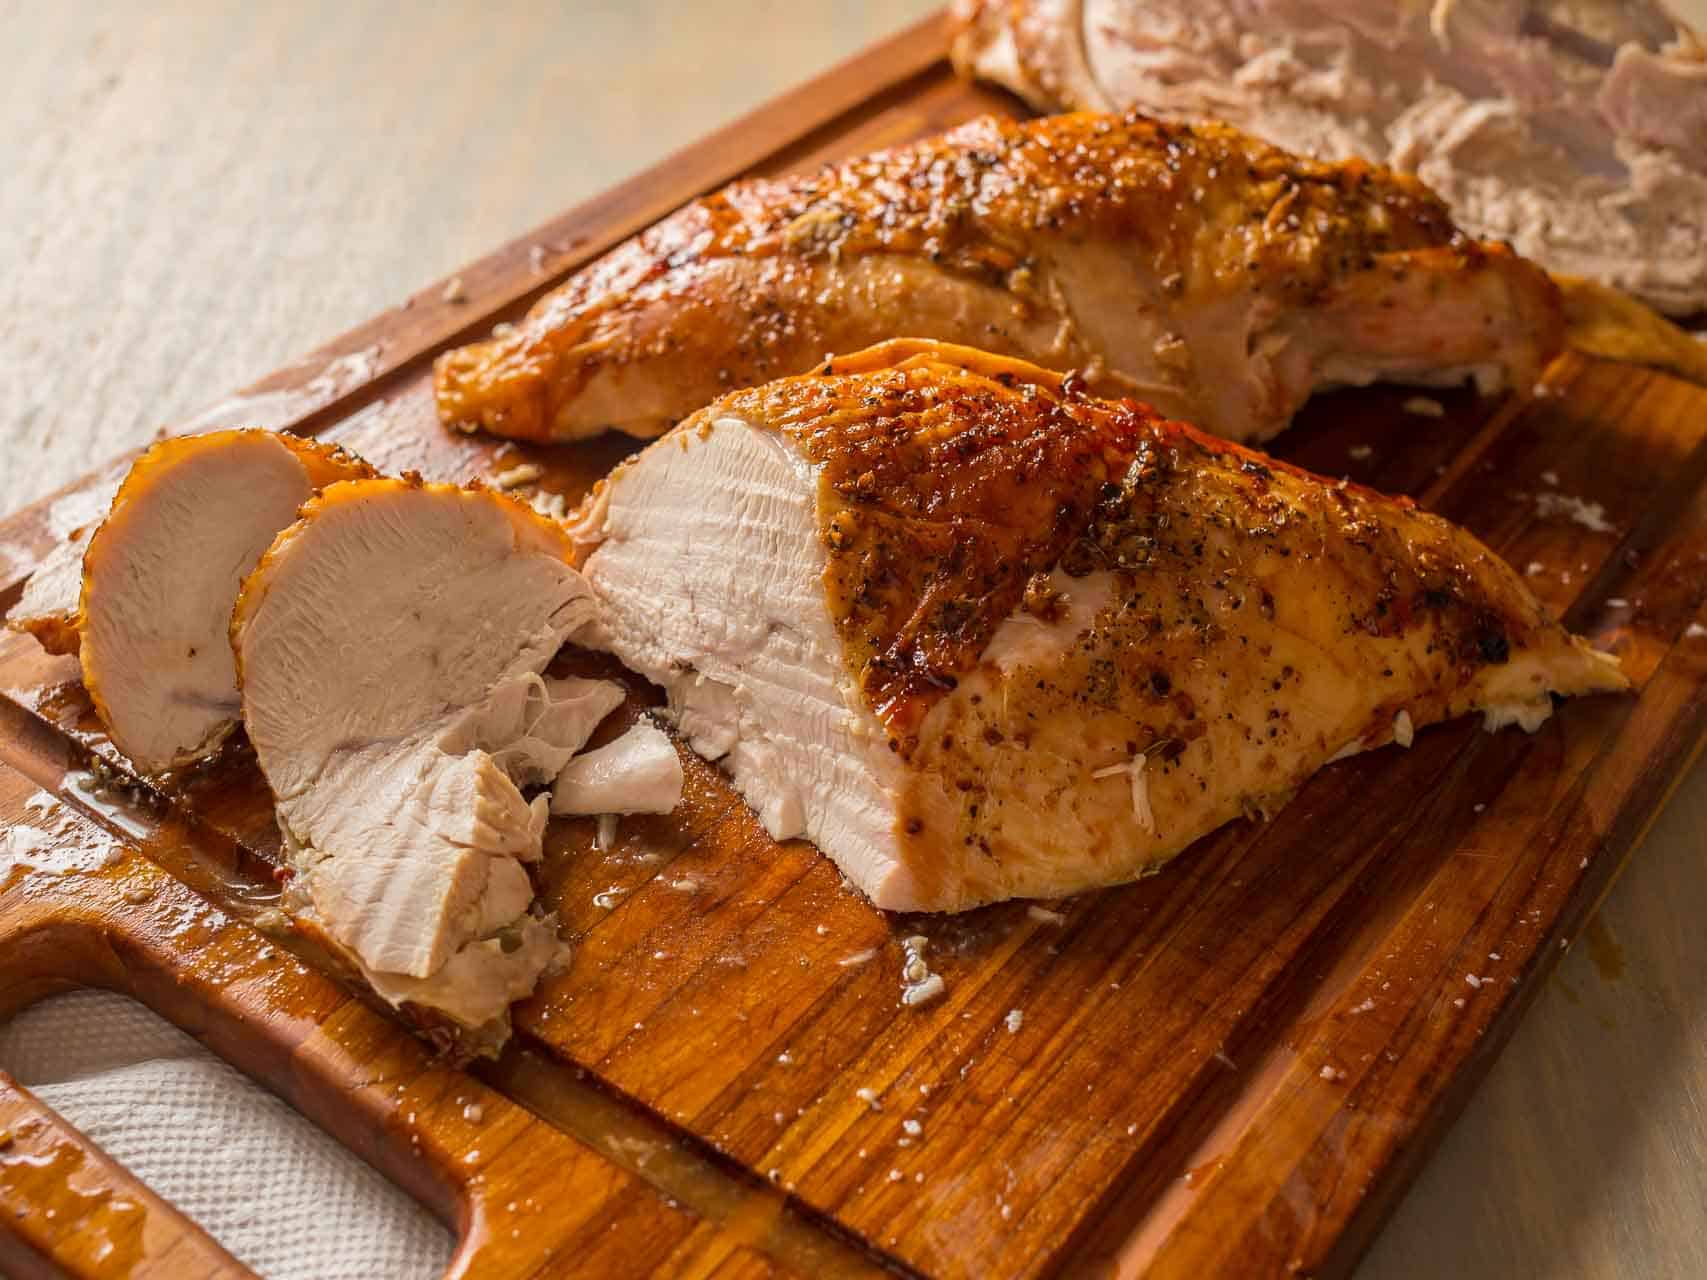
Remove the turkey from the spit, and let rest for 15 minutes before carving. I cut the breast halves away from the carcass, then slice them crosswise into ¼" thick slices.
Equipment
- Grill with Rotisserie Attachment (My massive Weber Summit is more than big enough.)
- 9" by 13" grill safe drip pan (Disposable aluminum foil or enameled cast iron)
- Instant Read Thermometer
Frequently Asked Questions
I find turkey breasts as small as 5 pounds and as large as 8 pounds at my local grocery store. Pick whichever size fits your needs; a 5 pound breast will take roughly 1 hour 15 minutes; an 8 pounder will take closer to 2 hours. But, please don't go by time, go by internal temperature - 150°F plus four minutes of extra cooking time.
I assume 1 serving per pound of turkey; so, a 5 pound turkey breast is 5 servings, and an 8 pound turkey breast is 8 servings.
What to do with leftover turkey breast
Turkey sandwiches are the obvious choice; my favorite is a turkey salad sandwich - dice up the leftover turkey, sprinkle with fresh ground black pepper, add some diced celery and green onion, and toss with just enough mayonnaise to coat the turkey. (Bonus points if you use Japanese Kewpie Mayonnaise.)
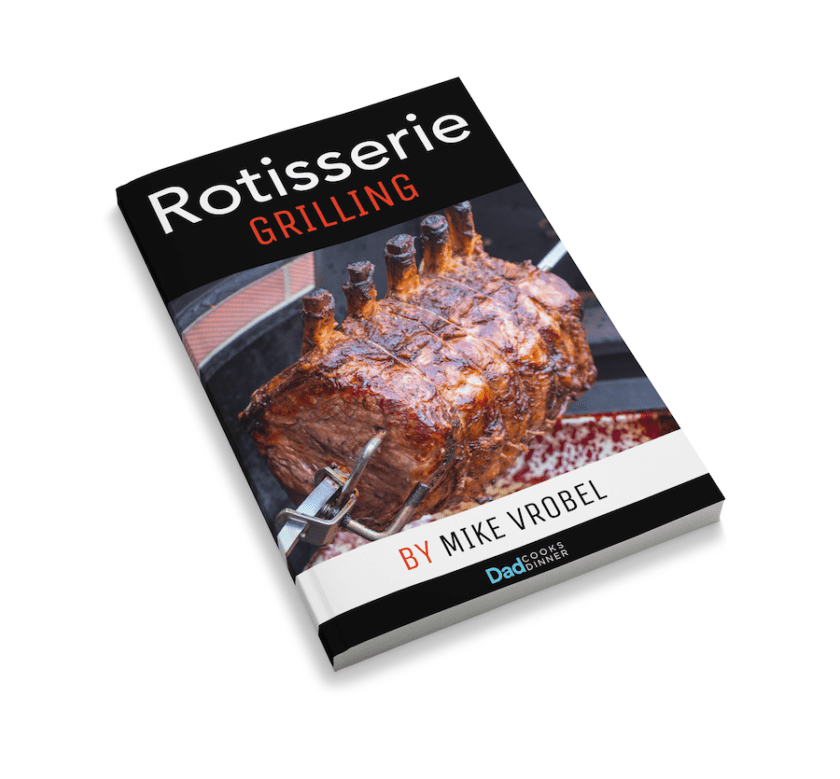
I wrote a cookbook!
Rotisserie Grilling Cookbook
New to your rotisserie and need help with the basics? Love your rotisserie and looking for new ideas? Grab a copy of Rotisserie Grilling! You'll get 50 of my favorite rotisserie recipes and expert tips on how to set up and use your rotisserie.
What do you think?
Questions? Other ideas? Leave them in the comments section below.
Related Posts
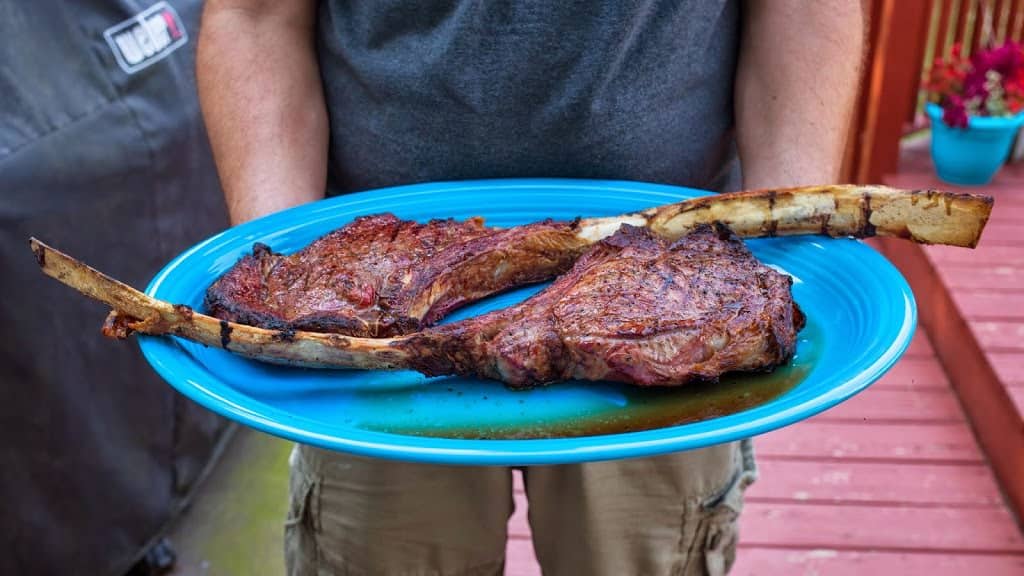
Rotisserie Turkey Breast, Dry Brined
Rotisserie Turkey Breast with Spice Rub
Rotisserie Turkey, Dry Brined with Orange and Spices
My other Rotisserie Grilling Recipes
Enjoyed this post? Want to help out DadCooksDinner? Subscribe to DadCooksDinner via email and share this post with your friends. Want to contribute directly? Donate to my Tip Jar, or buy something from Amazon.com through the links on this site. Thank you.