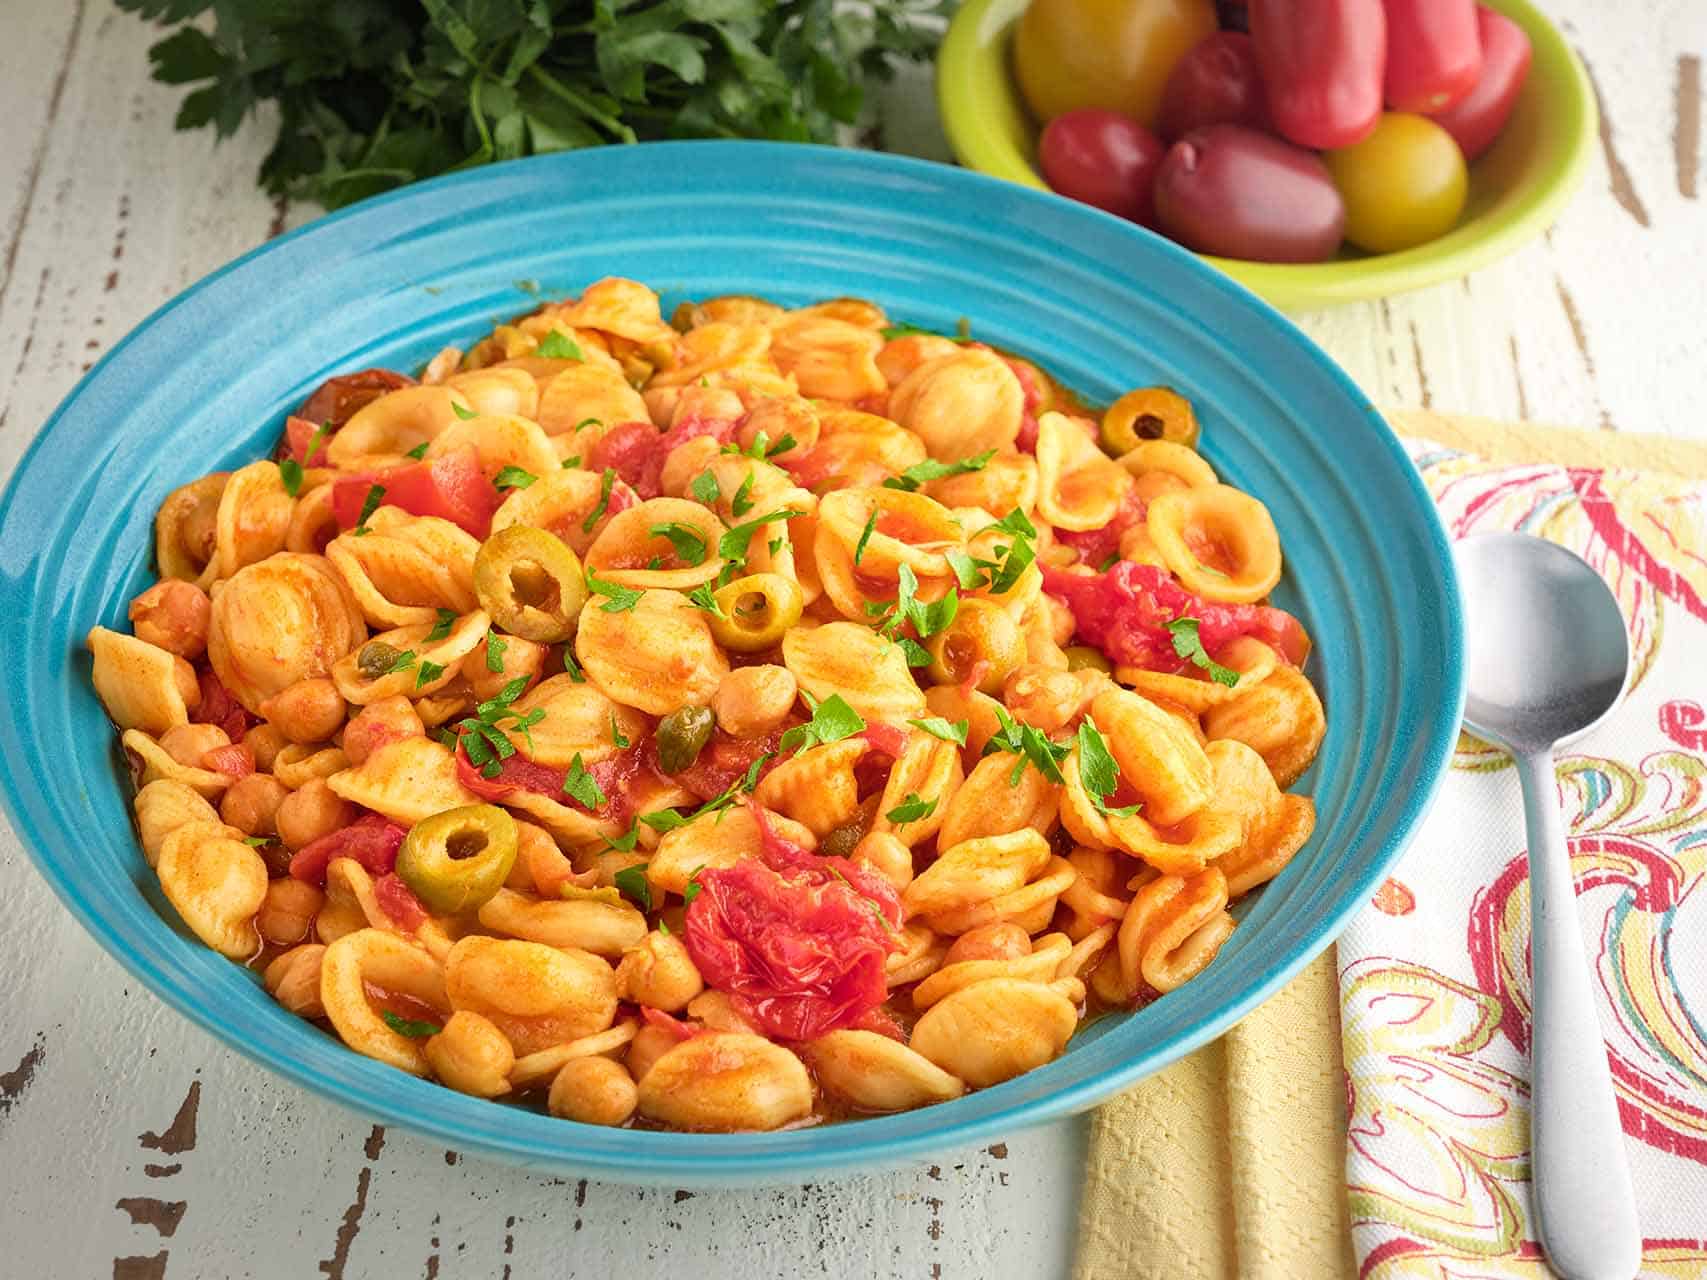
Chickpea Puttanesca is a one-pan mix of Mediterranean flavors, with chickpeas, smoked paprika, coriander, olives, cherry tomatoes, and orecchiette pasta.
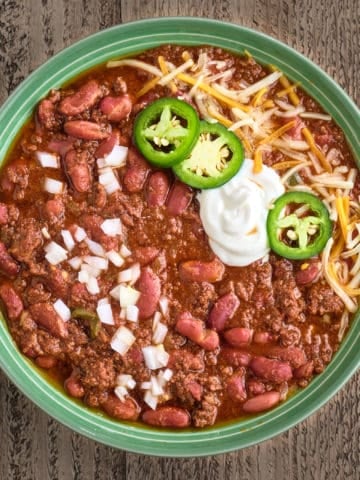
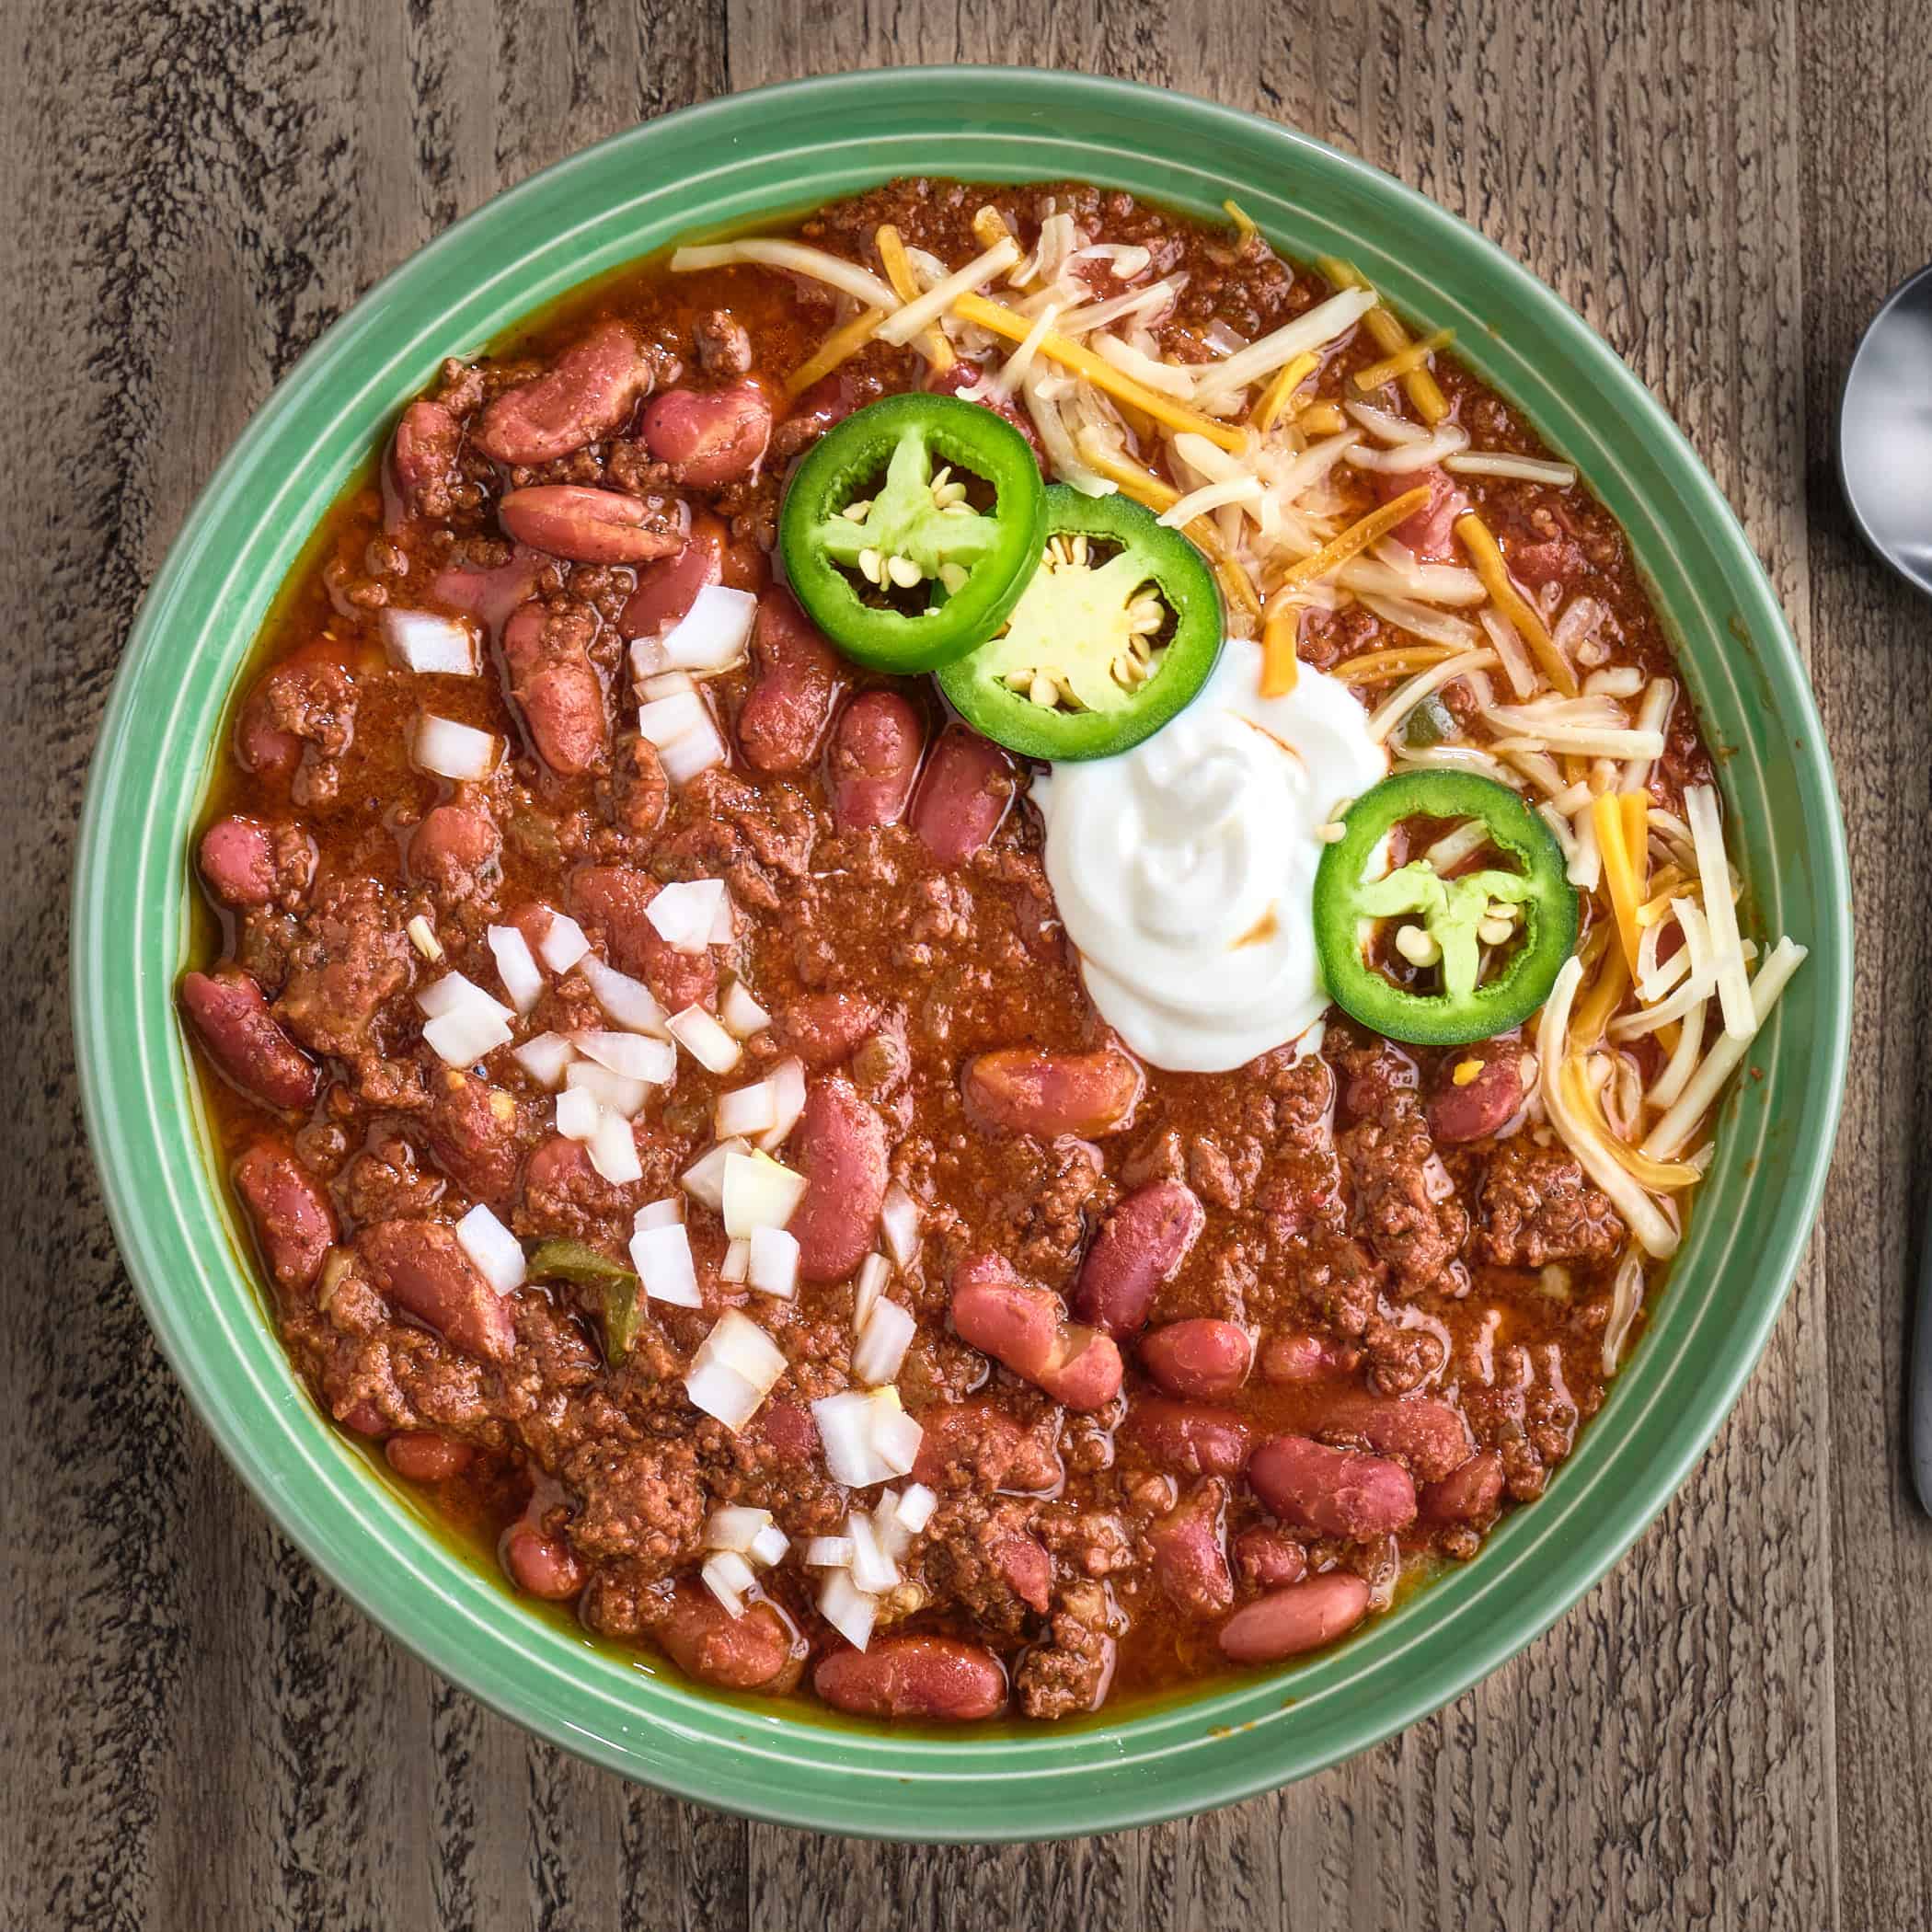
My co-workers know I'm a cooking fanatic. Since we couldn't host my yearly Chili First potluck lunch, work asked me to do a Zoom cooking class for my co-workers. I borrowed this recipe from Ottolenghi Flavor by Yotam Ottolenghi, modified it to fit my cooking style, set up lights, cameras, iPhones, and my laptop in my kitchen, and did a live class. (It was fun!) I promised to share the recipe, and then…I forgot. This recipe has been sitting on the shelf for a while, but better late than never.
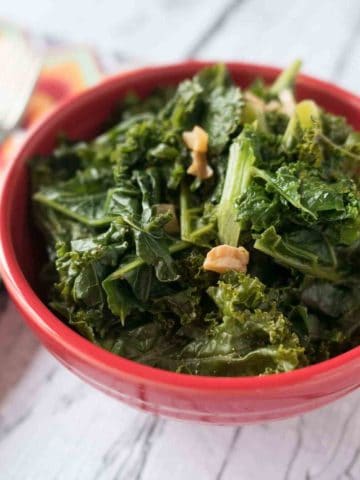
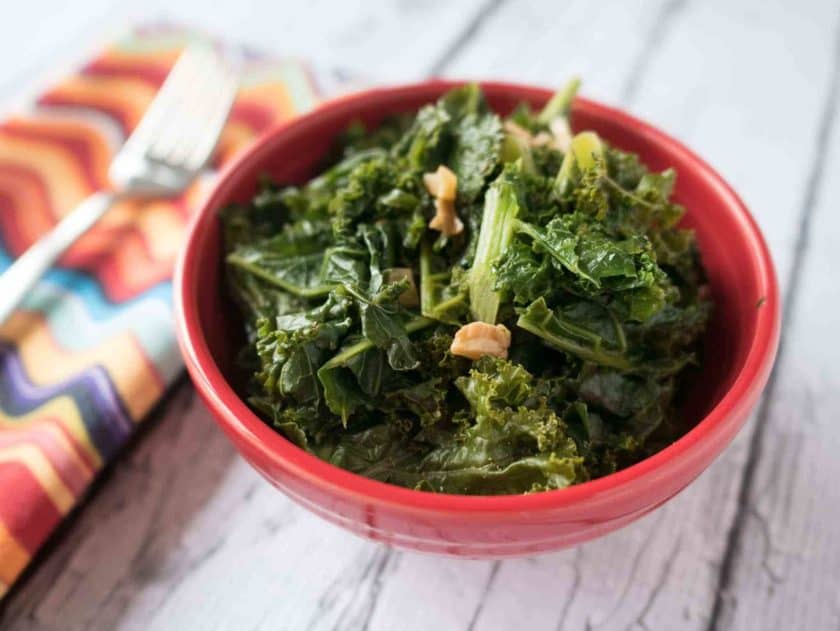
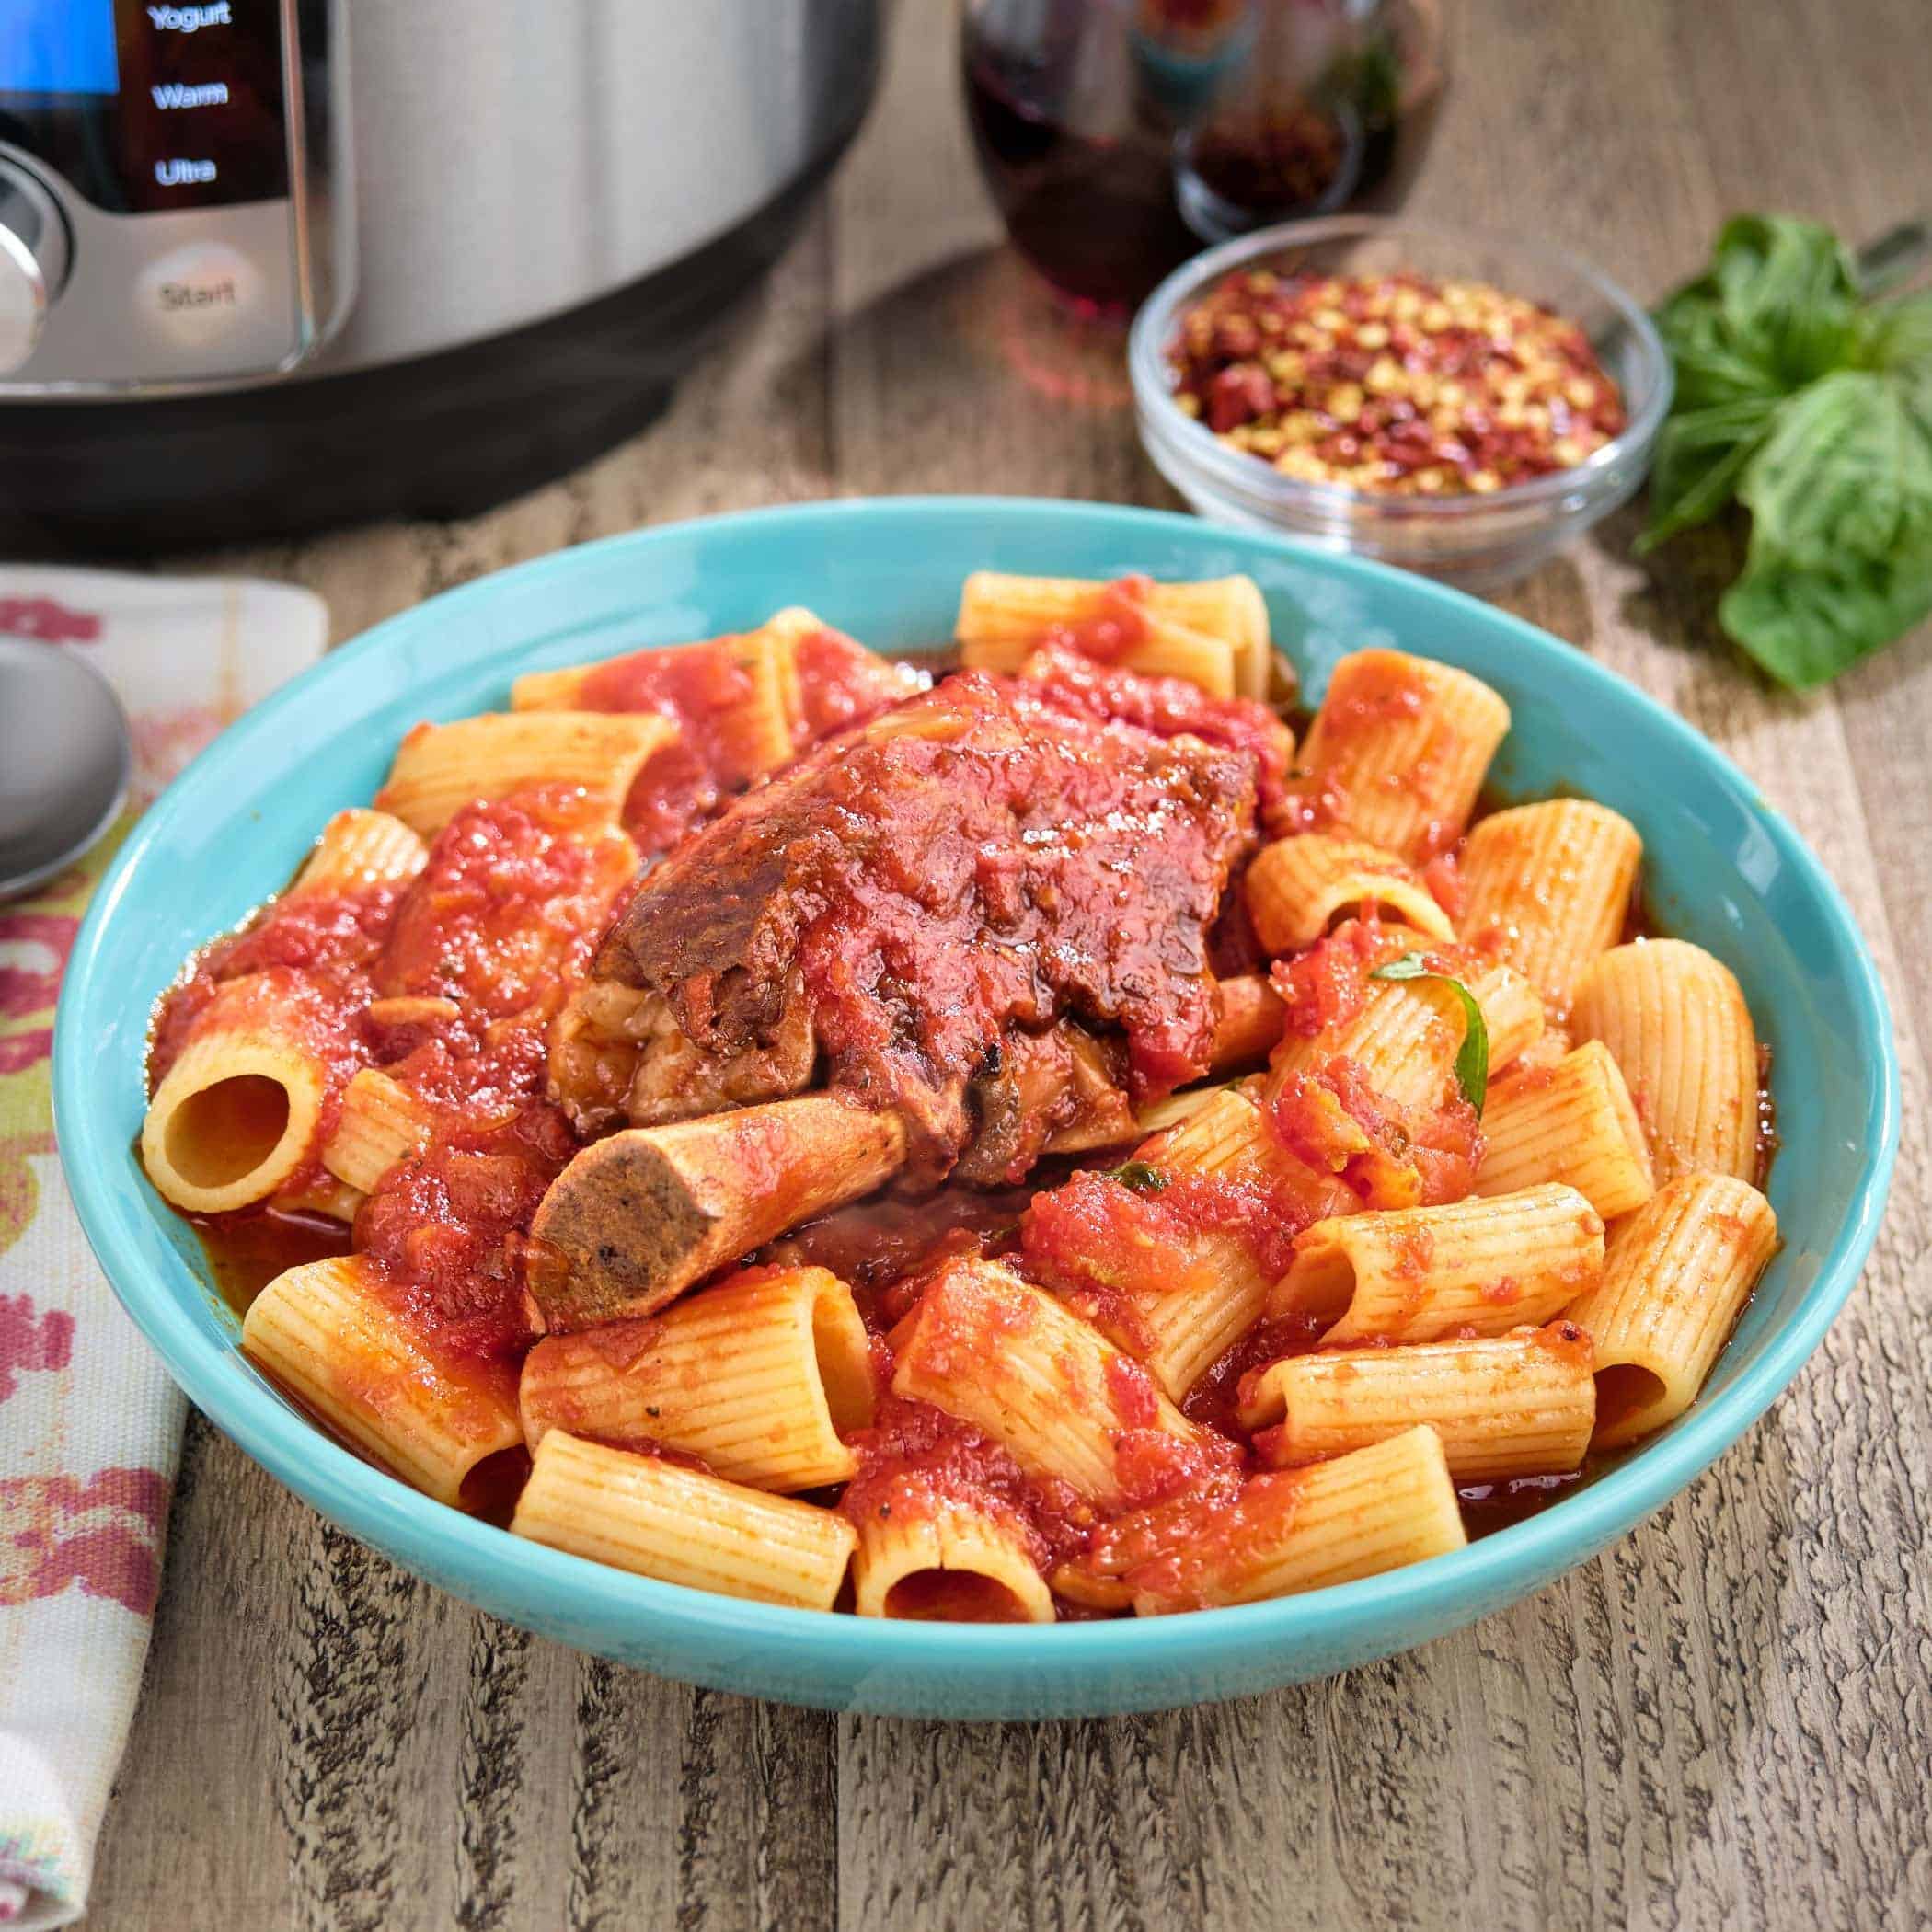
The other recipe I showed them is this steam-sauteed green beans side dish - it's my go-to side dish recipe, one I make about once a week. If you're one of my regular readers expecting a pressure cooker recipe, here is the Instant Pot Chickpea Puttanesca with Orecchiette version of the recipe, or try a simpler Instant Pot Pasta con Ceci (Pasta with Chickpeas).
🥫Ingredients
- Olive oil
- Chickpeas
- Garlic
- Lemon
- Smoked Spanish Paprika
- Ground coriander
- Red pepper flakes
- Fresh ground black pepper
- Vegetable broth
- Cherry or grape tomatoes
- Green olives (aka Spanish olives)
- Capers
- Parsley
- Orecchiette pasta
See the recipe card for quantities.
🥘 Substitutions
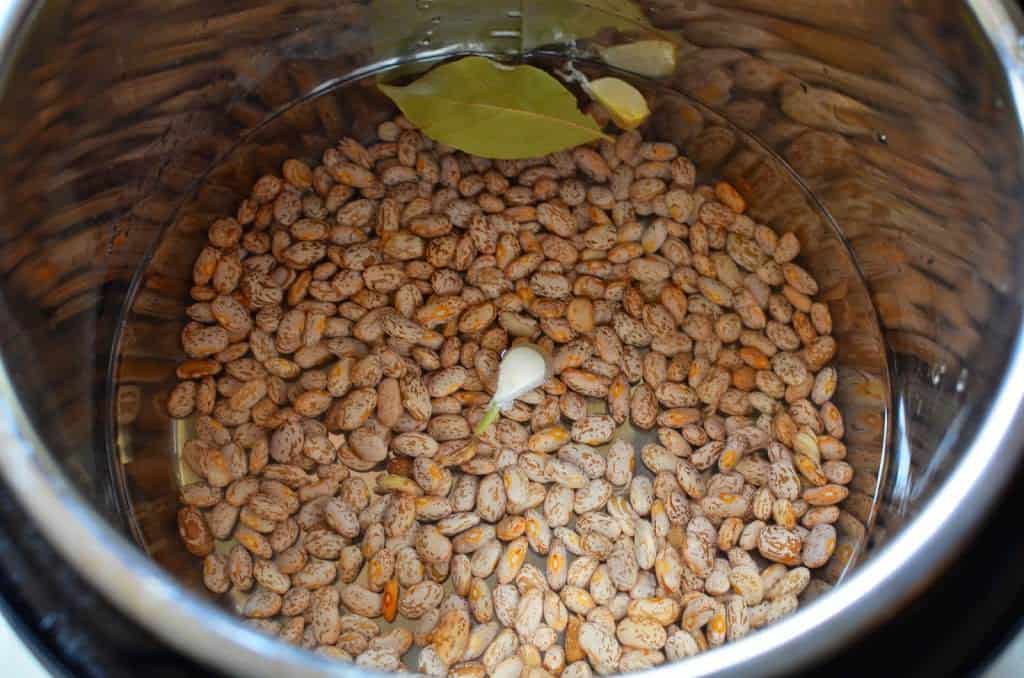
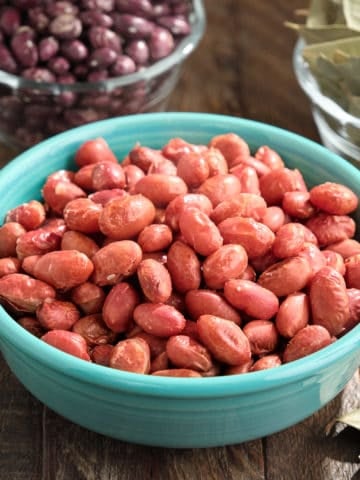
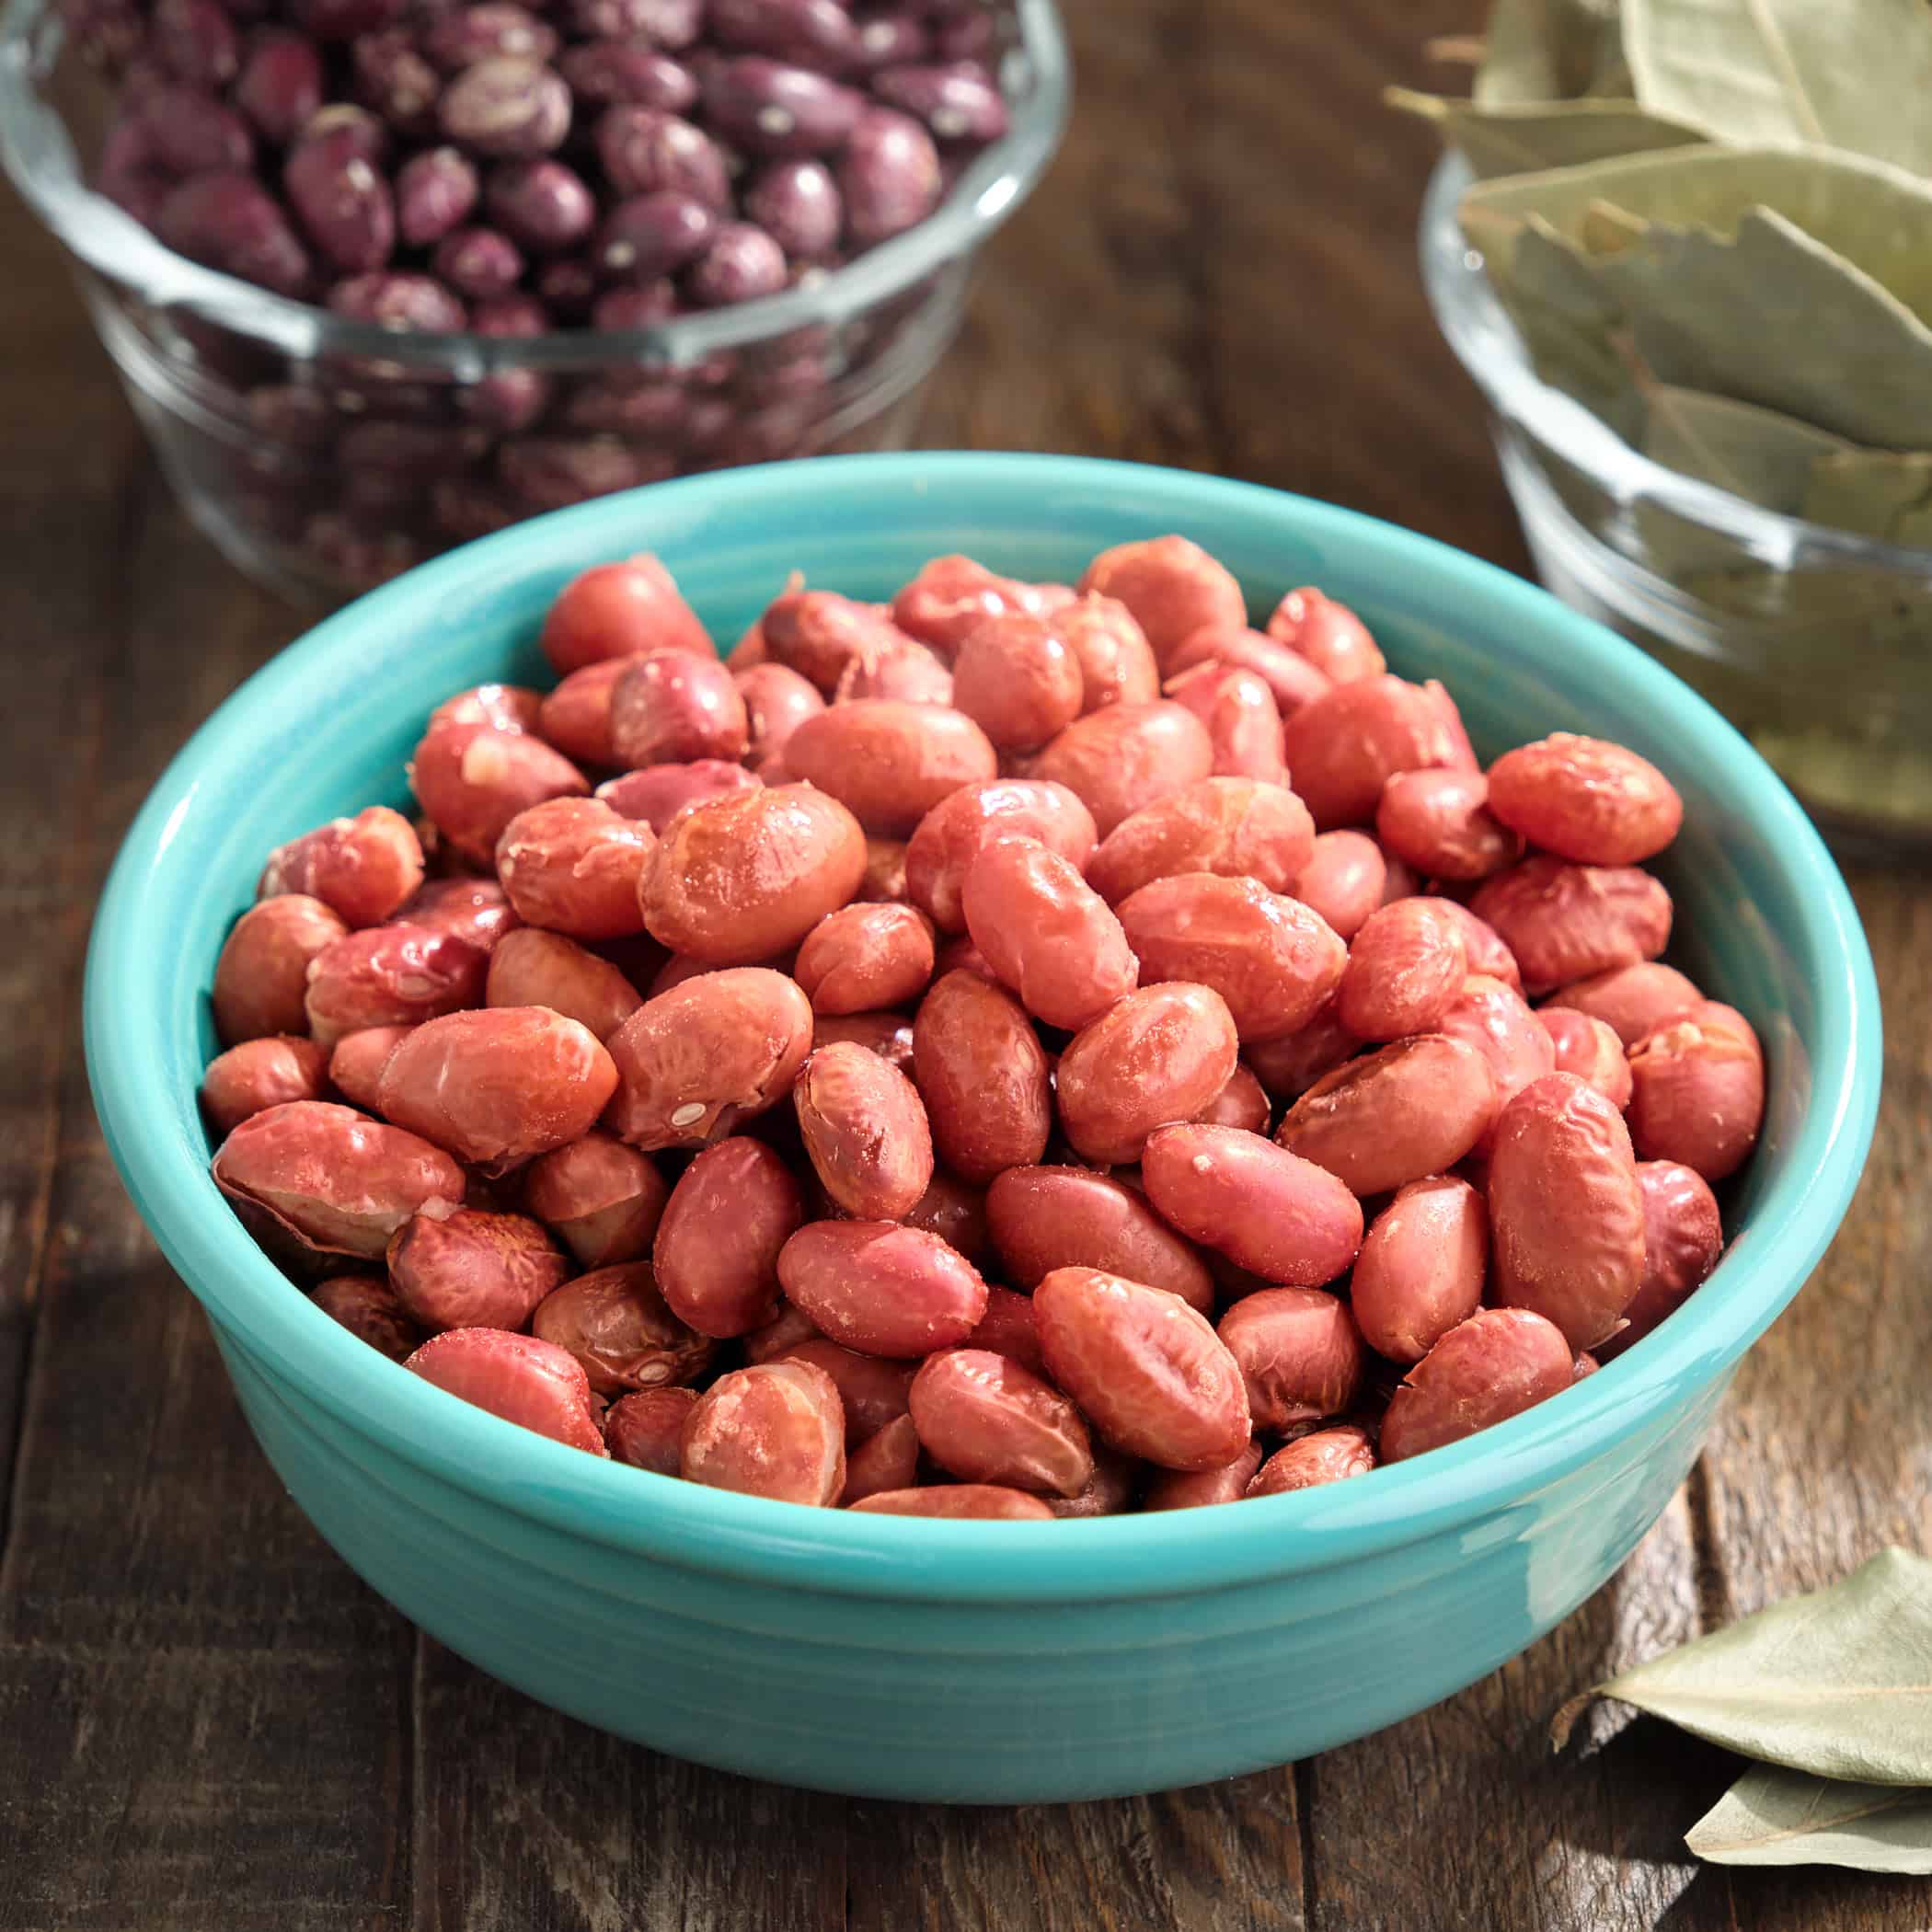
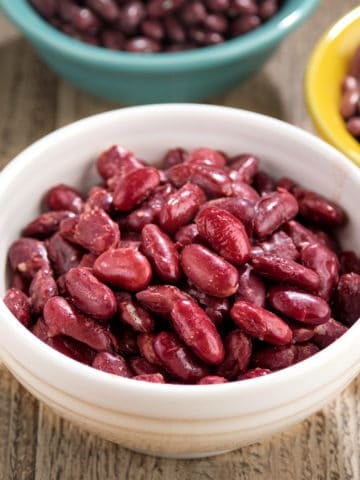
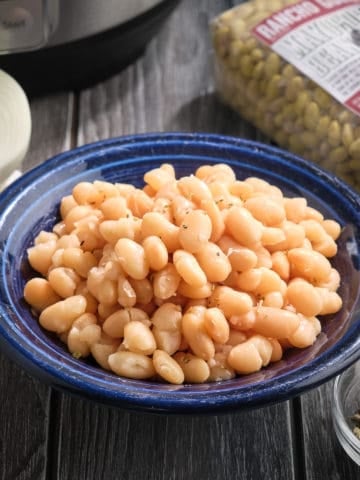
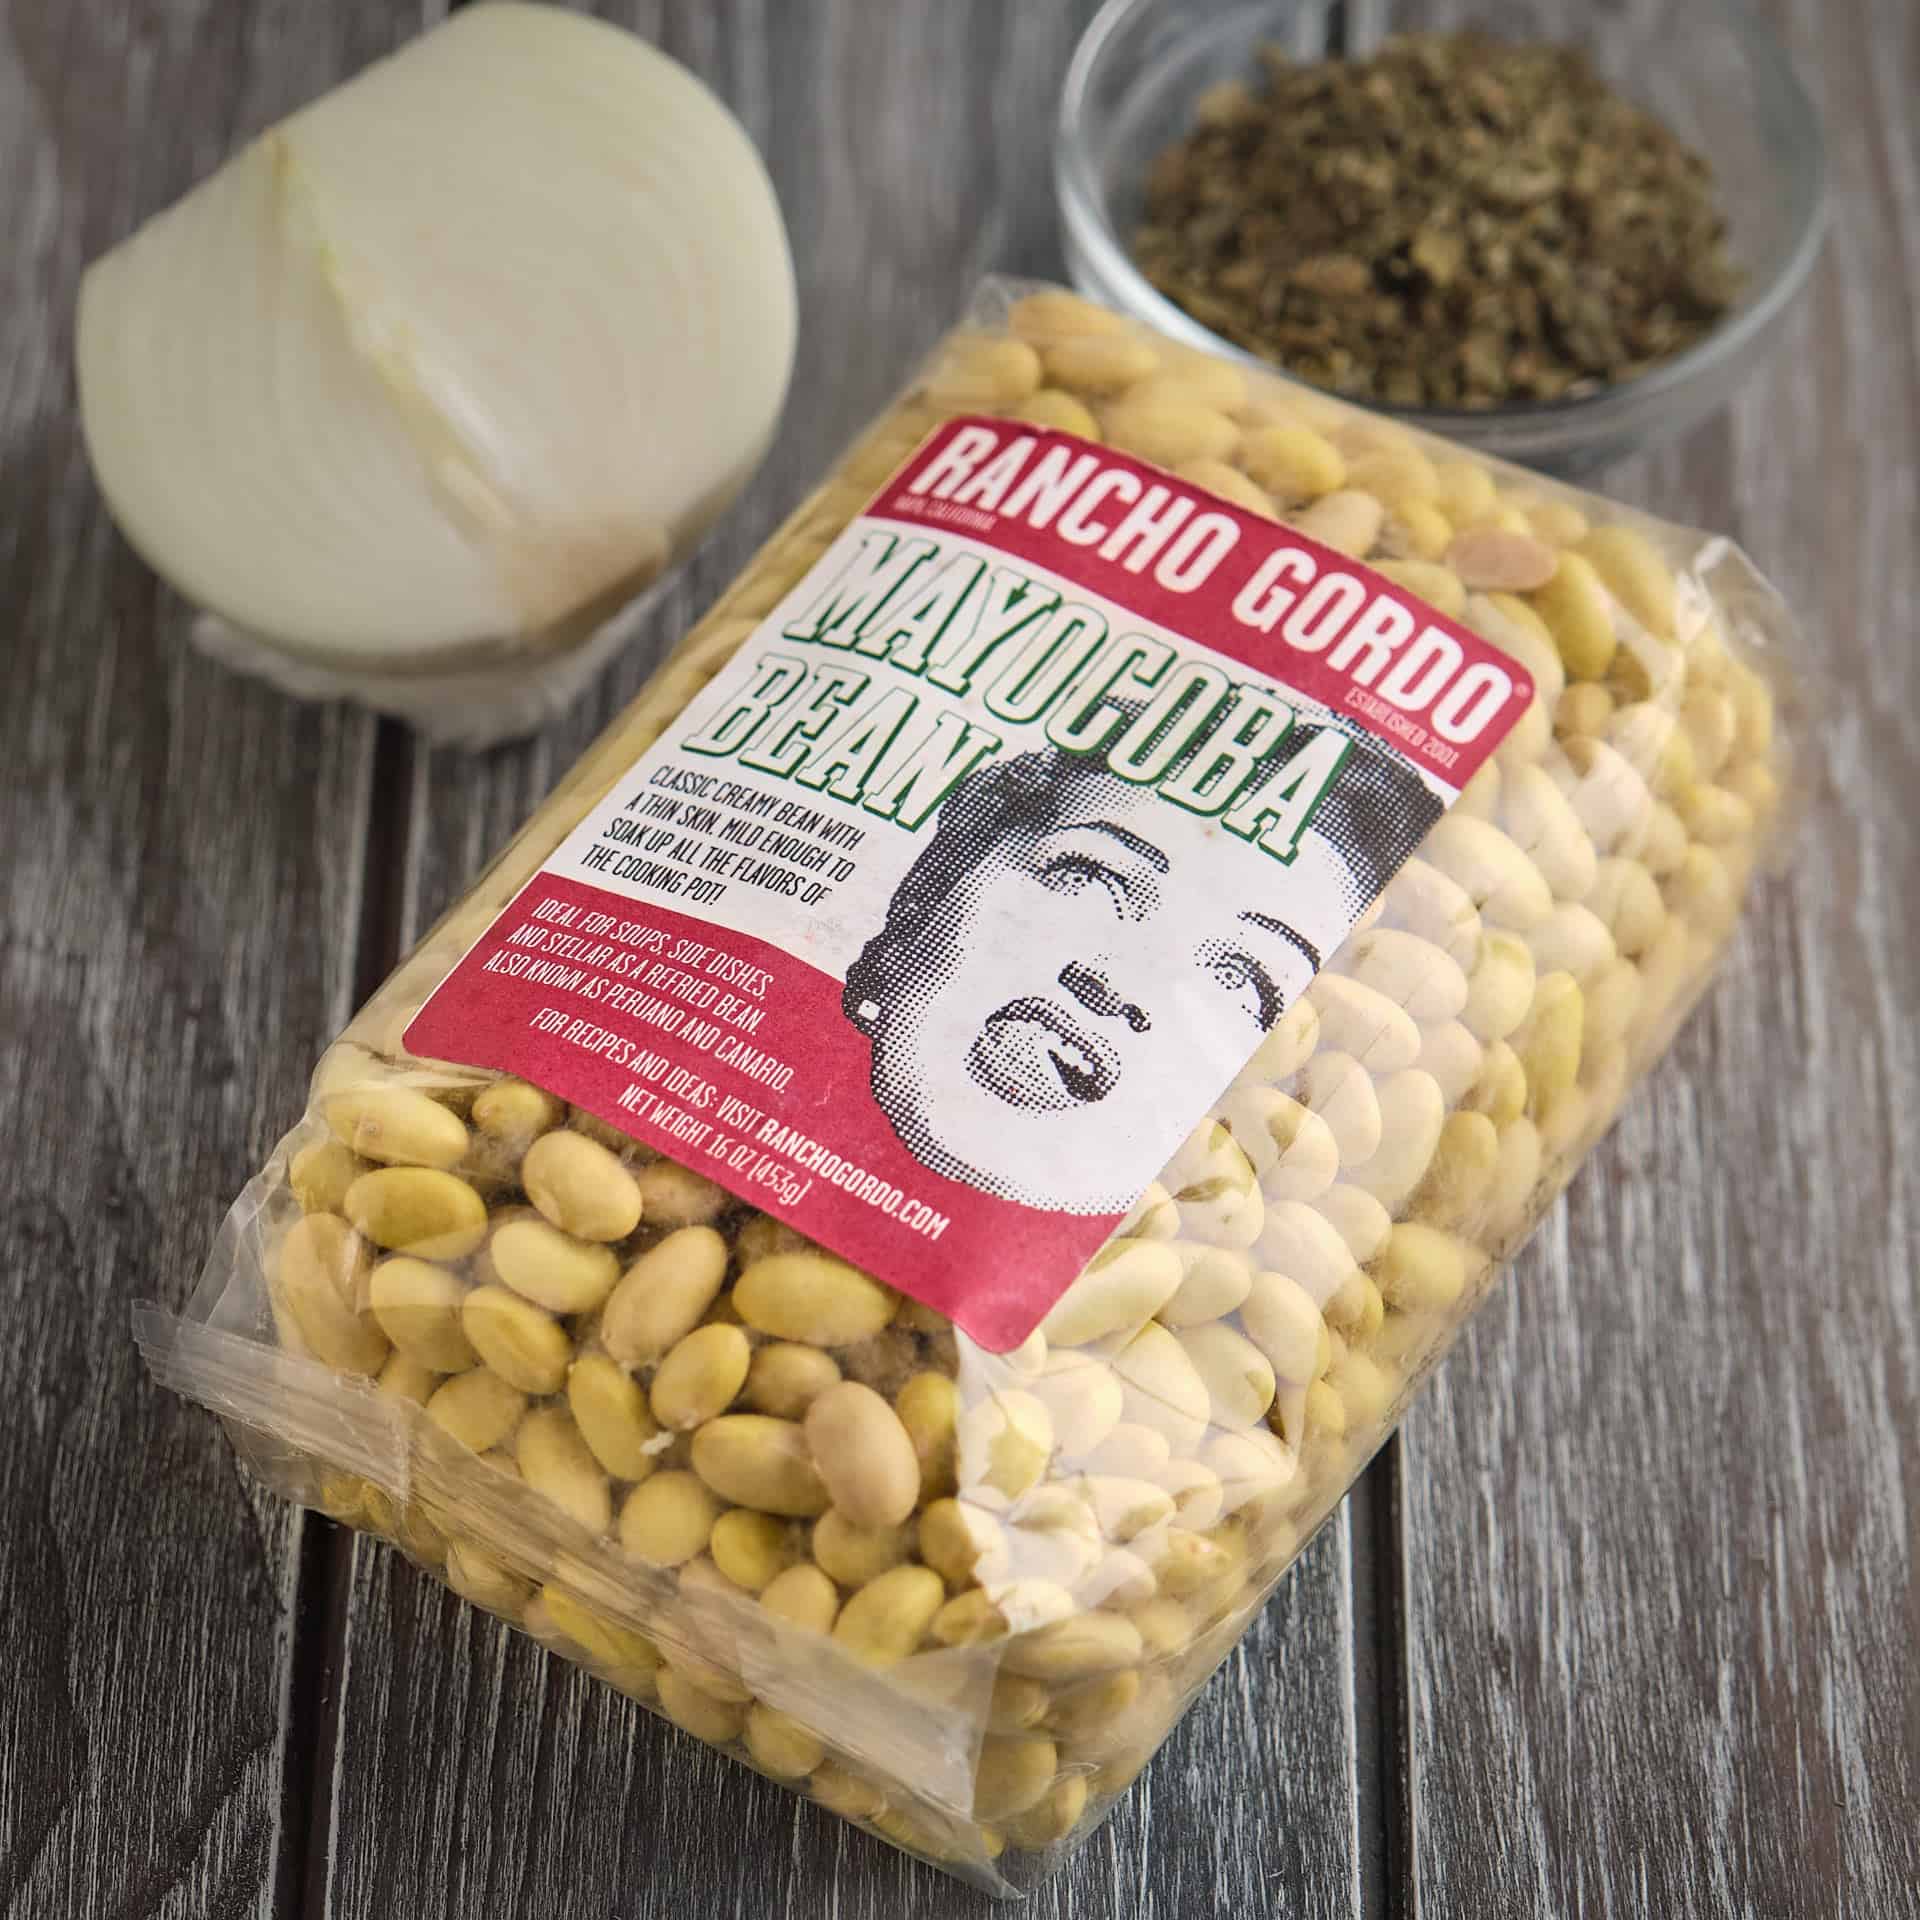
Chickpeas are also known as Garbanzo beans (in Spanish) or Ceci (in Italian). Canned chickpeas are fine, but if you can make them Homemade chickpeas from dried are fantastic and add depth to the recipe. (I keep extra homemade chickpeas in the freezer for recipes like this.)
Orecchiette pasta ("little ears") is what Mr. Ottolenghi used in his original recipe. Any small pasta shape, like shells or elbows, will also work.
Smoked Spanish paprika, Pimenton de la Vera, is fantastic. I go out of my way to find it. That said, any smoked paprika will work, and regular paprika is fine if you can't find smoked paprika. If you don't have coriander, cumin is an acceptable substitute.
Skip the red pepper flakes if you don't want any heat in the dish. They don't add much, but I know some people are sensitive to it. Those people should leave out the pepper flakes.
If you don't have a fresh lemon, skip it! The lemon-shaped squeeze bottle from the grocery store is not as good as a fresh lemon.
Grape and cherry grocery store tomatoes are full of flavor year-round. (Unlike full-sized grocery store tomatoes, which are bred for shipping durability, not flavor.)
Substitute a teaspoon of dried parsley for the fresh parsley.
This recipe is vegetarian. Want an omnivore version? Add 4 ounces of diced pancetta or bacon with the chickpeas in the "sauté the chickpeas" step, and substitute chicken broth for the vegetable broth.
Capers and olives: They add a salty bite to the dish. I use sliced Spanish olives, and sliced Kalamata olives are a fancier substitute. Capers are the pickled buds of the caper berry bush. You can skip them if you can't find them or replace them with a couple more tablespoons of sliced olives. But, I'll bet you will find capers in the Italian section of your grocery store if you look carefully.
🛠 Equipment
Pan: A wide pan with a lid, deep enough to hold 3 quarts (or more) of liquid and at least 10 inches wide. The chickpeas should fit in a single layer when we're sautéing them, and it needs to hold 3 quarts so it won't boil over when we're simmering the pasta.
Zester: I love Microplane zesters because I like adding lime, lemon, and orange zest to many of my dishes.
Lemon squeezer: This makes juicing lemons easy. But, you can improvise a lemon squeezer with a fork and a set of tongs. Cut the lemon in half, stick a fork in it, and squeeze it with your kitchen tongs. You'll have to fish out any lemon seeds that escape, but it will get most of the juice out of the lemon.
📏Scaling
The problem with doubling this recipe is the size of the pan - you don't want to crowd it when you're sautéing the chickpeas. You can double it if you have a huge, wide pan, like a 5- to 6-quart sauté pan. Or a 6-quart dutch oven or stockpot - but it will take extra time to sauté the chickpeas - make sure you are stirring them, and they all get a little browned.
☃️ Storage
Store in 2-cup containers in the refrigerator for up to 3 days, or freeze for up to 6 months.
💡Tips and Tricks
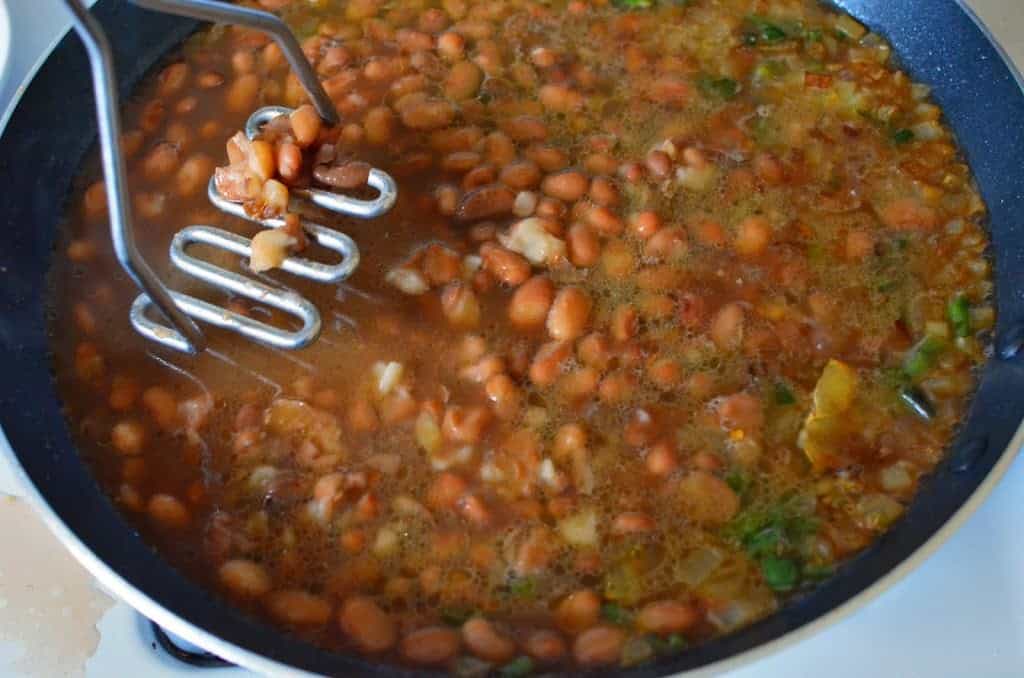
- The chickpeas are almost done when one or two start to pop like popcorn.
- I love the flavor combination of smoked paprika, coriander, garlic, and lemon, and I use it in all sorts of recipes.
What to Serve with Chickpea Puttanesca
As I said above, I made Steam-Sauteed Green Beans in the class. With this mix of Italian and Eastern Mediterranean, I'd serve garlic bread or pita bread and a salad.
Adapted from: Ottolenghi Flavor by Yotam Ottolenghi, Ixta Belfrage, and Tara Wigley
🤝 Related Posts
Sautéed Chickpeas
Instant Pot Smashed Chickpea and Scallion Salad
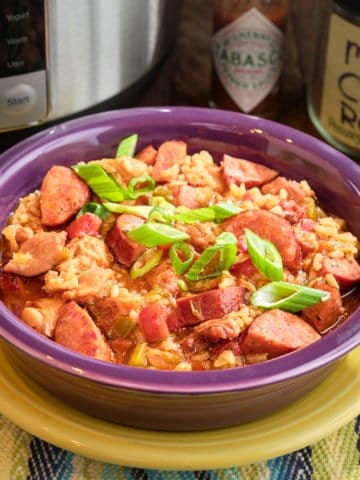
Instant Pot Chickpea and Chorizo Tacos
Instant Pot Goulash Recipe
My other Instant Pot and Pressure Cooker Recipes
Enjoyed this post? Want to help out DadCooksDinner? Subscribe to DadCooksDinner via email and share this post with your friends. Want to contribute directly? Donate to my Tip Jar, or buy something from Amazon.com through the links on this site. Thank you.